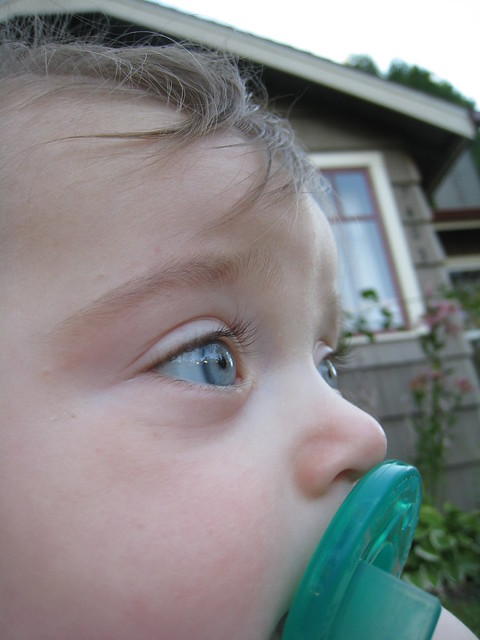
{Laureli Lynn: 8 months old}


{Yes, you’re 8 months old today. What have you been up to? Well….
- You’ve now rolled over a total of 3 times. Once at 3 months. You cried. Once at 7 months. You cried. Once at 7 and 1/2 months. You cried.
- You have figured out that you can pick up your feet and march in your jumper.
- A tooth popped through last Tuesday. On the bottom row of your mouth. It now REALLY hurts when you chew on us.
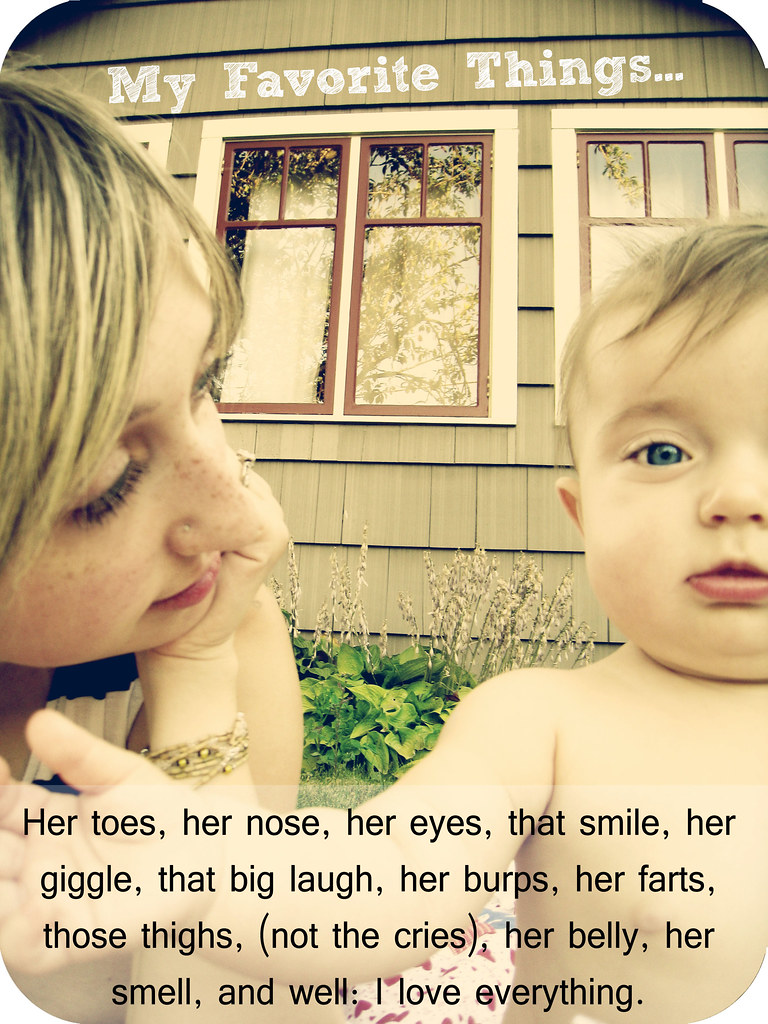
- It’s so easy for us to make you laugh! You smile and giggle at everything! Especially when we blow a raspberry on your belly.
- I think you’re going to skip crawling altogether. You sit just fine on you own. But, you never try to crawl.
- You’ve pulled up a couple times on my arm.
- Your new favorite toy is your little spotted stuffed dog. I got the idea from Melissa and Kelsey to hand you a stuffie, your doggy, when you’re tired. You cuddle it. You love it. Naps are better.
- You are pretty much too big for your co-sleeper.. but, we can’t seem to move you to your crib. I’m sure you’d be fine. We just wont be fine. 🙂
- It’s getting a LOT easier to take you places. I can remember back to when you were 4 months old. I had to constantly bounce you all the time. Wore me out.
- Last night you started saying “mah mah mah”. Almost, “ma ma”, but not quite. 🙂 Whenever I repeat, “Ma ma” back to you… you just stare at me.
- It’s pretty funny when strangers try and get you to smile, but you wont do it. Even though at home… getting you to smile is SO easy!
- You like us to help you “walk”.
- We’re thinking of having my mom watch you overnight… 2 nights in a row. I have a hard time not being able to check on you. I know you’ll be fine, but you know.
- You weigh 19 pounds. Whoa.
- You keep trying to fall asleep on your side… I roll you back onto your back. 😀 Hee.
- I think I’m becoming a better mom. It’s been a LONG road, but I’m trying my best.}
{I love you baby girl boo head. }
{❤Mama}
{If you have a Wordless{ish} Wednesday, please feel free to post it below. And, feel free to link up to these blogs too… (Wordless Wednesday HQ, 5 Minutes For Mom, 7 Clown Circus, Jolly Mom, Go Graham Go, Marvelous Mommy, and My Wee View.) . Happy Wednesday to all of you!}
Don’t forget to check the announcements above the posts. Giveaways and photos challenges!


26 Comments
Categories: Uncategorized