Wednesday Goodies: Dancing girl

Dancing // thepapermama.com

Everyday. Dancing.

– Chelsey

……………………………………………………………………………………………………………………………………

If you have a Wednesday post, please feel free to link it up below. And, feel free to link up to these blogs too… Parenting by DummiesProject AliciaJenni from the BlogIn The Moment With, and Live and Love Outloud.


Good Jar and Naughty Jar

Good and Naughty Jar // thepapermama.com

My sweet/darling/fantastic girl is, well, THREE. Wow, she is SO three. Just today she told me she didn’t like me, followed by a big hug and a kiss. She’s learning new words and is emotionally all over the place (like a hormonal teenager). We’ve been trying the usual thing: putting toys in timeout when she’s naughty. This worked for the past year. Buuuut, she’s getting too sassy and smart now. She realized that her toys in timeout for one day or 5 days is no big deal. So it was time we needed something new.

This is where the good jar and naughty jar come in. My friend, Jill from Baby Rabies, had mentioned she’s using this sort of reward system with her son and I thought it sounded perfect for my stubborn daughter! What is the point of this? If she fills up the good jar she gets a fancy reward. She’s filled it up once in 3 weeks. She got a My Little Pony on a scooter. That was what she picked out for her prize. Her next prize she said she needs a My Little Pony Zecora doll (are you seeing a bit of a obsession, yeah). Side note: I had no idea how spendy this Zecora doll was until I looked it up. Usually we try to stick to around $10 per prize. Next time.

How does it work? Well, if my kiddo is absolutely refusing to get her jammies on at night (this is a NIGHTLY thing) then we say, “Ok, if you get your jammies on in 5 minutes… you get to put a rock in the good jar!” If she takes 10 – 15 minutes we start to say, “Well, we need to get our jammies on. If we don’t start to get ready for bed, that’s a rock out of the good jar and into the naughty jar.” This usually causes a freak out slash rush to get ready for bed. Except for last night… She said she didn’t care about her rocks until I took out 5 in a couple minutes. She really cared after that. We are back to 2 rocks in the good jar. I guess we have a while until we have to get the Zecora doll.

We use her rock collection for this (she’s a rock and shell hoarder). She still hasn’t figured out that larger rocks mean your jar fills up faster. She usually picks out the shiniest/prettiest rock. Ha! But, this system has been working. While we’re out and she yells at me because she doesn’t want to leave the toy store: rock in the naughty jar. If we have a wonderful trip and the kiddo has been so great the whole time, we put a rock in the good jar. For a little while she decided she didn’t want to participate in preschool. SO, I told her if she didn’t want to go we’d stop altogether. She didn’t like that idea, so I also added, “If you participate each day in preschool, we get a rock in the good jar.” I think she was just having a bad couple of weeks and it turned around. She’s back to loving it!

Pretty much: this has been great for us. Timeouts only worked for a VERY short time, so thank goodness for this.

Do you do a reward system with your kiddo’s?

– Chelsey


Spring stylin’

My Style // thepapermama.com

The weather is getting warmer, then cold and rainy, then warm again, and more rain, and then some more sun…. It’s Spring in Oregon! That means 25% of the time I might be wearing skirts or shorts! That ALSO means my legs, that haven’t seen sun in months, will be out to show the world how PALE they are. I’m talking: the sun reflects off them and it will blind you. It’s a hazard.

During the Fall and Winter I like to wear colorful tights, but not for Spring style. While I’m waiting for my legs to get a bit more color, I love to use tights. I have quite the collection, but for this outfit I picked out this pair of Hanes Nude tights (they cost under $6) to pretend my legs aren’t super duper pale. It’s like I haven’t missed any sunny days. It also covers the bumps and bruises I seem to get from being a mom.

My Style // thepapermama.com

Random story moment: One of my earliest memories of the first time I noticed someone wearing tights was when I was in kindergarten. I looked down at my teachers sandals and noticed a web of something over her toes… I asked her what it was and she said, “OH, those are just my tights. I wear them to cover all those crazy purple spidery veins!” You could say that this may have scared the poo outta me as a 6 year old. When you get older you get giant purple veins covering your legs? What?

My Style // thepapermama.com

{shirt: f21//skirt: very old Anthropologie//control top silky sheer nude tights: c.o. Hanes//shoes: c.o. Blowfish}

Now I’m the thirty year old wearing tights. My kindergarten teacher had the right idea. Ok, are you into tights?

– Chelsey

I was selected for this opportunity as a member of Clever Girls Collective, and the content and opinions expressed here are all my own.


Peanut Butter Banana Chip Bites: Dehydrate all the things!

Banana Chips // https://thepapermama.com

Peanut Butter Banana Chip Bites

If an infomercial pops up on tv…. most likely I will watch it. I don’t know what it is, it’s like I have to. There’s some magical hold in those awkward/super long commercials, all in front of a “live audience”. This is where I first spied a food dehydrator. I don’t ever buy from these infomercials, but they had this guy for sale on Amazon. SO I bought it.

Dehydrating has been wonderful! Apple chips? Pineapple bites? Banana chips? Yeah. I got that. I currently have the Ronco Dehydrator. It gets the job done. That’s for sure. Buuuuut, I can’t help but wonder about those fancy dehydrators. Are they faster? Do the dehydrate all the things better? Hmmmm… I’ve been eyeing this spendy Nesco dehydrator. Shhh, don’t tell the hubs.

BUT, really: I don’t see any need to change dehydrators until Mr. Ronco craps out. So far, with non stop use since December (I’m talking…. working almost everyday since Christmas) it’s still going strong. SO: we are happy. Hopefully me typing this doesn’t jinx something and the trays all crack overnight. Ha! I doubt it. I’d really like to get a fruit roll up tray. What I REALLy love about this: these fruity treats have no added sugar. In the grocery store I’ve noticed a lot of dried fruit has added sugar. Our fruit has been so sweet as it is, I don’t see the need for more sweetness.

The kiddo eats banana chips non stop. It’s like her healthy crack……… What? She loves them. We were out of them for 3 days and she acted like the world was ending. The dried pineapple pieces are pretty sweet and is perfect to replace dessert.

Peanut Butter Banana Chip Bites // thepapermama.com

One of her FAVORITE ways to eat the banana chips: with a bit of peanut butter in the middle. I call them Peanut Butter Banana Bites. A special little snack for my kiddo.

Peanut Butter Banana Chip Bites // thepapermama.com

Do you have a dehydrator?

– Chelsey


Water bath canning method… for high acid foods

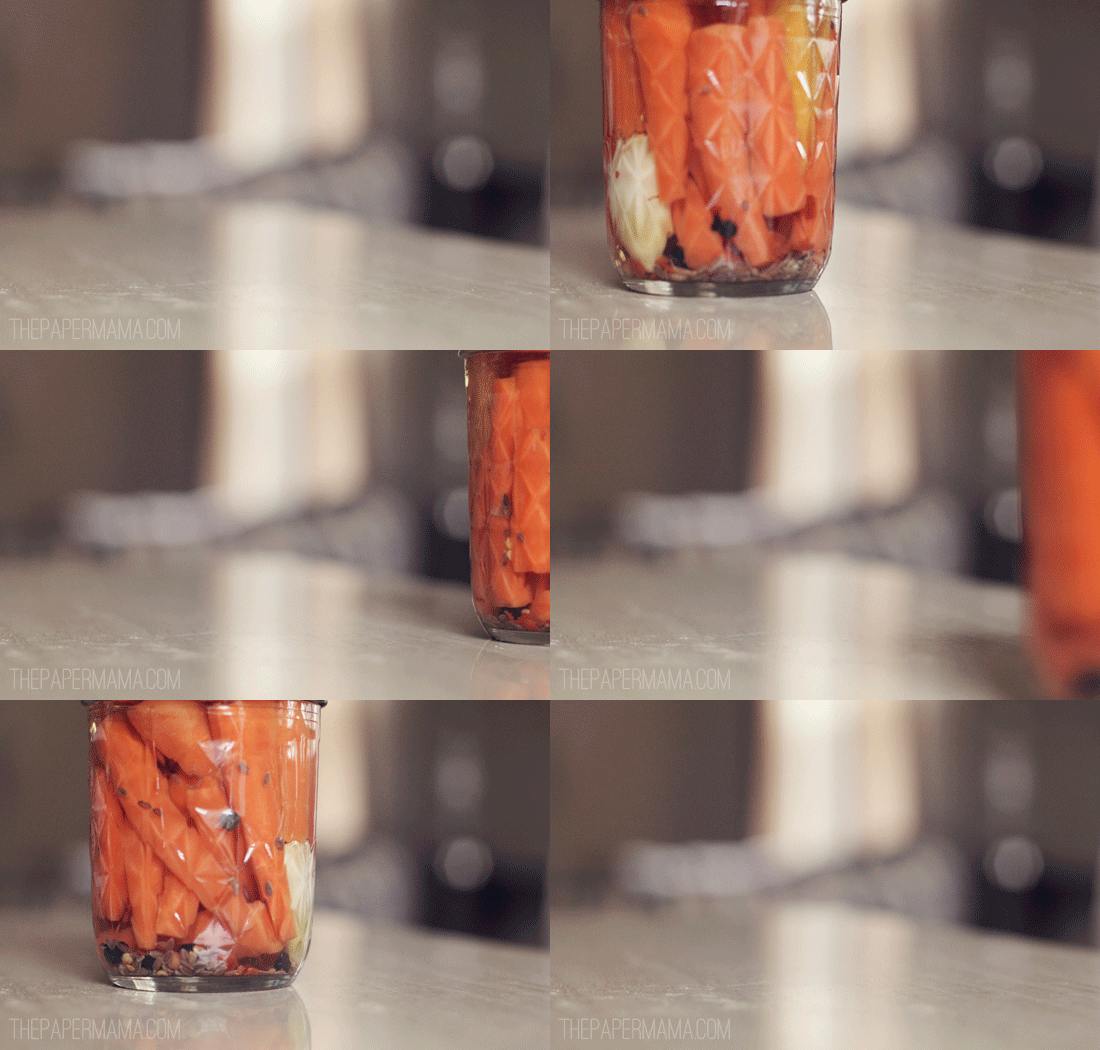
Spicy Pickled Carrots // thepapermama.com

I realized, AFTER I shared my Apple Pie Butter recipe, that I never shared how to actually do the Water Bath Canning Method. I am, by no means, an expert… but I’ve researched a ton and referenced a couple of reliable websites (at the end) for this post (plus my random tips). Water bath canning is the most simple method for preserving high acid – foods (I haven’t even attempted pressure canning… it’s a bit intimidating). BUT, I’ve had a ton of fun working with the water method. I’m sharing how you can do it! Check it out:

Tools you may need:

If you’re completely new to canning, I recommend buying this kit. Saves money buying it all together. BUT, if you already have some of the tools… here’s a list:

A boiling water canner (or a large pot with a lid) with a canning rack

Canning funnel

Jar lifter

Magnetic lid lifter

Canning bands and lids

– Canning jars (if you use old jars, make sure they were meant for canning and have zero chips or nicks)

– Wooden spoons

– Ladel

How-to:

– Gather your recipe ingredients and all info (including how many jars you will need).

– Wash jars in the dish washer, or warm soapy water. Check your jars for any nicks and chips, and don’t use those jars if you find them (the jar may not properly seal).

– Fill your boiling water canner with water and place your jars in. The water should be about 2 inches above the jars. Heat the jars to a simmer at medium heat, until ready to use.

– Place your lids in a small saucepan and cover with water. Bring the lids to a simmer over medium heat. Do not boil the lids, this may damage the seal. Keep your jars hot until ready to use (this will prevent breakage when filling).

– Prepare your recipe using fresh veggies or fruit.

– Remove a hot jar from the pot, using the jar lifter, and dumping the water back into the canner.

– Filling one can at a time, use the jar funnel to fill the jar. Make sure to leave the recipe’s recommended head space (if not specified 1/4 inch for soft spread, or 1/4 inch for fruits, pickles, salsa, and tomatoes).

– Remove air bubbles by gently tapping the base of the jar on a hard surface, and/or run a rubber spatula or the handle of a wooden spoon along the edge of the jar 2 to 3 times.

– Use a clean damp cloth to remove any food debris from the rim and threads on the jar.

– Remove one lid from the heated water using the magnetic wand.

– Center the lid on the jar (allowing the sealing compound to come in contact with the jar rim). Apply the band and twist till fingertip tight (don’t make it too tight).

– Place your filled jars into the canner. Make sure the water covers the jars by 1 to 2 inches (if you’ve lost water during the process, add some warm water from the heated lids pan).

– Place the lid on the canner. Bring the jars back to a rolling boil: that’s when you start your processing time.

– Process the jars for what your recipe, adjusting for altitude (here’s an altitude chart).

– When your processing time is up, turn off the heat and let the jars sit in the water for 5 minutes.

– Remove the jars from the canner and place on a towel. Let the jars cool, undisturbed, for 24 hours. Don’t tighten the bands, because that will mess with the sealing process!

– After 24 hours, check the lids for proper seal. Push the center of the lid. The lid should NOT pop up and down. Remove the band and try to gently lift the jar with your fingertips on the lid, the lid should not come off. If the lid comes off, place it in the refrigerator and eat it within a week or so.

– Clean, store, and label your jars in a cool dark space (label with the month and year). Your preserved goods can be saved for a year (give or take).

– Enjoy!

I hope this helps you! I need to thank the Ball website for help with this post. Visit their water bath canning page to see visuals for this process. The Dummies website also has quick straight-forward instructions for this method. Sooooo, I’m in a preservation club. We gather once a month to swap the goodies we’ve made (I mean… I really don’t need 8 jars of pickled carrots). There IS actually a food swap website to share some info for you to start your own food swap club! Check it out.

I hope this helps! Let me know if you’ve tired canning… or if you will be trying it for your very first time. Happy Tuesday!

– Chelsey


Apple Pie Butter Recipe with no added sugar – canned

No Sugar Added Apple Pie Butter // thepapermama.com

Homemade Apple Pie Butter. Yeah, my label in the photo calls it JAM… I did not notice I put the word “jam” instead of “butter” until I had labeled all my jars…. oh well. Ha! Anyway, this apple BUTTER is delicious. I’ve decided to call it Apple Pie Butter because that is what it tastes like: apple pie. The best part about this is I did NOT add sugar to this. Only naturally occurring apple sugars here, and it is STILL so sweet and tasty. I really want to experiment using this butter in a pie, maybe replacing the added sugar? I’ll let you know how it goes.

I asked, on Instagram, if any of you’d like to have the recipe… and it was a big ‘ol YES. Well, enough babbling… here’s my no sugar added Apple Pie Butter recipe! FYI: you’ll need a crock pot.

No Sugar Added Apple Pie Butter // thepapermama.com

Apple Pie Butter

(adapted from this recipe on Eating Richly)

– About 25 medium apples (or a mix of small and large)

– 3 tsp. ground cinnamon

– 1/4 tsp. ground nutmeg

– 1/8 tsp. ground cloves

– 1 lemon

Directions: 

1. Start coring and slicing apples (I used an apple corer/slicer and trimmed bad pieces with a knife). Toss your slices into the crock pot as you go along. Once your crock pot is full: stop prepping apples.

2. Turn your crock pot on LOW and let those apples cook down anywhere from 8 to 10 hours (this depends on the type of apple you use: softer cooks faster), or when they are soft/mushy. Feel free to stir the apples whenever you’d like (I did every couple hours).

3. When your time is up stir in the cinnamon, nutmeg and cloves.

4. Repeat steps 1 and 2. You just add more apples, mix, and wait. Cook for another 8 – 10 hours.

5. When this time is up, do a taste test to see if you should add more spices, or not.

6. If there’s still room in your crock pot after it cooks down more, add another round of apple following steps 1 and 2. Cook for another 8 – 10 hours.

7. When this time is up, use an immersion blender to puree it. You could use a food processor, but that’s just more dishes… I love our immersion blender. Add the juice of your whole lemon and if you’d like, maybe a little lemon zest. Blend that in real quick.

8. Let this cook down to the consistency you like. We like our apple butter smooth and thick. If it’s not cooking down fast enough, you can crack the lid a little to get some moisture out.

9. If you’re canning this butter, use the water bath method (I let our jars process for 10 minutes). If you are NOT canning… I believe the butter is good in the fridge for 1 – 2 weeks, or store it in the freezer (in a proper freezer storage container).

No Sugar Added Apple Pie Butter // thepapermama.com

Side notes:

– Makes: 8 pints

– Cost: For my first round I got all of my apples for free. The lemon was $1. The new lids were about $4? I think. Soooo… it was about .63 cents a pint. I’m terrible with math… but I know this saved me some cash. We normally spend about $6 for a large jar of no sugar added apple butter. The second round I spent $8 on damaged organic apples (I just cut all the bruises off), $1 for the lemon, and more lids for $4. That means it was about $1.38 a pint. Still a great deal (and it’s fun to make).

– The majority of my apples for the first round were Gala. The second round was a variety of apples (since they were on sale). I prefer the first apple butter over the second. Both are still great, but I love Gala apples.

– The best part about this whole canning thing: I have more control over our food. I still had to get the ingredients from the store, but I made it.

I also made some “made with love” canning labels to share with you guys (just in case I’ve inspired you to get canning). I’m in a canning club here in Portland, and we bring 5 jars of our current creation to swap. I LOVE it. I’ll be bringing 5 jars to share for this week. Yay! Click on these links to right click + save the printouts. There are four colors: red, green, tan, and blue. ::personal use only, please::

Made With Love canning label free // thepapermama.com

If you DO end up making this: let me know how it went! Enjoy!

– Chelsey

Tags: , ,

Categories: food, Sweets


Hello new friends! Ultimate Blog party 2013

It’s that time of year! The annual blog party by, 5 minutes for Mom. I like to participate in this party because I have met a TON of lovely blogger’s through this fun “party”. SOOooooo, I want to introduce myself to all of you lovely new readers!

My name is Chelsey and I’ve been blogging since 2008, but my Paper Mama blog has been going for 3 years now. I started blogging so I could find other mom’s going through new motherhood, too. Pretty much: I was lonely. Somehow… this turned into a business. I love it. I’m a contributor to the Better Homes and Gardens Style Spotters blog and have a few other blogging contributor gigs. Blogging is my kind of job.

Profile February 2013

I’ve been married for ALMOST 5 years, but with my husband for over 10. I have a 3 year old daughter. She’s named after Rory on the Gilmore Girls (her name is Laureli and we call her Ruari). I have 2 cats and one dog (a little Chihuahua). We just bought 3 baby chicks, and we are looking forward to gathering chicken eggs when they are older!

My adorable kid:

Kid // thepapermama.com

Here’s our crazy little pup… Mr. Angus. He’s suuuuper lazy. It’s a good thing he’s adorable. Ha! He loves pina coladas and getting caught in the rain. Oh, wait. No he doesn’t.

This is my kitty Princess. Or, Pretty Girl. I found her in a mall parking lot years ago when I lived in Seattle. She was just a hungry little kitten meowing in a bush. No way I could leave her. She’s a complete weirdo and I love her.

Meet Pistachio. Lord Pistachio is his full name (my husband named him). He’s a very sweet boy… but, loves to pick on  poor Princess and Angus. Maybe because he’s 17 pounds he thinks he can push everyone around? Hee. He mostly loves people.

Last, but not least, our newest family members: Booksat, Boca, and Mrs. Pickles.

Look… adorable chicks!

Thanks for stopping by!

{You can find me: TwitterFacebookPinterest, and Instagram}

{linking up with the Ultimate Blogger Party}

Tags:

Categories: about me