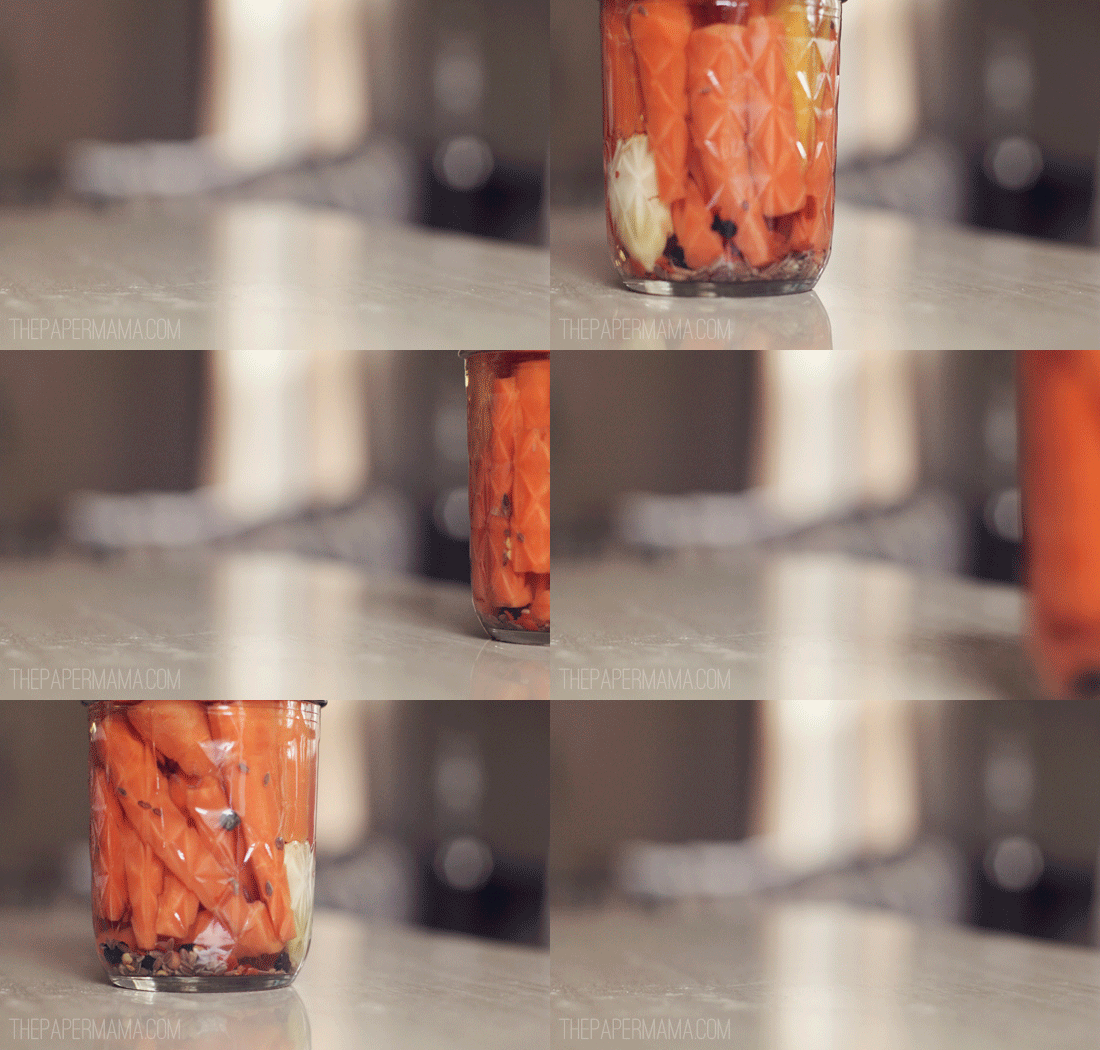
I realized, AFTER I shared my Apple Pie Butter recipe, that I never shared how to actually do the Water Bath Canning Method. I am, by no means, an expert… but I’ve researched a ton and referenced a couple of reliable websites (at the end) for this post (plus my random tips). Water bath canning is the most simple method for preserving high acid – foods (I haven’t even attempted pressure canning… it’s a bit intimidating). BUT, I’ve had a ton of fun working with the water method. I’m sharing how you can do it! Check it out:
Tools you may need:
If you’re completely new to canning, I recommend buying this kit. Saves money buying it all together. BUT, if you already have some of the tools… here’s a list:
– A boiling water canner (or a large pot with a lid) with a canning rack
– Canning jars (if you use old jars, make sure they were meant for canning and have zero chips or nicks)
– Wooden spoons
– Ladel
How-to:
– Gather your recipe ingredients and all info (including how many jars you will need).
– Wash jars in the dish washer, or warm soapy water. Check your jars for any nicks and chips, and don’t use those jars if you find them (the jar may not properly seal).
– Fill your boiling water canner with water and place your jars in. The water should be about 2 inches above the jars. Heat the jars to a simmer at medium heat, until ready to use.
– Place your lids in a small saucepan and cover with water. Bring the lids to a simmer over medium heat. Do not boil the lids, this may damage the seal. Keep your jars hot until ready to use (this will prevent breakage when filling).
– Prepare your recipe using fresh veggies or fruit.
– Remove a hot jar from the pot, using the jar lifter, and dumping the water back into the canner.
– Filling one can at a time, use the jar funnel to fill the jar. Make sure to leave the recipe’s recommended head space (if not specified 1/4 inch for soft spread, or 1/4 inch for fruits, pickles, salsa, and tomatoes).
– Remove air bubbles by gently tapping the base of the jar on a hard surface, and/or run a rubber spatula or the handle of a wooden spoon along the edge of the jar 2 to 3 times.
– Use a clean damp cloth to remove any food debris from the rim and threads on the jar.
– Remove one lid from the heated water using the magnetic wand.
– Center the lid on the jar (allowing the sealing compound to come in contact with the jar rim). Apply the band and twist till fingertip tight (don’t make it too tight).
– Place your filled jars into the canner. Make sure the water covers the jars by 1 to 2 inches (if you’ve lost water during the process, add some warm water from the heated lids pan).
– Place the lid on the canner. Bring the jars back to a rolling boil: that’s when you start your processing time.
– Process the jars for what your recipe, adjusting for altitude (here’s an altitude chart).
– When your processing time is up, turn off the heat and let the jars sit in the water for 5 minutes.
– Remove the jars from the canner and place on a towel. Let the jars cool, undisturbed, for 24 hours. Don’t tighten the bands, because that will mess with the sealing process!
– After 24 hours, check the lids for proper seal. Push the center of the lid. The lid should NOT pop up and down. Remove the band and try to gently lift the jar with your fingertips on the lid, the lid should not come off. If the lid comes off, place it in the refrigerator and eat it within a week or so.
– Clean, store, and label your jars in a cool dark space (label with the month and year). Your preserved goods can be saved for a year (give or take).
– Enjoy!
I hope this helps you! I need to thank the Ball website for help with this post. Visit their water bath canning page to see visuals for this process. The Dummies website also has quick straight-forward instructions for this method. Sooooo, I’m in a preservation club. We gather once a month to swap the goodies we’ve made (I mean… I really don’t need 8 jars of pickled carrots). There IS actually a food swap website to share some info for you to start your own food swap club! Check it out.
I hope this helps! Let me know if you’ve tired canning… or if you will be trying it for your very first time. Happy Tuesday!
– Chelsey


I did water bath canning for applesauce this fall and it was so stressful because I read up on botulism and that scared the crap out of me. but no one got sick and i'm planning on canning (ha rhymes!) this summer.
OMG. Yeah. That scares the poo out of me, too.