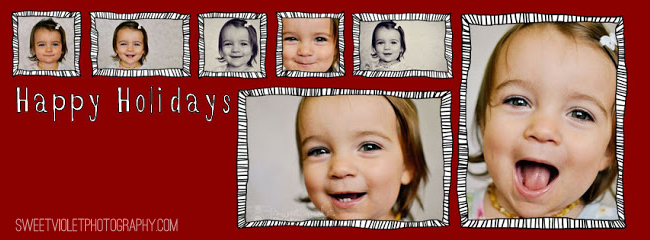
DAY 13 is brought to you by, the lovely Maryam: Howdy all! My name is Maryam and I’m a photographer and blogger. Today I’m going to talk to you a little bit about taking your own pictures for your holiday card. If you’re like me you’ve put off taking holiday photos so far and you’re scrambling to get those holiday cards done and sent out. Welp, I’m making it a little easier for you! I’m also throwing in a holiday card template FREE OF CHARGE! That’s just the kind of lady I am.
Tip Number 1: Don’t stress.
Seriously, if you’re stressed out it’ll show up in the pictures. Your kids will pick up on it (whether they be human or of the animal variety) and the camera will pick up on that. The more relaxed you are the better your pictures will turn out. Don’t focus on getting the perfect picture, focus on having fun! The more fun you have the better your pictures will turn out. And if they don’t at least you had fun doing it!
Tip Number 2:
Don’t matchy match your clothes! Everyone wearing the same thing is not a good look. Unless you’re trying to be ironic. Just make sure your audience knows your intentions, ha! The best way to go about dressing for your pictures is to color coordinate. Everyone should wear similar tones, but not in the same places. Like you could wear hunter green cords and a maroon sweater and your partner could wear a plaid shirt with hunter green tones and maroon pants. You get the idea. You don’t even have to wear the same colors, just stay in the same tonal family and you should be fine!
Tip Number 3: Use a tripod.
Before you gather everyone together, set up your tripod. Figure out where you want everyone to be, point the camera at that space and make sure it’s straight. Once you have things set up, pull your peeps in. Position everyone, look through the viewfinder and if you’re happy with it start snapping! If you’d like to be in the picture I would recommend a remote (usually under 15$) or have a friend click the shutter for you (a good option if you have small kids so they have someone to get their attention). You can use the self timer but it can be tiring running back and forth when you’re taking more than one picture. And you should be taking more than one picture!
Tip Number 4: Use props.
I’m not talking about giant sunglasses and silly hats (though if that’s your style, go for it!), I’m talking about a chair, a nice couch, a pretty ottoman. Something to use for one or two people to sit on and add interest. For kids a small ottoman is great for posing. Giving kids something to hold is also a great trick. Try a vintage camera (that you’re not afraid of breaking!), a pumpkin or even an ornament or star!
Tip Number 5: Don’t use a flash!
Take your pictures during the day! Don’t take them in direct sunlight but make sure there is good lighting. If you’re taking them indoors pay attention a couple days before to see where the best light in your house is and at what time. I take all of my indoor shots facing our south-facing living room picture window. The light is soft and even and I never ever have to use a flash. If you’re taking the shots outside make sure you’re in a shady area and try to avoid taking the photos in the middle of the day when the lighting is harsh and makes people squint. Not a good look.
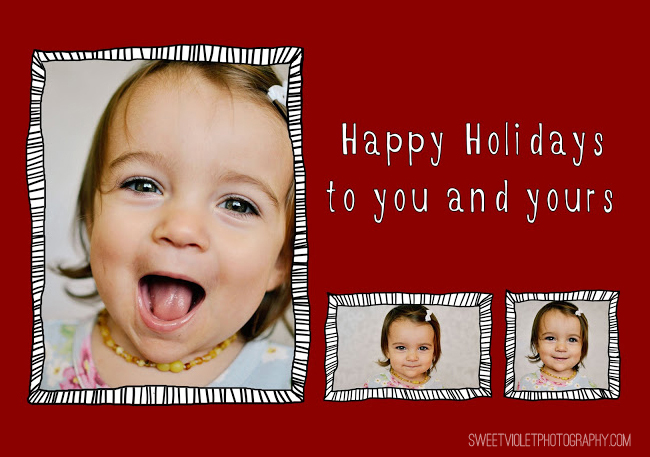
And that about does it! If you’d like to download the holiday card or Facebook timeline above (minus the pictures!) the links are below. They are both png files where you just stick your photos behind the card in Photoshop or Gimp and are done. The holiday card is 5×7 but has enough room to be printed as a 4×6 and not lose any details. Enjoy!
Download the card here and the Facebook timeline here.
– Maryam, Sweet Violet Photography

…………………………………………………………………………………………………………………………………………………
A very big THANK you to Maryam for sharing this fantastic DIY. Please, be sure to give her blog home a visit.
To keep up with my 50 DIY Days, click here:

 Enjoy!





 DAY 12 is brought to you by, the lovely Mel of
 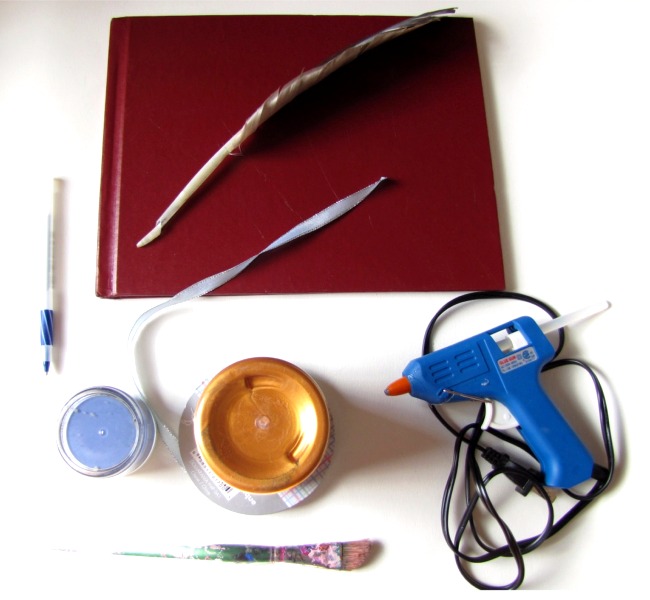 Supplies Needed:
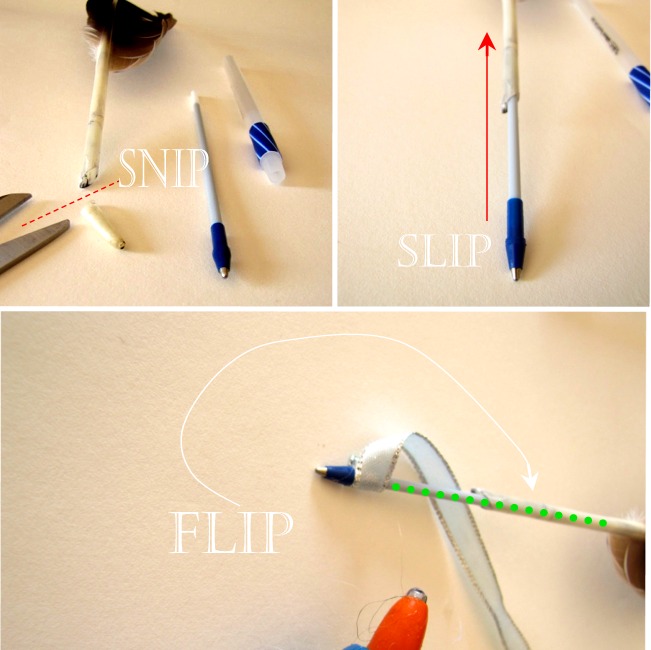
 Step 4: paint the top half of your feather in your acrylic paint colour of choice.. let dry, and paint the underside too.
 Making a journal to match the feather theme is as simple as decorating the cover in your choice of style. You could paint a feather on it. Podge a fun illustration on it. Stencil a feather outline… or, like I did: freehand sketch a feather right on to the cover (I used an oil-based white Sharpie pen).


