DAY 11 is brought to you by, the lovely Suzanne of Bebehblog: Hello friends! I’m currently planning my daughter’s second birthday party with a North Pole Winter Sparkle Candy Cane Fairy theme (it makes sense in my head, I promise) and I made some cute and easy snow globes to help decorate the cake table. We actually made similar ones as favors for her birthday last year, but I’ve learned a few lessons in snow-globe-technique since then so I thought a little tutorial was in order!
Materials:
– glass jars with screw-on lids
– small plastic figures
– bottle brush trees
– hot glue gun/sticks
– small styrofoam balls
– glitter
If you’re reusing jars from your kitchen, everything from pasta sauce to baby food works. Soak them in warm, soapy water to easily scrape off label and to make sure they’re really clean and paint the lids if they’re aren’t plain already. If you’ve already recycled all your jars this week, mason jars are a great alternative. You can buy them everywhere from Amazon.com to the grocery store to Goodwill. Screw tops are a must – my square jar lid seemed really tight but leaks like crazy if you bump it.
Bottle brush trees are available at the craft store during Christmas (well, sort of Christmas – I bought mine in early October) near the little village set-ups. They come in various sizes but LEMAX is the brand that works the best:
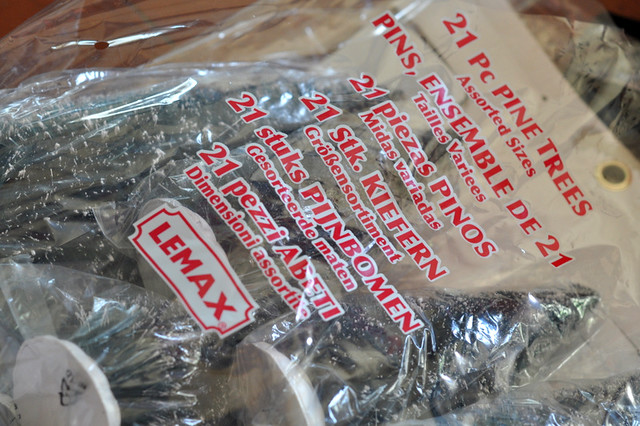
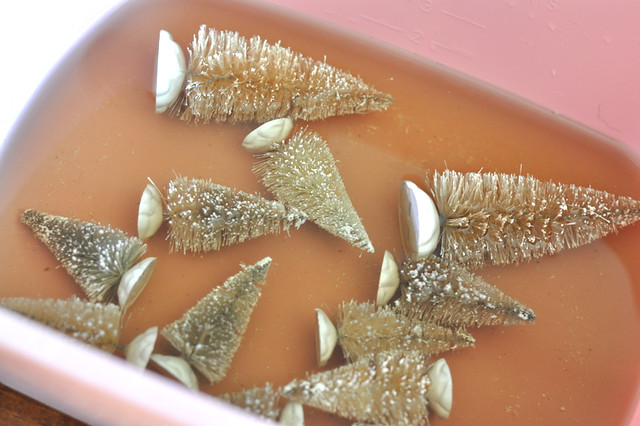
Bottle brush trees are actually dyed green so if you put them in your snow globe as-is they will turn your water dark and murky. No one likes a murky snow globe! You can avoid this by bleaching the bottle brush trees – just soak them for 20-30 minutes in a 50/50 bleach and water mix and you’ll have white trees. Give them a little rinse before you put them in your globe. If you REALLY want green trees, look for ones made out of wire so the color won’t bleed. They’re in the same place at the craft store, just a little more expensive and come in packs of 2.
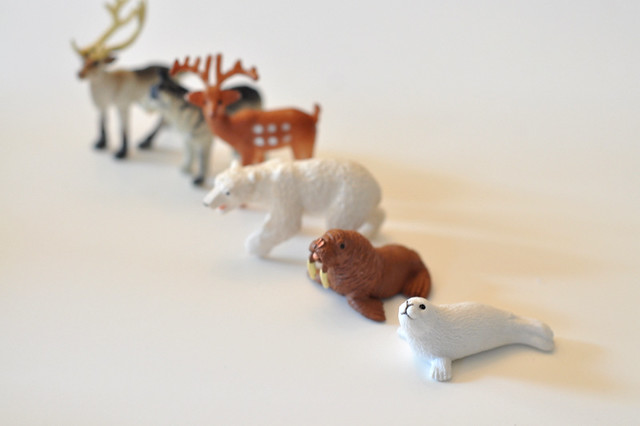
These little plastic animals that come in tubes are perfect for snow globes since they won’t rust and the color stays fast. You can get them at the craft store or from Amazon and they come in tons of varieties. I used arctic animals to fit my theme. You can also use plastic cupcake toppers – they make everything from bicycles to squirrels.
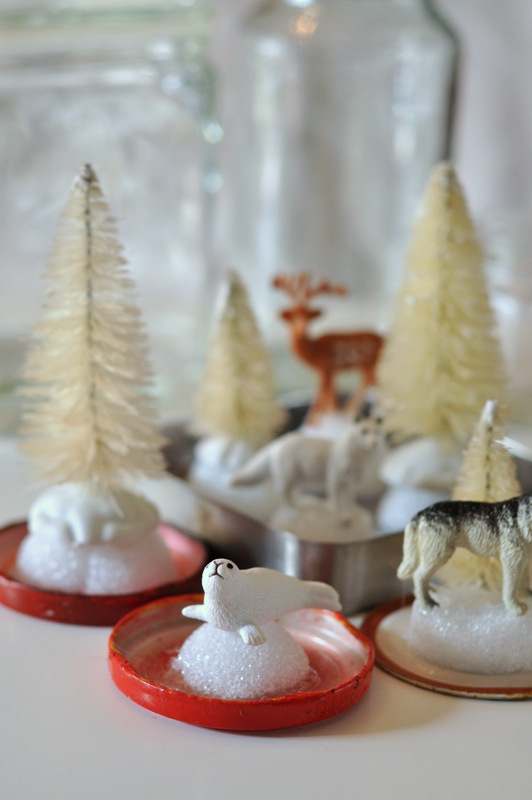
Cut a styrofoam ball in half and glue your animal to the curved side, then glue the flat side to your jar lid. In bigger jars you can do the same with a tree, in smaller jars just do one or the other. Make sure you don’t glue them too close to the edge so you can still get the lid onto the jar!
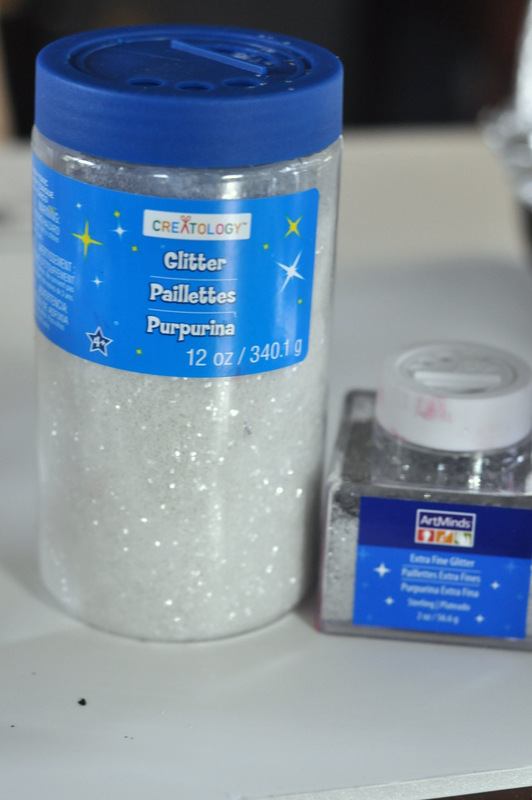
While you’re waiting for the glue to dry, sprinkle some glitter in your jar – if you cover the whole bottom you get a good amount of “snow”. Don’t use really small or really light glitter or it will all just float on top of the water – the craft store brand works great! I mixed a little silver glitter in with my white to add some sparkle.
Add water until it is almost full. Once the hot glue is dry, hold the jar over the sink and carefully put your lid back on. The animal/tree should break the surface tension and any floating glitter should swirl around. Make sure the lid screwed on tightly and flip your jar over.
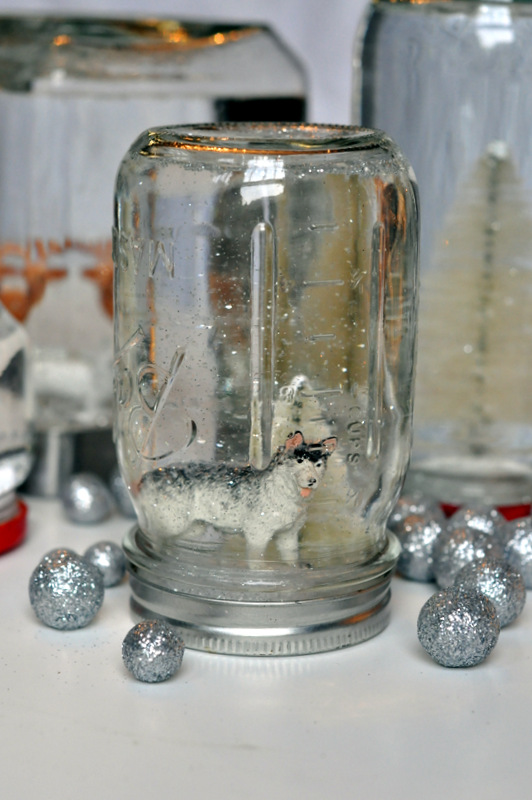
Ta-da! You have a snow globe! Shake and enjoy. Kids love helping pick out the animals, add the glitter and shake the jars, so it’s a fun afternoon craft for everyone.
– Suzanne, Bebehblog

…………………………………………………………………………………………………………………………………………………
A very big THANK you to Suzanne for sharing this fantastic DIY. Please, be sure to give her blog home a visit.
To keep up with my 50 DIY Days, click here:

