
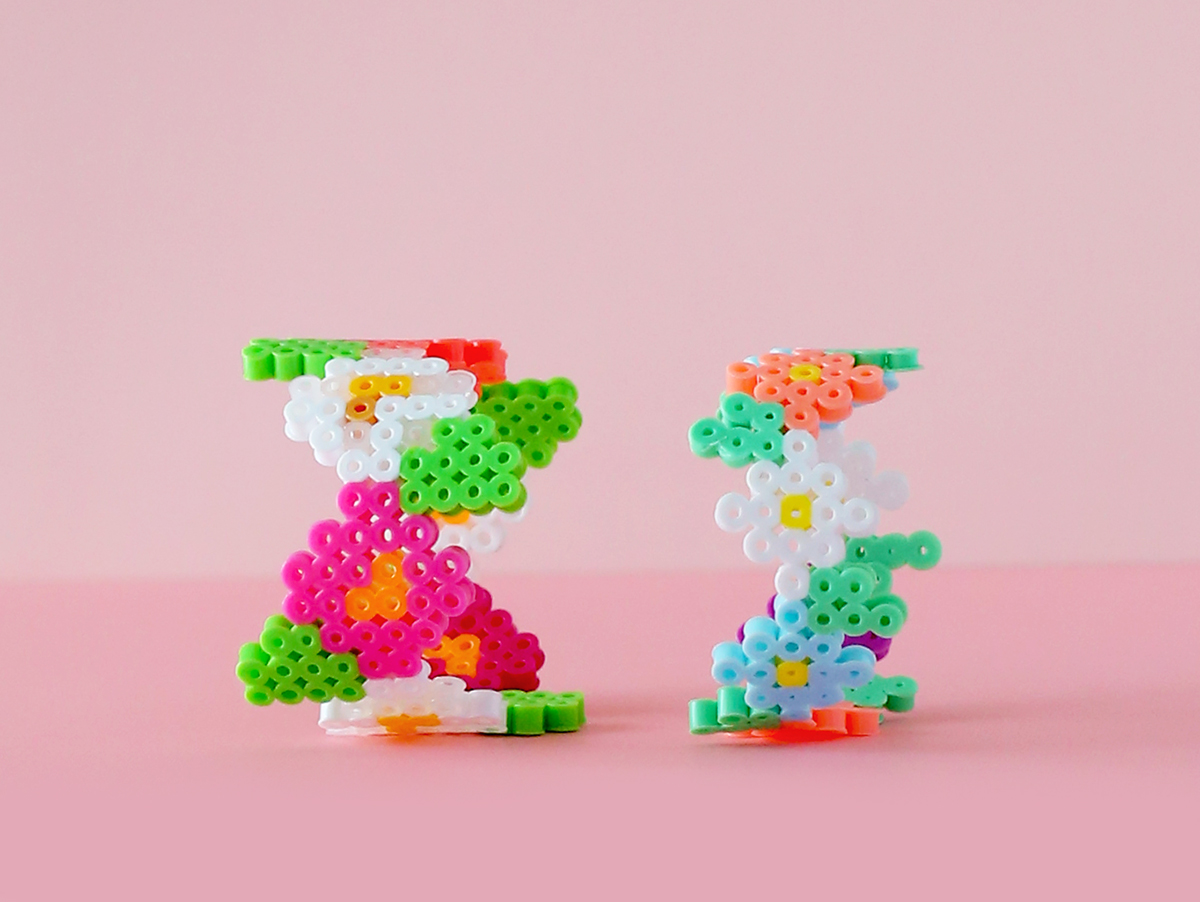
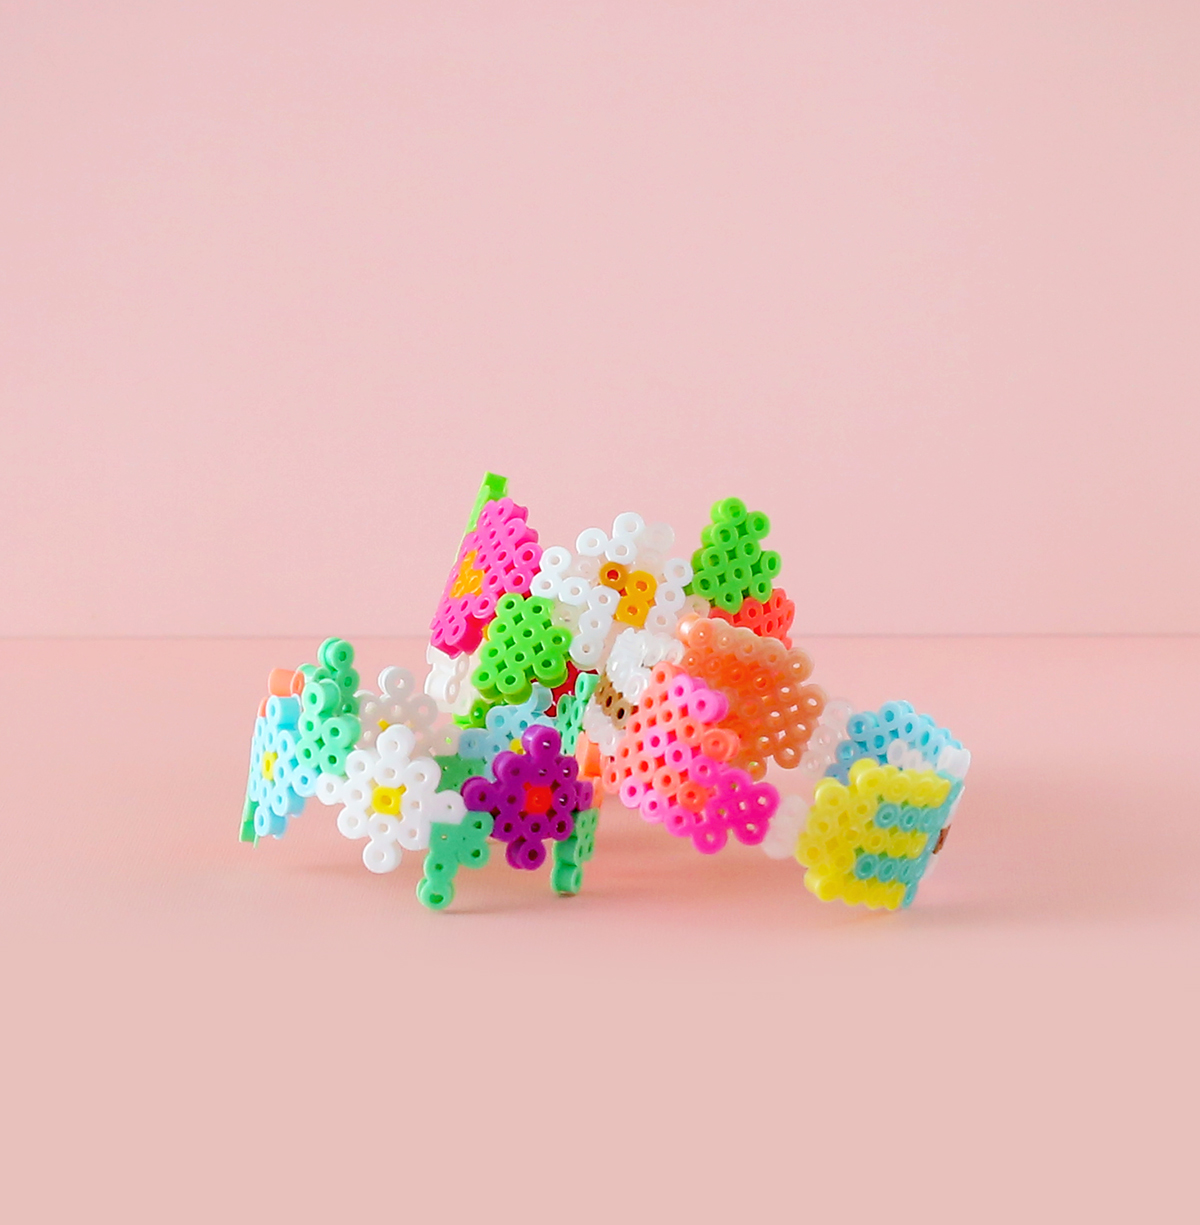
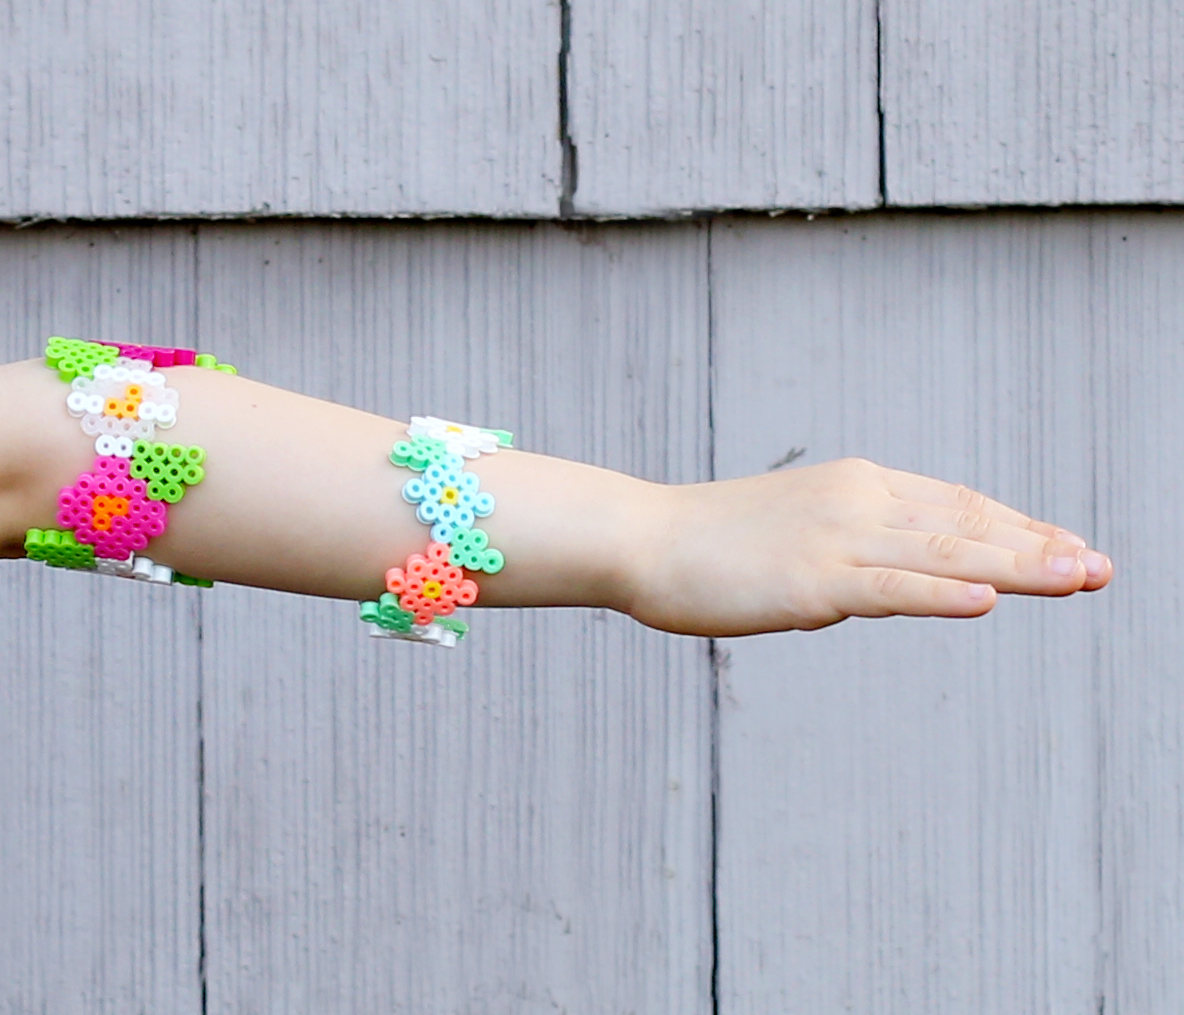
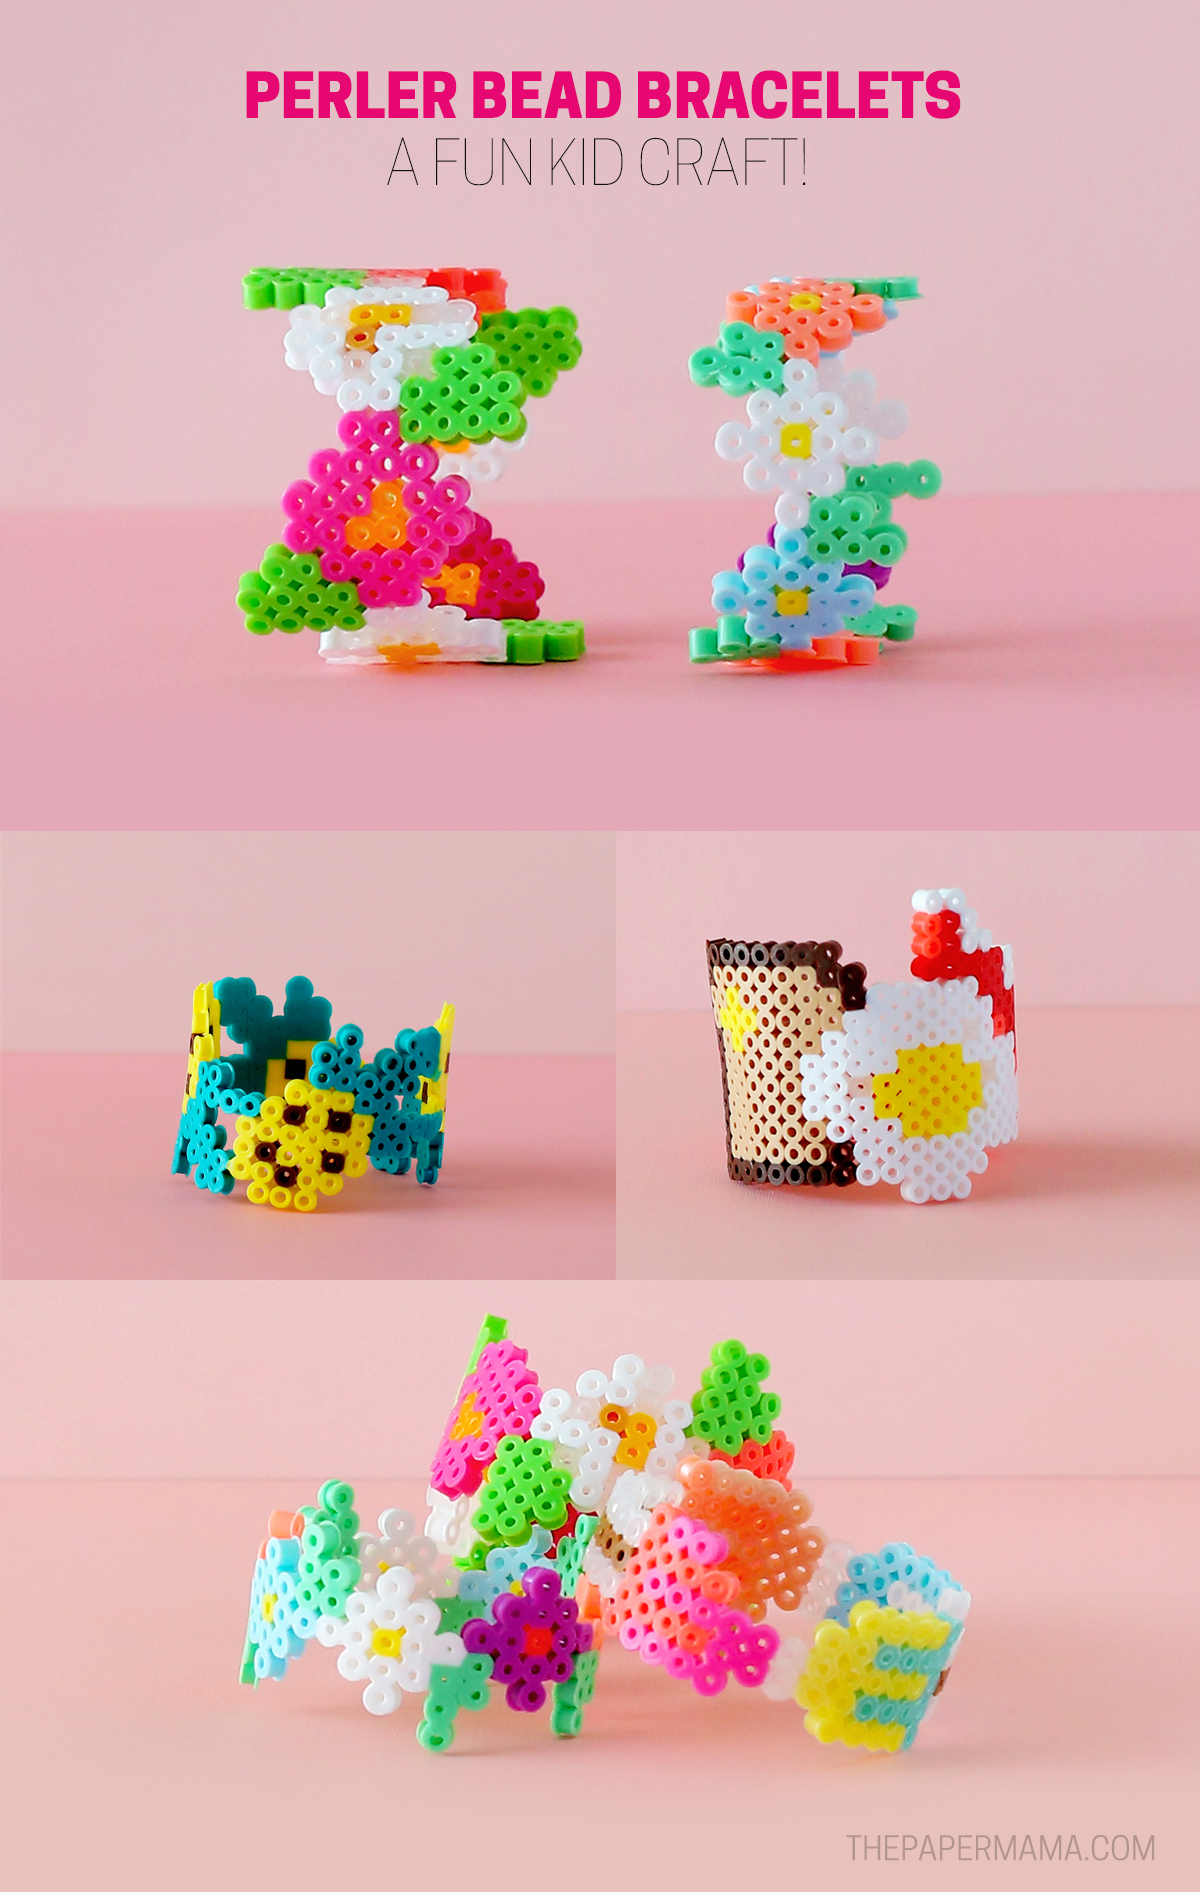
As my daughter gets older our crafting days get more fun! She’s able to do so much more and I love how creative she is. Most recently we decided to get crafty with some Perler beads that I picked up from Michaels. I thought it would be a fun challenge to turn our Perler beads into 3D jewelry, so we made some bracelets.
Making bracelets out of Perler beads was a bit of a challenge at first, but once we figured it out it was pretty easy and fun. All of the bracelets we made are too small for my wrist, but fit my daughter perfectly. If you do want these bracelets to fit an adult wrist, I made a note of how to do that in the directions below.
There are a few items I recommend for this project to make it easier, but they aren’t completely necessary. I’ve also provided some patterns you can use with the Perler board that I used with an iPad. Or make your own! My daughter made one of the flower patterns on her own. When making your own pattern just remember to have 2 or more beads on each end that will meet up when you turn it into a bracelet.
Supplies needed:
- Perler beads
- Perler iPegboard (optional)
- Iron
- Perler ironing paper
- Glass (measured to the size you need)
- Patterns (make your own or use mine: Bacon, Eggs, and Toast. Large Floral. Small Floral, and Popsicle)
- Measuring tape
Directions:
Step 1: Measure your wrist. You will need to be able to slide the bracelet on and off. When you have that measurement, find a glass that measures about the size you need for your wrist. I used a small juice glass for my daughter’s wrist.
Step 2: Plan out the pattern! You can do that freehand, or use the Perler App (it’s pretty fun to use). Make sure the ends of the bracelet will match up. Save my patterns to your iPad and open the image if you want use them.
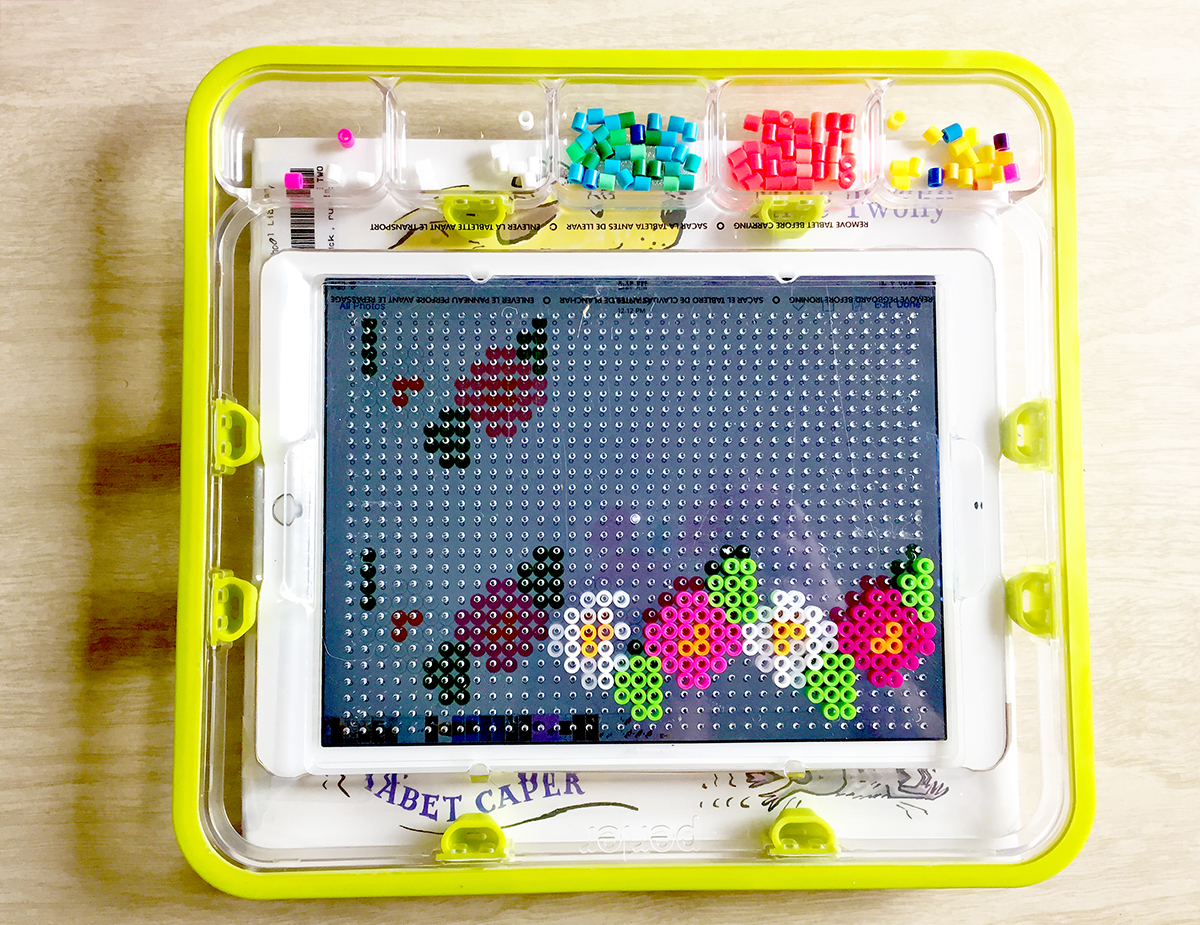
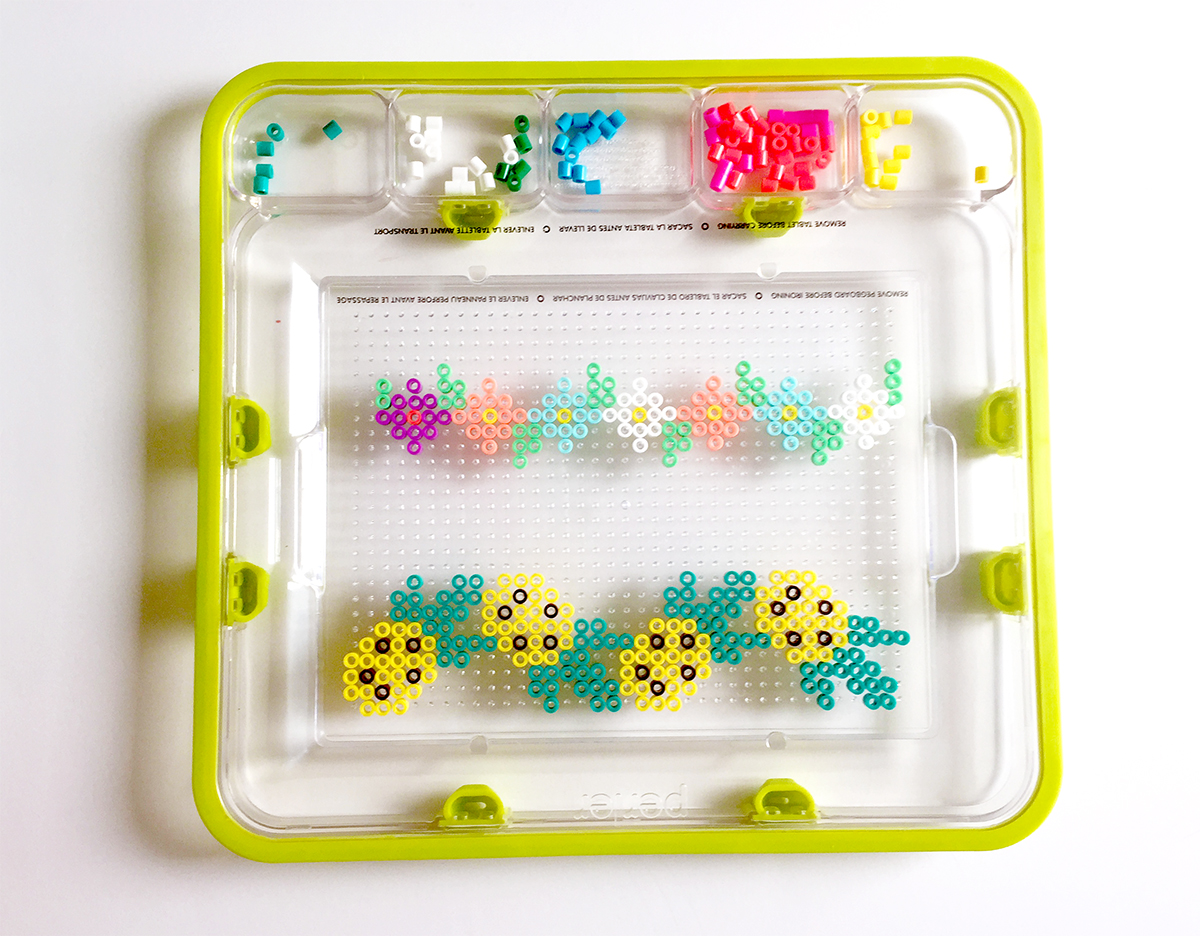
Step 3: Follow your pattern and place the beads.
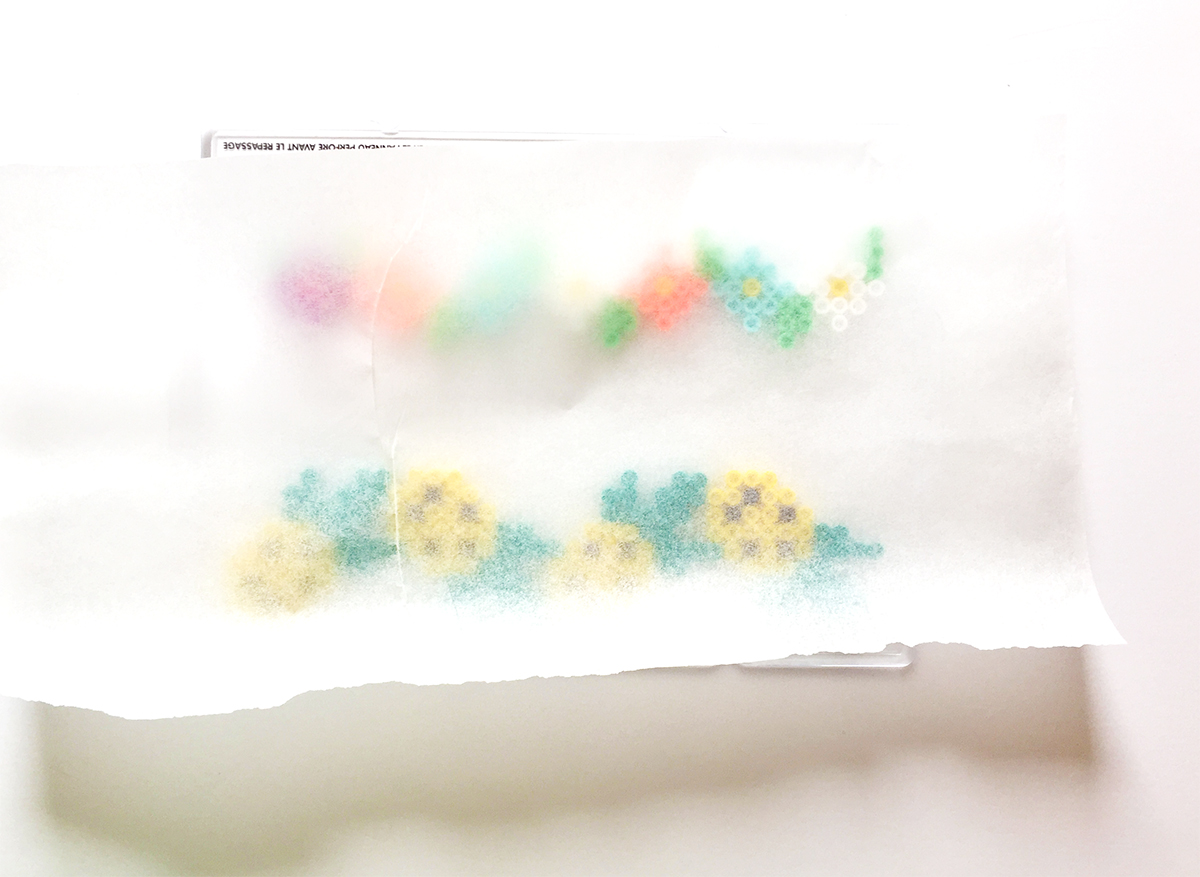
Step 4: Following the directions for the Perler beads, place the ironing paper over the design and heat up that side with your medium heat iron.
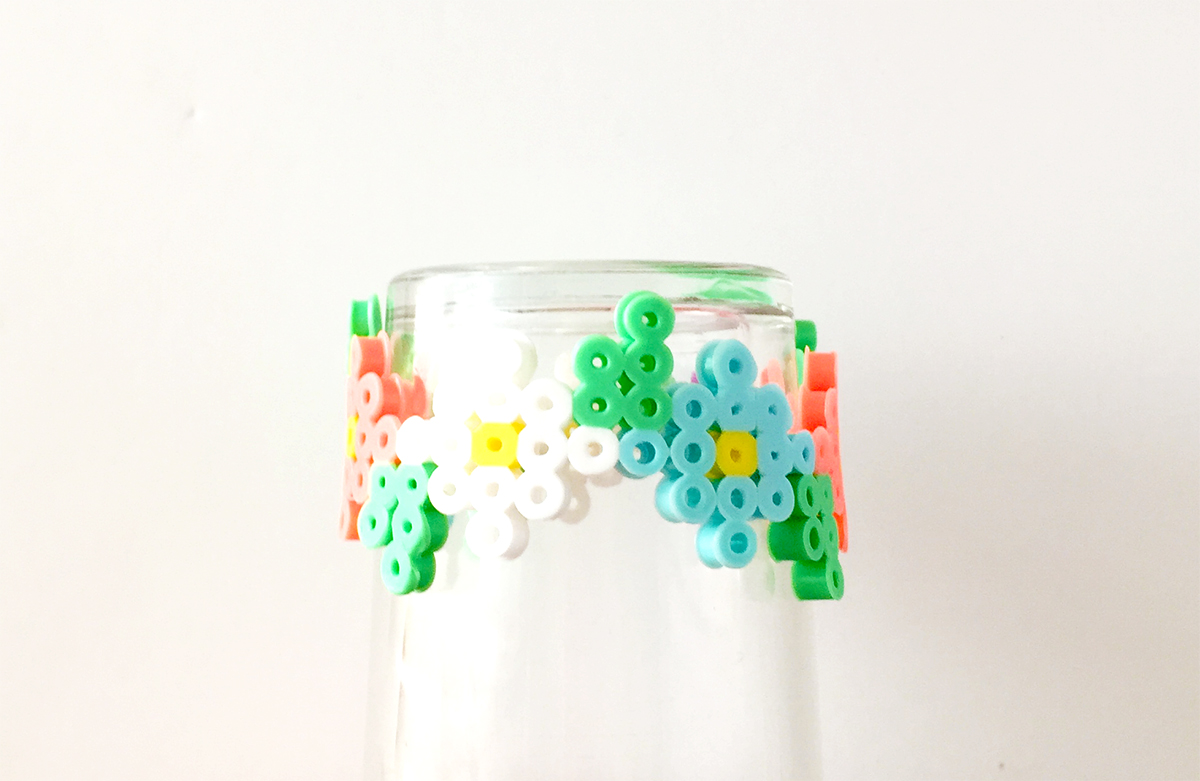
Step 5: While the beads are still warm, wrap the ironed bead side around the glass. Place the ironing paper over the beads and seal the edge to secure the bracelet. Let that cool down and then iron the rest of the bracelet. You want to iron it enough to get the beads to attach to each other.
Leave the bracelet to cool on the glass and then you are done!
Note: If you want to make a larger bracelet and your board isn’t long enough, don’t worry! You can add another section of bracelet on another part of the board and just iron the pieces together. Easy.

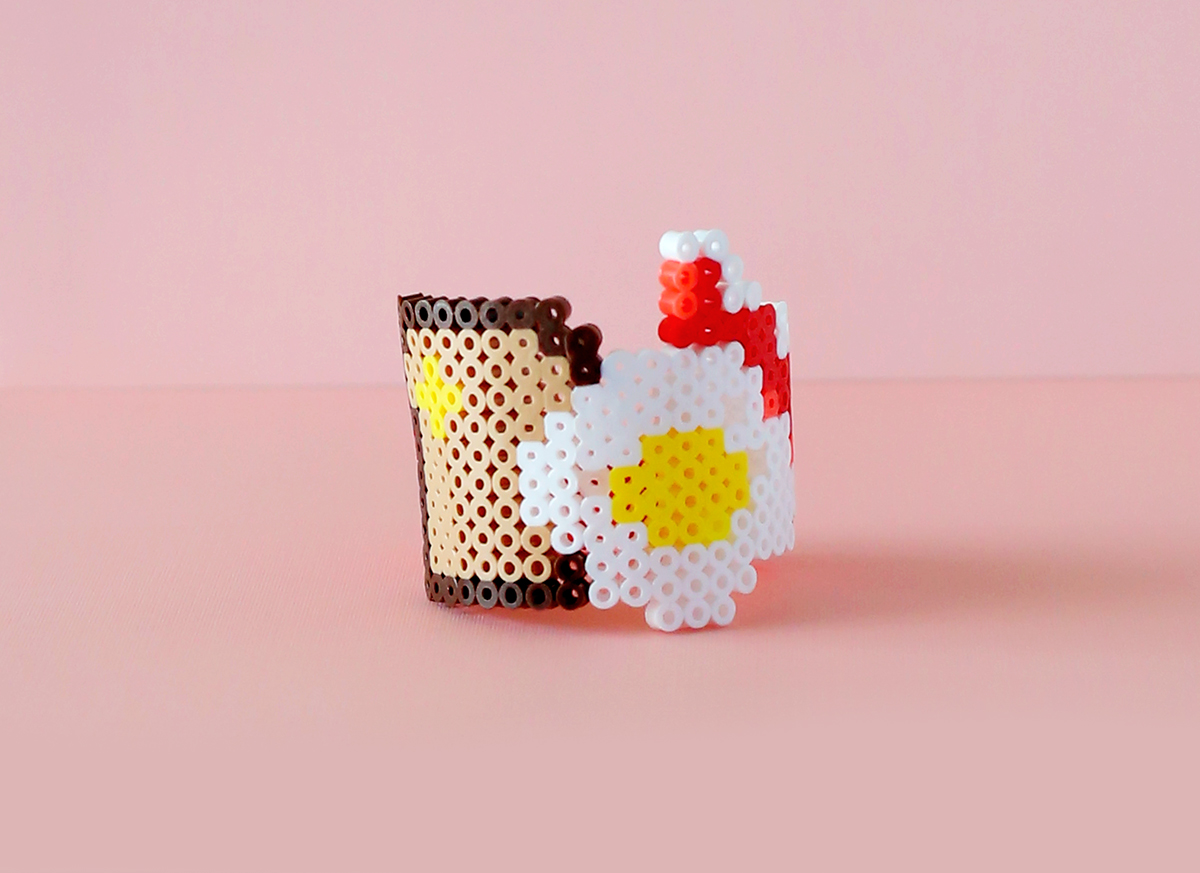
That’s it! My favorite bracelet we made is definitely our breakfast piece. So cute. My daughter wants to make more and give them to her friends. I bet we will be making a lot of these during the summer. Michaels is your Kids summer fun headquarters! They have everything you need to spark creativity in your children.
Looking for more inspiration? Make sure you visit Michaels’ blog, The Glue String, to see the rest of the Michaels Makers’ summer project ideas.
– Chelsey
P.S. I was provided with a Michaels gift card to create this fun project and share it. I use affiliate links.


Kids love it. make a bracelet