//Artwork from left to right: Family photos, a paint by number velvet ship painting from the 1970’s, illustration from a 1950’s art portfolio, gold Portland map from Minted.com, oil illustration of a girl from the 1950’s, kitty from Ryan Berkley, OUI OUI gold foil print from Swell Made Co, family photo, charcoal sketch from the 1970’s (found in Greece), illustration from a 1950’s art portfolio, and a pine cone drawing by me.//
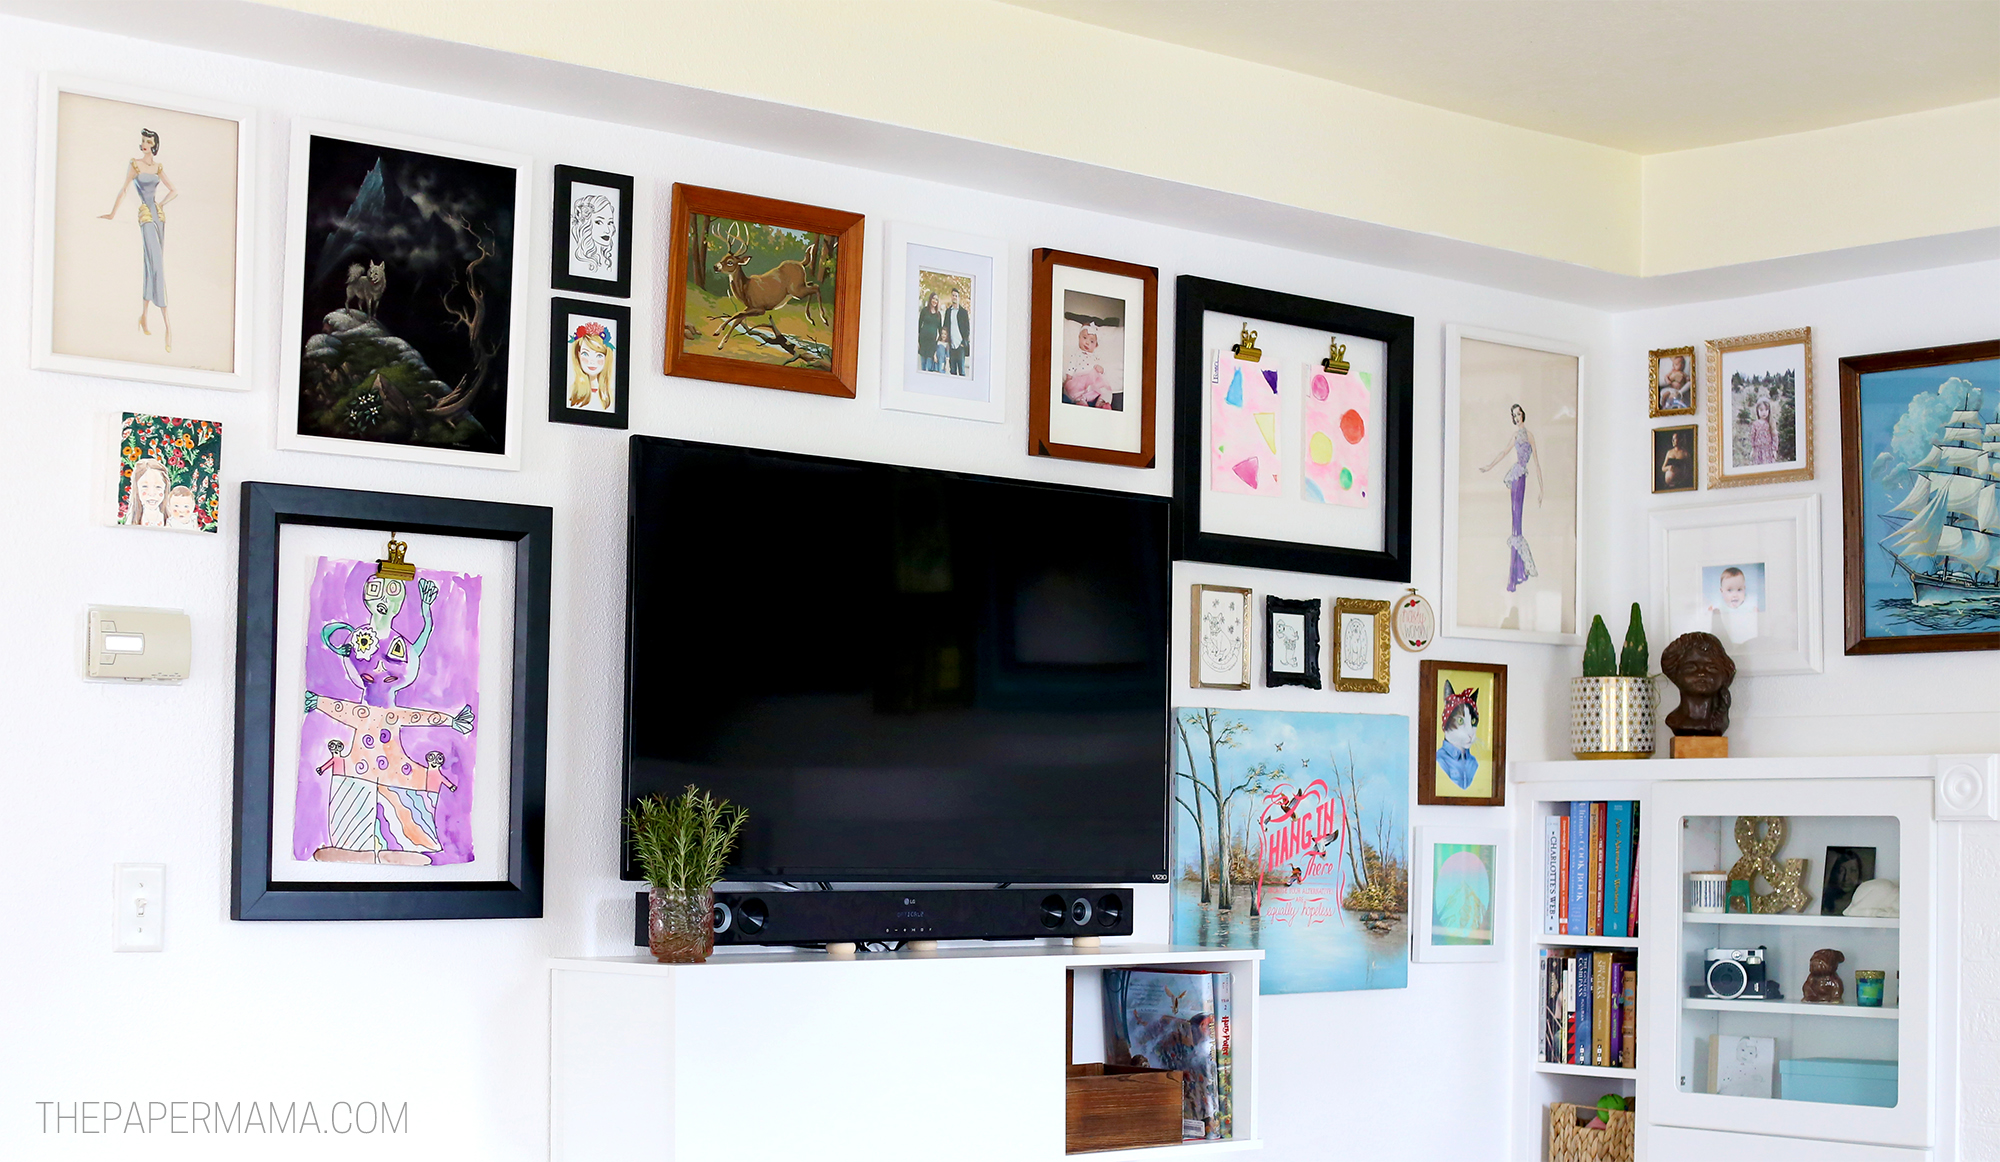
I finally have a space to hang all of my favorite artwork! We just finished this art wall a couple of weeks ago and I’m very happy with how it turned out. Our eclectic taste in art is one way we add color to our rooms (I love white walls). This particular art wall is full of artwork that we’ve been collecting for the past few years and I’m happy to finally give these pieces a home.
When we began placing all of our art up on the wall I started to get nervous. How do I put a large gallery wall together? Are there rules I should be following? Where do I start? Well, I searched around online and decided that I will make my own rules. Here’s what I did:
- I picked out the largest piece we had (the girl in the blue frame) and decided I wanted it front and center above our fireplace, the focal point of the room.
- After the largest piece was up we could then decide what pieces were going up around the large picture. We worked our way out from there.
- To keep the art placement random we tried not to put similar frames and pictures together.
If you are thinking about putting up your own art wall, I have a couple of tips: work with another person (it really helps to have another set of eyes and hands) and use as many command strips as you can. Over half of the art pieces on that wall are attached with command strips. I like that there are less holes in my wall and if I want to adjust or change items out it’s just easier.
Many of the frames I used were from thrift stores, but I also have some out of the box Frames and custom framed items from Michaels.

//Artwork clockwise: illustration from a 1950’s art portfolio, velvet painting by a family member, custom illustrations of myself and daughter by the lovely Ann Shen, alien by my daughter, and a custom painting of my girls from Lady Noel Designs.//
The best thing about this art wall are the spots I have saved to hang kid artwork! It’s easy to do with just a frame and a cute clip. I can easily switch out kid art work anytime.
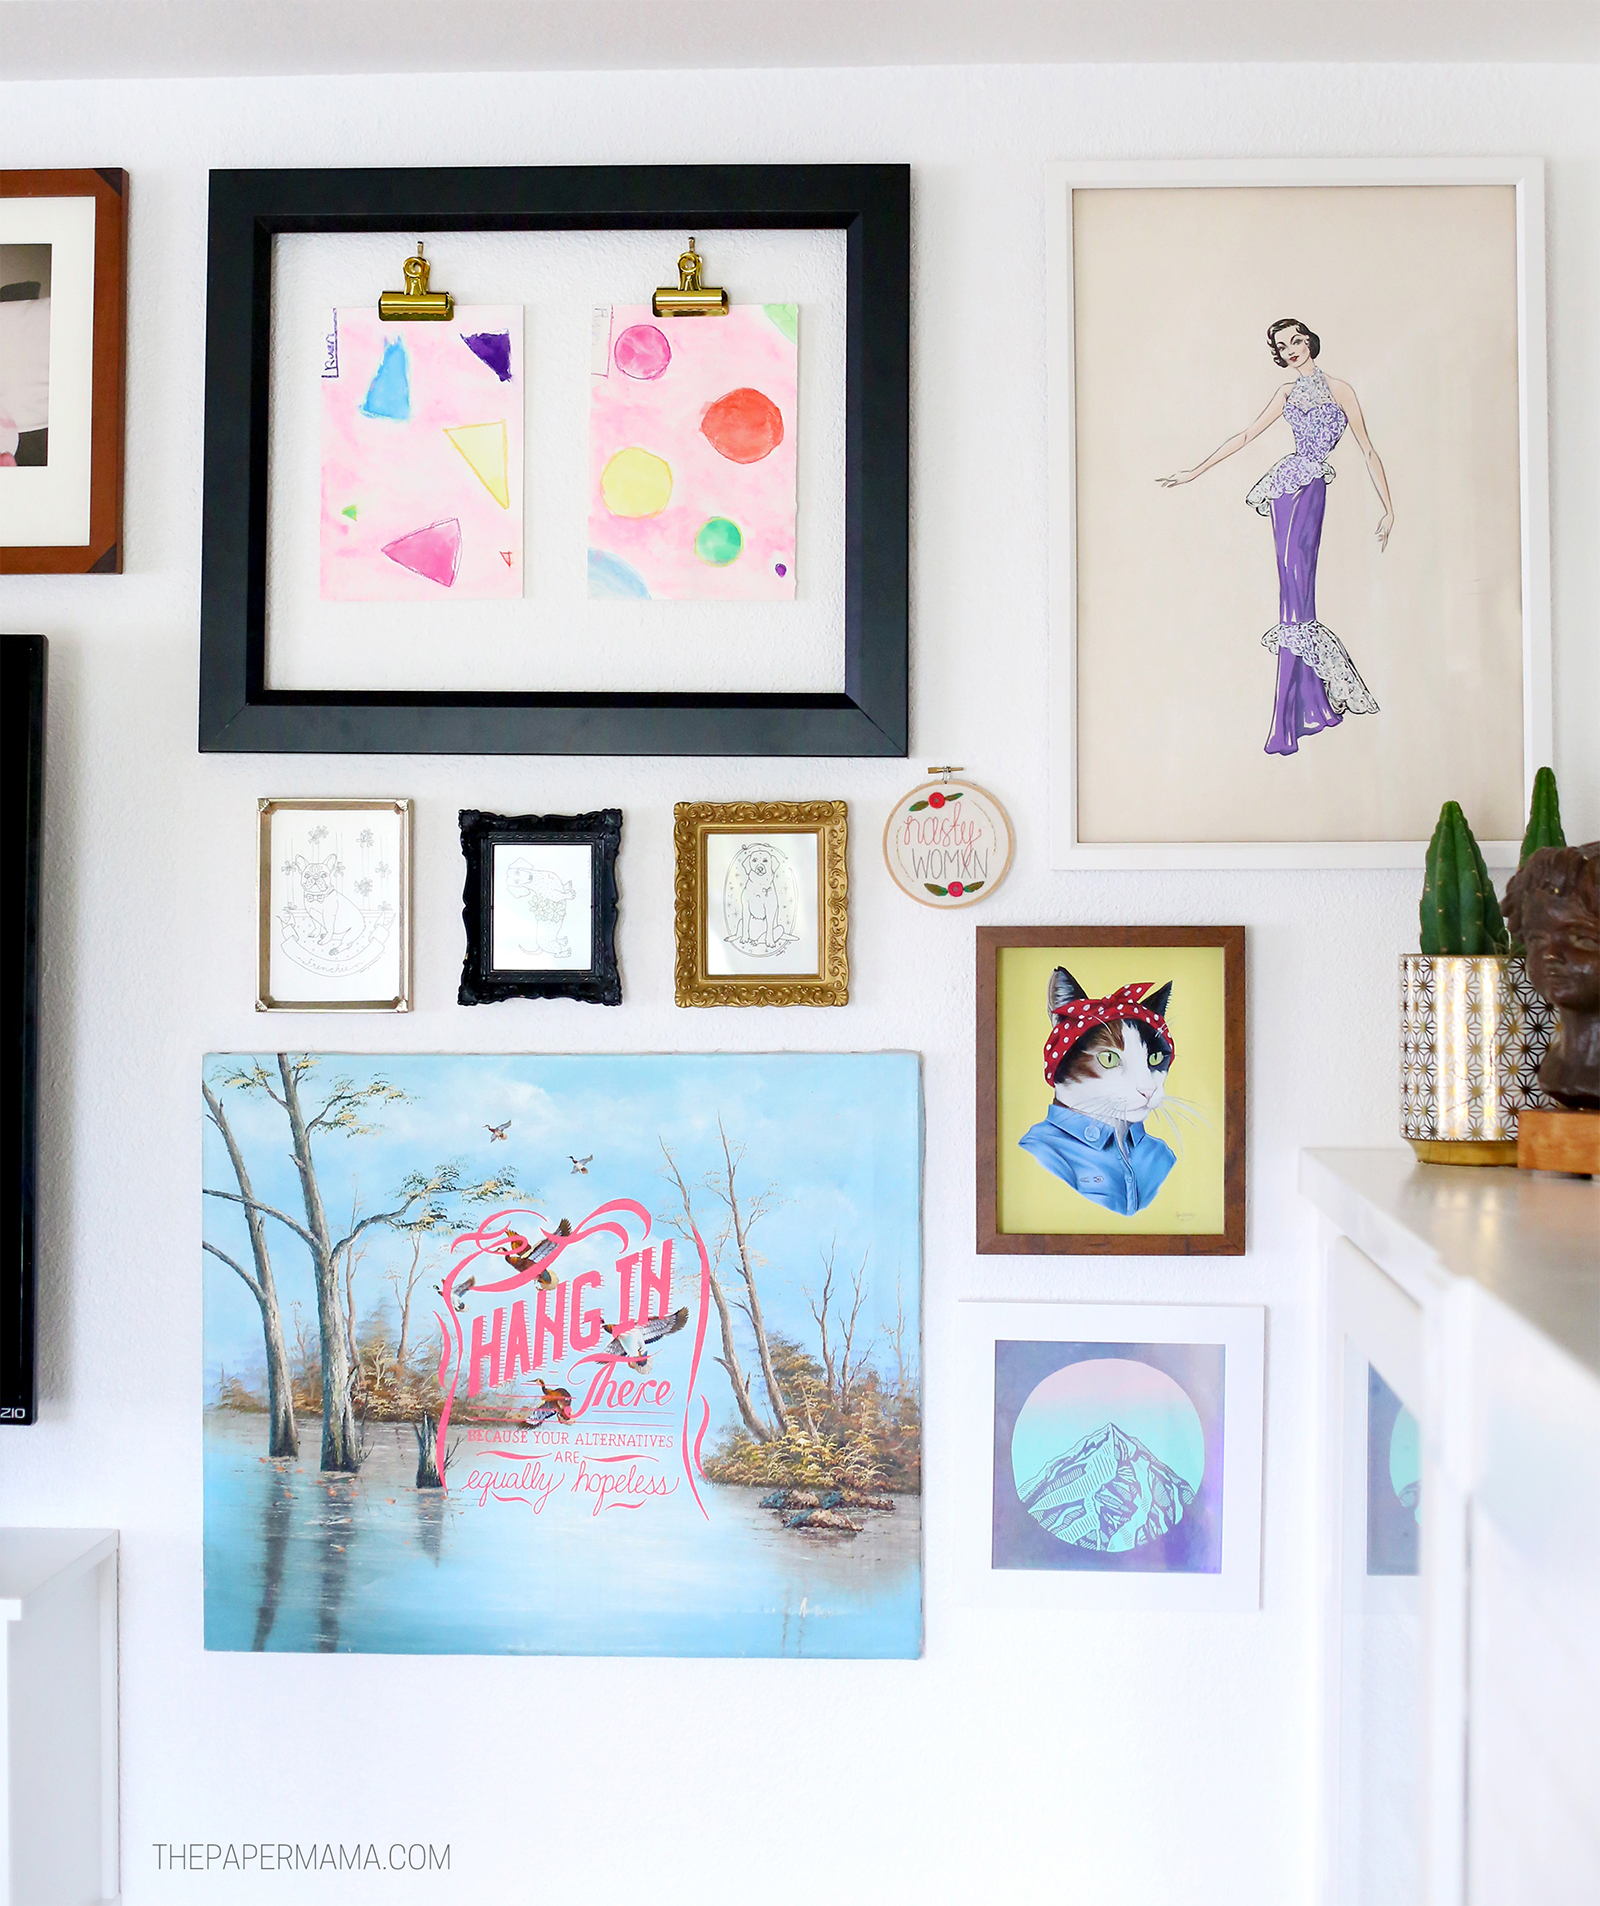
//Artwork clockwise: watercolor paintings by my daughter, another stylish lady, kitty from Ryan Berkley, Mt Hood from Monster Songs, hang in there from Sad Co Incorporated, puppy illustrations from me, and Nasty Woman embroidery by Sleepy Stitches.//
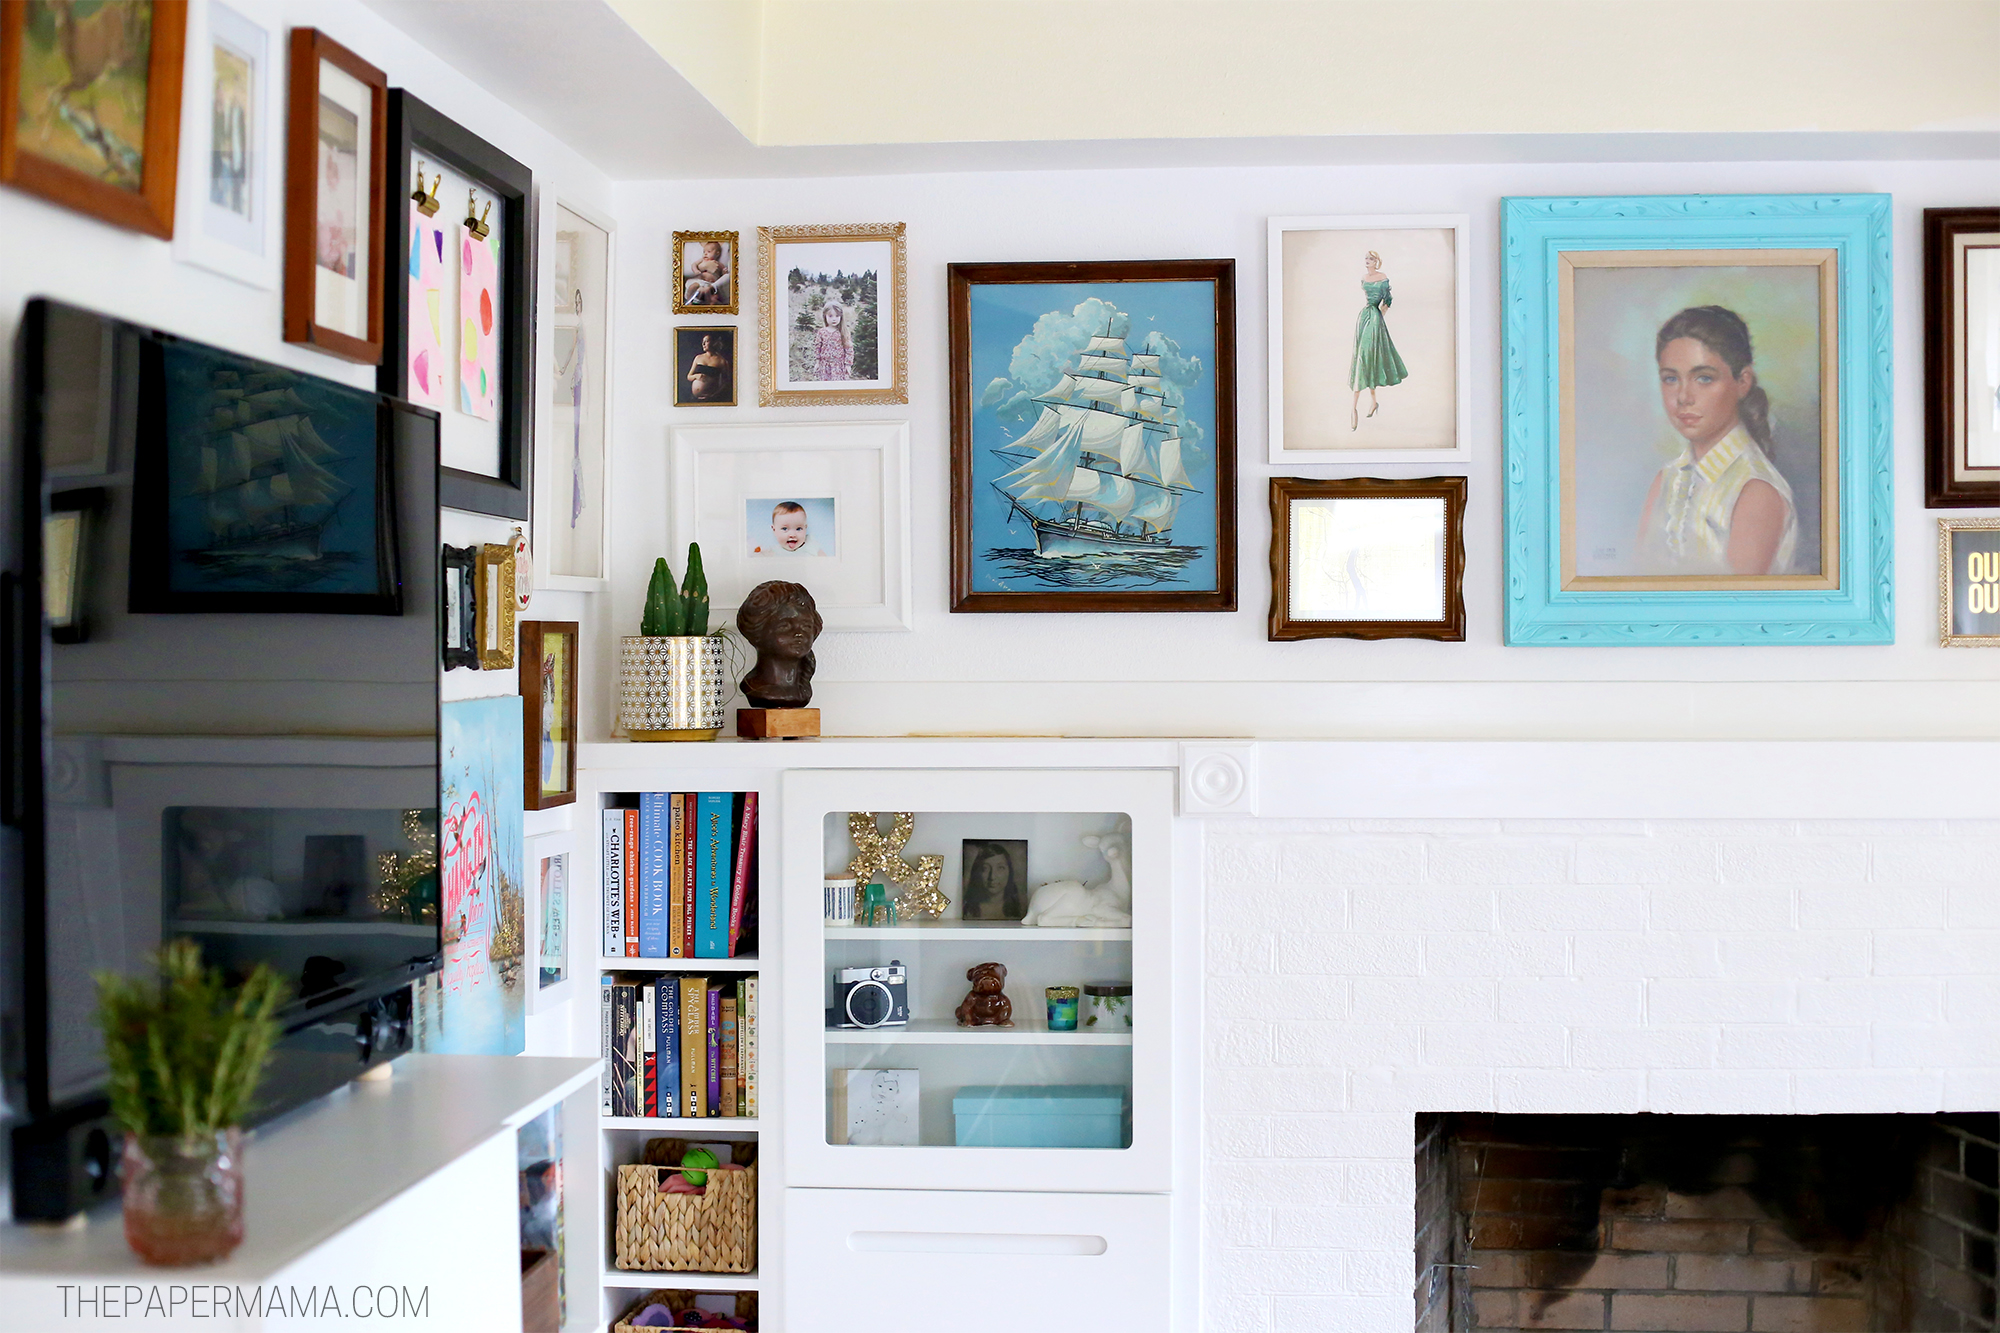
Do you love the built-ins around the fireplace? Yeah? Well, my husband installed those. Come back tomorrow to see the before and after photos of the fireplace and I’ll share what we did to install built-ins on a budget!!! It’s a huge transformation and I love having the extra storage.
Refreshing your home for spring is as easy as swapping out a few décor pieces or adding pretty faux florals. Michaels has everything you need to get started! Looking for more inspiration? Make sure you visit Michaels’ blog, The Glue String, to see the rest of the Michaels Makers’ Spring Refresh project ideas.
0.35 KB
– Chelsey
P.S. I was provided with a Michaels gift card to share my gallery art wall with you!