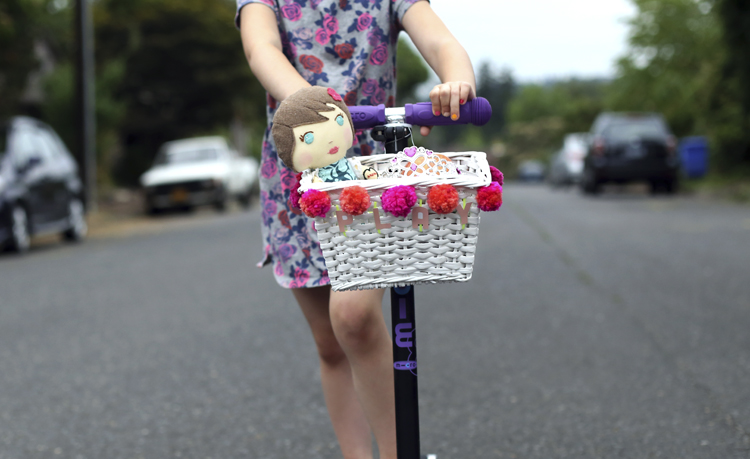
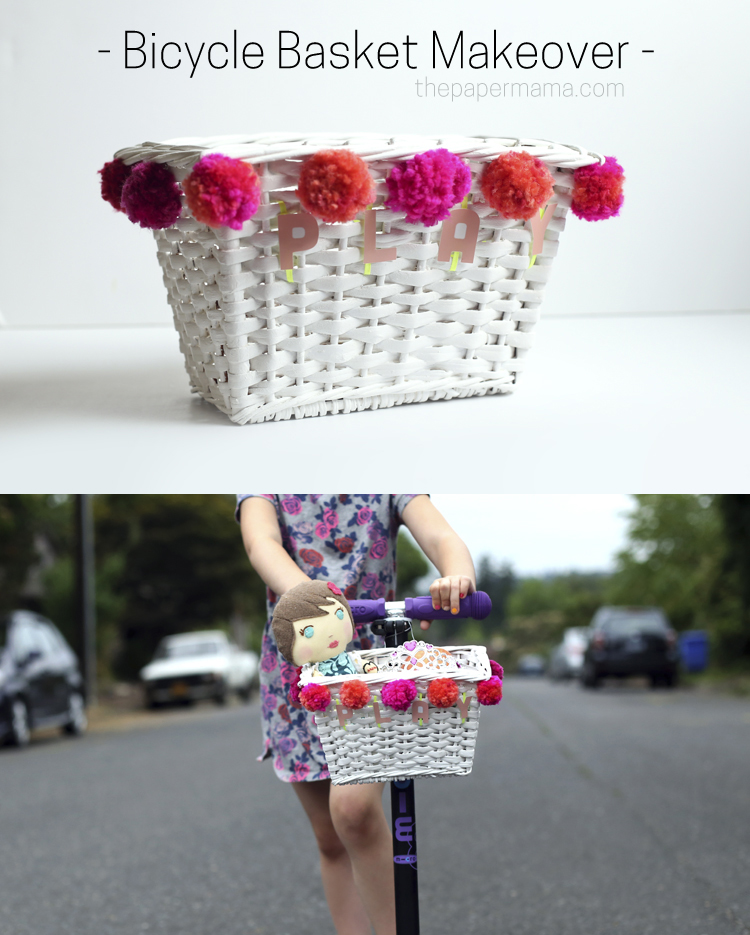
My daughter has a little scooter that she loves to ride. Every time we head out to the park the kiddo has to bring a stuffed animal, a water bottle, and maybe a snack (that’s a lot to carry for a quick trip to the park). Instead of carrying all these items in my purse or hands this basket will do the trick. With my Bicycle Basket Makeover I have created the perfect little container to attach to her scooter and I made it for under $5. We took it out for a spin the other day, and she loved it (and so did I).
Bicycle Basket Makeover supplies:
- yarn (for pompoms)
- sewing needle and thread
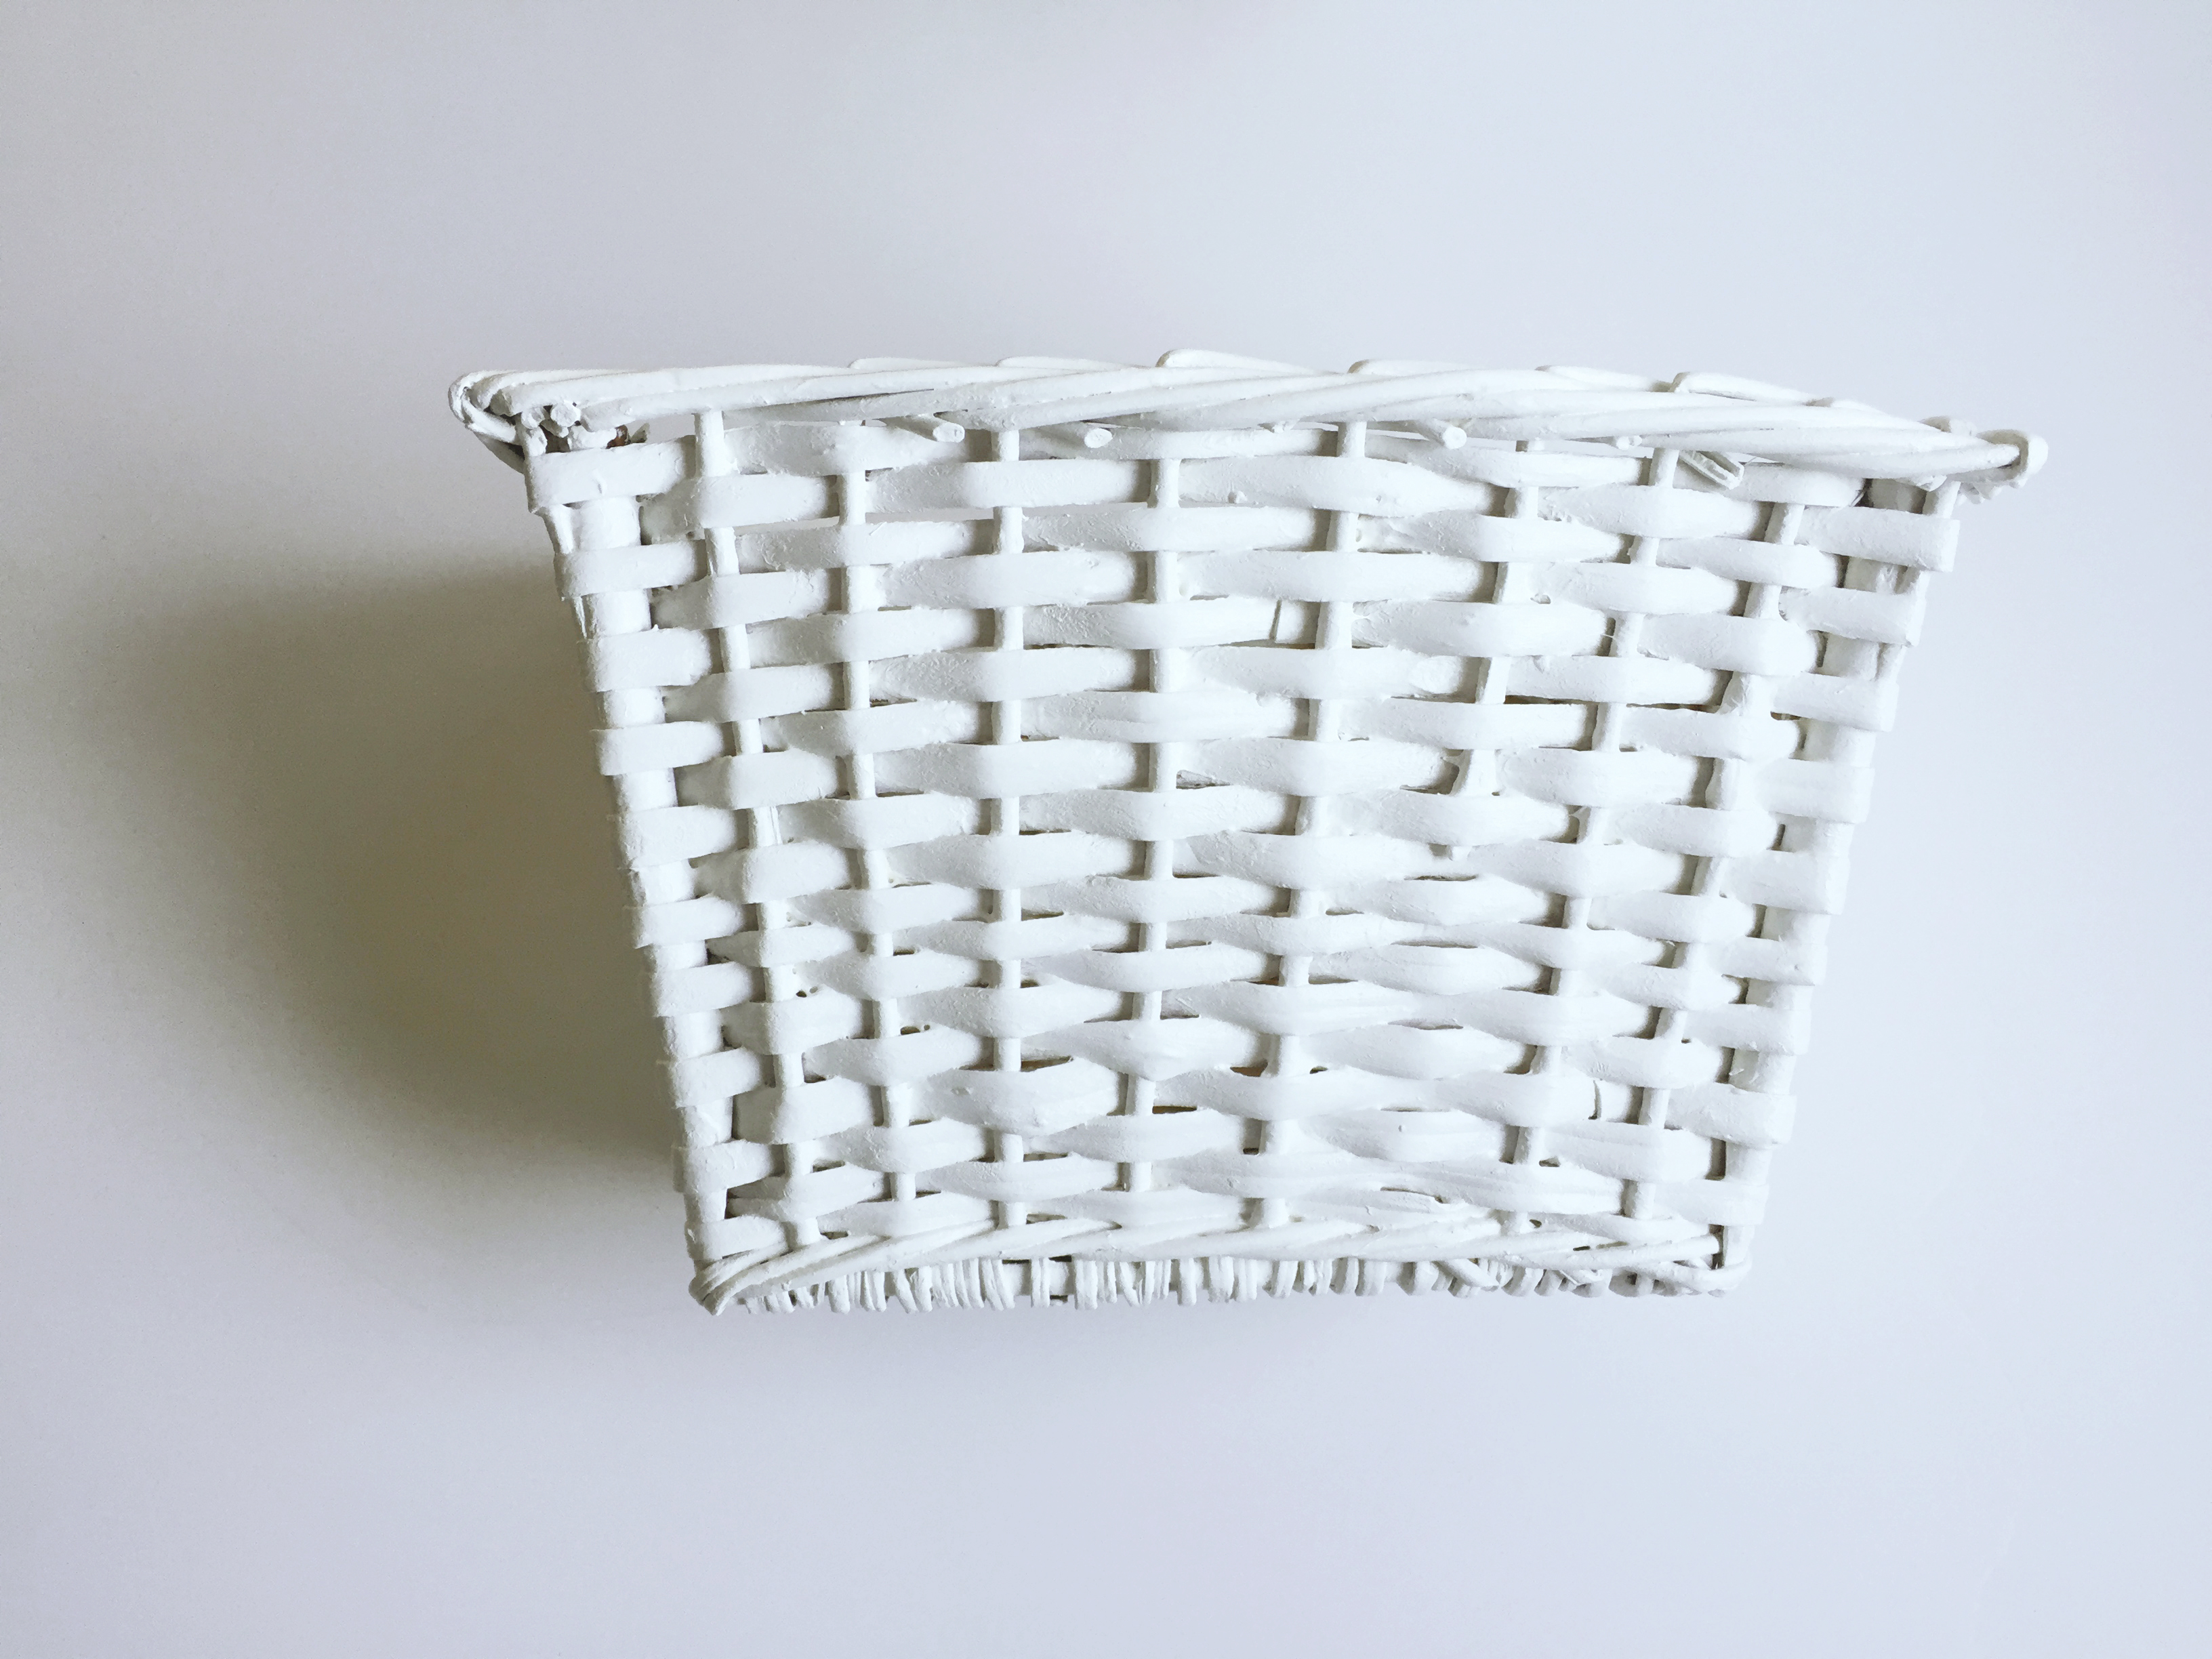
- small basket (I found mine at a thrift shop for $1)
- gesso
- white acrylic paint (I used Martha Stewart)
- wide paint brush and thin paint brush
- wire and/or zip ties (to attach the basket to your bike or scooter)
- optional: ⅛ inch wide ribbon, Free “PLAY” printable, and hot glue
Directions:
STEP 1:
Apply a coat of gesso to the basket. Let that dry completely, then apply multiple layers of white acrylic paint (I applied 3 layers). Let the basket paint dry completely and set aside. Tip: Baskets have a lot of little nooks and crannies. Use your small pointy brush to fill in these little cracks.

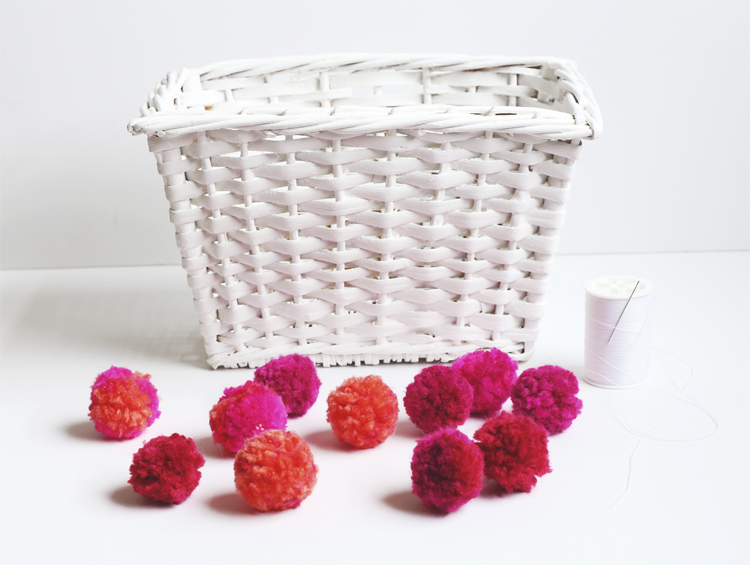
STEP 2:
Make some mini poms for the basket (you can also purchase them from a craft store if you prefer). For my basket I made 9. Depending on the size of your basket you may need more, or less. Here are two DIYs I’ve shared to make your own pompoms: Make Pom-poms with a Fork or Using Pom-pom Makers.
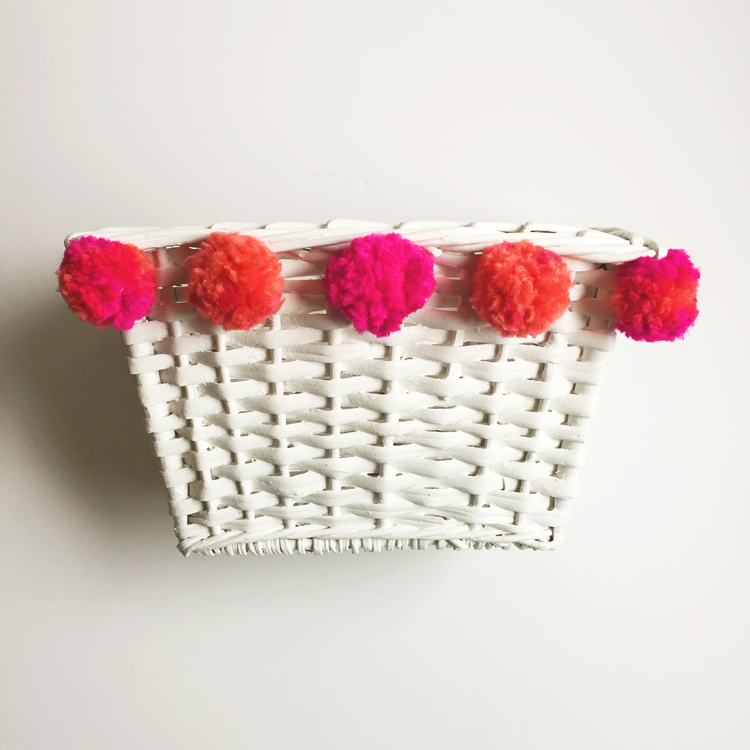
STEP 3:
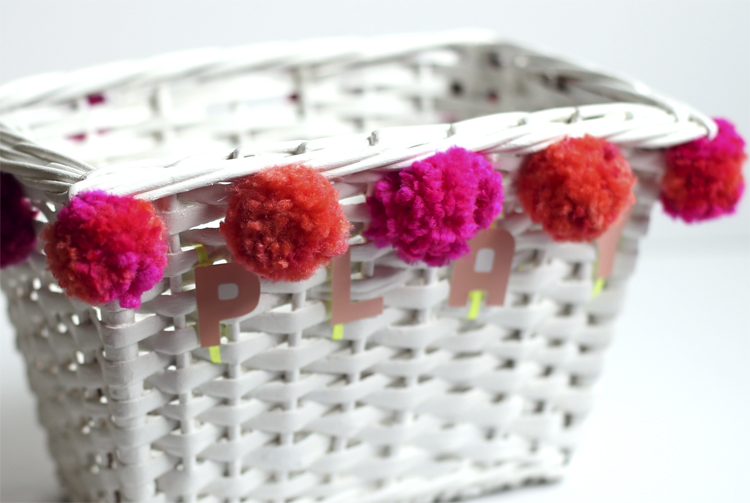
Using your needle and thread, evenly space out the pom poms and sew them onto the top of the basket. You’re basically sewing the thread through the poms and tying them onto the basket.
STEP 4:
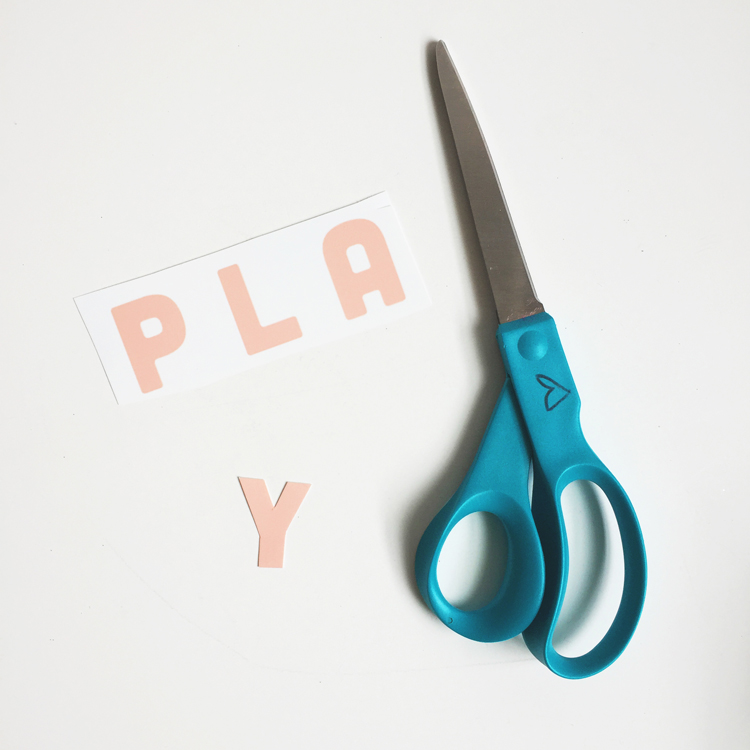
OPTIONAL: Print out the “PLAY” printable. Place clear packing tape over the letters and then cut them out. Note: the packing tape kept the letter clean, but not safe from rain.
STEP 6:
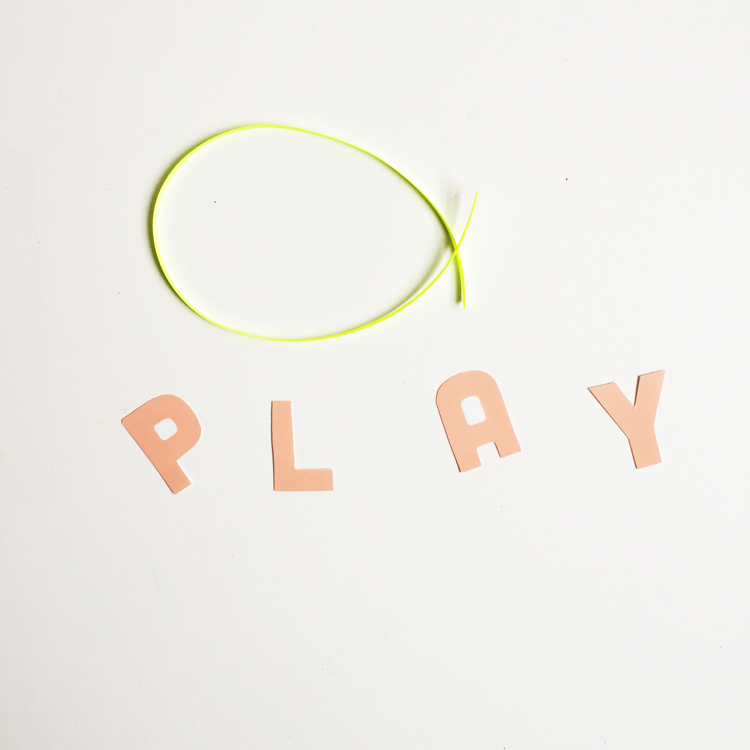
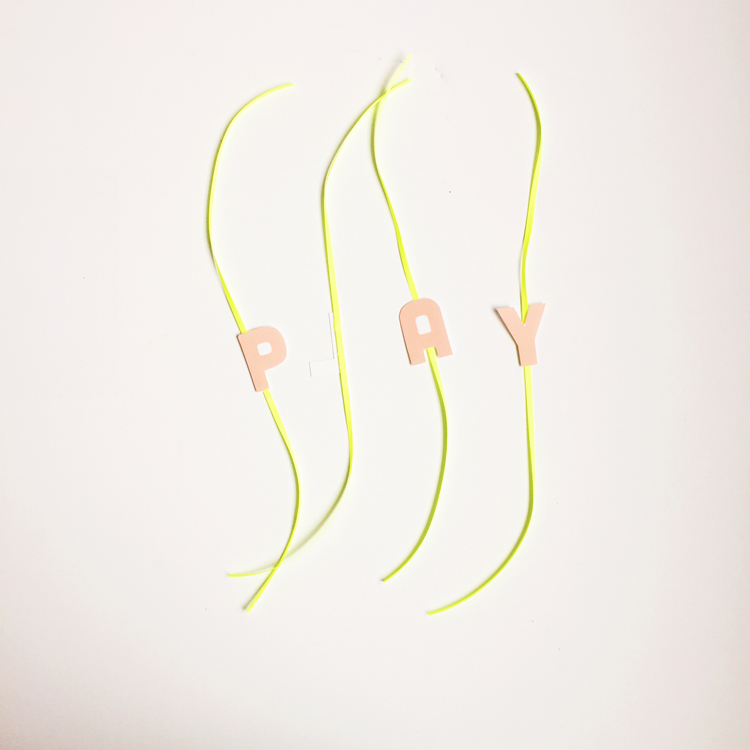
Cut out four 4 inch pieces of ribbon. Use the hot glue gun to adhere the back of each letter to the center of each ribbon piece.
STEP 7:
Slip each end of the letter ribbon into the holes of the baskets (evenly spaced), and tie them on in the inside of the basket. Trim excess ribbon. Use the wire and/or zip ties to attach the Bicycle Basket to your bike or scooter.
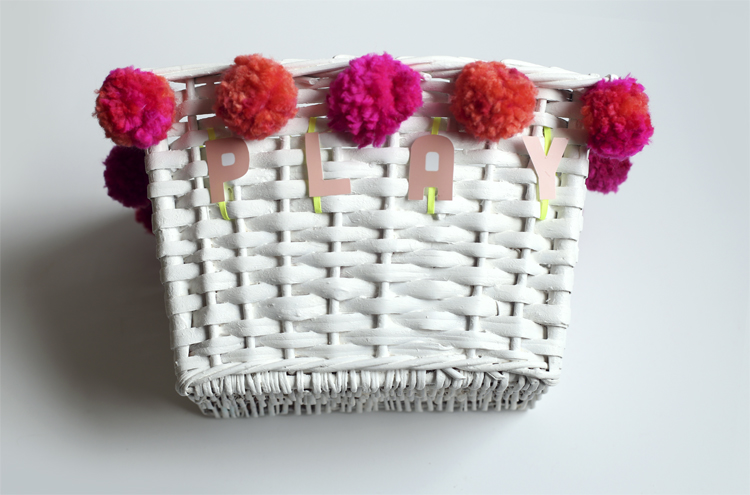
You’re done and ready to take your decorated bike out for a spin!
Have a great day!
– Chelsey
Disclosure: I may earn a small commission for my endorsement, recommendation, testimonial, and/or link to any products or services from this website. There are affiliate links in this post. Thank you for your support. This post was a sponsored post with Hewlett Packard.


Leave a Reply