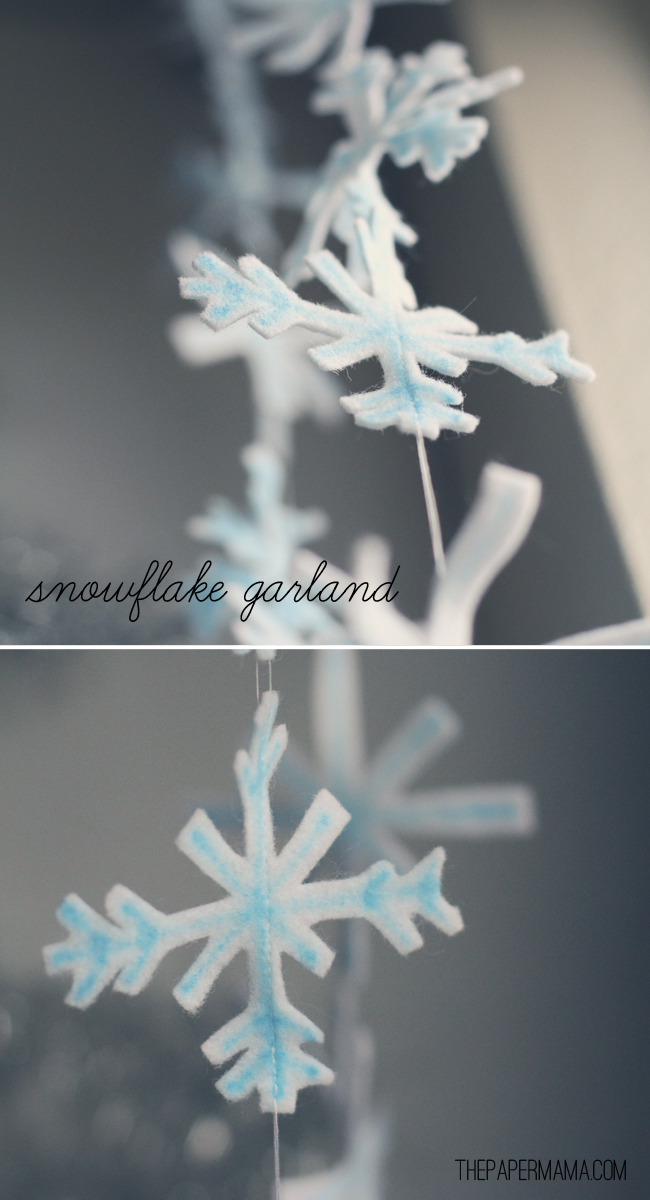
Day 48: Snowflake Garland (for Sandy Hook Elementary)

Day 48: I was browsing Instagram the other day, and noticed a few posts about Sandy Hook Elementary. I can’t be alone with wanting to do SOMEthing, but not knowing what. Right? The instagram posts I saw were about creating a “Winter Wonderland” out of snowflakes, for the new building the kids will be in. They are collecting snowflakes from everywhere to create this display at school. I think it sounds fantastic.

SO, I made a quick snowflake garland to send over. I’ll probably make a few paper snowflakes, too. If you’d like to see more info about helping Sandy Hook, click this link or read the info below.

Snowflakes for Sandy Hook:

Please help the students of Sandy Hook have a winter wonderland at their new school! Get Creative!! Make and send snowflakes to Connecticut PTSA, 60 Connolly Parkway, Building 12, Suite 103, Hamden, CT 06514, by January 12, 2013. Snowflakes can also be delivered to CT PTSA. Please call us before for office hours at 203-281-6617.
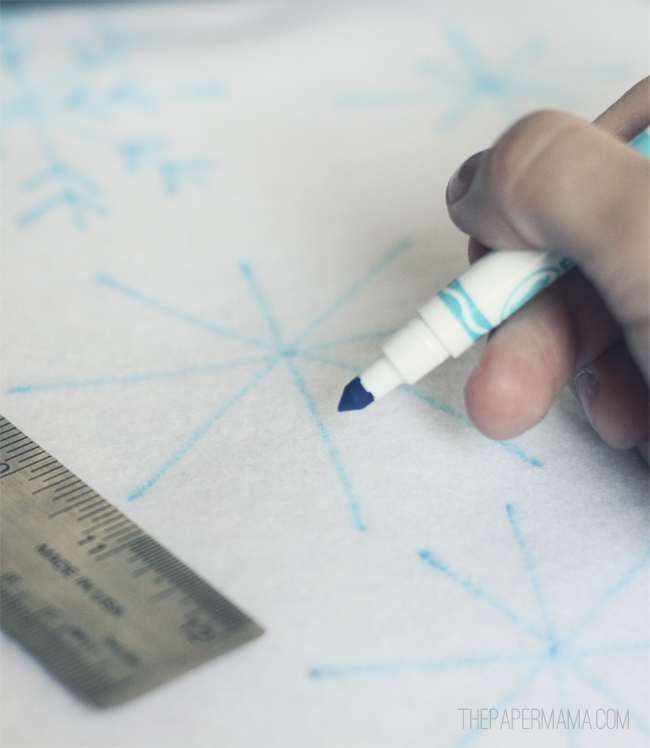
This garland is easy to make, maybe just a little time consuming. Grab a ruler and a blue marker (I just borrowed one of my daughter’s markers) and trace out a snowflake! Remember, no two snowflakes are alike. When you’ve cut out all your flakes, you can sew them in a line. Or, glue them onto a ribbon.

Well, do you think you’ll be making snowflakes for Sandy? It seems like a fun project to do with kids.

<3

…………………………………………………………………………………………………………………………………………………

To keep up with my 50 DIY Days, click here:


The Paper Mama “Red” Photo Challenge

All my photo challenges should be based around people (pets are always welcome). 

The month’s challenge:  “Red”

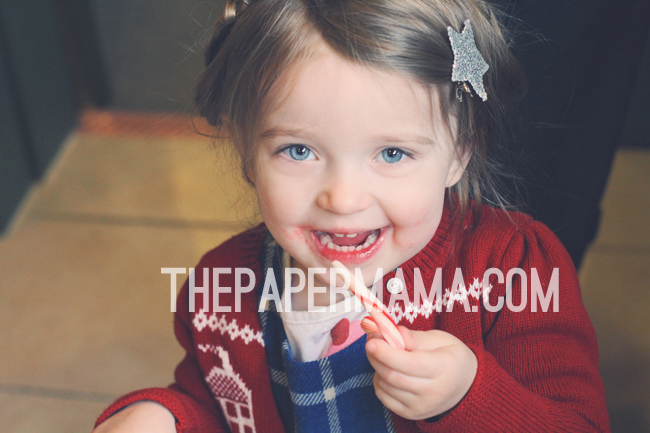
Mmmmmmm! Candy cane. Not messy at all. Ha!
…………………………………………………………………………………………………………………………………………………
  • First time joining the Paper Mama photo challenge? Start here for rules and upcoming challenges.
  • My photo challenges do require you to have a person or animal in the photo. It could be just one finger… or a toe… but, there needs to be someone there.
  • Click here for prize winner rules.

2010 winners . 2011 winners . 2012 winners .

…………………………………………………………………………………………………………………………………………………

This challenge runs to January 24th, 2013!

…………………………………………………………………………………………………………………………………………………

Photo challenge buttons here:

The Paper Mama Photo Challenge


“Family” Photo Challenge Winner

First:

Congrats! You can grab your first place button here!

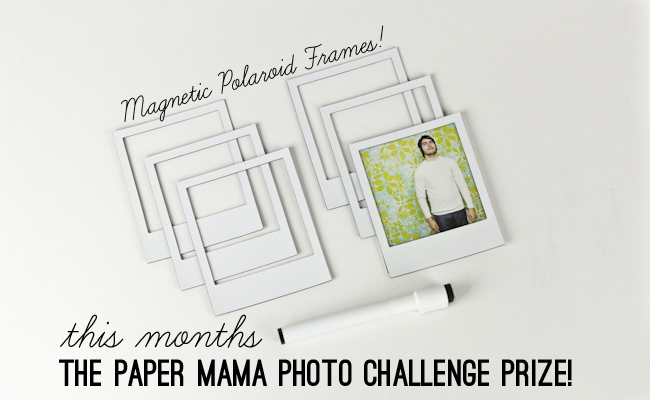
AND, you won this awesome prize below (I’ll need your address ASAP, you can email me. Click here for prize rules):

ALSO, congrats on that baby!
…………………………………………………………………………………………………………………………………………………
  • First time joining the Paper Mama photo challenge? Start here for rules and upcoming challenges.
  • Click here for prize winner rules.
…………………………………………………………………………………………………………………………………………………

Day 47: Marshmallow World Wrapping Paper

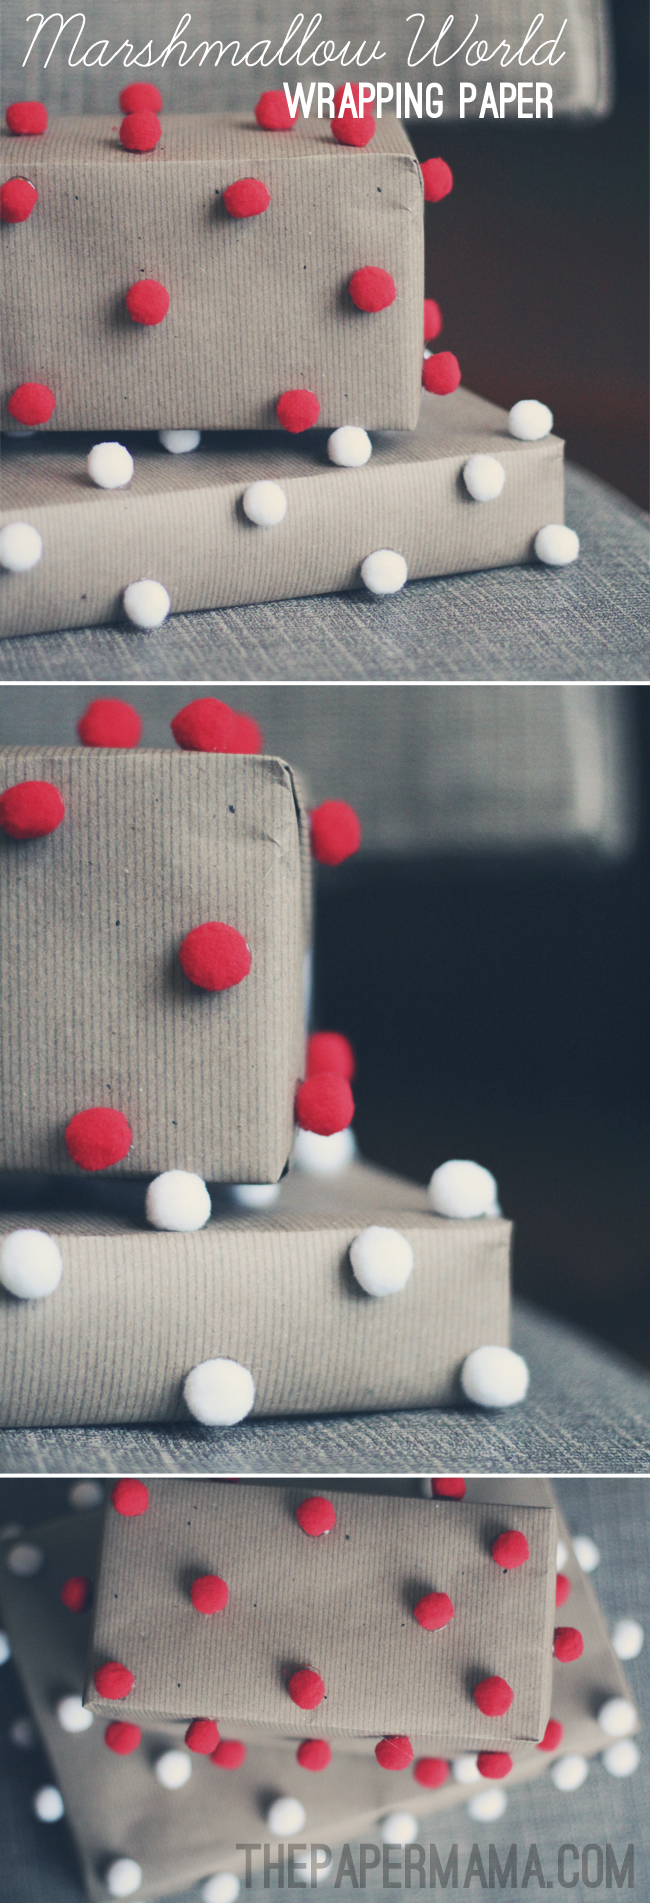
Day 47: Isn’t this wrapping paper crazy? I love it. I giggled while I made it, because it’s just so cute. I can’t remember WHERE I first saw this idea. But, I saw it. And. It stuck. I needed to spice up my wrapping a bit, so here it is! You just need to buy a few bags of poms poms and brown wrapping paper. Wrap your present, then hot glue those polka dots in whatever design you’d like!

Give this gift to your favorite person. Yay!

Wow… only 3 more DIY days left? I can’t believe it! Time is flying by! Happy Friday to all of you!

– Chelsey

…………………………………………………………………………………………………………………………………………………

To keep up with my 50 DIY Days, click here:

Categories: 50 DIY Days, diy


Day 46: Vintage Christmas Tags

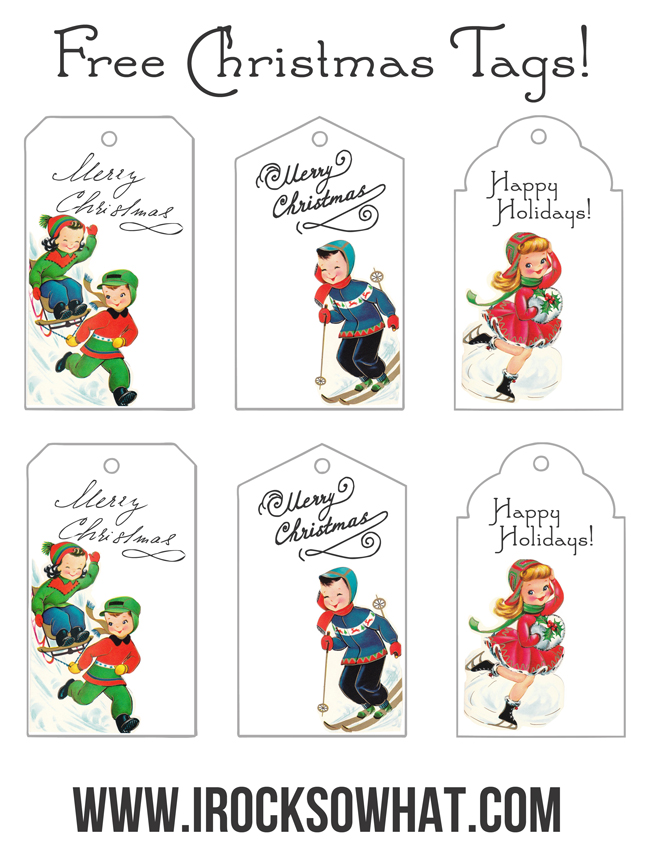
Day 46: I know I’m not the only one last minute wrapping! Jess wanted to share her newest freebie with all of you. Super adorable Vintage Christmas Tags! Thank you Jess, I hope you all enjoy!

To download the full size image, click here!

…………………………………………………………………………………………………………………………………………………

A very big THANK you to Jess for sharing this fantastic DIY. Please, be sure to give her blog home a visit.

To keep up with my 50 DIY Days, click here:

Categories: 50 DIY Days

2012 Holiday Photo Challenge: TIME to VOTE for reader’s fave!

It’s time to vote! Reader’s fave vote is starting today! I realize that I said you will be voting for your top 10, but I would like you to vote for your favorite from the entire list! This voting is for the reader’s fave prize! If you entered the challenge, tell your friends and family to vote! You have through noon pacific time, December 23rd to pick “like” a photo!

Note: the Grand Prize and 1st Place winner’s will be chosen by myself and a group of judges. All announced on Monday, December 24th!


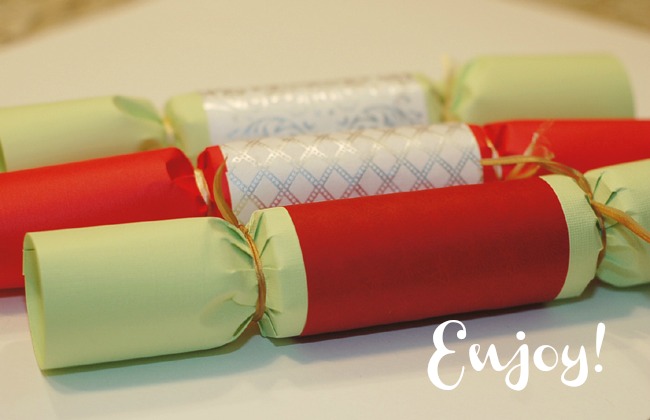
Day 46: Make your own Christmas Crackers!

paper mama 5

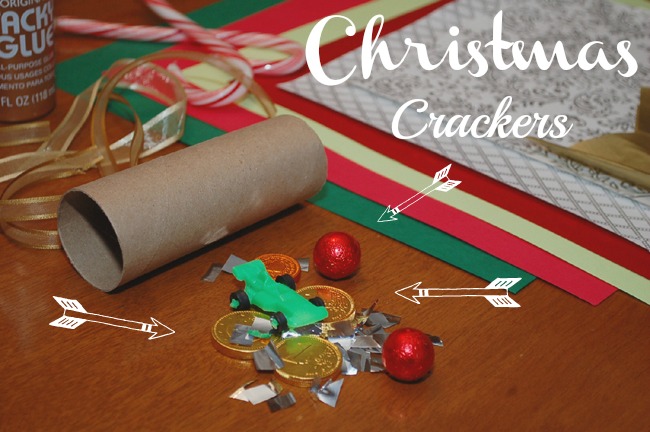
DAY 46 is brought to you by, the lovely Liz of Yellow FinchHi everyone! I’m Liz from Yellow Finch and I’m so excited to be here to share this DIY with you. When I was younger my parents went on a trip to England and brought home Christmas Crackers for the Holidays. I fell in love with this tradition and knew I wanted to carry it on with my children. To make it even more special I decided to make them myself and personalize them for each of my children, nephews and friends. Believe it or not, they are so easy to make!

Supplies:
Scrap booking paper (I used 12 x 12)
Contrasting paper
Empty toilet-paper roll
Craft glue
Ribbon
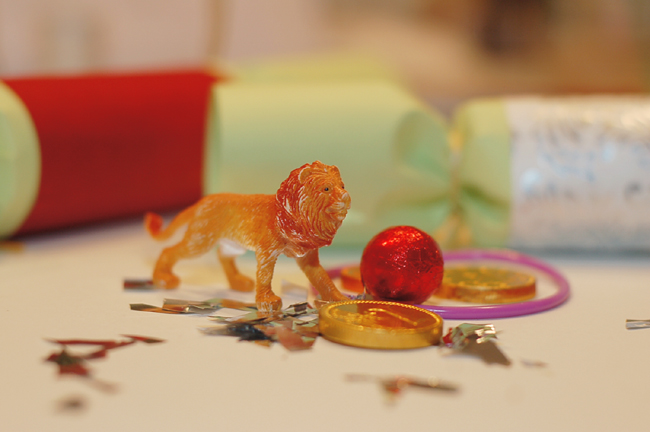
Small treats (candy, paper crowns, quotes, animals, ect.)
exacto knife
cracker snaps ** I omitted these for this project

Instructions:

1. Cut your main piece of scrap booking paper into 12 inch wide by 6 inch tall pieces of paper.

2. Place the empty toilet-paper roll in the middle of the paper

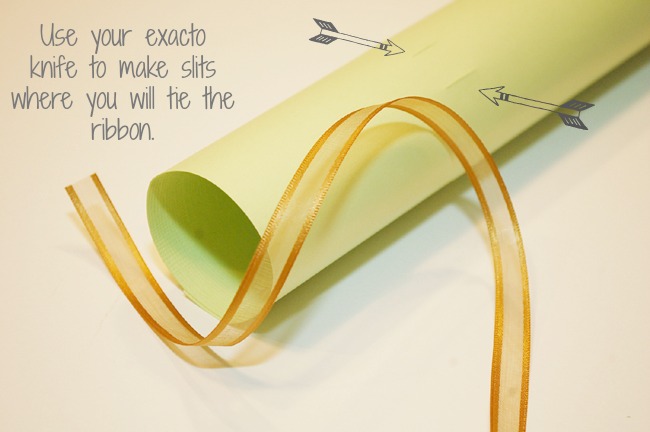
3. Using your exacto knife and a ruler make slits about 1/2 inch long next to the ends of the paper roll. This will make it easier to tie the ribbon.

4. Apply glue to the top edge of the paper and wrap the paper around the toilet paper roll. Allow to dry.

5. Use your ribbon to tie one end securely. Mine don’t close all the way so I cut out a circle, approximately 1 inch in diameter, and placed it inside of the roll.

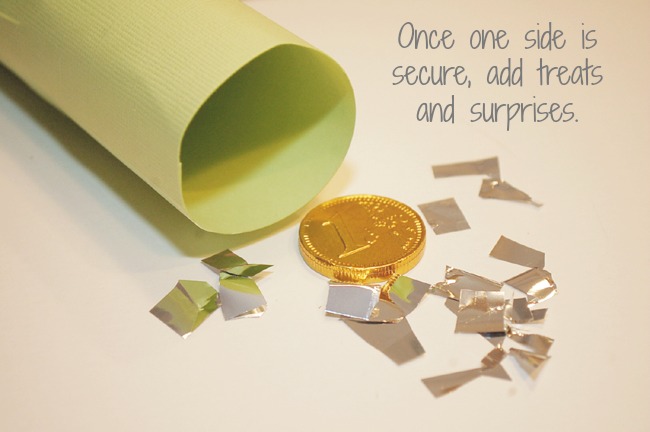
6. Fill with goodies and close off the other end.

7. Glue another thick strip of contrasting scrap book paper onto the roll.

8. Crack open and enjoy!

paper mama 6

paper mama 4

paper mama 2

paper mama 3

paper mama

I hope you enjoyed this super easy project! Did you end up making them? I would love to know. Stop by, say hello and tell me how they turned out!
XO
Liz
Yellow Finch

us

…………………………………………………………………………………………………………………………………………………

A very big THANK you to Liz for sharing this fantastic DIY. Please, be sure to give her blog home a visit.

To keep up with my 50 DIY Days, click here: