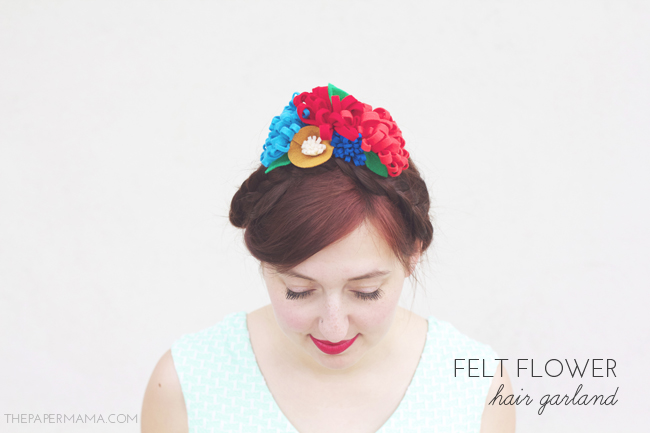
The Forgotten Files: I have to tell you… there are quite a few projects I’ve made and then forget to share. Whoops! This particular project is from February. Ha! I made this Felt Flower Hair Garland DIY when I traveled down to Palm Springs for Meet/Make/Do. Making a felt flower is a lot easier than you’d think and below I’m sharing how you can make a couple different kinds. You can make them into a whole hair garland, or even little individual hair clips.
Supplies:
- 5 – 6 different colors of felt
- hot glue
- scissors
- hair pins or hair clips
Directions:
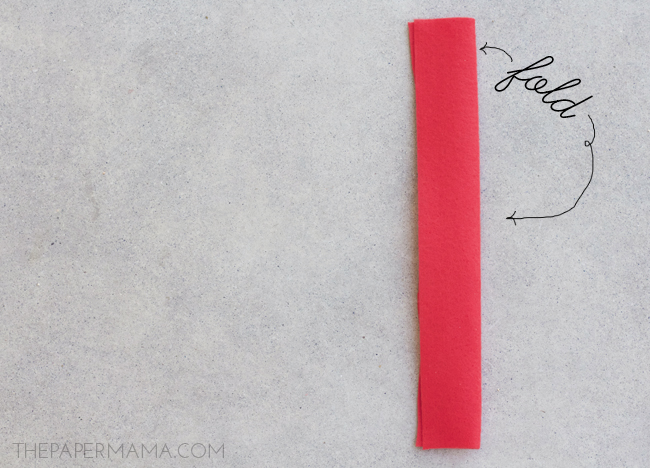
1. The cool thing about these flowers, they’re so easy to create and you don’t have to be exact with measurements. For my red flowers I cut a section of felt measuring roughly 3 – 4 inches wide by 8 inches long.
2. Fold the felt in half and glue the two edges together.
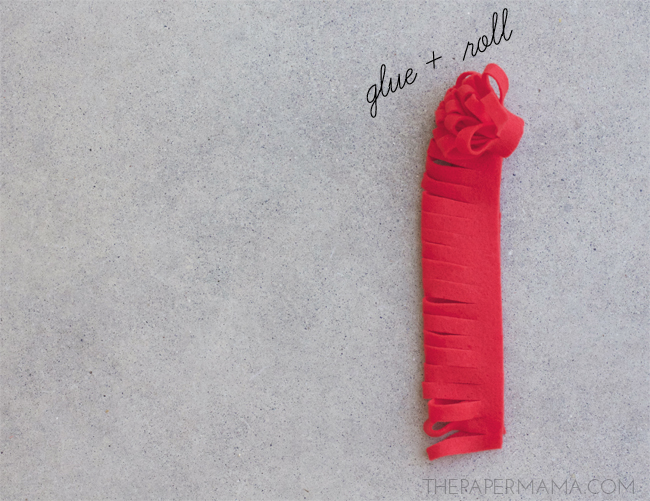
3. Use your scissors to trim little cuts along the folded side of the piece.
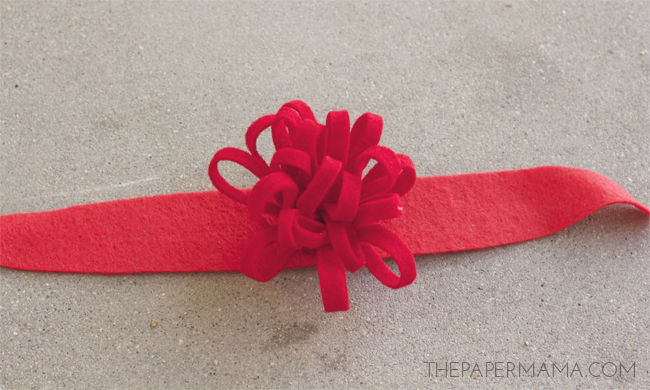
4. Roll down the flower. Glue the edge as you roll.
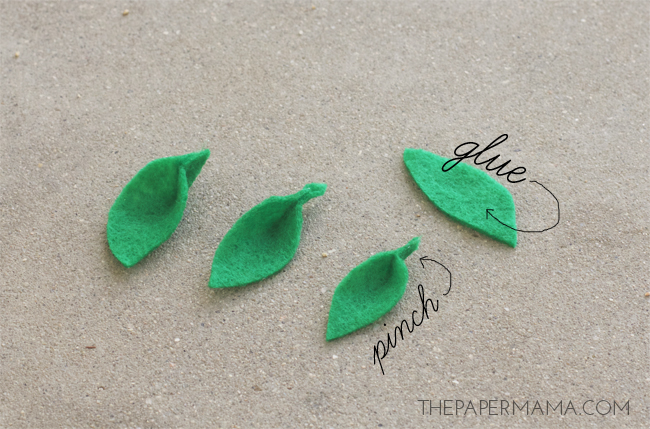
5. Make some leaves: Freehand cut some leaf shapes. Use your hot glue and put a dot of glue at one end, then pinch the end together.
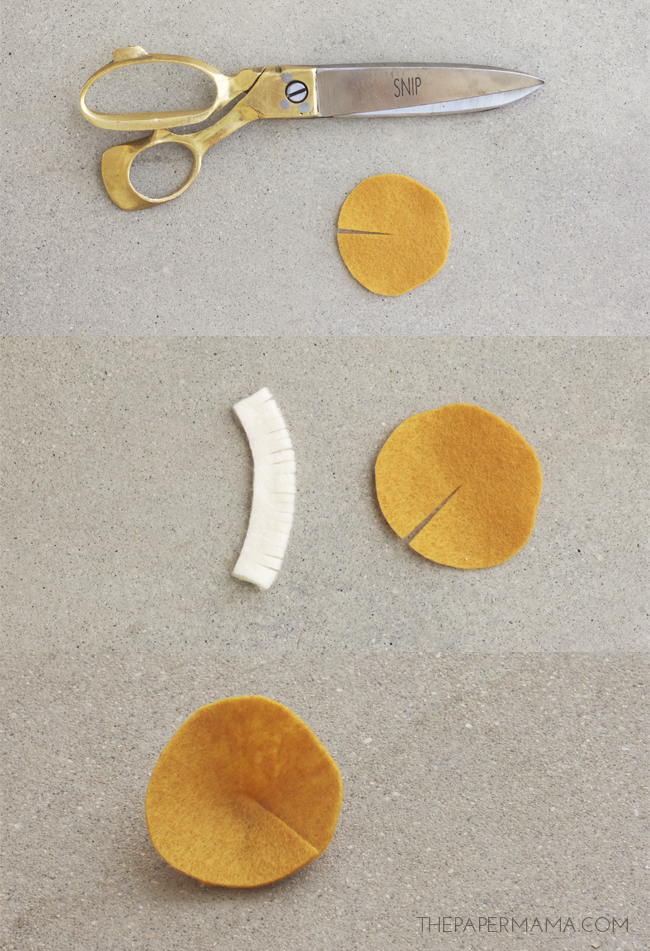
6. Want some more variety in flowers? Cut out a circle. Make one snip from the edge of the circle to the center. Glue the cut edge of the flowers together. Make a mini version of the red flower (steps 1 – 4) with some white felt. This will work perfect for the circle flower center.
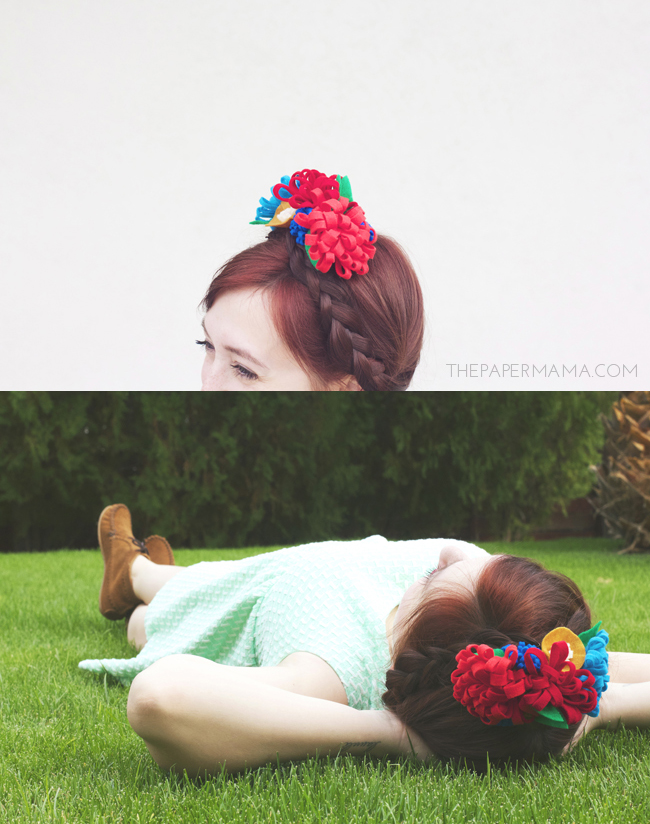
7. Make multiple flowers. For my hair topper I made: 3 large red flowers, two large blue flowers, three small blue flowers, two orange circle flowers, and 6 leaves.
7. Freehand cut out the base for your flower hair topper. I measured the felt on top of my head to get the correct length. Start to glue your flowers on the strip! When you’re done glue the flowers, trim any excess felt base.
8. Optional: glue on a couple of hair clips onto the bottom of your hair garland base. I chose to just use hair pins to attach these flowers to my head.
You’re done! You don’t have to make a whole hair garland, you could just make a couple of flowers for a cute little hair clip. These flowers would also make a very cute gift topper!
– Chelsey
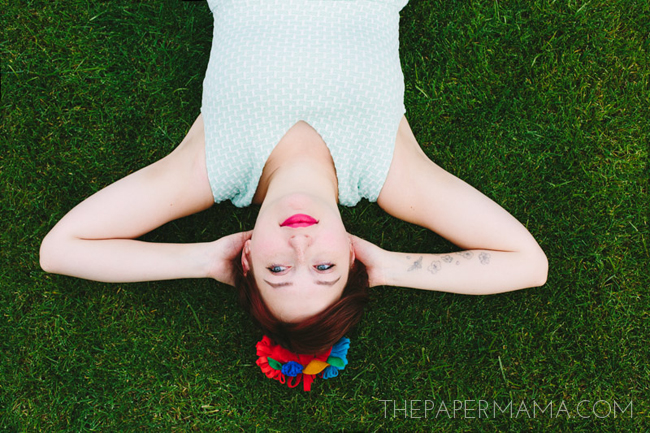
P.S. Grass photos ℅ Mary Costa Photography and Chelsea Foy.









So creative! And I love the dress you're wearing in these photos!
Thanks! I love that dress. A Target find.
What a cute project – thanks for the excellent tutorial! I just came across your blog, and I'm really loving it so far 🙂
Welcome, and thanks!
I love this take on the Flower Garland,I would be much more open to this garland. With the fresh flower garland it only last so long. Thanks for sharing this tutorial!
Ah, I love it! Those loopy flowers are so sweet, and they look so easy to make. I'm gonna have to give this a try, I think!