
Day 3 of 50 DIY Days: Punny Christmas Tree
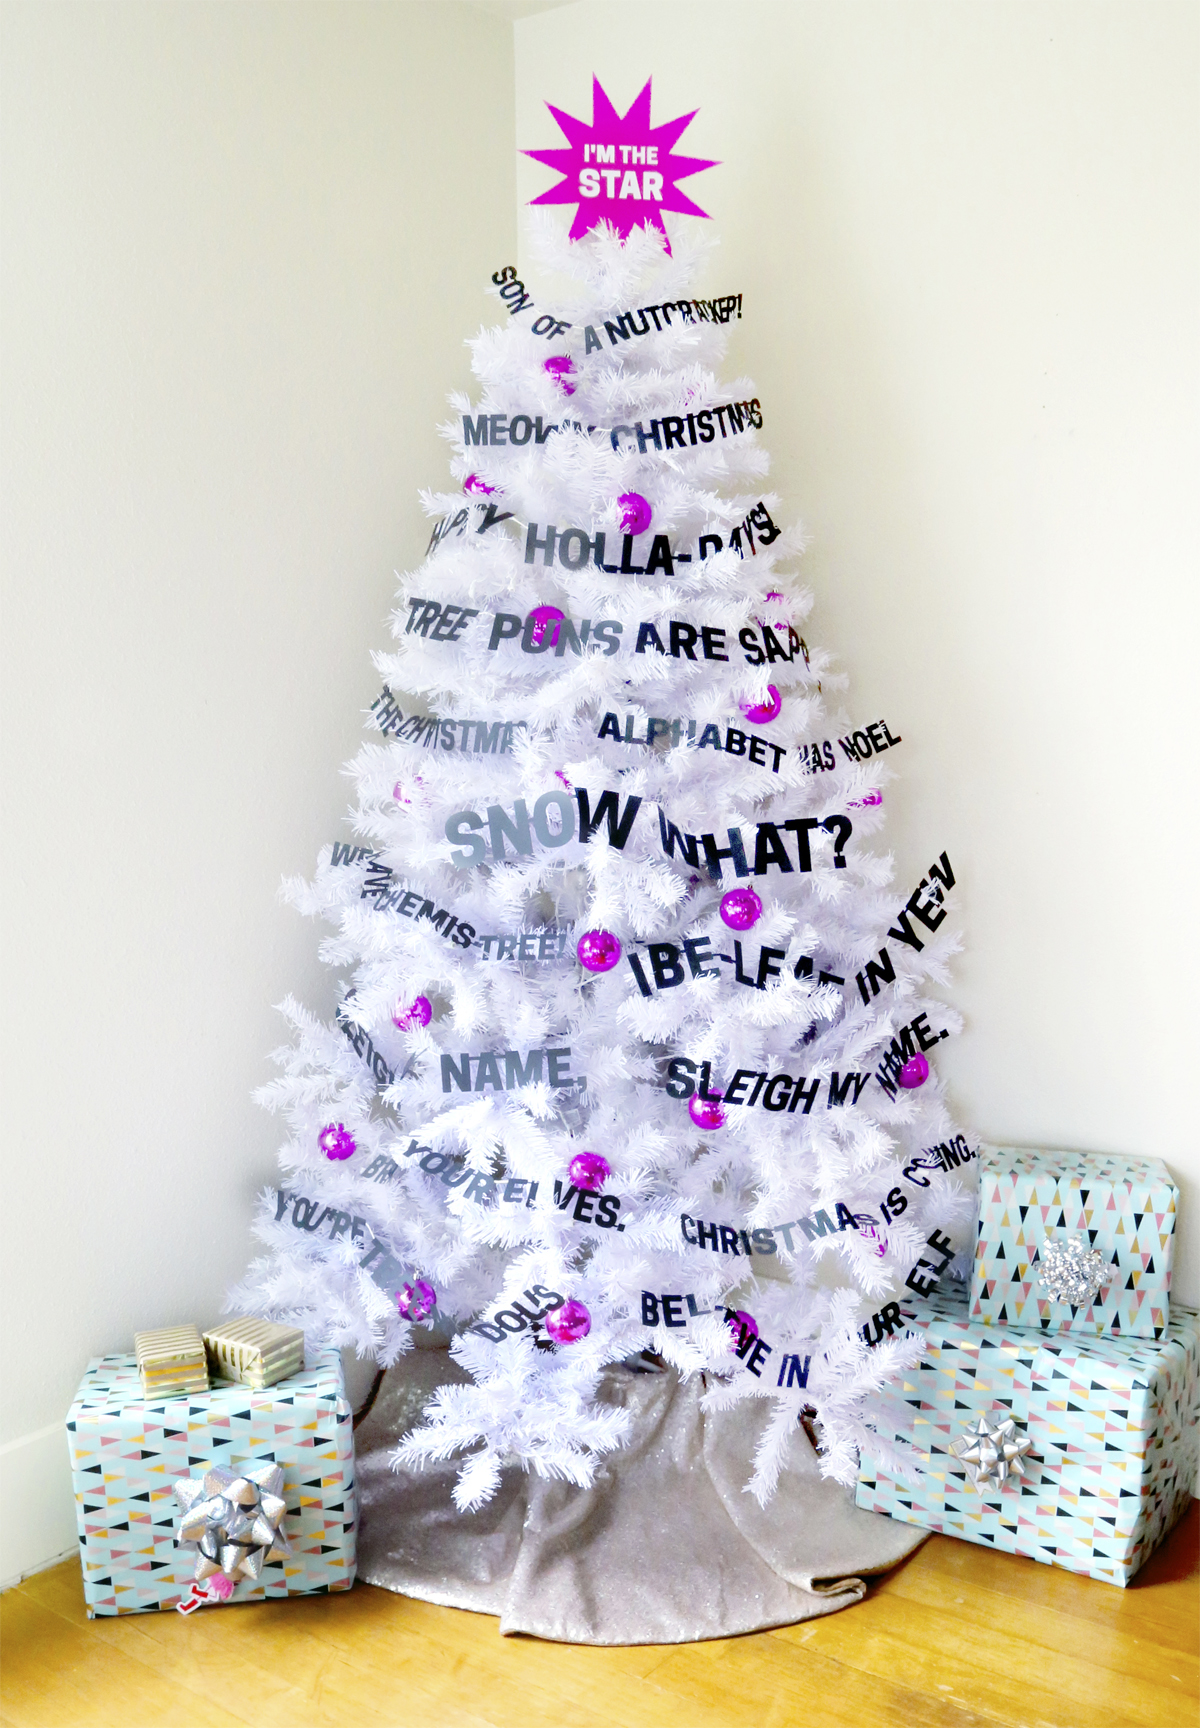
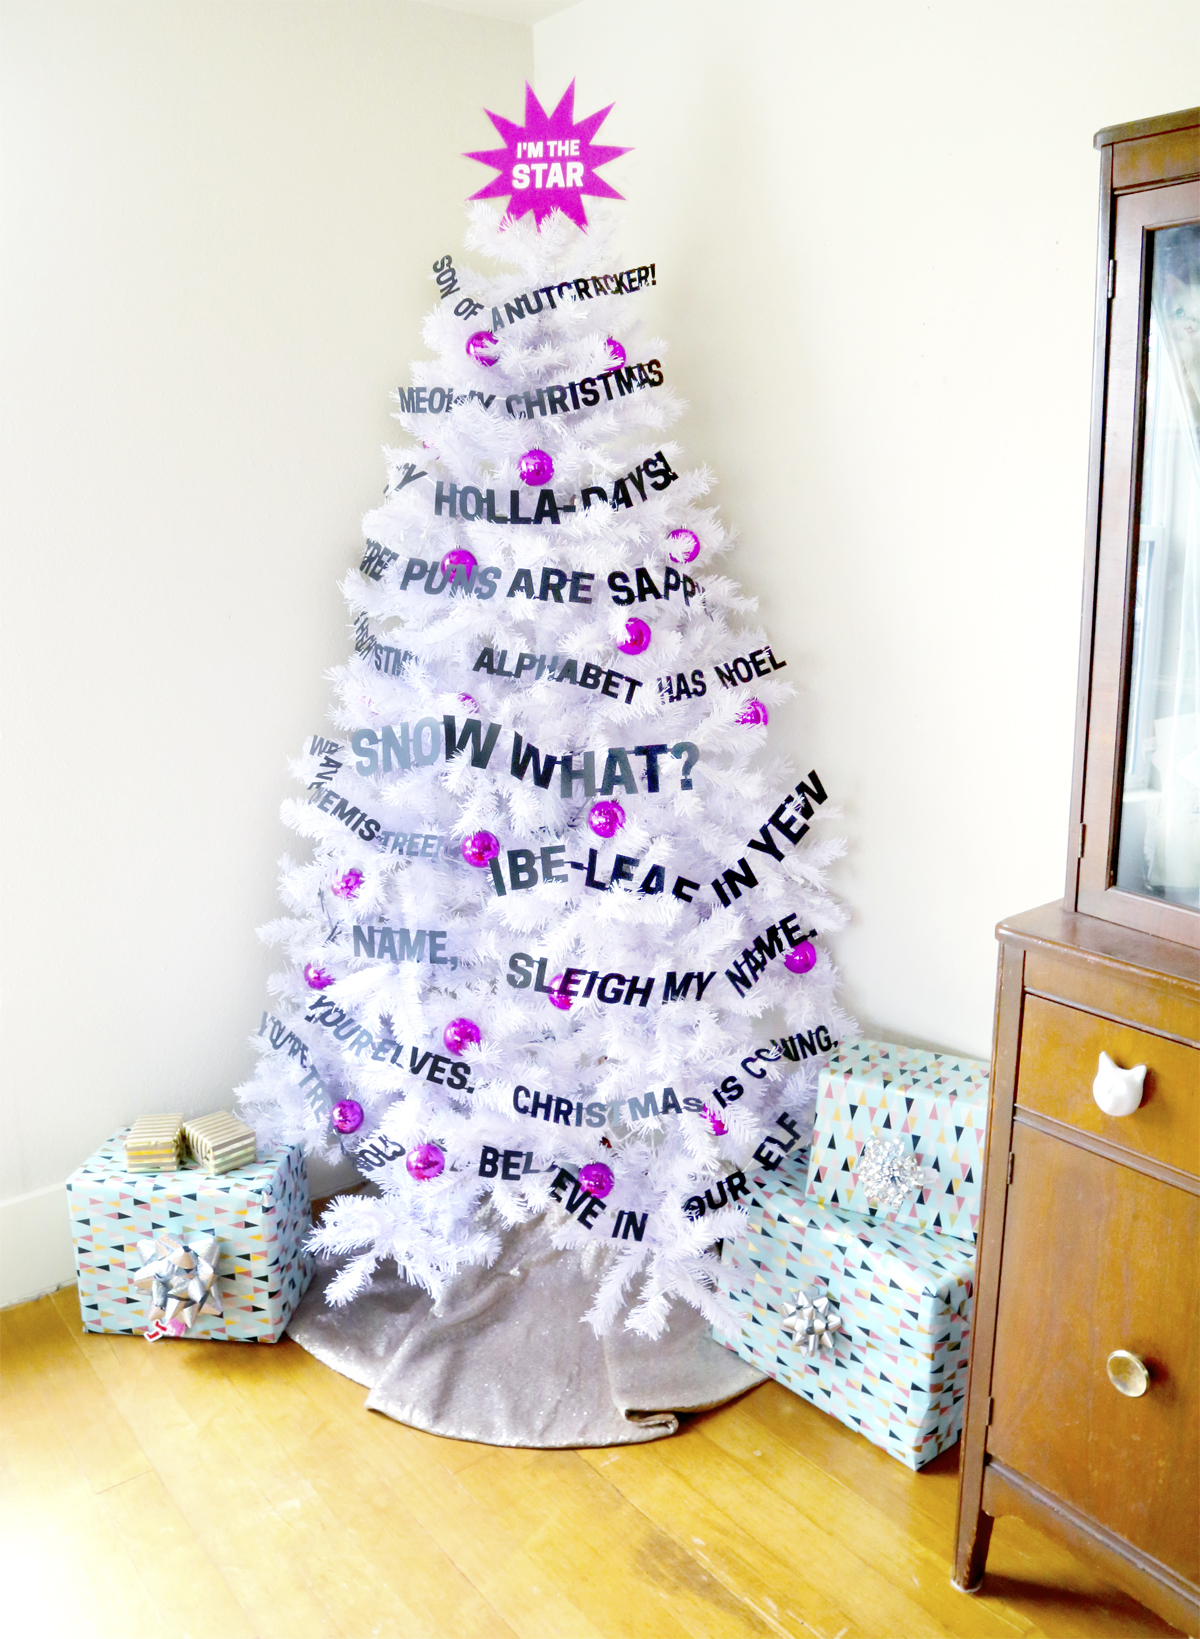
Guys. This might be my weirdest Christmas DIY to date. Ha! And I love it. It’s me in tree form. If you know me personally, then you know that I like to tell terrible jokes. Puns are my favorite and now they are covering this Christmas tree I made for the Michaels Dream Tree Challenge!
If you are as weird as I am and want to completely embarrass your friends and family with some terrible puns this holiday season, I have provided all of these puns for you to use on your very own tree! Highly recommended for this project: A Silhouette cutting machine! There’s just way too much to cut out by hand. I provided all the files for you to use.
Supplies needed to craft this tree:
- Silhouette Cameo 3
- Black 12 x 12 cardstock paper
- Pink 12 x 12 cardstock paper
- White Christmas tree (the one I have is online only from Michaels)
- String
- Hot glue
- Colorful Christmas balls (these are shatterproof, because we have a crazy baby)
- Tree skirt (mine is from in store at Michaels)
- Punny Tree Files (these are for the Silhouette)
*Note for materials: If you have a green tree, just change the paper color from black to white so it will pop on the tree.
Directions:
Step 1) Prep all your supplies. Get the cutting machine ready by loading the black paper into it. Open up your first punny file and cut that paper! Note: You’ll notice that I connected the letters in each word with tiny tabs. This makes it SO much easier to hang up the words on your tree, instead of individual letters. Another note: you can easily adjust the sizes of each word in your Silhouette program before cutting.
If you don’t have a cutting machine and still want to do this project, here’s a list of all the puns:
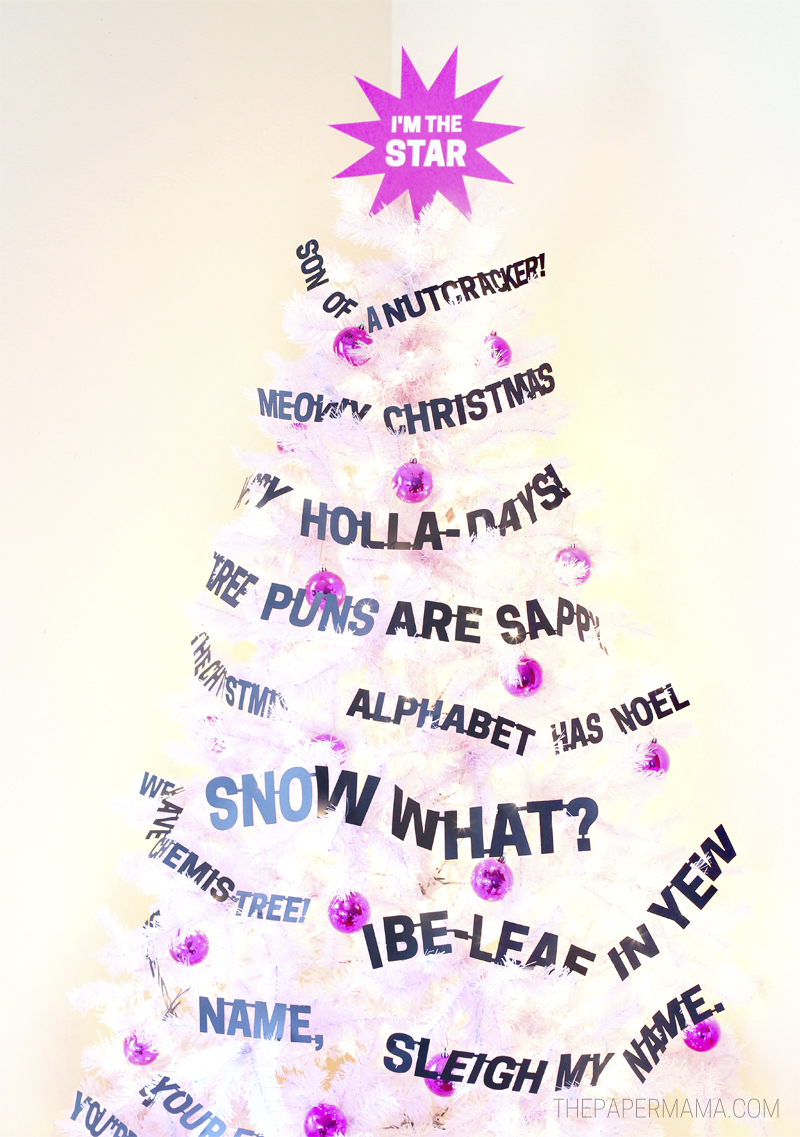
- I’m the star (on the tree star)
- Son of a nutcrackers!
- Meowy Christmas!
- Happy holla days!
- Tree puns are sappy.
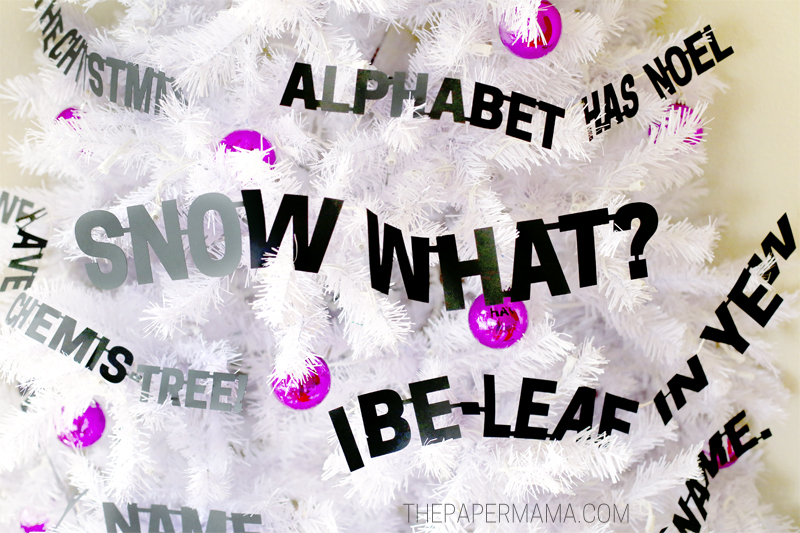
- The Christmas alphabet has noel.
- Snow what?
- We have chemis-tree.
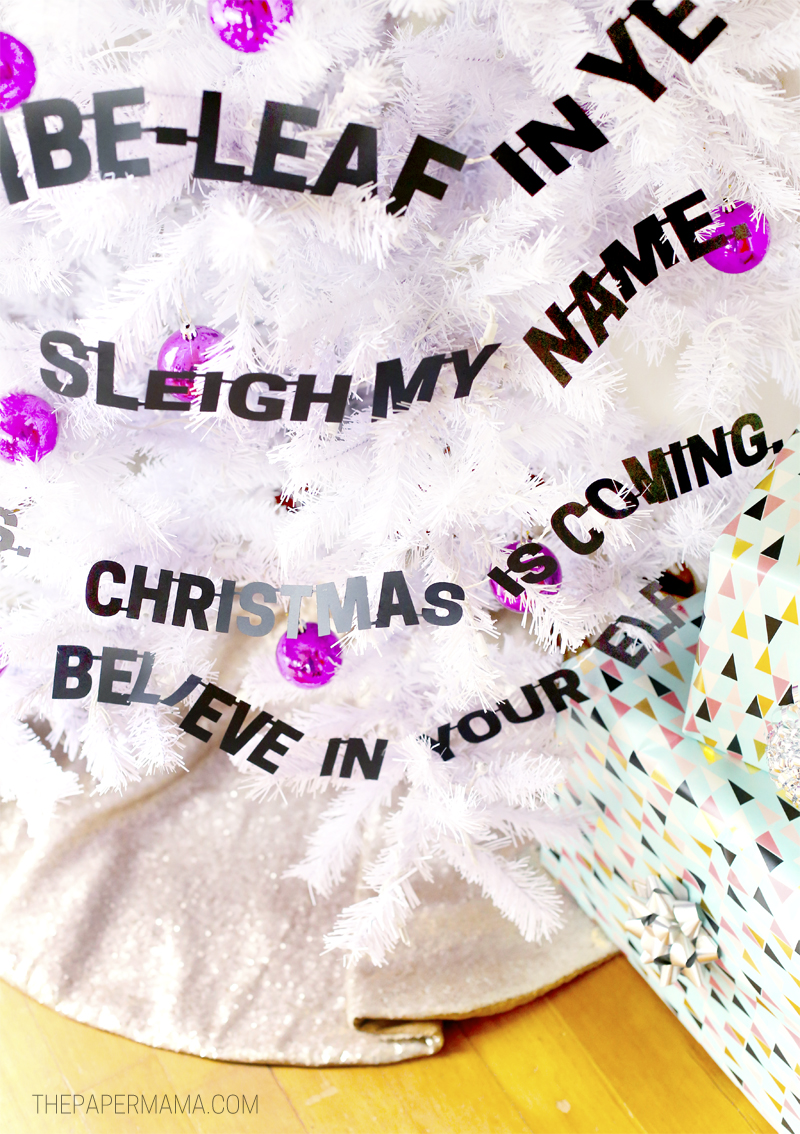
- I be-leaf in yew.
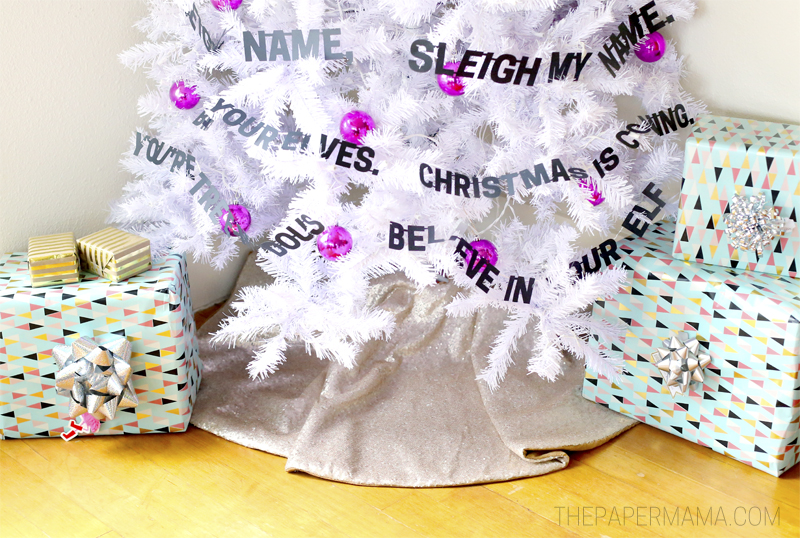
- Sleigh my name, sleigh my name.
- Brace your elves, Christmas is coming.
- You’re tree-mendous!
- Believe in your elf.
Step 2) Once you have one pun cut and peeled off the cutting mat, you can cut little one each sections of the string. Use your hot glue gun and the string pieces to connect the words to create your puns.
Step 3) Repeat step 1 and cut out your Christmas tree punny star on the pink paper. Carefully peel it off the cutting mat and place it at the top of your pretty tree.
Step 4) Hang up your colorful Christmas balls evenly around the tree. You won’t need to hang too many up, because your puns will take over most of the tree. Yay!
Step 5) Place your puns around the tree! Since I have a fake tree I was able to adjust the branches and move them to wear I needed the words to hang.
And now you are done! You have probably the silliest tree in town, unless your neighbor has already put together their own punny joke tree. Ha! Click here to keep up with my 50 DIY Days and check out holiday DIYs from the past few years.
Inspired to start decorating your own tree? Make sure you visit Michaels’ blog, The Glue String, to see the rest of the Michaels Makers’ dream holiday trees that were created this year.
– Chelsey
P.S. I am provided with a Michaels Gift card to craft this project for you. Michaels has their largest tree assortment this year, including colored and flocked trees. Check out all of their trees, ornaments and coordinating holiday décor on Michaels.com.
I want to see what you’re making! Share your crafting with me on Instagram. It could be one of my DIY’s, or a project you’re working on. Tag my IG account @thepapermama and use the hashtag #papermamafriends.


Leave a Reply