
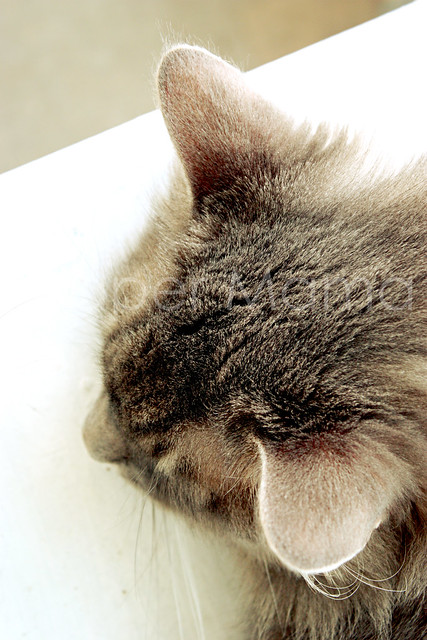
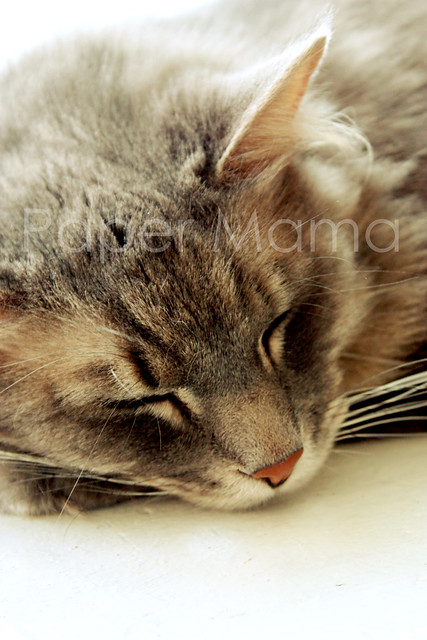
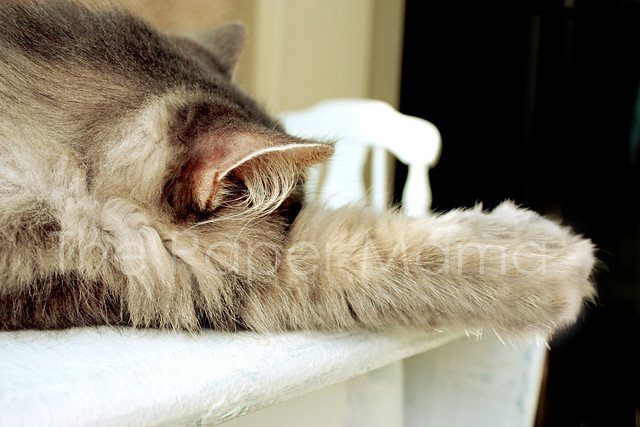
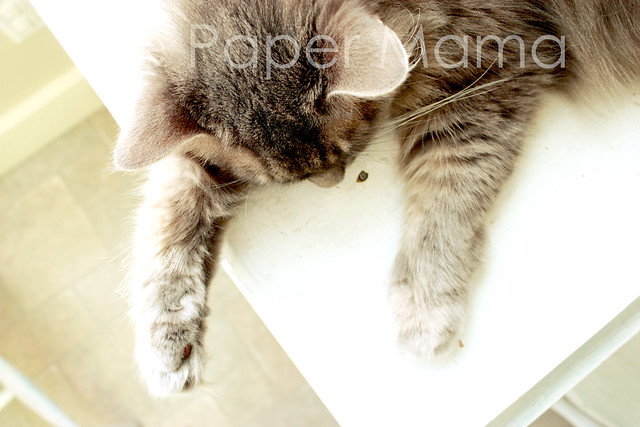
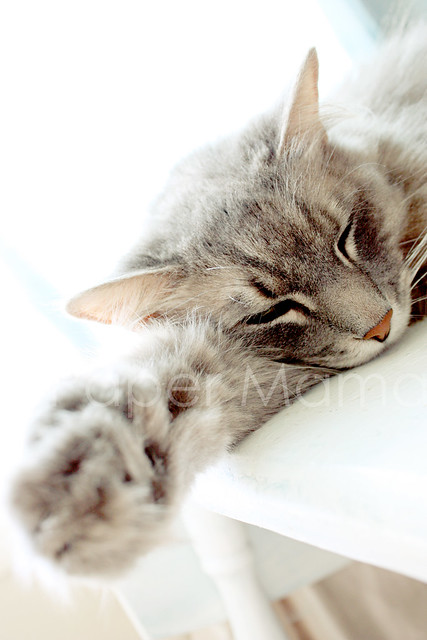
I felt it only fair that since I did a post about my kitty, Princess, that I should do a post about my other kitty: Pistachio.
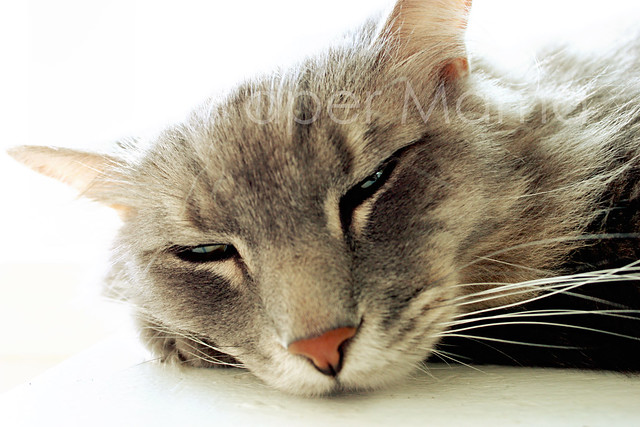
Unlike Princess… Pistachio just laid there the ENTIRE time I took photos of him. Lazy kitty. His eyes only opened a sliver… and he stretched out his foot. That’s the most action he gave me.
Bio:
- Name: Lord Pistachio. Also goes by: “Chunk chunk”, “Peetachio”, and he’ll come to a chicken call.
- Age and weight: 6 year old boy.
- Hobbies: Sleeping. Getting his fur everywhere. Scratching our sofa. Randomly attacking our Chihuahua, Angus. Getting in the crib. Sleeping under blankets.
- Dislikes: Empty food bowls. When we push him out of our laps. Baby (Well, he doesn’t like that she gets more attention than he does). Baths (Seriously dangerous). Fleas.
- Fun Fact: If you meet Pistachio, he wont let you pet him until he smells your mouth.
- His perfect date would be: Laying upside down in the sun next to a bowl full of cat food.
 |
| {39/365 Pistachio} |
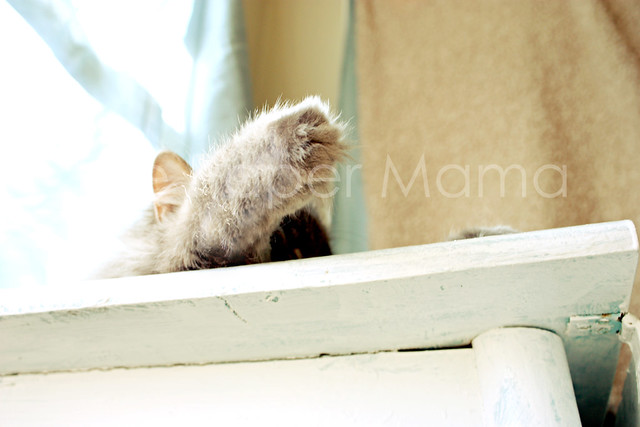
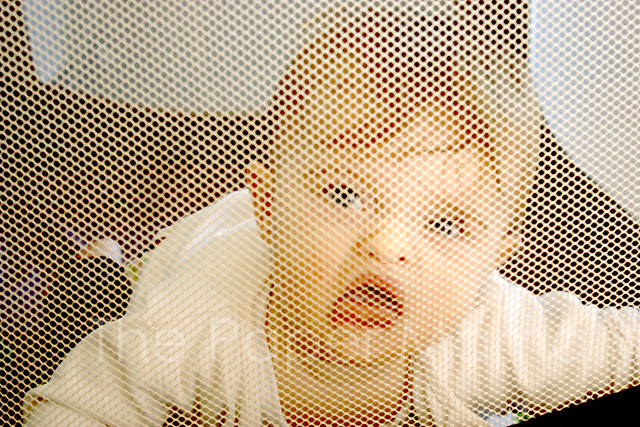
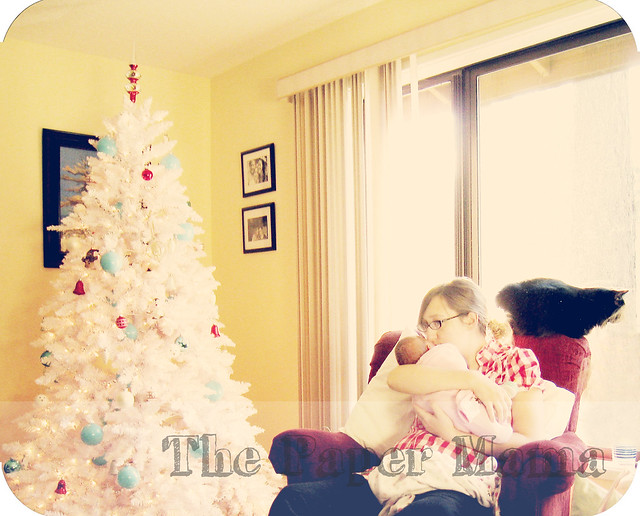
By the way… This is what Ruari thinks of me taking photos of Pistachio and not her:
Flashback Friday:
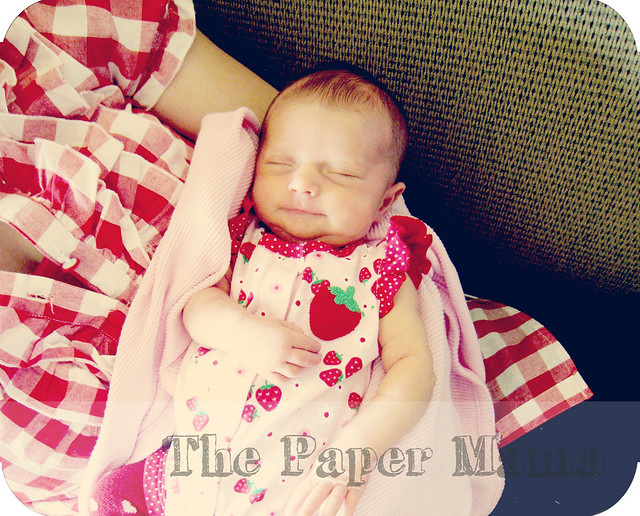
 |
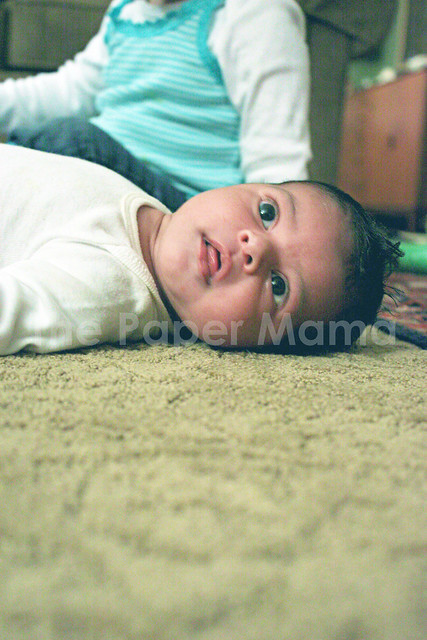
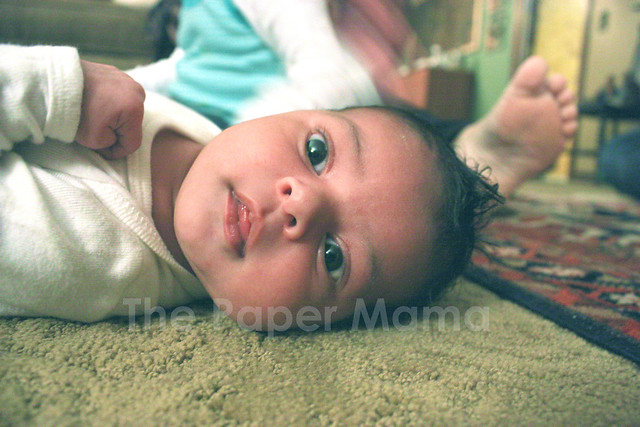
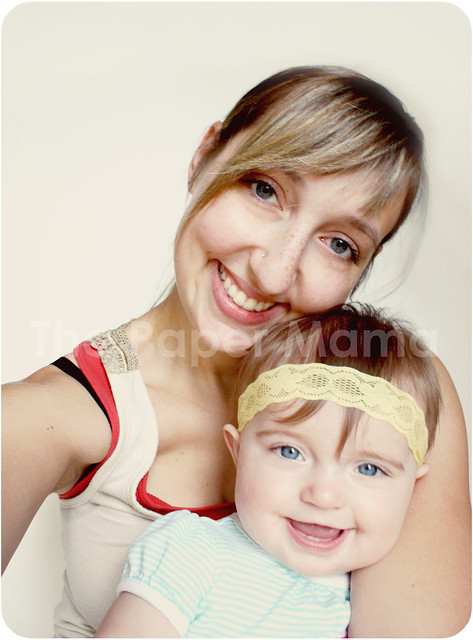
| {Me and Ruari: 1 week old} |
I’ve shared these photos before. But, since I’m so into planning her one year birthday… I thought I’d share them again! 🙂 Ruari was exactly one week old. I’ve said it before, but these photos are hard for me to look at. I love how little and sweet she was, but it brings up the memories of my birth. But, I don’t want my emotions to take over on her birthday. It’s her time. 🙂


Would ya could ya? Vote for me?

Leave a Comment
Categories: Uncategorized


