This weeks guest judge:
Tez from: Not Always Picture Perfect.
This weeks challenge:
“Fall“
Chosen by Tez:
Why Tez chose this photo: “There are so many things about this photograph that I love; the lighting, the crop and composition, the contrast between old and new, the sharp focus and depth of field…but the main thing that makes me keep wanting to look at it again and again, is the fabulous use of complementary colours…a really stunning image!”
Congrats! Please feel free to grab a “fact: I’m awesome … #1 winner” button below. Because: you ARE awesome! And, thank you SO much for participating!

Why Tez chose this photo: “This capture is all about the choice of angle for me…it just screams ”I spy with my little eye…a dinosaur out for a stroll!” I love the repetetive natural textures, the vintage/seventies wash, and how the subject is still clearly the focus without being IN focus… but most of all, I fell in love with the determined walk of that sweet little dinosaur <3”
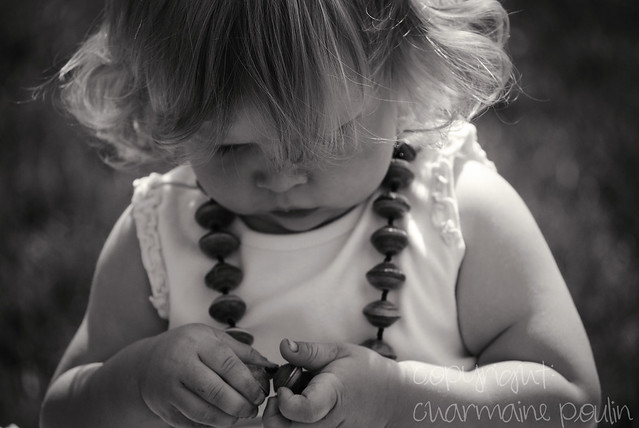
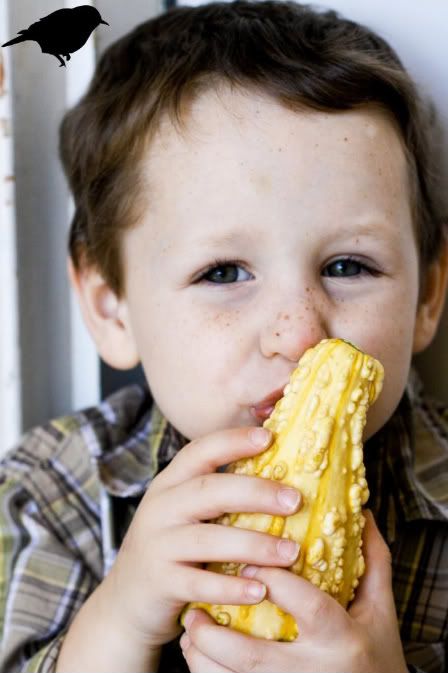
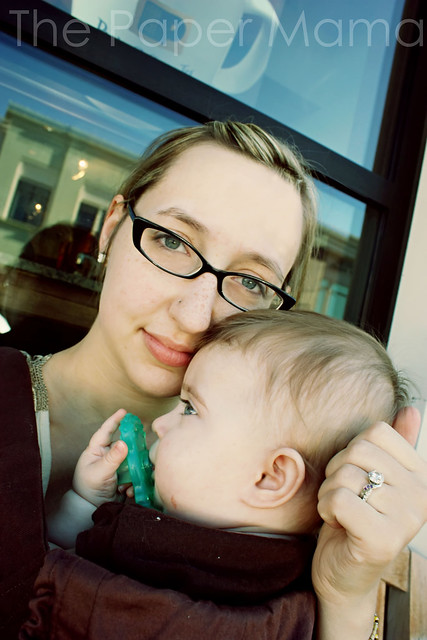
Why Tez chose this photo: “This portrait manages to do all that a portrait should do; with one little shutter click, it captures a whole personality that makes you feel like you know the person in the shot. I see mischief and playfulness, but mostly a whole lot of ”all-boy sweetness” with a love for oddly bumpy things and creatures…with a sparkle in the eye and those freckles that are to die for :D”
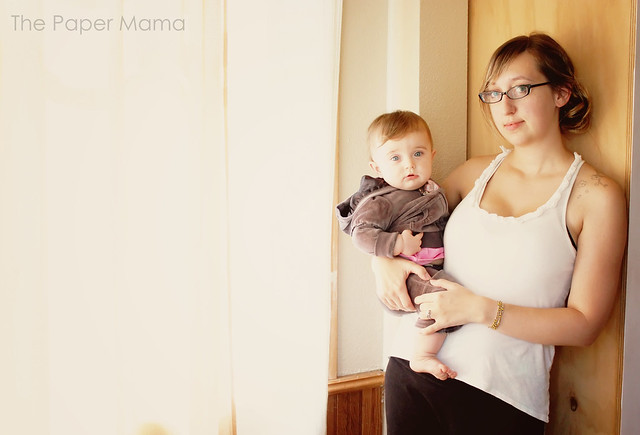
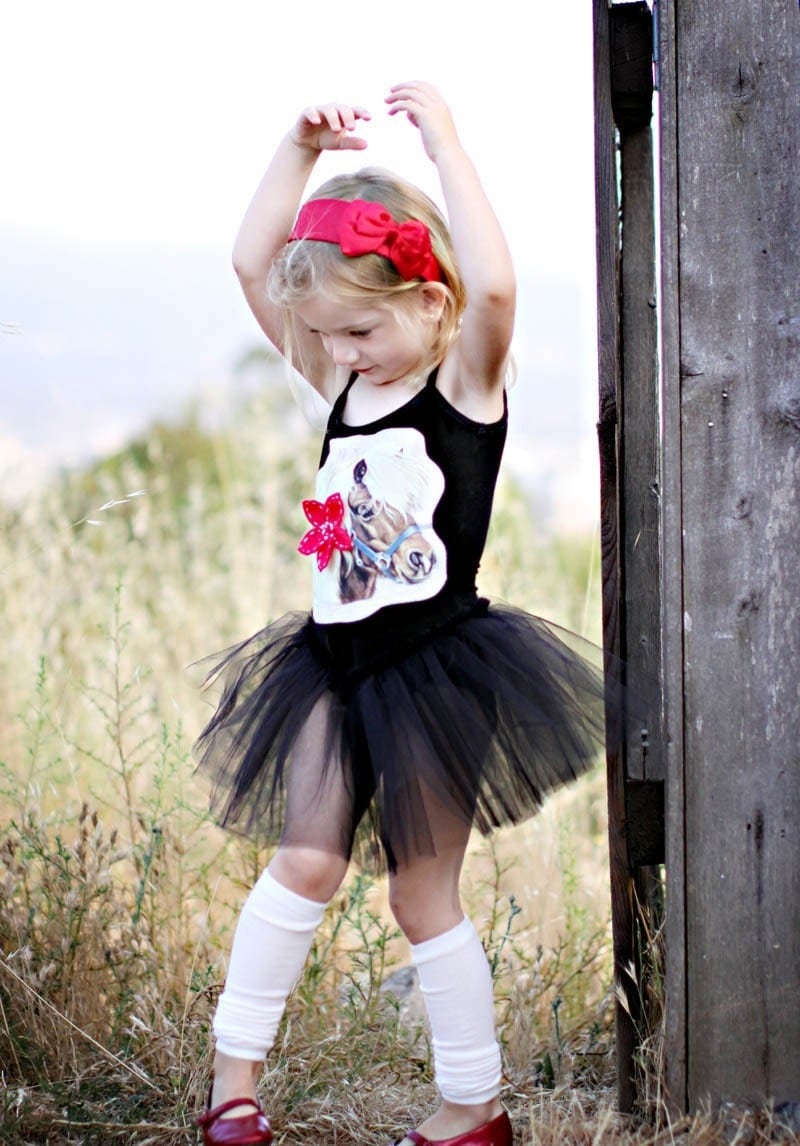
Why Tez chose this photo: “A classic ”Fall Photo”, that grabs your eye with it’s lighting and colour. I love how the colours of the leaves repeat themselves in the face and jacket, with the distinct exception of the torquoise. His perfectly framed face is so alive with the crisp air and the fun of fall, it makes you feel like you’re right there with him.”
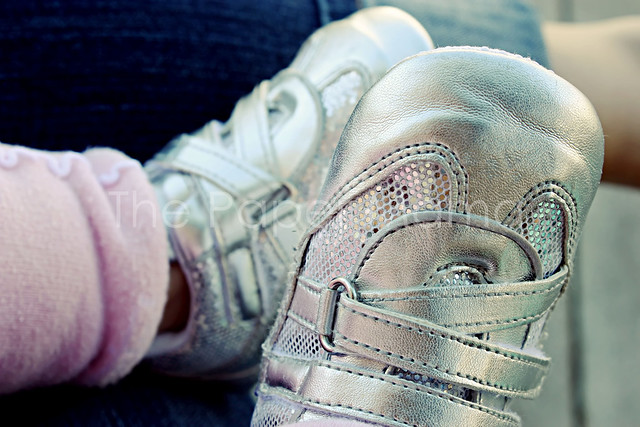
Why Tez chose this photo: “My heartstrings were seriously tugged as soon as I saw this adorable little guy…even though it’s a posed shot, it still managed to become a candid picture because of his strong personality that shines through! Beautifully composed with the path leading your eye right to the joy radiating in his face, seemingly from the happiness of having found such a ’treasure’ of nature…and, oh, those cute jeans and sneakers!!!”

My favorites (in no particular order):
If you’re one of my favorites you are more than welcome to grab a “Paper mama hearts me” button below!
And, we both had a few honorable mentions:
Why Tez chose this photo: “Just the cutest face ever, with a gaze so sweet and pure it makes me want to keep him from all the hurts in the world. Great composition, and the pumpkins enhance the portrait beautifully without taking over the shot.”
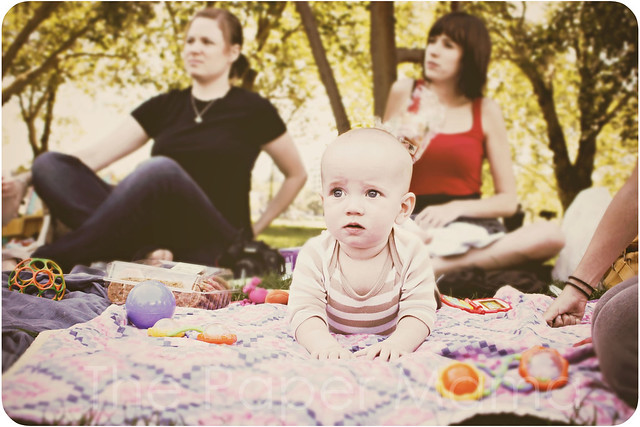
Why Tez chose this photo: “I love how this picture captures a happy childhood memory; time spent with each other, enjoying Mother Nature on a gorgeously crisp autumn day. Lovely lighting and a dreamy treatment make this photograph stunning.”
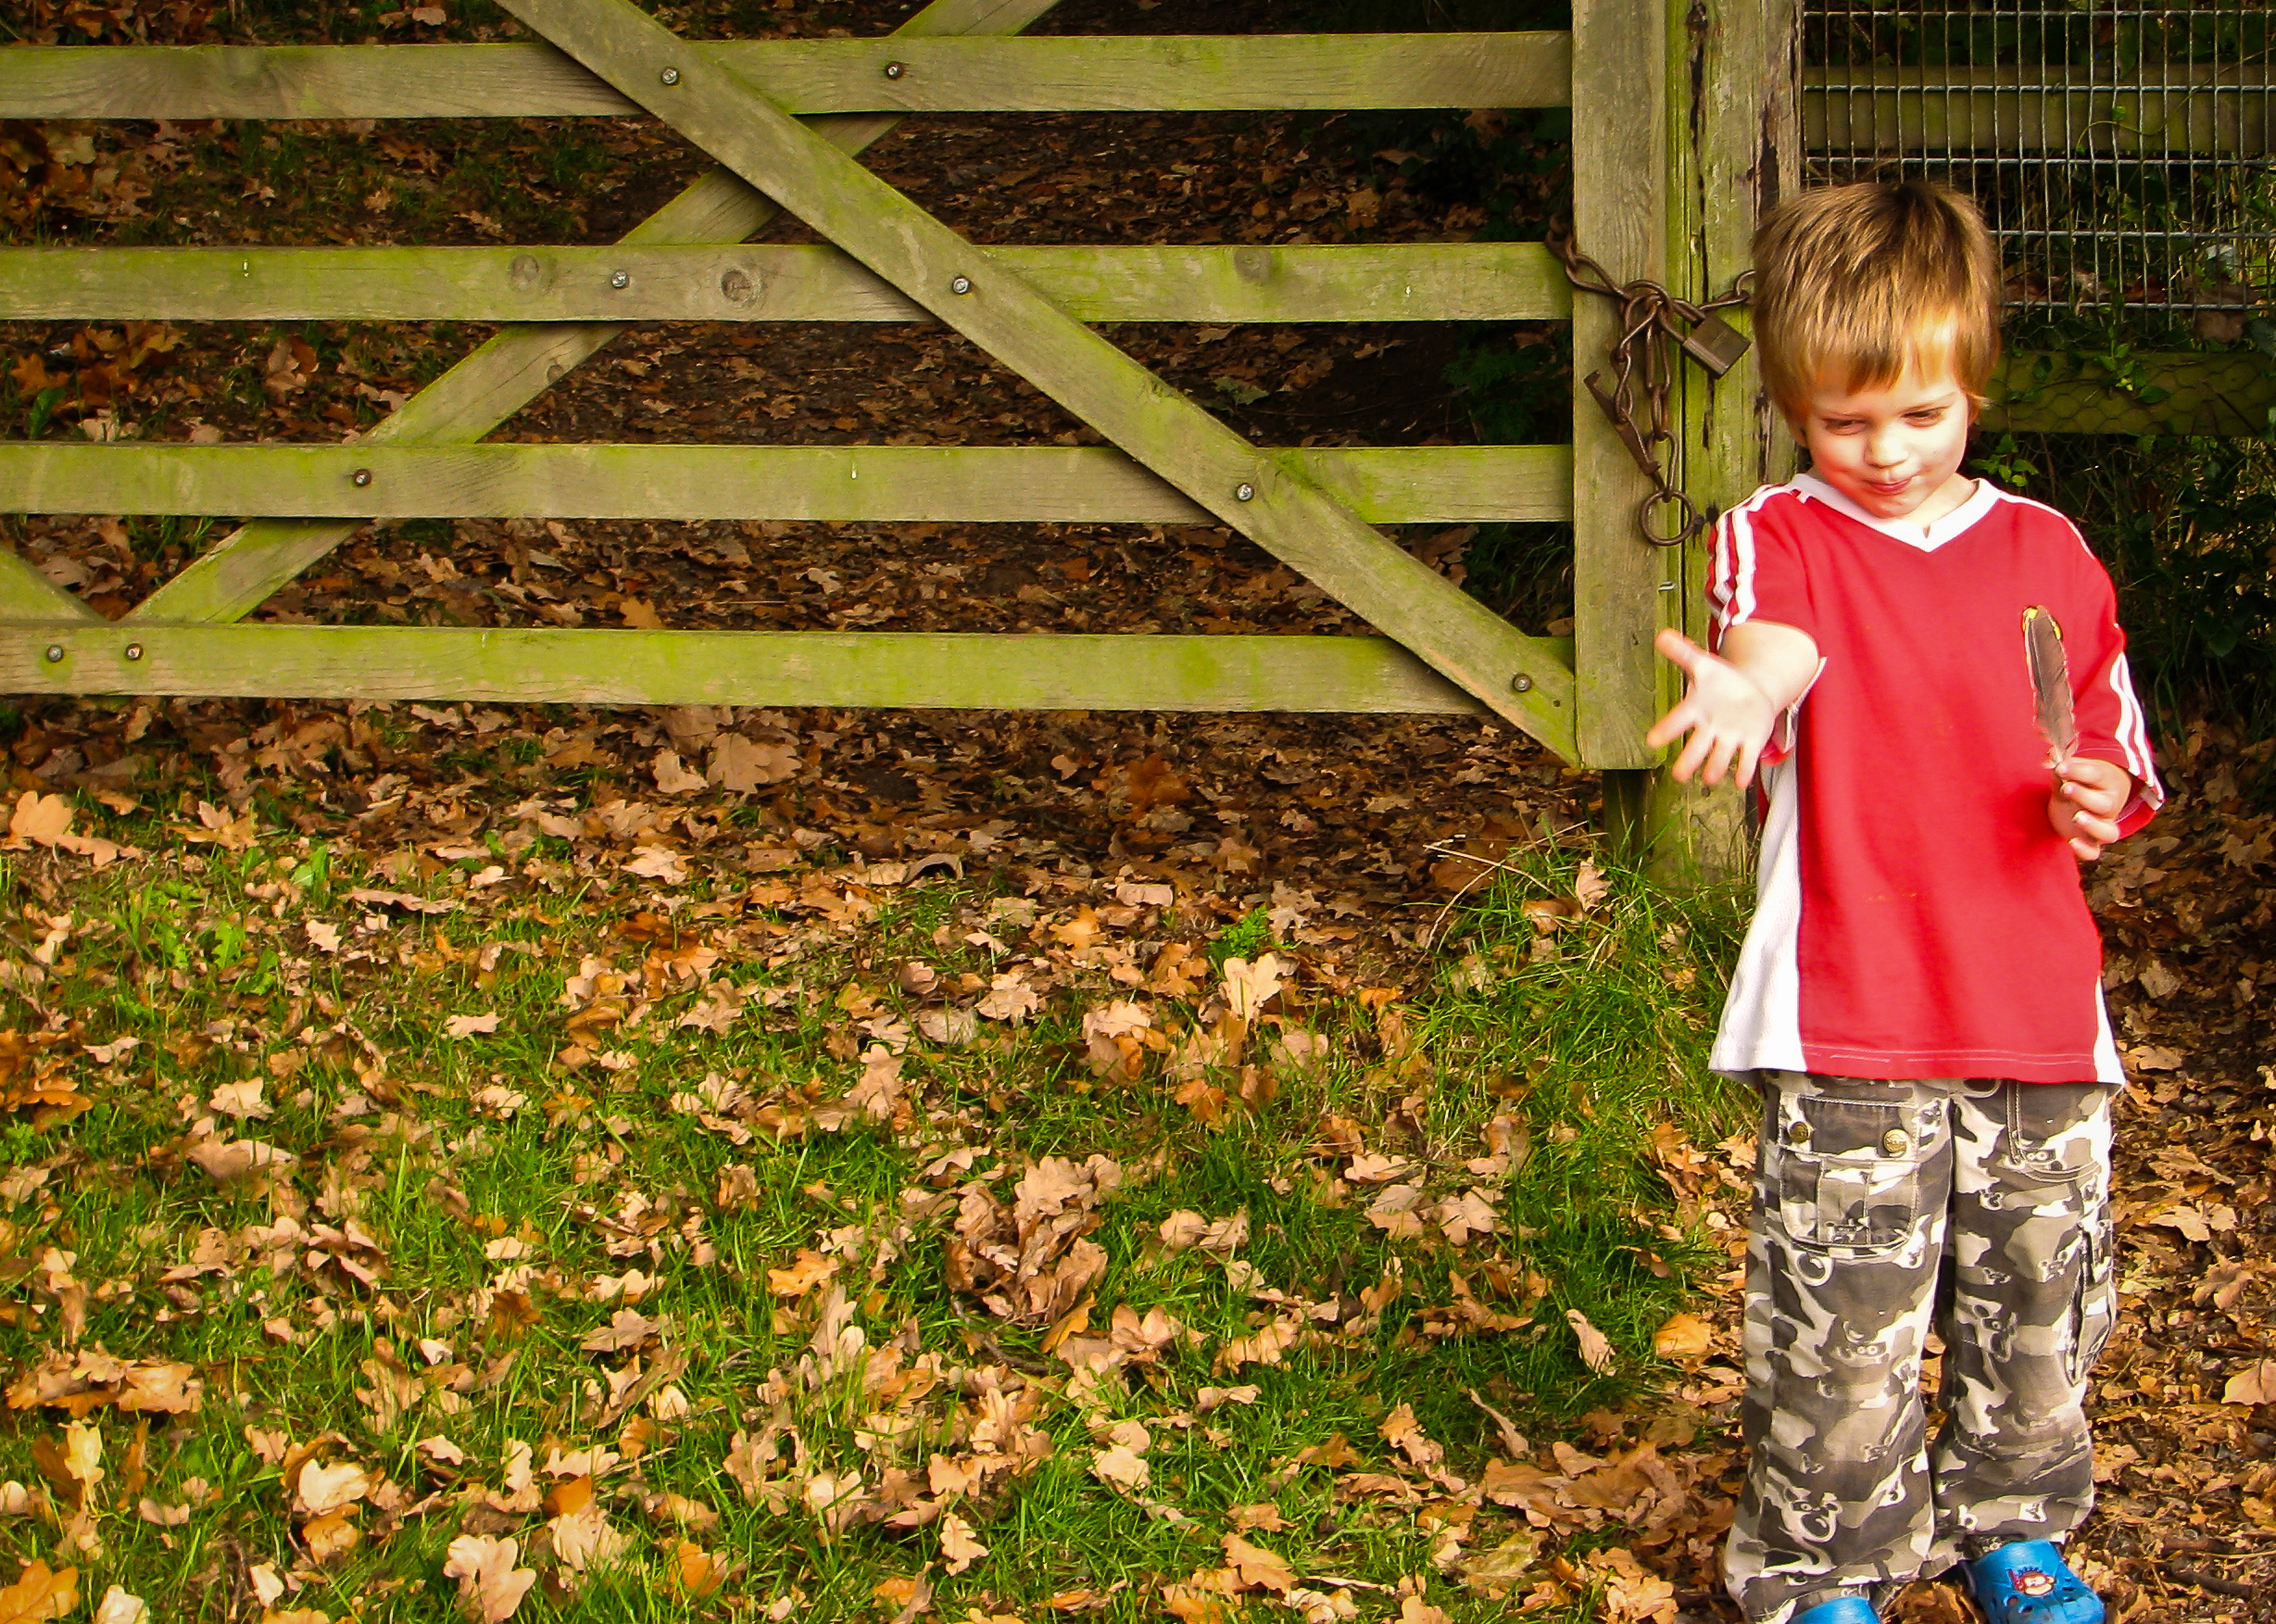
Why Tez chose this photo: “This is such a great capture…a boy desperate to keep playing while mom makes him stay still for just another shot. Interesting composition, and the fence helps draw the eye right over to the subject. I love the sweet expression on his face, the careful way he’s holding the feather, and the overall feeling of fall fun!”
Guess what…. after 4 challenges there will be a week long vote off of the winners from the 4 previous challenges… The winner of the vote off will get a small prize! 3 more challenges to go…
Winners so far:
- Fall: … And then she snapped …
- Black and White: … no one yet …
- Halloween: … no one yet …
- Food: … no one yet …
♥♥♥♥♥♥
If you have an Etsy shop and would like to give away an item as a prize… please drop me a line! I ♥ sponsors and will show your shop some love for your contribution. 🙂
♥♥♥♥♥♥

Would ya could ya? Vote for me?