One year ago Saturday, December 18th, Laureli Lynn came into this world at 1 pm.
 |
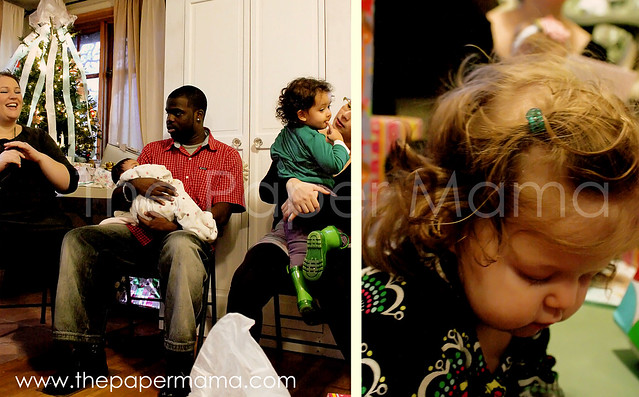
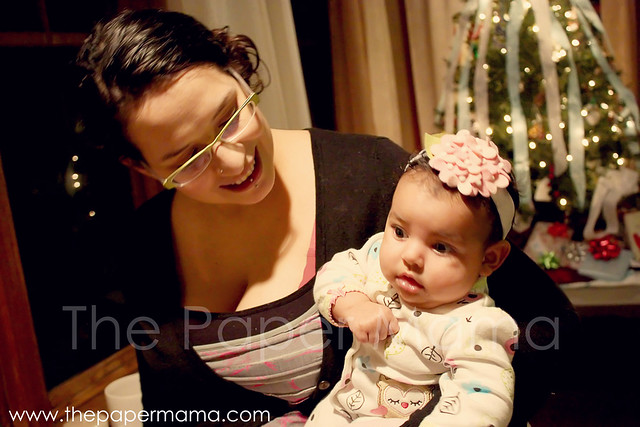
| {Listening to your birthday song.} |
 |
| {You were looking around the room during Happy Birthday looking at everyone like they’re crazy!!! Funny.} |
Laureli,
On Saturday you turned one! I wouldn’t say the year flew by fast…. (lack of: sleep, showers, make-up, etc.) BUT, it’s been good. Since you turned 7 months: your personality REALLY started to appear. You weren’t just a baby anymore… you were a human. My little human. 😀 My little girl.
 |
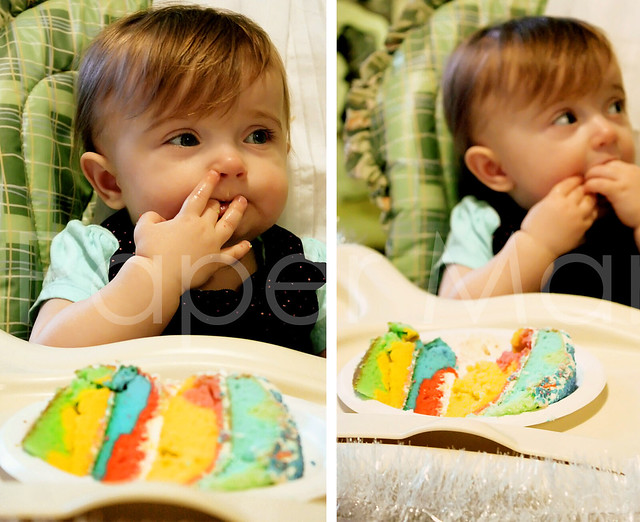
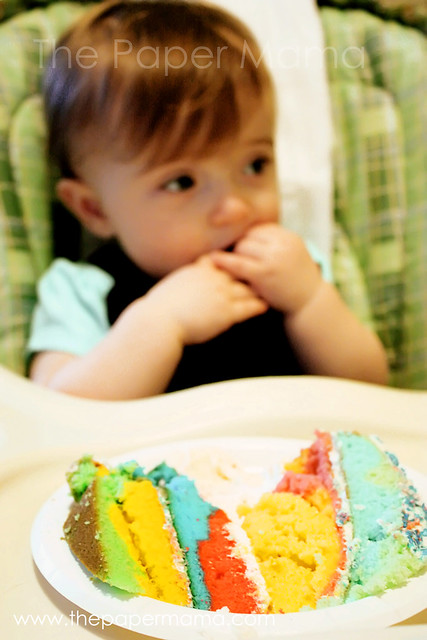
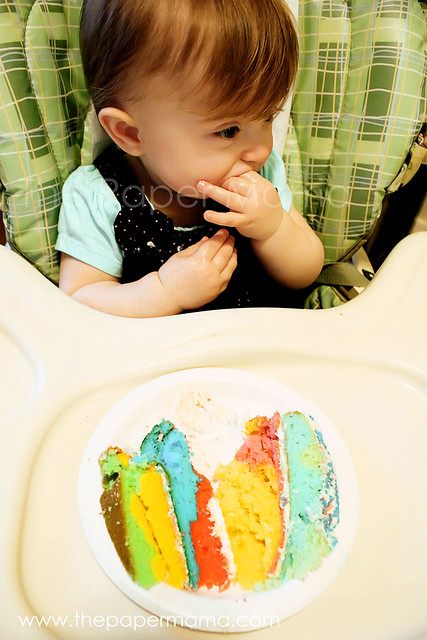
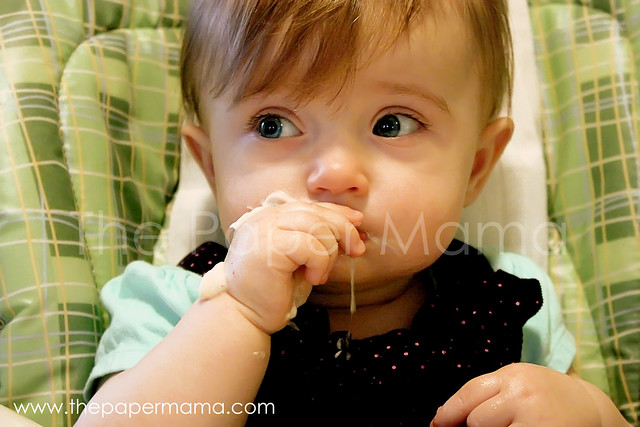
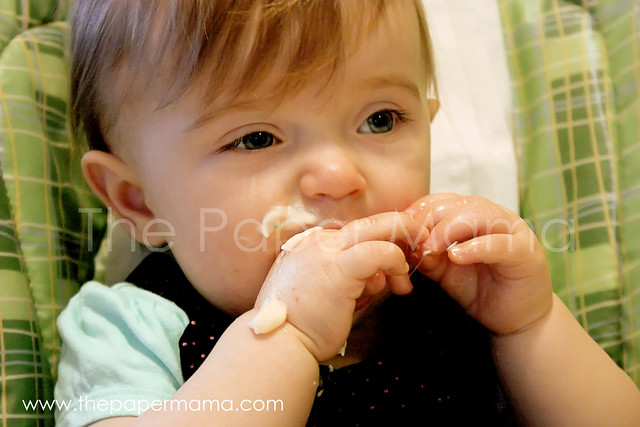
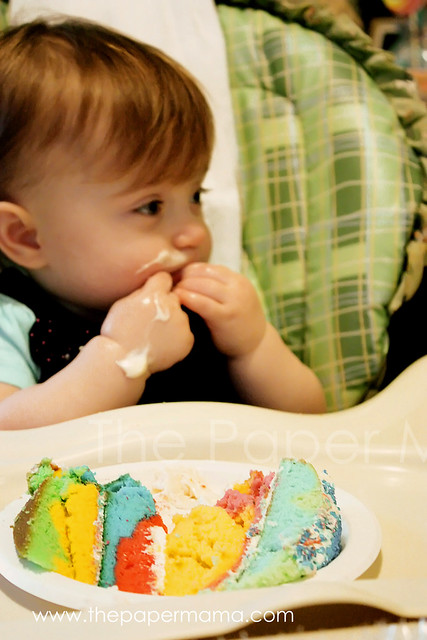
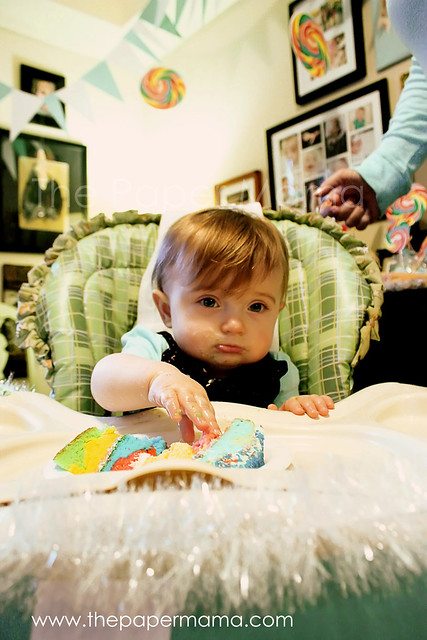
| {Your FIRST taste of cake/sugar ever!} |
 |
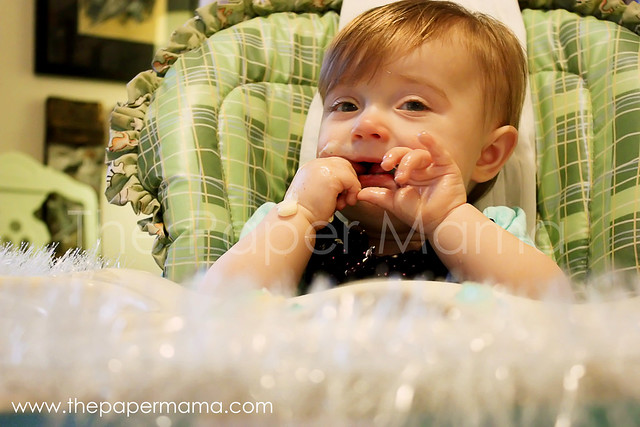
| {Ok, you like it!} |
What have you been doing for the last month? Well…
– You are silly. REALLY silly. I’m afraid you have my sense of humor…
– Playing peekaboo is awesome. The way you play peekaboo: you turn your head away from me… then whip it around fast and wait for me to say, “Peekaboo!”.
– You LOVE LOVE LOVE books. You will sit and “read” a book for a good 20 minutes all on your own! Babbling and pointing at the words and pictures.
– The other day you asked me a question (in babble-talk). You sat there waiting for me to respond! When I did, you seemed pleased and went back to what you were doing.
– Every time we see a dog or a kitty on TV or in a picture you get VERY excited and point and babble!
– You talk SO much! We call it Aiden-ese (Aiden is our friends baby that would carry on babble conversations with anyone around). Talk talk talk.
– You like to dance.
– You’ve been cuddling…. sometimes. BUT, I just love it. It’s the best.
– You sort of want me to hold you 24/7… You cry when I walk away from you.
– Your new favorite toy: a stuffed Bernese Mountain dog that your grandma gave you for your birthday. You LOVE LOVE LOVE it. Cuddle it. Hug it. Rub your face on it. Pet it. We’ve named him Bernie.
– You absolutely LOVE to chew on my hair that his fallen out… Yeah, I’m still losing a lot of hair…. I find much hair in your poop.
– Speaking of poop: your poo is nasty! It’s no longer baby poop. Yuck.
– When I open the front door you get VERY excited. That’s the door your daddy comes home through and the door we leave the house through!
– Bath time is awesome.
– You think you’re pretty funny.
– You’ve started hiding things behind you back when I go to grab them! How did you learn that?
– If you put something in your mouth (suck as dirt) and I go to grab it… you crawl away FAST and clamp your mouth shut!
– Stick your finger in your nose and laugh.
– What you’re saying: Doggie (dah-geh), Angus (An-duh), Mama, Dada, Hi (also comes out as: heh), and I’m sure there are others that I just haven’t caught.

– You wave at anything and everything.
– I think you weigh about 22 pounds.
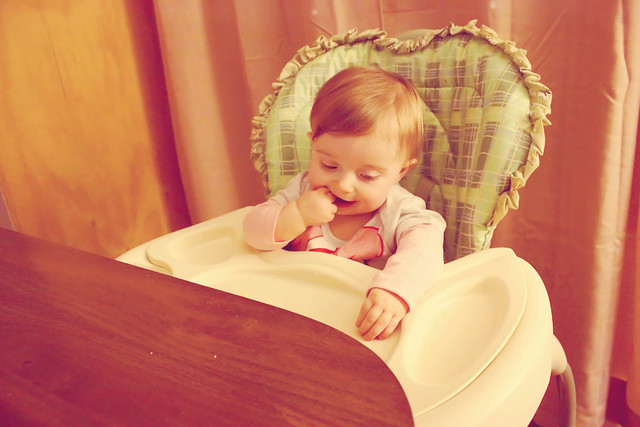
– You love to eat: bananas, baby crackers, turkey in a jar (you like savory), sweet potato, satsuma mandarins, strawberries, avocado, and cake. Yeah, you thought cake was the best ever… don’t get used to it… you wont be eating much of that. 😀
– Bad food: Oatmeal (allergic reaction), applesauce, pear, carrots, and peas.
– Wearing size 5 diapers!
– Crawling like a maniac.
– You pull up on everything.
– You can stand without holding on to anything… but, you don’t think you’re quite ready yet.
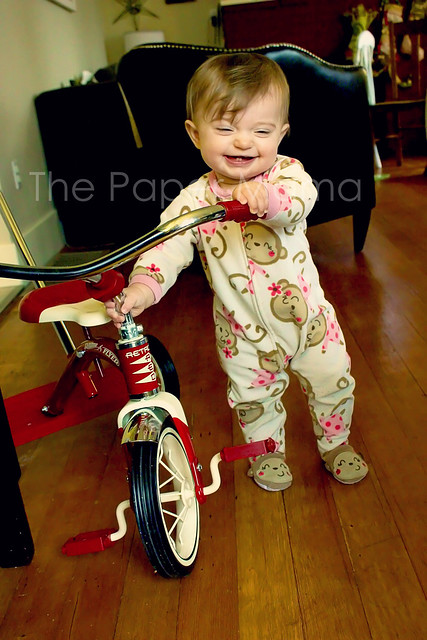
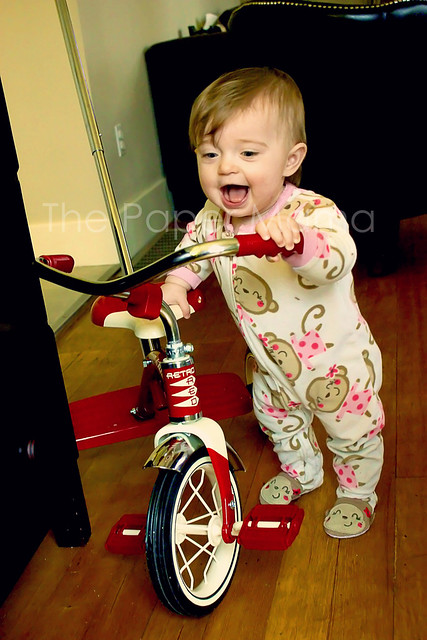
– I swear you’ll be walking soon. You hold on to just a finger and walk (and fall).
– You have 6 teeth. 2 on the bottom and 4 on top!
– You are a little shy, but warm up with time.
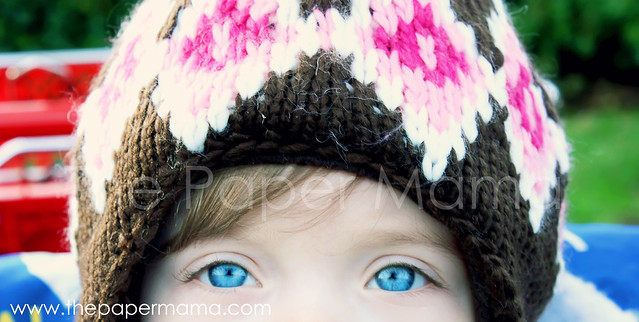
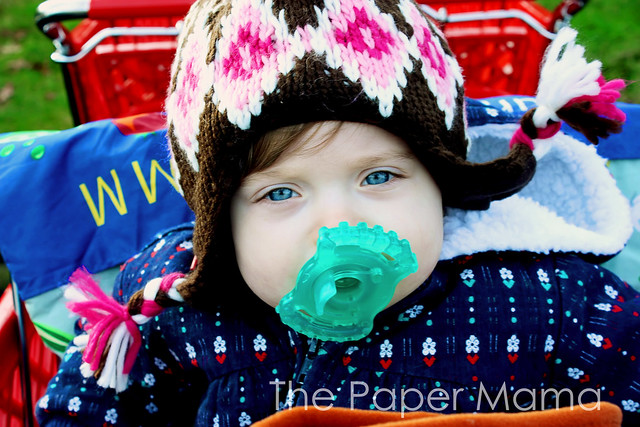
– Your eyes are DEFINITELY blue.

– You share kisses (or you lick our faces, but we still love it).
– Raspberry blowing, fake coughing, high-pitch screaming… all sounds you love. 😀
– Still addicted to your pacifier… that’s ok. We currently use your pacifier to keep you from eating absolutely EVERYTHING you touch.
– You HATE getting your clothes changed. That includes your diaper.
The birthday party:
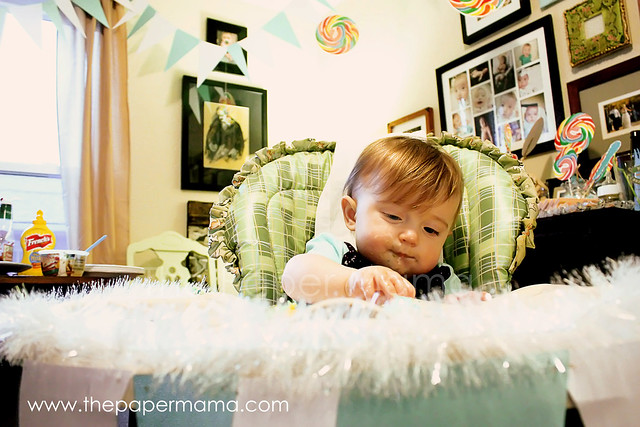
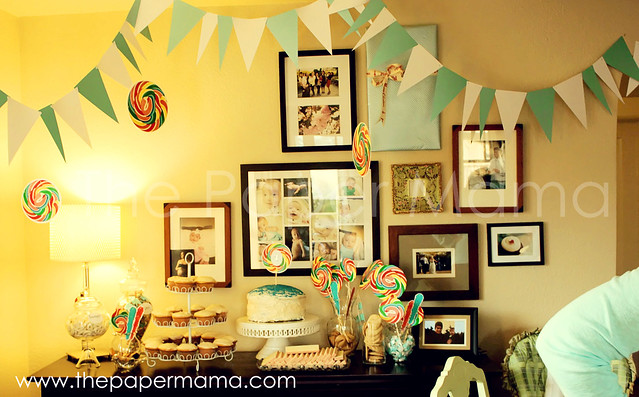
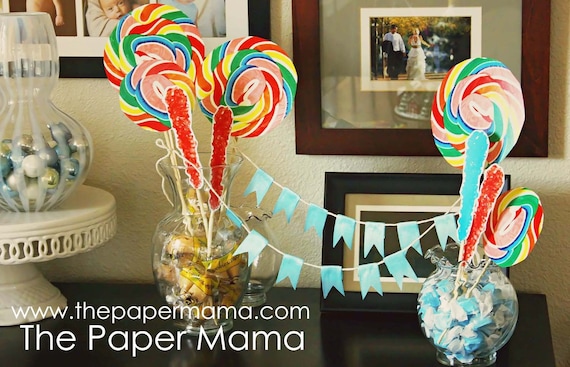
I made the paper banners. VERY simple to do. Would you guys like a tutorial? The lollipops are photos that I printed out and glued on sticks. You can buy the photo in my shop for $5 for your birthday party/wedding here!
The little ribbon banner tutorial can be found here.
 |
| {Mama made this birthday cake for you, with the help of Grammy.} |
 |
| {Mmmm! Cake!} |
I got the idea for this rainbow cake after I read Lacey’s (Our Life) rainbow cupcake post.
 |
| {Rainbow cake!} |
 |
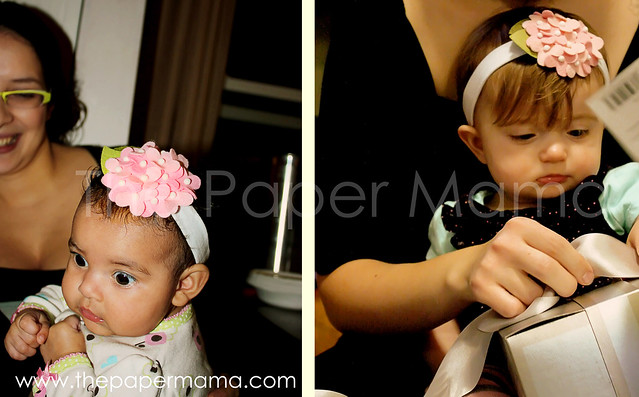
| {Opening the birthday presents! See, there’s Bernie: new favorite toy!} |
Look who showed up for Ruari’s birthday: Amy and Parker from A Good Life! I’m SO happy they showed up! She’s so sweet. If you haven’t seen their blog yet, you probably should go check it out right now!
Look, it’s my dried up and dead Christmas tree! It’s completely dead. Well… I guess that’s what we get for buying a tree from a grocery store. 🙂
Happy birthday baby girl!!!
Would anyone be interested in a giveaway of the birthday decorations? Such as the banners and lollipops.
Ruari would LOVE a vote for her birthday!

Would ya could ya? Vote for me?


