I’ve been wandering through and enjoying my favorite photos of 2010! Tuesday I shared my favorite FUNNY photos of Ruari for 2010…. Today, a few blog ladies and I are sharing our ALL time top 10 favorites of our babies from this year..
10.
This is Ruari enjoying Bumbo time. She loved it! She always hated laying down…
9.
 |
| {Hangin in the sun!} |
This was a lovely day that the fam and I spent outside. Ruari was about 6 months old and we decided to spend the day splashing in the kiddy pool and trying on sunglasses!
8.
This was another summer day splashing out in the water! Ruari was in her little ducky pool learning how to splash!
7.
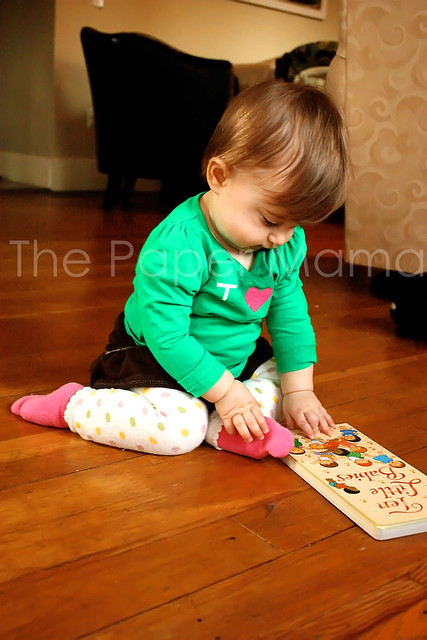
This was just a simple lovely day…. Ruari had just learned how to sit up on her own… so I snapped a few quick pics!
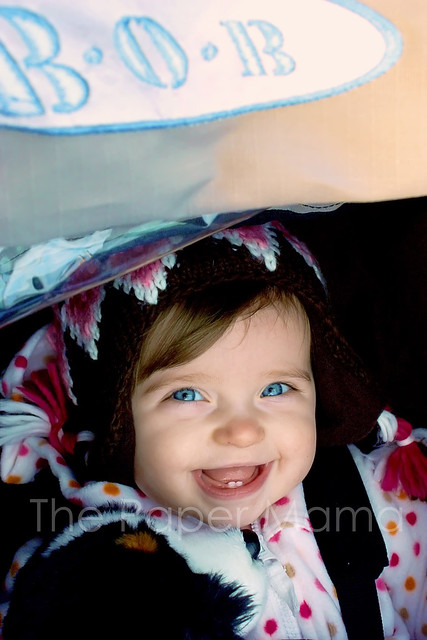
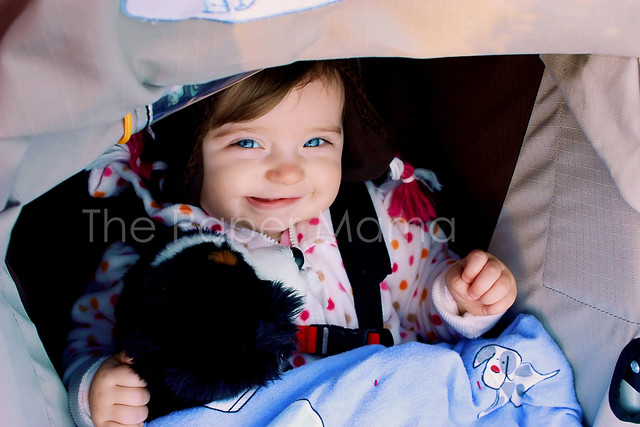
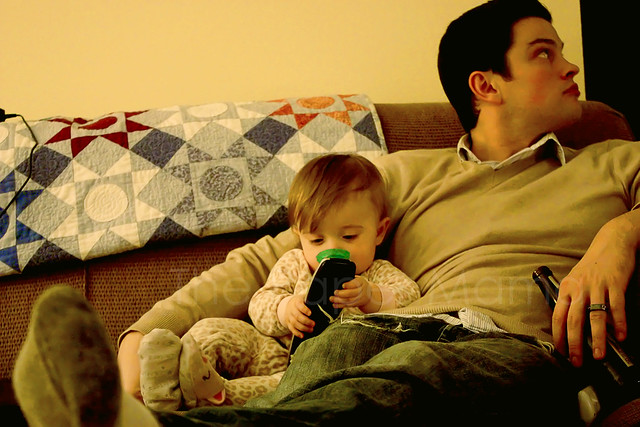
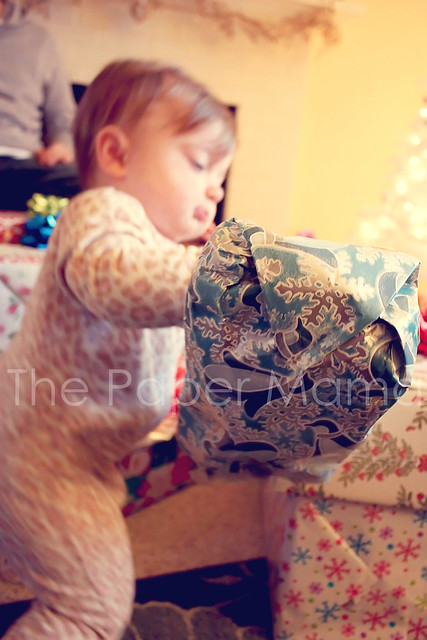
6.
This was a lovely night out in our front yard enjoying dinner. It was a very hot day…
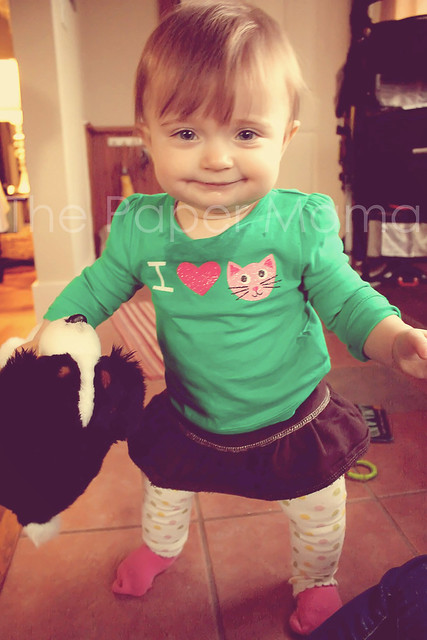
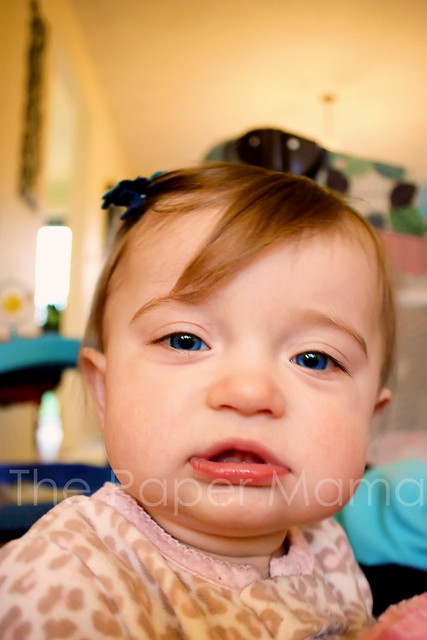
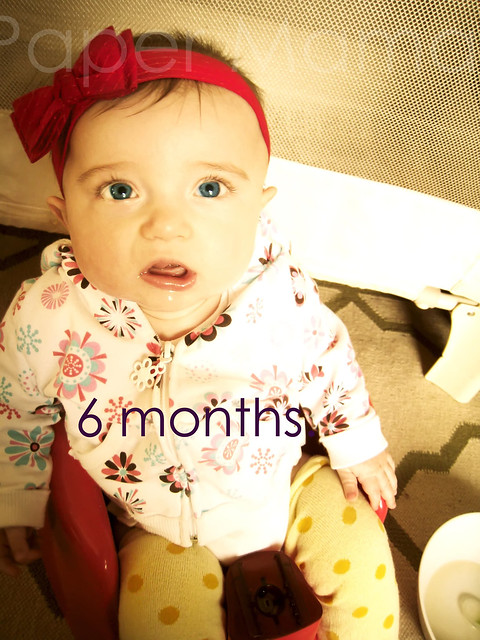
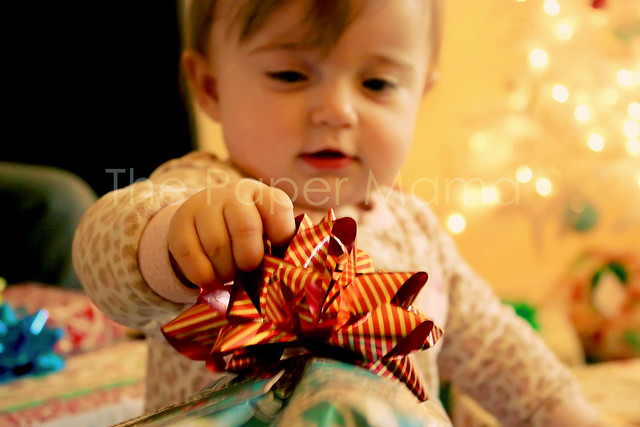
5.
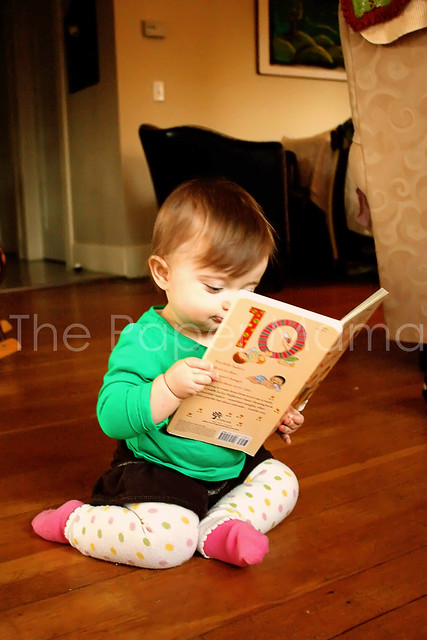
This was just a random day with my new camera that I decided to snap some photos of Ruari. I ended up loving all of them!
4.
 |
| {Ruari: 5 weeks old.} |
We had these photos taken at 5 weeks old. This is one of my favorites because I love how she’s looking right at the camera and that little line of drool and the bubble on her mouth. Awww.
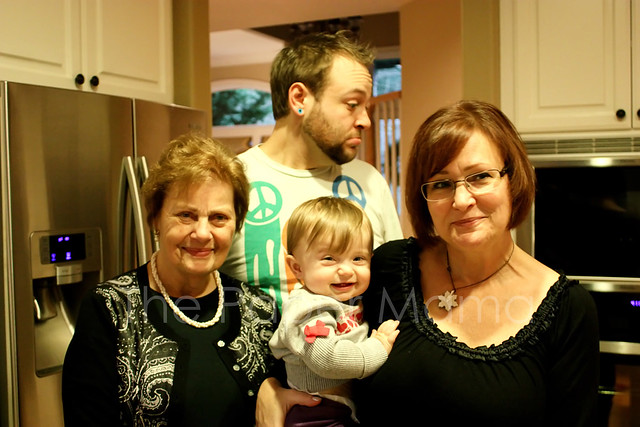
3.
Beautiful photos taken by a friend, Hollin. It was pretty hard to choose my favorites from all of these photos she took…. but, I love this one of both of us.
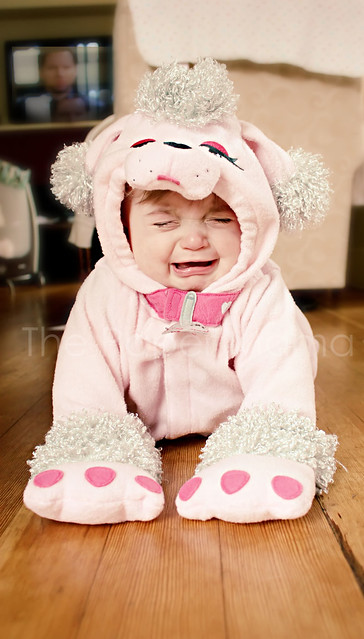
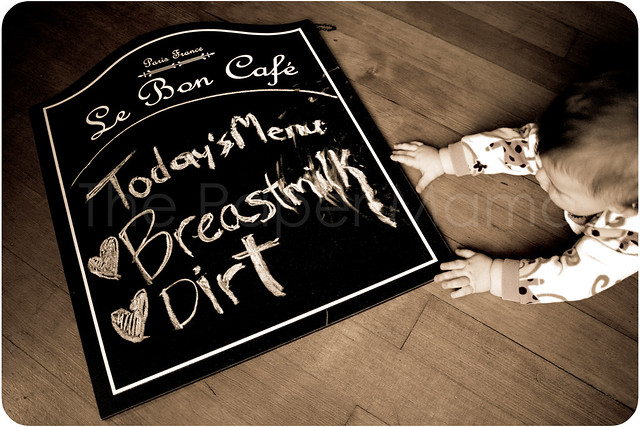
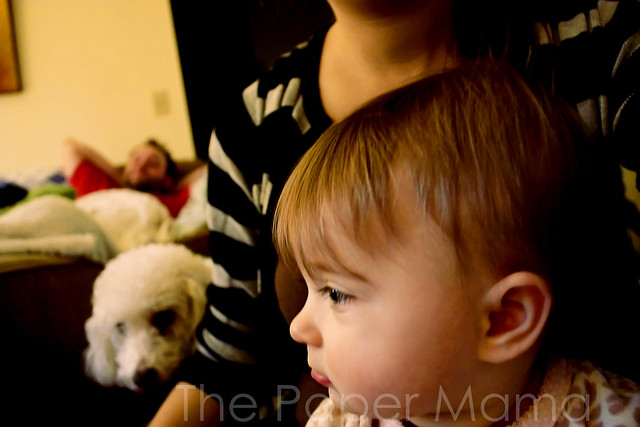
2.
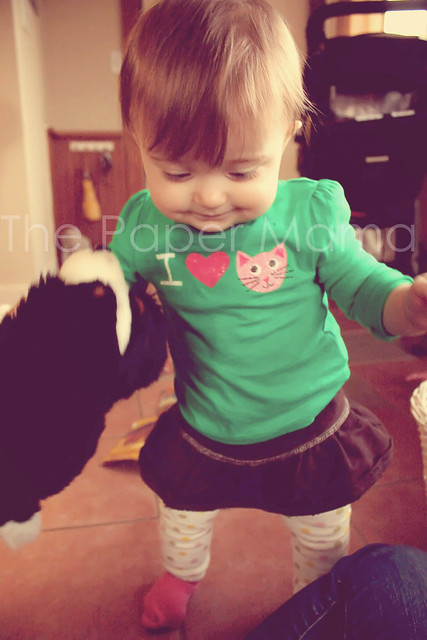
I’ve said it before: this photo cracks me up! Poor tortured poodle.
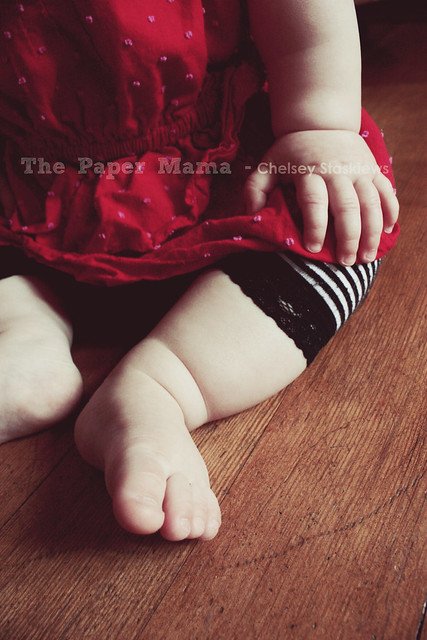
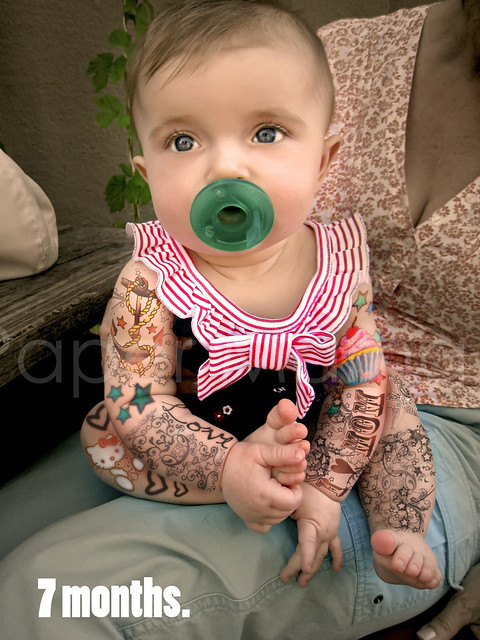
1.
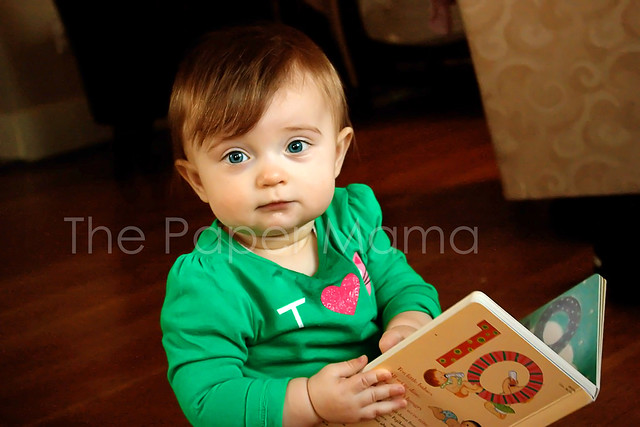
It’s not the best quality photo, but I just love this photo! She was four months here. It’s my favorite!!!
Please check the linky below to check out the other top 10 photos from the participating blogs! Join us! Link up your top 10 of ’10 blog post below! 😀 Can’t wait to see them!
Can we get a vote?
Flashback Friday:

Would ya could ya? Vote for me?