Yes! Pear Tree Greetings has offered to give my amazing and beautiful and awesome readers a $20 gift code for being so awesome/amazing/beautiful. I’ve used Pear Tree Greetings a few times now… I’m VERY pleased with their quality and variety. I love them.
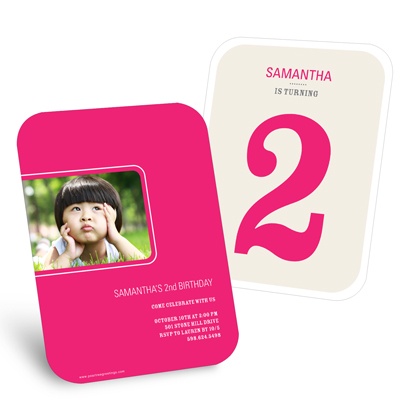
So, I wanted to share a few of my favorite items from Pear Tree Greetings…
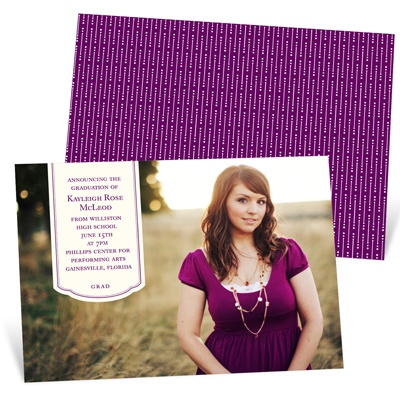
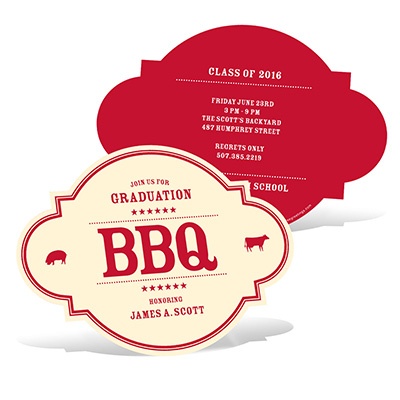
Graduation Announcements… can you believe it’s almost June? I know!


Are you interested now?
What can you win?
A $20 coupon code to spend on ANYTHING at Pear Tree Greetings! I want to win!
How do you win? Please follow these steps… AND make sure I have a way to contact you through e-mail. If I don’t… I’ll have to delete the entry… 🙁
Mandatory entry:
1) Just answer this question: What sort of greeting would you buy with your $20? ;D{1 entry}
1) Just answer this question: What sort of greeting would you buy with your $20? ;D{1 entry}
Optional entries (Please comment separate for each entry so it counts. Thaks!):
1) Follow me (see sidebar) {1 entry}
1) Follow me (see sidebar) {1 entry}
3) Like my Facebook page for The Paper Mama {1 entry}
4) Follow me on Twitter: @thepapermama {1 entry}
4) Follow me on Twitter: @thepapermama {1 entry}
5) Tweet or Facebook about this giveaway. You are welcome to copy and paste this tweet:
” @thepapermama Win an awesome $20 coupon to Pear Tree Greetings! http://alturl.com/9n56s “{1 entry}
6) Blog about this giveaway… linking back to my blog (please post blog post link in comment). {1 entry}
” @thepapermama Win an awesome $20 coupon to Pear Tree Greetings! http://alturl.com/9n56s “{1 entry}
6) Blog about this giveaway… linking back to my blog (please post blog post link in comment). {1 entry}
If you have a moment, I’d LOVE to get
a couple votes from you!

Last day to enter giveaway is February 25th, 2011 at 11:59PM Pacific time.
❤ Chelsey

Leave a Comment
Categories: Uncategorized