Links I love this week!

I’m headed home from cali today! I had a crazy busy week. I’ll share some wonderful photos next week. <3 

Links I love this week:

I’m really enjoying this blogger. Love her outfits, and her blog is adorable.

I sort of have a chair addiction. This would be nice to have.

I love this print.

Beautiful macaroons.

I believe we need to make our own family fort night. Ruari would love it.

As we get ready to start painting kitchen cupboards, I’ve been keeping an eye out for color inspiration. I like the idea of a hello island and the rest of the kitchen white.

Really wanting this lovely cat eye sunglasses, from Urban.

Ombre dresser.

Cute! DIY snow cone garland!

Yuuuuuuum. Nutella and strawberry poptarts.

Grilled Asparagus with Parmesan Curls.

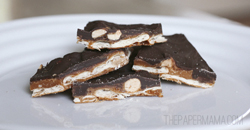
S’mores brownies for everyone!

– Chelsey

Tags:

Categories: Uncategorized


Revamped play kitchen

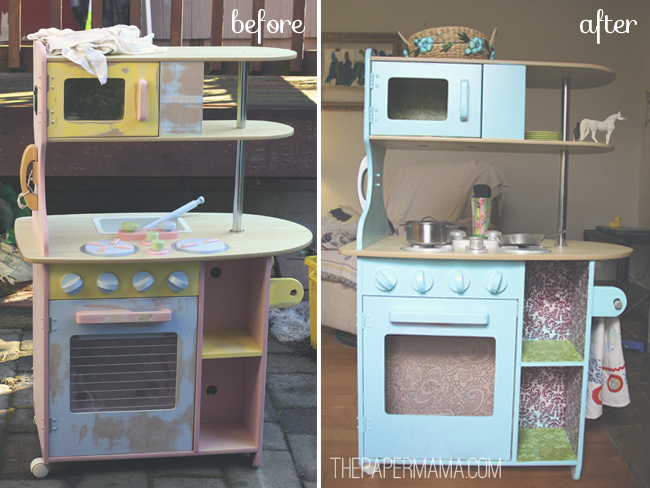
My little girl’s “new” play kitchen! I bought this goody at a local consignment shop for $25 last October/November. My intentions were to have it finished before her birthday and christmas in December. Of course that didn’t happen…. BUT, it’s finished now! It just need a bit of new paint, tightening here and there, and some love.

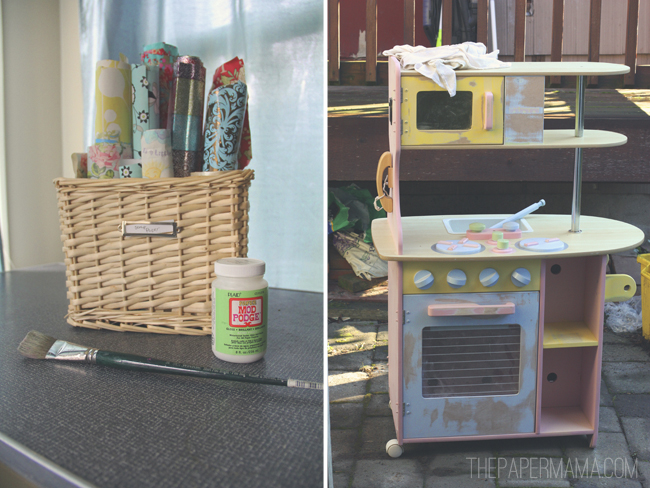
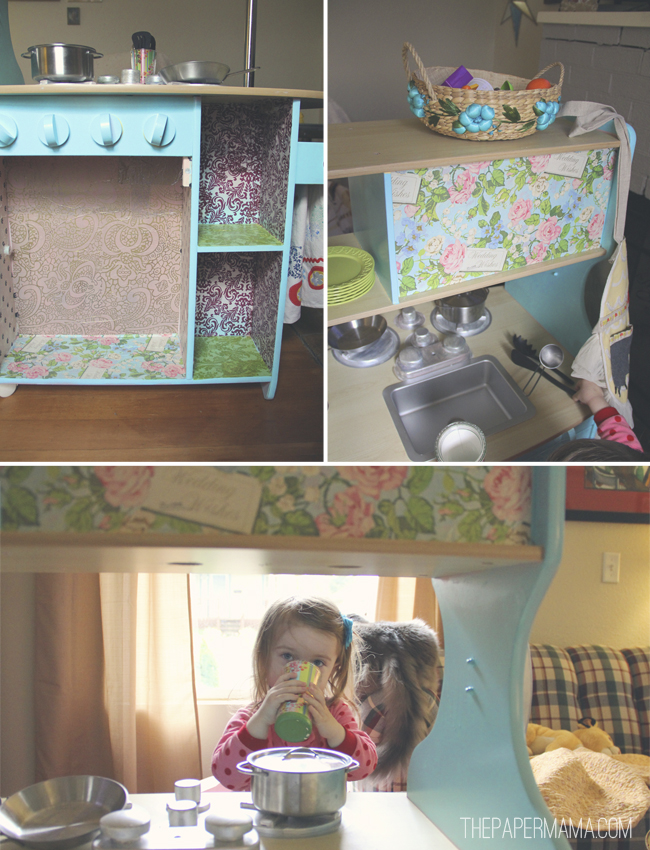
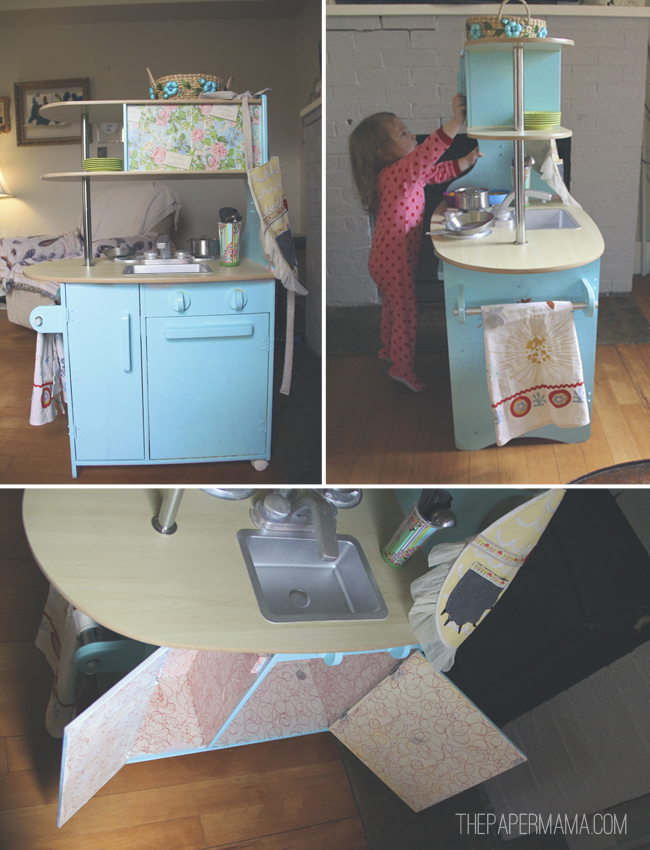
I painted a primer on the kitchen…. then sprayed it this lovely blue. For the sink, phone, and stove stuff I painted silver. THEN, the fun part… well, the time-consuming part: I mod podged tissue and vintage papers onto the shelves and inside the cupboards. It took a LOT of time for this part, but so worth it. I think it just makes this kitchen look so cute

We have this kitchen in her room now… her little tiny room. She loves making us dinner, washing her horsies in the sink, and making coffee with this kitchen. I’m so happy she loves it. It took a bit of time and work… but, for $25 (and all the fun she has with it) it was so worth it.

I see these kitchens on craiglist ALL the time for cheap. Keep your eye out! They can be like $200 new.

– Chelsey

Linking up with Mandy for High On Thrifting.

{Related Posts: //The new teepee//Placemat Apron//DIY Fox Costume//}


DIY Sea Monkey Kit

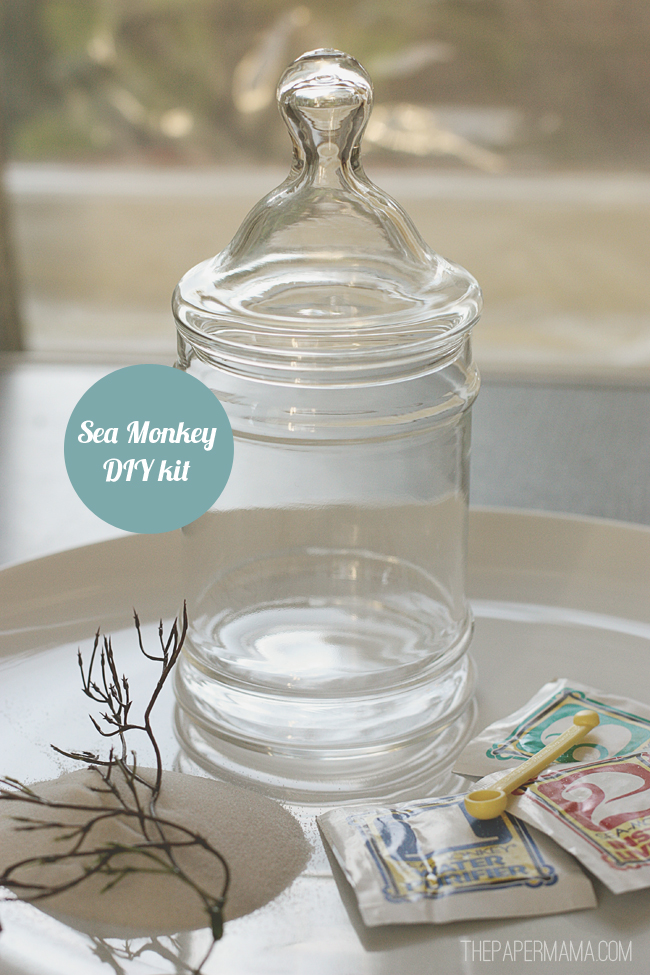
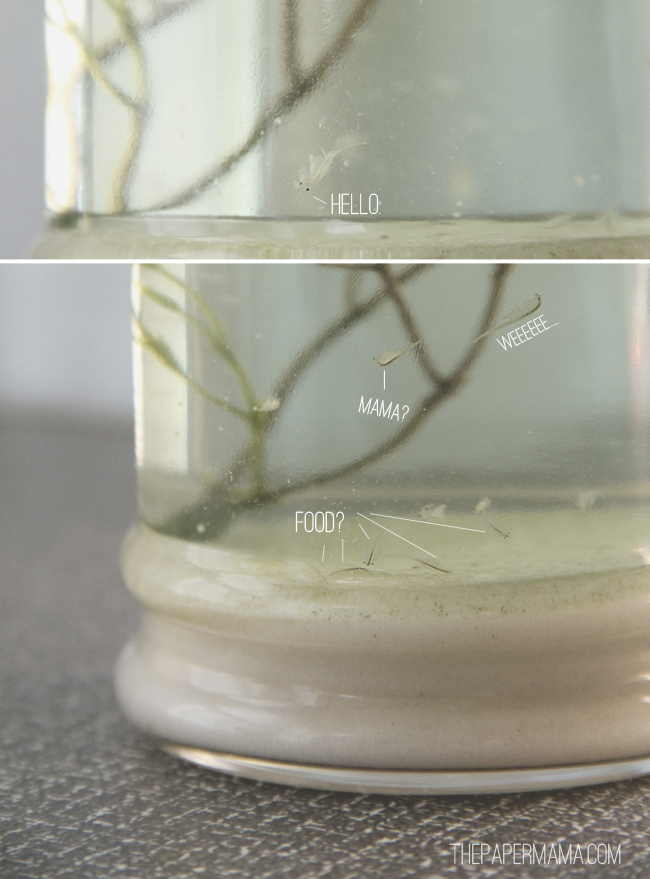
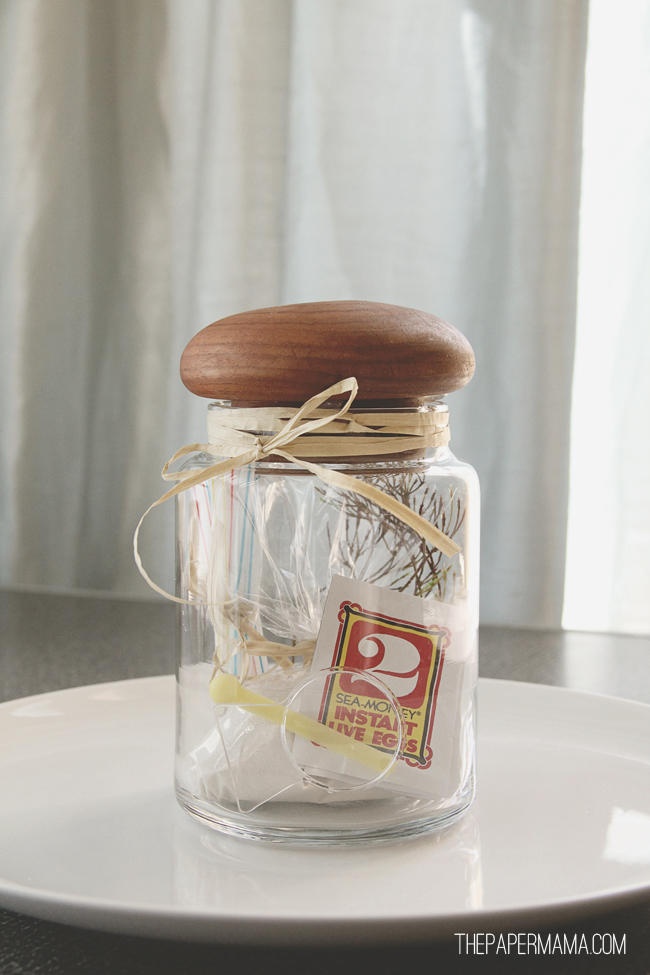
DIY Sea Monkey Kit: I was always fascinated with these little creatures when I was little. I loved them. But, I didn’t like the little plastic containers they came in. For some reason I never actually thought about putting the sea monkey’s in a different jar… why not? Do these plastic containers have some sort of special power? no. SO, we have the DIY Sea Monkey Kit. I just found a little glass container at the thrift store for $2. So much lovelier.

I started my little sea monkey town back in February. AND, I’m proud to say my monkey’s are still alive. Hee. What are sea monkey’s? Well, they’re little brine shrimp. Or, “Shimp” as Ruari calls them. She enjoys them too and loves to watch them.

What you’ll need:

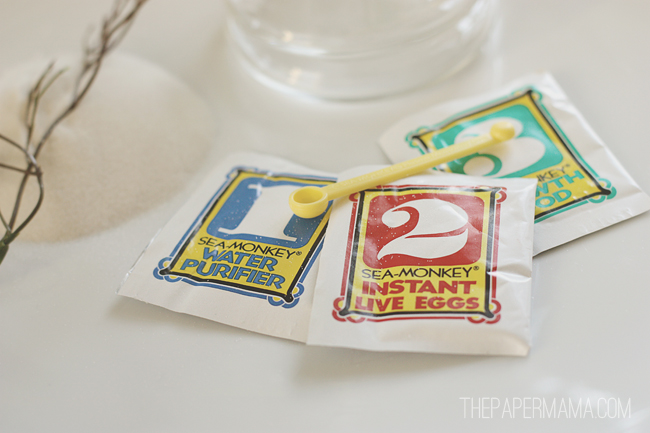
– A sea monkey kit ( I found the purifier/eggs/food on eBay for $7)

– Small glass container (thrifted $2)

optional:

– If container has lid: hot glue

– Superfine fish tank die-free sand

– Plastic plant

– Straws

Directions: 

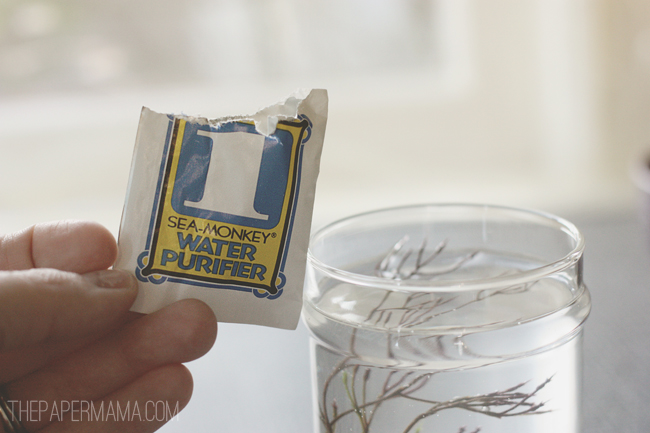
1. You’ll start with adding about a 1/2 inch or so of sand to the bottom followed by your plastic plant…. add your water and pretty much just follow your Sea Monkey kit directions exactly…. but, it will all be in the new container you purchased.

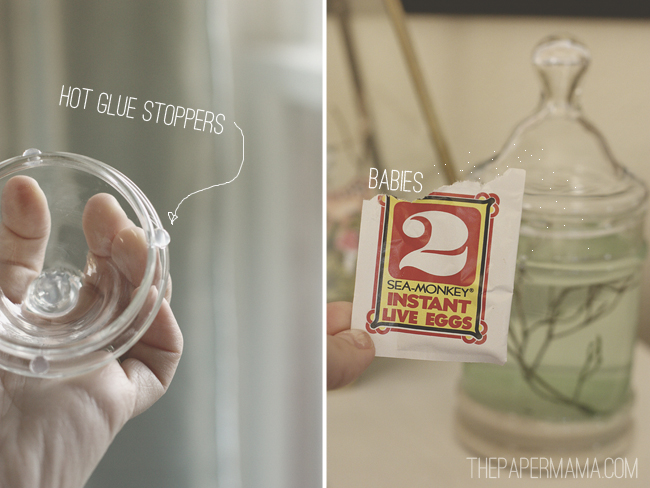
2. Important: If you’re container comes with a lid…. you’ll need some hot glue to add little stoppers to the lid. You’re little monkey’s will need to breath… so, you need oxygen to get in there.

And, that’s it! You’re done! You’ve made yourself a fun little accessory/science experiment. What’s really great is my kit has stayed surprisingly clean (don’t overfeed…. it will get cloudy).

TIP: If you’ve added sand to your kit… Try not to stir up the sand. I feel this may bury the little eggs and shrimp. No bueno. I use a little straw to lightly blow in some air to add oxygen to the water every couple of days.

PLUS: I had enough materials left over to create another little Sea Monkey Kit. This one was a gift for my friends 4-year-old little boy. He was pretty fascinated by my monkey’s, so I hope he enjoys his own little jar!

Enjoy!

– Chelsey

{Related Posts://Paper Insect Collection//Paper Terrarium//Rainy Day Jar//}


R’s first year.

I’ve been in the process of gathering up and organizing the first year of Ruari’s life. If  you haven’t read it before… I’ll let you know a little something about me: I tend to procrastinate on home projects. So, I really didn’t want R’s first year to turn into one of those projects! At all. I’ve finished her baby book for the first year and now I created a short little video of my favorite video clips, bits, and  photos of the first 12 months using Animoto.

This little video is sort of a mama’s day gift for me. <3 I have roughly one million videos from R’s first year that are just sitting there on our mass storage drive. Doing nothing. I attempted to make a video montage on my old PC for her first birthday… it was an absolute frustrating disaster. I spent so much darn time on that thing and didn’t have anything to show for it since I couldn’t figure it all out. I think I’ll need to create a few different Animoto videos of my girl. I think next up is a food themed clip, then a year 2 video. I so wish I knew about this site when Ruari turned one and 2!

So lucky for me this was surprisingly simple and I’ve watched this video I made about 4 times already. Makes me smile/tear up! I can’t believe how small she was….


I really hope you enjoyed. I had fun creating it. I shared it with Ruari… she liked the first minute, then got distracted by something shiny and wandered away…. but, I know she’ll love it in the future. Do you have a ton of videos just sitting there? Doing nothing? Am I the only one? Anything to make my life easier is good in my book.

Plus, one more thing Animoto wants to share something with you all:

GIVEAWAY: One winner from my blog will receive a coupon code for a one-year subscription to Animoto Plus! (You’re also welcome to use this code: CleverFL to get a free full length video. Use it! It’s a great deal!)

For a chance To win just comment below answering this question, “Who are you making your video for?”

– Chelsey

Visit Animoto to create your own video slideshow as easily as I did! I was selected for this opportunity by Clever Girls Collective, and all opinions expressed here are my own. Be sure to check out the #CleverVideo twitter hashtag to see other Animoto videos around blog town. Giveaway ends on May 6th. 


Paper Insect Collection tutorial

WARNING… don’t scroll down if you don’t like bugs. Hee!

 Say hello to my bug collection! My Paper Insect Collection! I love this thing… when I first described this idea to my mom… she was sort of grossed out. BUT, now that it’s finished she loves it… so do I. I love quirky little bits of art around my home. This is definitely quirky. The best part: you don’t have to kill bugs for your collection. Well, you could…. but, this is safer. Ha!

So, here you go! It’s mostly very simple… the most difficult part is cutting the pins for the bugs and gluing them onto the paper.

Supplies:

– A frame for your bugs. I found mine thrifting. It has space between the glass…. but, you don’t necessarily need to buy a frame like that. You can just take the glass out of a frame.

– Print out your freebie Paper Insect Collection pages. Here and Here.

– Pins (to make it look like you pinned bugs onto the paper)

– A white piece of paper

– Hot glue

– Scissors

– An acid-free marker.

Start by choosing which bugs you’d like to put in your collection. I chose my favorites and had to pick the right sizes to make them fit properly. Don’t be afraid to leave a white border around the bugs you cut. It makes cutting them so much easier…. and, if they are against a white background…. it won’t even matter.

Once you cut out your bugs… you can bend their legs/wings/etc. just to give them more life. Take your pins and poke a hole through the center of each bug.

Here’s the tricky part…. If your frame has space between the glass (like mine) you’ll need to trim your pins to the right height so they fit under the glass. BUT, if you have a frame that you just take the glass out of: you can put a cardboard or cork board background in the frame and pin the bugs right into the background.

Arrange your bugs ahead of time… to see how they’ll fit into the whole frame.

Next glue the pins to your paper bugs so they don’t slide. Then, glue the pinned bugs onto your background. You may need to glue some parts of the bug…. like legs or parts of their bodies to the paper so they stay in place.

Optional: add the names of your bugs to your insect collection. I honestly was not positive of the real names of all of the bugs… so, I guess a bit. Here are my guesses: green beetle with wings: Green Flower Beetle, beetle with pincers: Stag Beetle, shiny green beetle: Leaf Beetle, orange beetle with black spots on back: Face Bug, blue butterfly: Giant Blue Swallowtail, yellow moth: Lo Moth, pretty brown moth: Silk Moth, moth with two black wings and yellow body: Death Head Moth. Those are my best guesses. Or, you can just make them up. Hee.

 Here are your paper insects to print out: Here and Here.

Paper Insect Collection Tutorial

Enjoy! Let me know if you make your very own Paper Insect Collection…. And, there’s so many more ways you can use these bugs! Maybe a bunting? Have fun!

{Related Posts://Paper Terrarium//Paper Flower Frame//Teepee//}


You’re a Peach! Freebie printable.


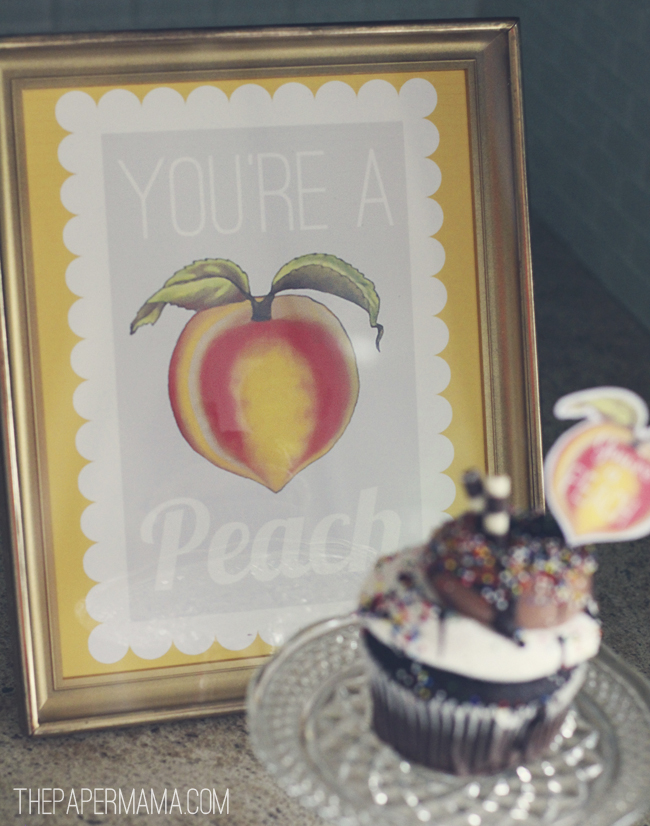
Today I’m sharing a little fun cupcake stand DIY and freebie cupcake topper printable over at Pamplemousse! PLUS, today on my blog I’m sharing a freebie printable to go with your little treat! You’re A Peach!

Download your freebie print here (right-click + save)!

P.S. As usual…. this freebie is for personal use only. <3

Happy Thursday and don’t forget to check out my guest post!

{Related Posts://Valentine’s Printables//I Love Us Freebie//Paper Terrarium//}


Links to love this week!

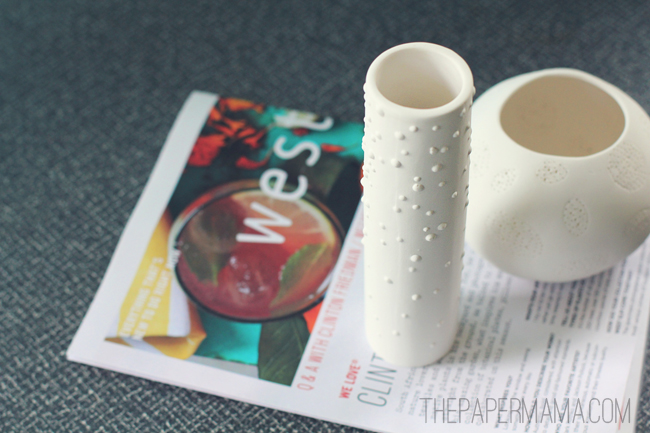
This last Wednesday I enjoyed a little tour of the local West Elm store in Portland. They wanted to share their new summer collections and color stories. It was fun! You don’t normally get the back story of everything in a store. So, I really liked that! My favorite item of the evening…. this handmade dining table made from reclaimed pine. I love it when a company uses old materials in it’s creations. Plus, they shared these sweet little gifts with us (some info on the vase and tea light holder from Maria Moyer).

YUM. This Gruyere Potato Gratin was delicious. I made it the other night. So yum.

We are just getting stuff put together for our garden! Found a fun garden website I think will help!

Perfect little tea time cookies! Tea party? Yes.

Stoooooooop! This website looks delicious! I want everything on there! Please.

You can still donate money to March for Babies and win a custom illustration from me! <3

These fruit banana pops are adorable and would be fun for a party!

Yuuuuum! Grilled eggplant and goat cheese salad.

This chocolate cake with strawberry buttercream is beautiful.

How about a glow in the dark easter egg hunt?

I had a fun interview over at Life with Kaishon from the sweet Rebekah!

Next project for my kiddo… a table/fabric playhouse! So cool!

And, my Tumbleweeds eyewear giveaway is still going on! Good luck!

Happy Friday everyone! I’m on a little vacation from the blog this week! Lots of cuddles with the family. I hope you all have a wonderful holiday weekend!

– Chelsey

Tags:

Categories: blogger business