Rainbow Bum Cookies: A funny Pinterest fail!

rainbow bum cookies

Well… This was a Pinterest thing. I decided to NOT follow the recipe provided, and that did not work out in my favor. Instead of creating a recipe, I went with a boxed sugar cookie mess…. Things I did NOT think about when making my rainbow cookies: most likely they will melt down into a blob during baking. Ha! So, I’d like to introduce you to my Rainbow Bum Cookies. Yeah. They look like colorful bums.

When we shared these cookies with my friend’s 6 year old, he whispered to his mom, “Hey, mom… These look like bottoms!” Ha! That makes me giggle. Yup. Rainbow Bum Cookies.

So, I can’t call this a Pinterest fail…  Since I didn’t actually follow the rules. I’ve heard that refrigerating the dough overnight might help keep the sugar cookies from going flat… Oh well. When you put them on a teacup, they still look pretty cute (and less like a butt).

Rainbow Cookie cup

I REALLY recommend checking out the recipe on this site. The recipe is called “Play Dough Cookies” and I feel like ACTUally following this recipe will work out better than my butt cookies. Ha! Regardless of how my cookies turned out, the kiddo and I did have a GREAT time making them. We split up the dough into 6 sections, added a different color to each section, rolled out the cookies into strips and put together. Bake. Done.

Rainbow Cookies

Have you tried making these?

– Chelsey

Tags: ,

Categories: food, Sweets, tried it


So far…

I was wandering through my old instagram photos and realized it’s only March, but I’ve already done SO much in this new year. Do we still call it a “new year” in March? I don’t know. Anywho…

Alt Summit

In the beginning of January I took on some MAJOR public speaking fears, and spoke on an Alt Summit panel.

Preschool

My kiddo started going to preschool… oMG.

Pickled Carrots

23

I’ve started canning, and am so excited to take MORE control of what we put in our bodies (these carrots are from my garden). I’ve also been making my own homemade granola (no refined sugars! Yeah!).

Drawing and Coffee

I made a commitment to draw something for MYself at least once a week. PLUS: gave up caffeine for 2 weeks… and quickly fell off the wagon. Ha!

Ponies

I’ve played MANY games of horsies. So many.

Glasses

I’ve been trying out new glasses (from the Vintage Optical Shop).

27

I sent samples of my flooring in for Asbestos sampling… came back negative! Yay!

Kid // thepapermama.com

annnnd…. my kiddo has been going to preschool for a couple of months now AND loves it. This makes me so happy. <3

How has your “new year” been so far?

– Chelsey

All photos were taken with HTC OneX+ provided to me by HTC. I was not paid for this post.

Tags:

Categories: about me


Over the Rainbow Paper Terrarium

Over the Rainbow Paper Terrarium

Do you remember my deer paper terrarium from last year? No? Well, here’s a link to my original post (plus check out the photo below).

I had that cute little set up for a year. I loved it (I still love it), but it’s time for a change. That’s why I’ve created my new paper terrarium: over the rainbow. No more deer this year. Time for rainbows, an air plant, and a little blue trailer. I am pretty good at keeping most of our house plants healthy, but if you have a hard time remembering to water: this DIY is for you. Have you ever tried air plants? They are very easy to keep alive. I just soak mine in water, for 20 minutes, once a month. Even when I forget to soak them they still stay alive!

Deer Terrarium

Even though the deer set up was so cute, I really love my over the rainbow terrarium. Here’s what you need to make your own:

Rainbow Paper Terrarium // thepapermama.com

Supplies:

Directions:

Step 1:

Prep your glass container. My glass container has a hole in the base. SO, I cut out a piece of cardboard and hot glued it to the inside of the hole (I don’t want the sand to sneak out).

Rainbow Paper Terrarium // thepapermama.com

Step 2:

Cut out a small piece of floral foam to fit at the base of your container. My foam was about an inch thick. Just short enough to hide under the sand.

Rainbow Paper Terrarium // thepapermama.com

– Pour in your sand. I had a 5 pound bag (from a local terrarium shop) of black glitter sand.

Rainbow Paper Terrarium // thepapermama.com

Step 3:

Cut out your trailer, clouds, and rainbow. I included multiple sizes for you, so you can choose what works best for your jar. Hot glue your clouds to a bit of wire and all the trailer and rainbow to toothpicks.

Rainbow Paper Terrarium // thepapermama.com

Step 4:

Arrange the paper terrarium pieces in your container. I added a teensy bit of moss (from the deer terrarium) to sit under the trailer. Once you’re happy with how it looks, place your air plant. I made sure to place my air plant in a spot I can easily grab it. Air plants require a spritz of water or a soaking in water about once a week, and water isn’t so great for paper rainbows and paper trailers.

Set your terrarium in a favorite spot and enjoy!

– Chelsey

Disclosure: I may earn a small commission for my endorsement, recommendation, testimonial, and/or link to any products or services from this website. There are affiliate links in this post. Thank you for your support.

Over the Rainbow Paper Terrarium

Save


Tags: ,

Categories: diy, For The Home


Paint Chip Tote + new better homes and gardens post

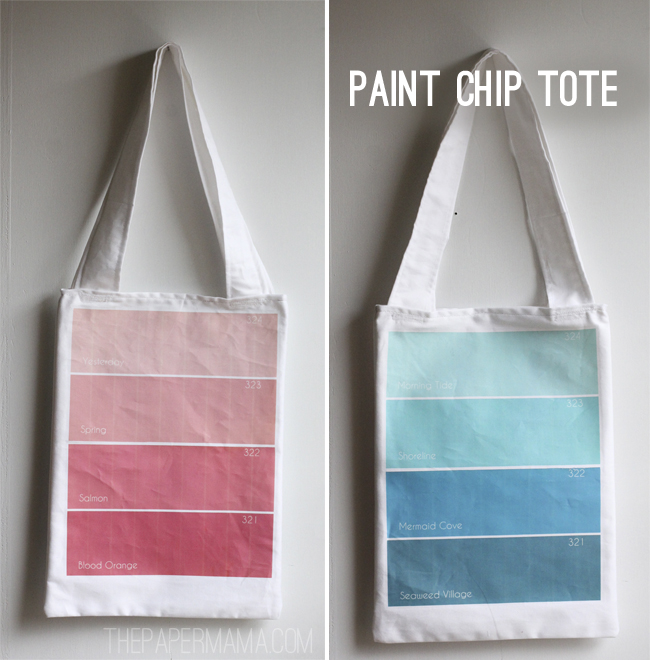
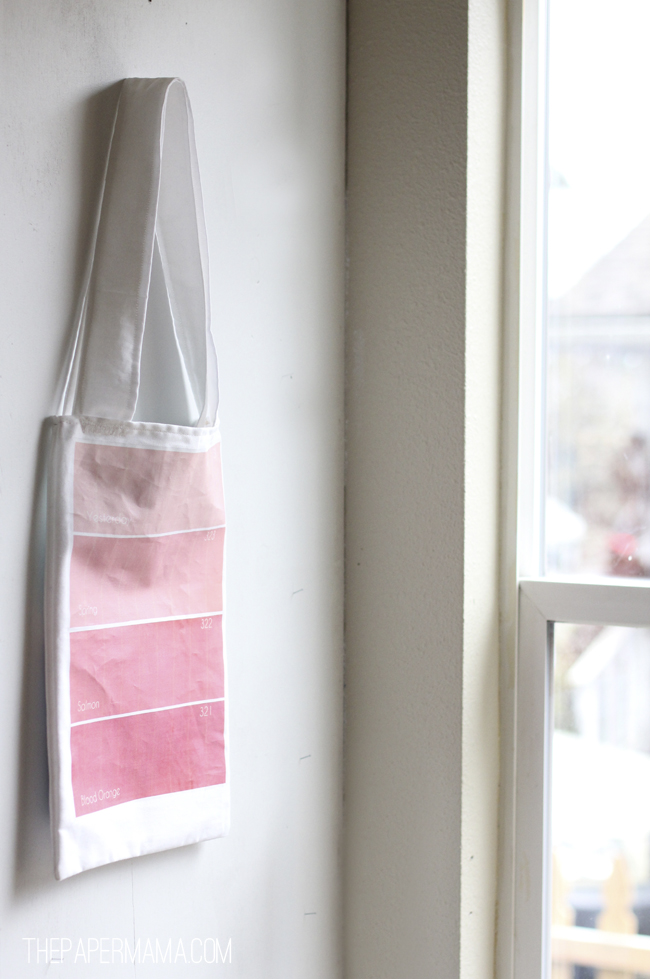
Paint Chip Tote

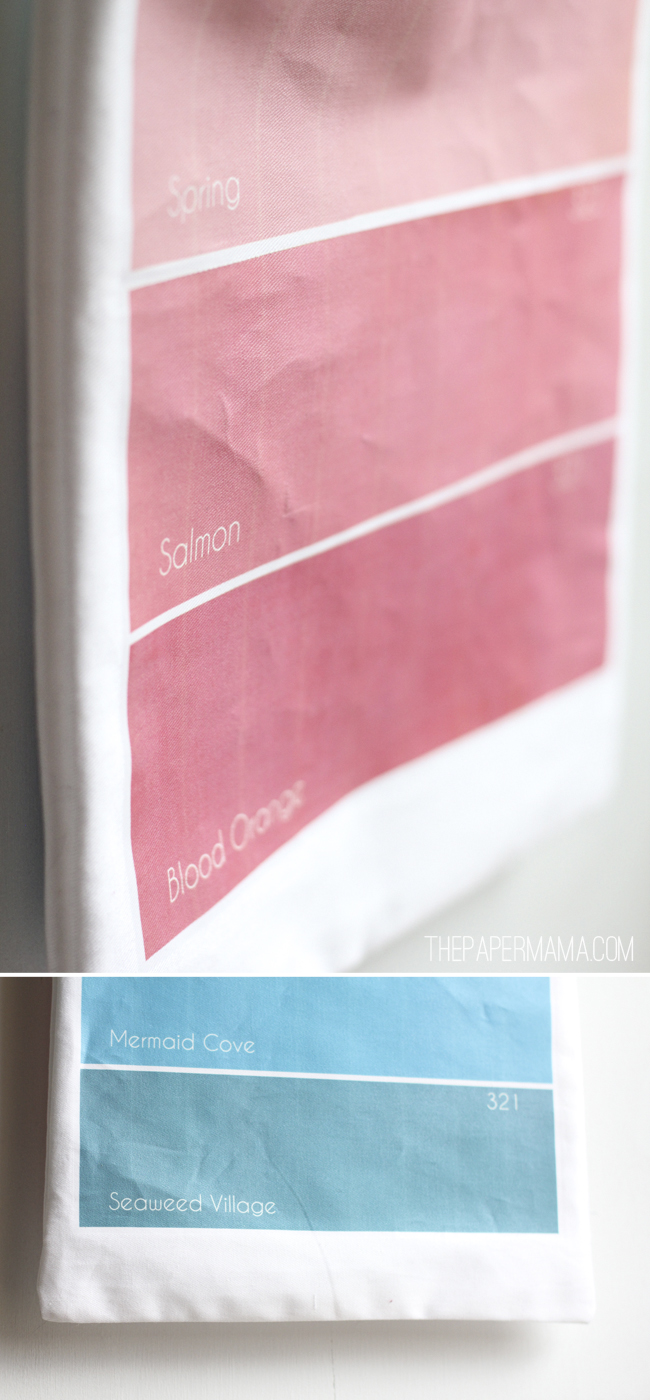
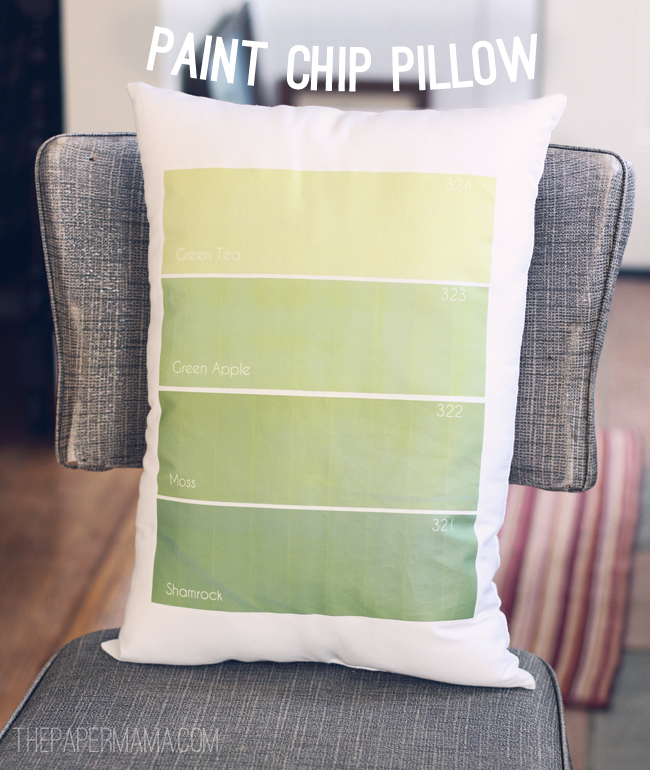
Another Thursday, another Better Homes and Gardens post. Yay! If you head on over to the Better Homes and Gardens blog today, you’ll see a DIY for my Paint Chip Pillow. Yeah! I used my paint chip printouts to create a Paint Chip Tote & a pillow. Head over to BHG to get your free printouts today. If you’d prefer to make the tote instead of the pillow… It’s pretty much the SAME thing as making the pillow. Just stitch an opening at the top and add some straps. Yup!

paint chip bag

Paint Chip Tote

I really hope you enjoy! I’m loving this pillow and tote. <3 Also, here’s a sneak peak of my BHG Paint Chip Pillow. I think it’s pretty adorable…..

Paint Chip Pillow

– Chelsey

Tags:

Categories: BHG, diy, For The Home


Felted Wool Acorn Necklace – Perfect For Valentine’s Day!

3

Felted Wool Acorn Necklace: Well, I know today is ACTUALLY Valentine’s Day… but I really wanted to share these little necklaces that my kiddo and I made (well, mostly me). It all started on a walk. While on our daily walk, we found a tree that had dropped a ton of acorns, so we gathered a the tops and headed to the yarn shop. We bought some colorful wool roving and started felting some pieces to create little faux acorns.

I did this project with my kiddo, and it was SO messy. Water EVERYwhere. It was actually worth all the water splashing since she had so much fun. She worked on one piece the entire time, and called it her “purple cookie”. It was just a flat 2 inch piece of purple wool. She did a great job and uses it as a blanket for her ponies. I made all the acorn bits.

2

1
R really wanted to give a necklace to a couple of her friends, so we decided to turn these guys into little Valentine’s goodies. I made and printed out some, “I’m nuts for you!” tags, cut them and and tied them onto the necklaces. That’s it! If you want to make this for a special someone (mother’s day is coming up in a couple months) here’s a link to the Felt Acorns Directions I used, from Honestly WTF. Check out my “I’m nuts for you” printable, and add some necklace chain. Ta dah!
– Chelsey

P. dot. S. You will get pruney fingers. Bleh. Pruney fingers are like someone scratching a chalkboard for me… I can’t handle it. OMG. Eww. After about 5 minutes of playing in the water, I had to go grab some rubber gloves. Gah. Ewww. Pruney toes and fingers are the worst. Also see: I’m a weirdo.


Links to love for Valentine’s Day

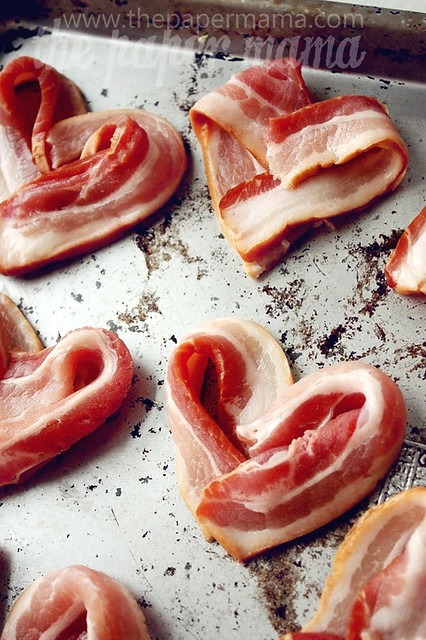
Bacon Hearts

Well, Valentine’s Day is coming up next week and that means Bacon Hearts! I originally made these guys in 2011…. you know: Valentine’s on a budget. Best way to my hubby’s heart: bacon hearts. AND, last year I made these AHgain (because… bacon) and popped them on top of some chocolate cupcakes! That made them about a billion times better! I’m pretty sure I’ll be making these next Thursday, too.

Today I wanted to share a few of my favorite Valentine’s ideas and DIYs with you. Maybe it will inspire you to get crafty this weekend? I hope so! <3

Links to love for Valentine’s Day:

Rice Crispy Heart Treats

– “I’m A Sucker For You” Valentine.

Be Mine Valentine freebie banner to print, from me.

Love-filled felt fortune cookie!

– A cute Valentine mantel.

Heart milk cubes.

Freebie Valentine printables, from me.

Ice cream sandwich heart!

– This Monkey Butt Valentine is AWESOME.

Fuzzy rings for your Valentine!

– My “you’re a reel catch” valentine.

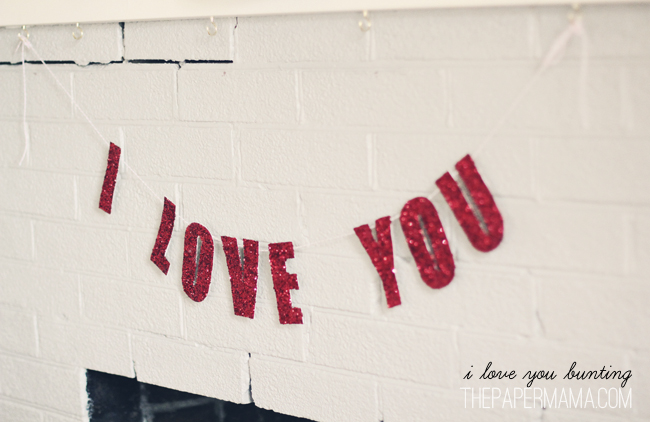
I Love You Bunting.

Happy Friday to all of you!
– Chelsey

P.S. My birthday giveaway is still going on! Good luck! 

Tags:

Categories: Uncategorized


“I Love You” Bunting

I Love You Bunting

I Love You. Something I tell my husband and daughter everyday. Why not write it out for all to see? I love glitter. A lot. Glitter sorta makes most things better. Feeling bored? Glitter. Need some sparkle? Glitter. Have a cold? Ok, not glitter… but it still makes me happy.

This little bunting will be a quick and fun project for you! I’ve included 3 different colors for you to use. There’s red 1 and red 2. Blue 1 and blue 2. Black 1 and Black 2. I used the red printouts, since I wanted to use red glitter.

How to:

Print out your I Love You printables, preferably onto a heavy card stock. You can also print these out onto printer paper, use a double sided adhesive to glue onto a heavy paper (I used watercolor paper). Cut out your letters.

I Love You Bunting

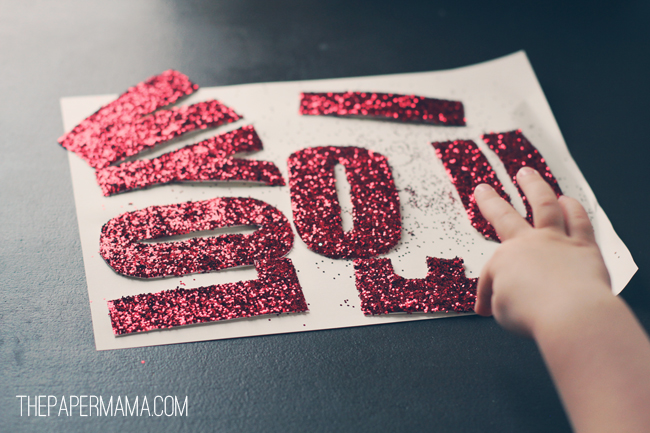
Evenly rub glue onto the top of each letter, followed by a nice coating of glitter. I like to gently push the glitter down on each letter (hopefully this holds the glitter better). If you see any blank spots, just use a bit of glue and add more glitter (I prefer to use a nice acid-free scrapbook glue, since it’s less likely to warp the paper). Extra tip: keep your sparkly letters up high and out of reach of nosy toddlers… cause they will touch. Hee!

I Love You Bunting

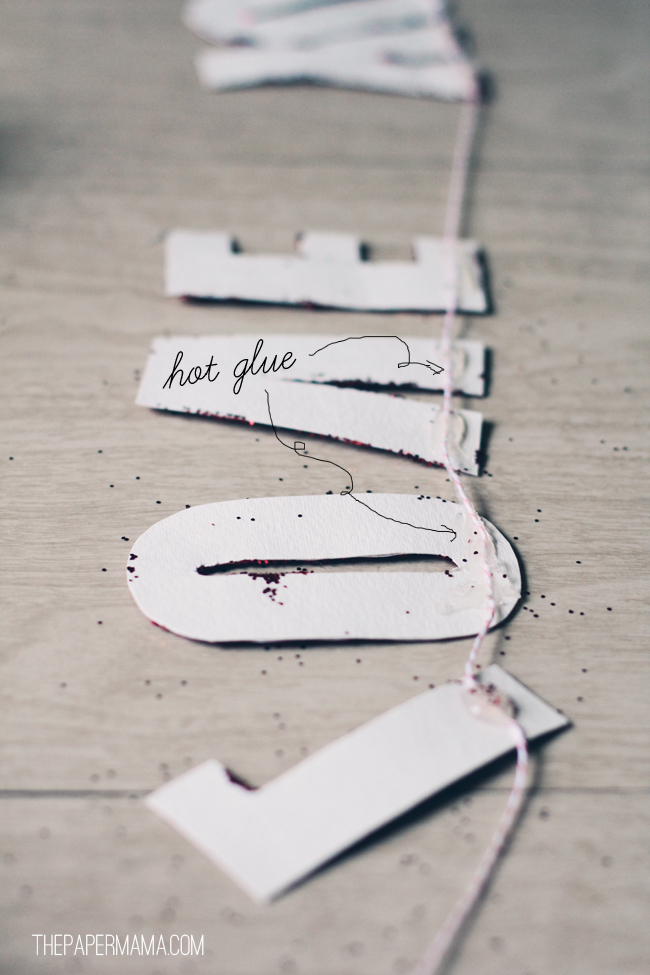
Use a hot glue gun to attach the top of the letters to some ribbon or kitchen twine.

I Love You Bunting

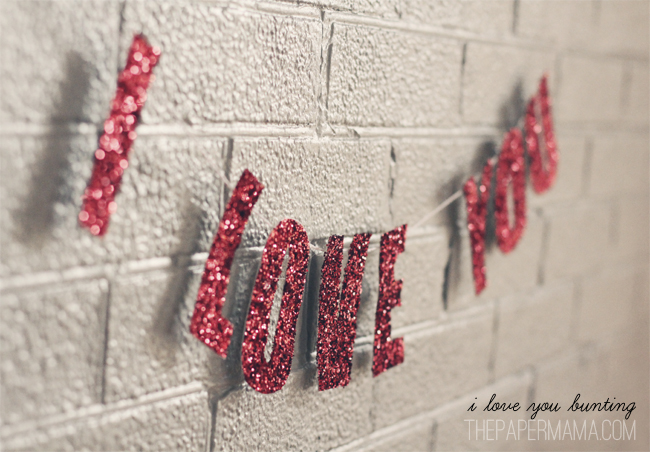
 Hang and enjoy

I Love You Bunting

I Love You Bunting

I love this bunting so much, I really don’t want to take it down after Valentines Day. I think I may hang it in my bedroom. At least for a few months… maybe until it collects too much dust/cat hair. Hee.

Happy Thursday to you!

– Chelsey

ALSO: My friend, Chelsea, also made this I Love You bunting. It’s fantastic.