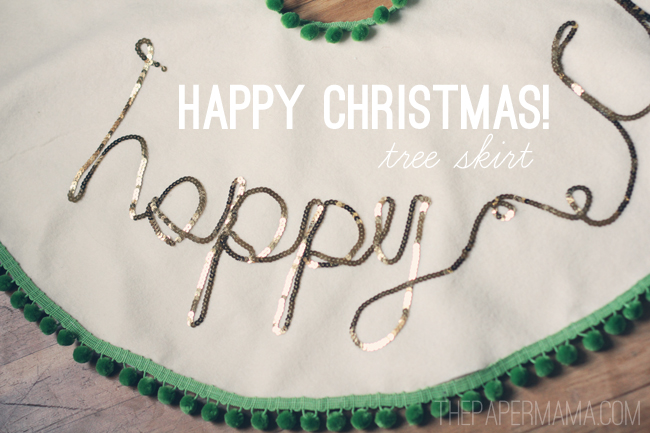
Day 36: Happy Christmas Tree Skirt!

Day 36: Happy Christmas! Add a little handmade skirt to your Christmas tree. I’m absolutely in love with this skirt. It makes me happy to see it under my tree. I do think it’s a good project for beginner sewers (like myself).

Supplies: 

– 2 yards of felt (or 1 yard, I doubled up my felt to make it thicker, the skirt will be about 36 inches in diameter)

– Roughly 3 1/2 yards of pom pom ball fringe (this circumference is based on my lame math skills… plus adding a bit more)

Fabric glue

– Sequin strand: Depending on what you’re spelling, about 3 – 4 yards

– A string and pencil

– Scissors

Directions:

– First, decide if you’d like the felt doubled up or not. I wanted my skirt to be thicker, so I laid one yard of fabric on top of another yard of fabric. Fold this into quarters.
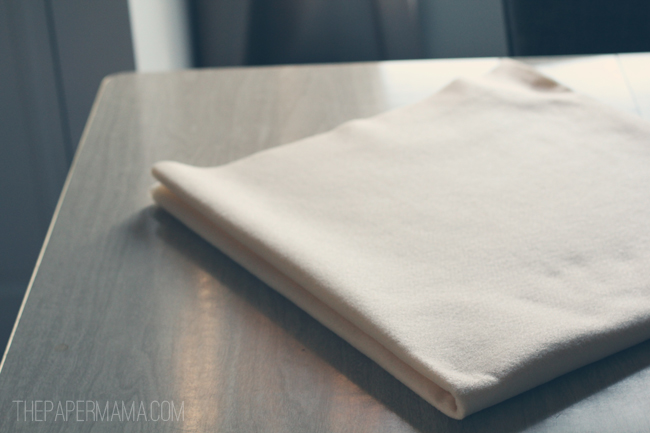
– Tie the pencil to the end of your string. Hold the end of the string at the center of the folded corner, trace a line at the other end of the felt. This should create a curved line. Cut that out.

– Grab a bowl, you’ll use this to trace the center hole of your tree skirt. Trace on the folded corner of your felt (see picture below) and then cut it out.

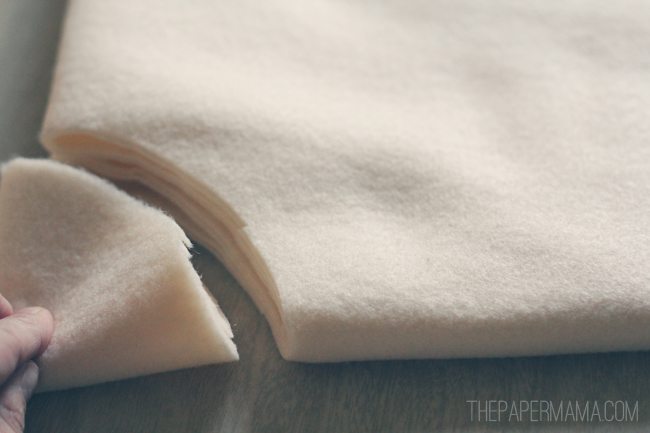
– Grab a ruler, trace a straight line from the edge of the outside circle to the inside circle. Cut that out.

– Pin your pom pom fringe to the outside circle, the inside circle, and the straight line you cut.
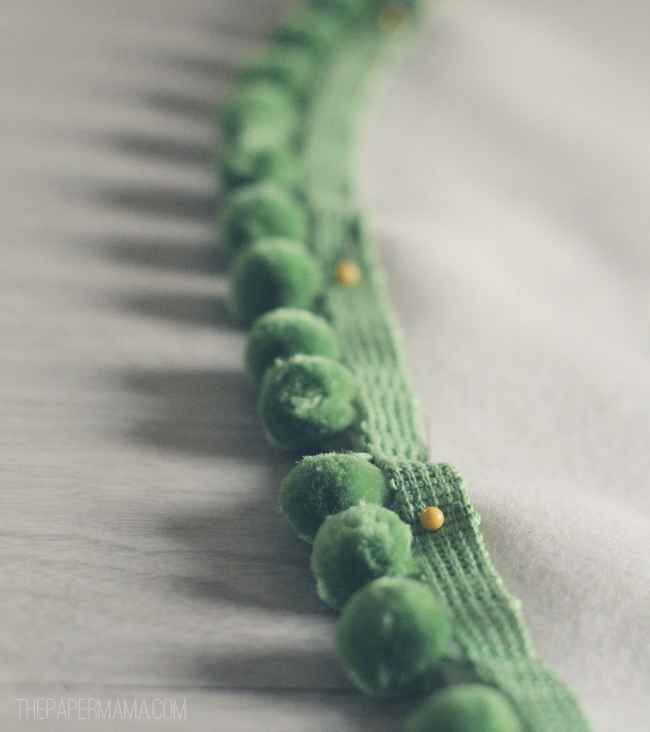
– Hop on your sewing machine and sew that fringe! It’s a bit time consuming, and the fringe is hard to keep in place on the felt… but, other than that, it’s pretty simple.

– When your pom poms are sewn on, let’s write a sequined greeting on your tree skirt! I chose, “Happy Christmas”. I free handed this… but, you’re more than welcome to use a pencil and lightly write out your words. Use the fabric glue to glue down your words.

– Let this dry overnight, and you’re done!
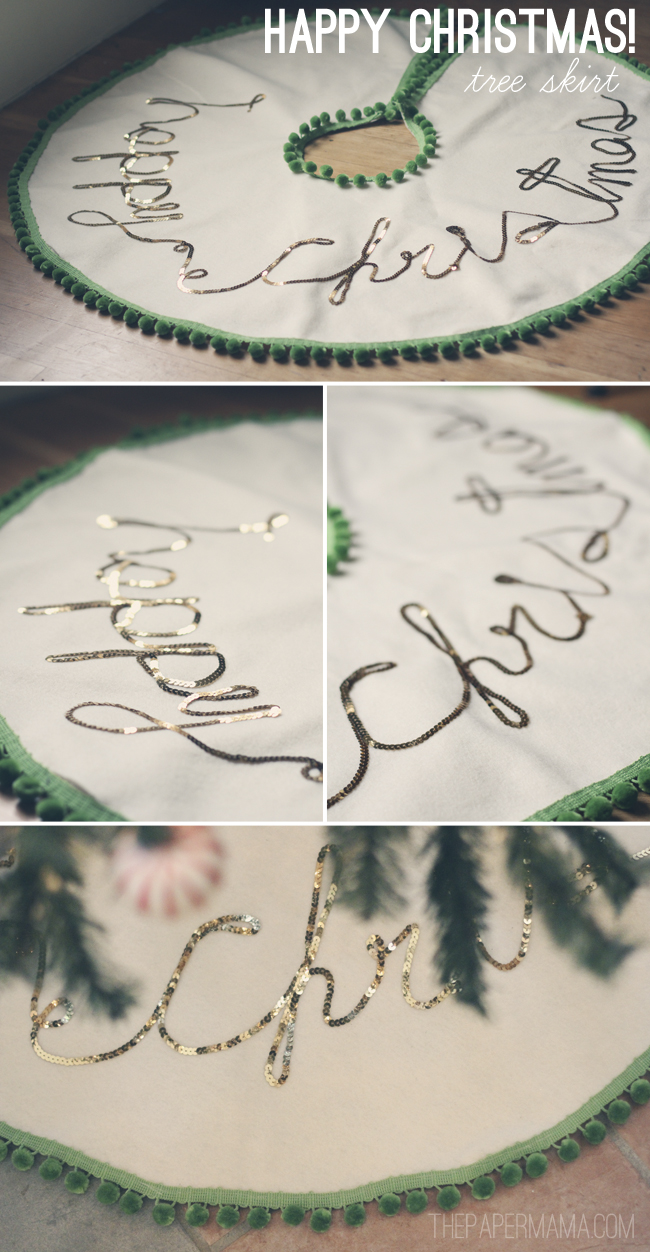
The only thing I will do different next time, is NOT go with a cream color. While at the fabric store, I must have forgotten about the 2 cats I have. They LOVE laying on tree skirts. Sooo… yeah. Cream + dark haired cats = messy. Oh well. I still love it.

– Chelsey

…………………………………………………………………………………………………………………………………………………

To keep up with my 50 DIY Days, click here:


Day 35: Pinecone Gift Tags Printable

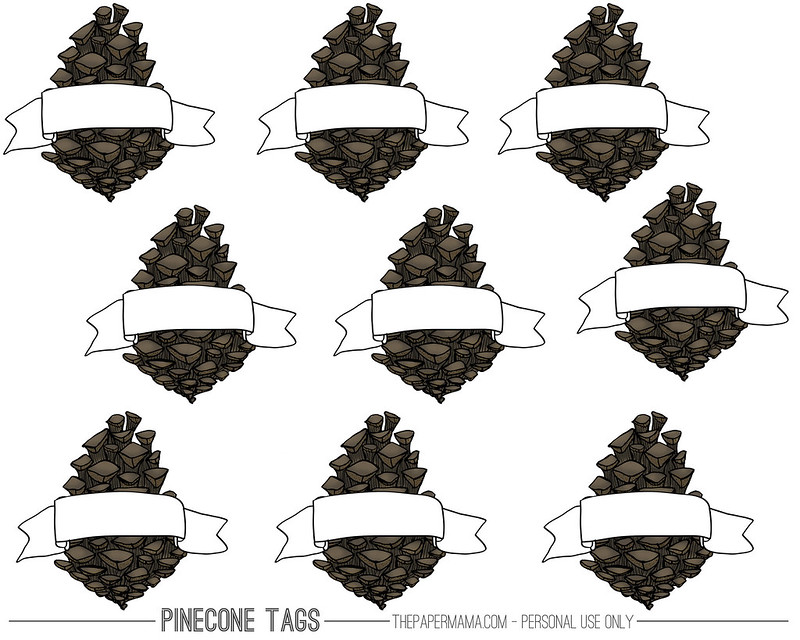
Day 35: Today I’m sharing more pinecones (I love pinecones). A pinecone gift tag. Much more exciting than store bought! Click on this link here (or the photo below) and right+click and save. Print your pinecones, cut them out, punch a hole in the top, and string them onto a Christmas gift. Have fun!

– Chelsey

…………………………………………………………………………………………………………………………………………………

To keep up with my 50 DIY Days, click here:


Wordless{ish} Wednesday: Are you in Portland? Come to Crafty Wonderland! This weekend.

I’m selling at Crafty Wonderland this weekend! Along with 250 other artists! If you’re in the area, I hope to see you there. Please come by my booth (#80) and say hello! Ok, I’m off to do some more prepping for the show.

– Chelsey

P.S. if you’re the first 150 shoppers (on both Saturday and Sunday) you get a free goodie bag! They are very cool. I added a small goodie to 25 of those bags. Good luck!

…………………………………………………………………………………………………………………………………………………………..

{If you have a Wordless{ish} Wednesday, please feel free to link it up below. And, feel free to link up to these blogs too… Parenting by DummiesProject AliciaJenni from the BlogBree: his honey and her mommy, and Live and Love Outloud.


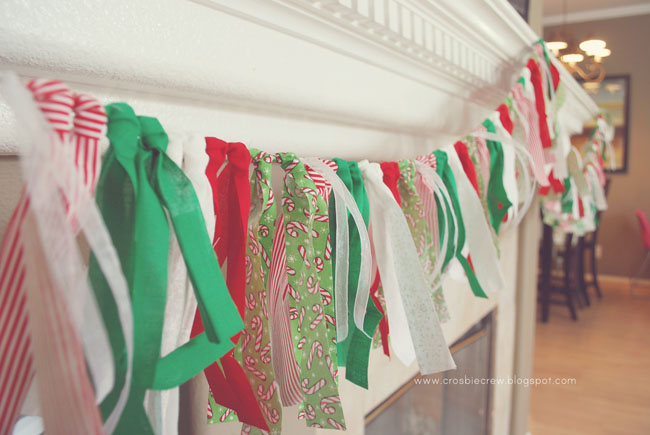
Day 34: No-sew Holiday Garland

DAY 34 is brought to you by, the lovely Summer of the Crosbie CrewHi everyone! My name is Summer and I blog over the Crosbie Crew.  Today I’m going to show you how to make a no-sew holiday garland.  (inspiration found here)

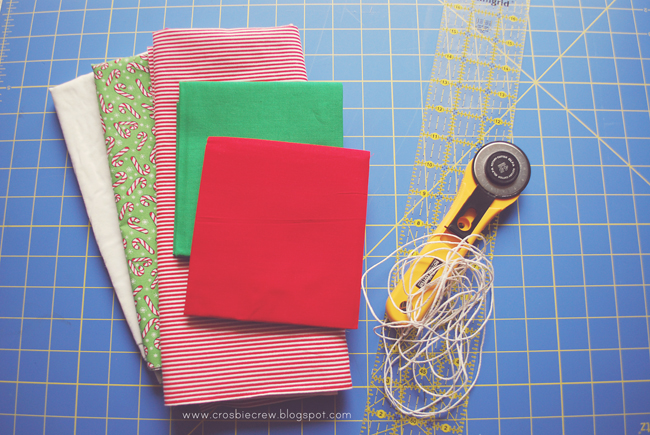
What you need:

-fabric in whatever holiday scheme you like

-rotary cutter or scissors

-string or yarn

-cutting mat or something to protect your table surface

-ribbon (not pictured)

Directions:

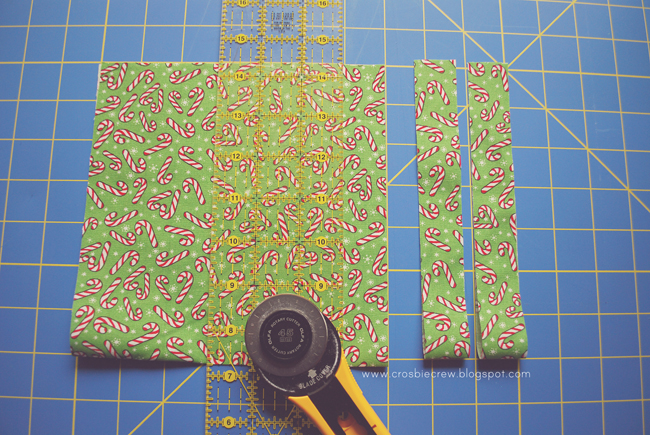
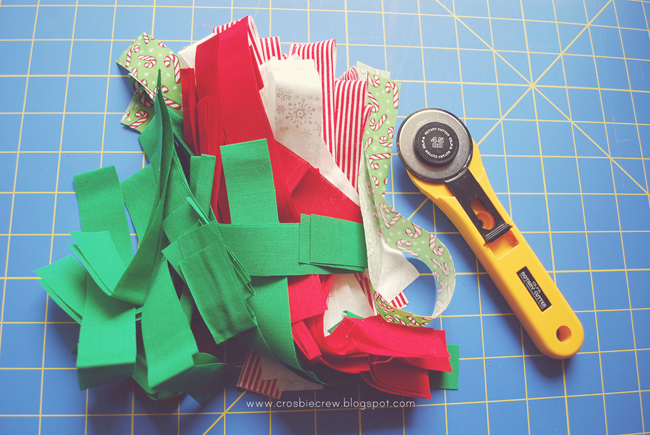
-Cut your fabric into 1×14 inch strips. Tip: A rotary cutter makes this go really fast but if you don’t have one, scissors will work.

 Once you cut a bunch of fabric strips, cut your string to the desired length.  Basically I measured the area where I wanted to hang it and added about a foot.
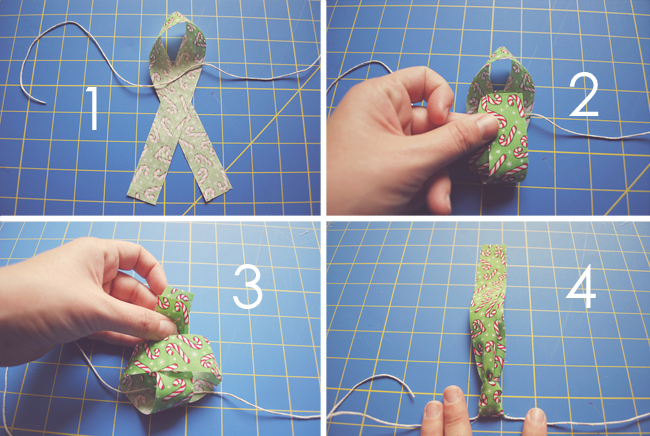
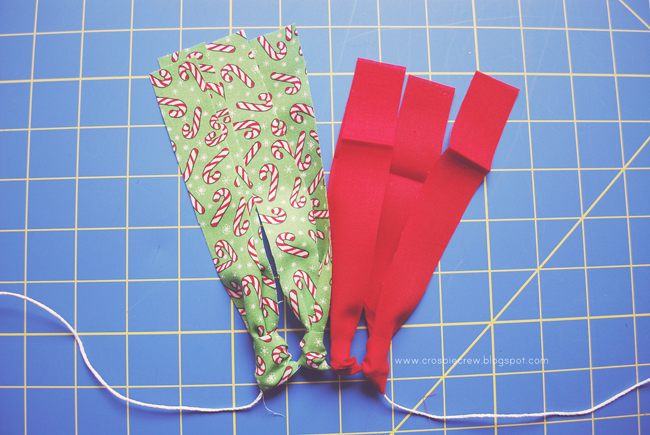
Now it’s time to tie your fabric onto the string by following the pictures below.  Do the same with each piece of fabric..

Keep adding on your fabric strips in whatever pattern you like.  Make sure to keep at least 6 inches of string at the ends so you can tie your garland to something.

When I was done I felt like it needed a little more so I added some sheer ribbon to it.  I tied the ribbon the same way as the fabric strips. Voila!  You’re done and I hung mine on our mantle.


I hope you enjoyed this!  Thanks Chelsey for having me.

– Chelsey

…………………………………………………………………………………………………………………………………………………

A very big THANK you to Summer for sharing this fantastic DIY. Please, be sure to give her blog home a visit.

To keep up with my 50 DIY Days, click here:


Day 33: Chocolate Covered Mini Oreos (with a $50 Pear Tree Greetings giveaway!)

Day 33: So… these are so good. Really good. I mean, Oreo’s are good just the way they are… but add some chocolate: OMG. It makes these mini Oreo’s addictive! Plus, since they’re bite-size, you don’t really know how many you’re eating until they’re all gone. Ha!

Continue reading


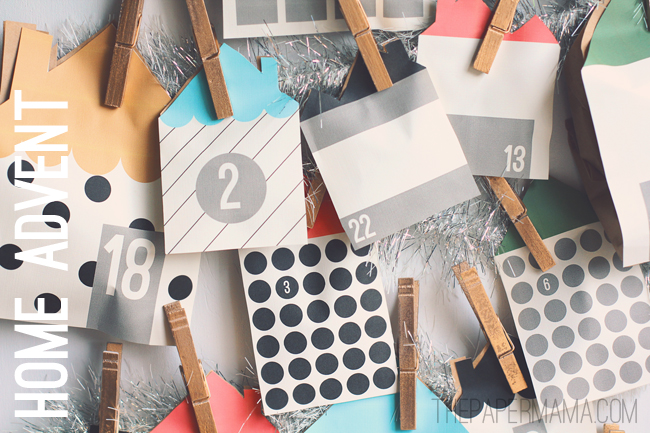
Day 32: Home Advent Calendar

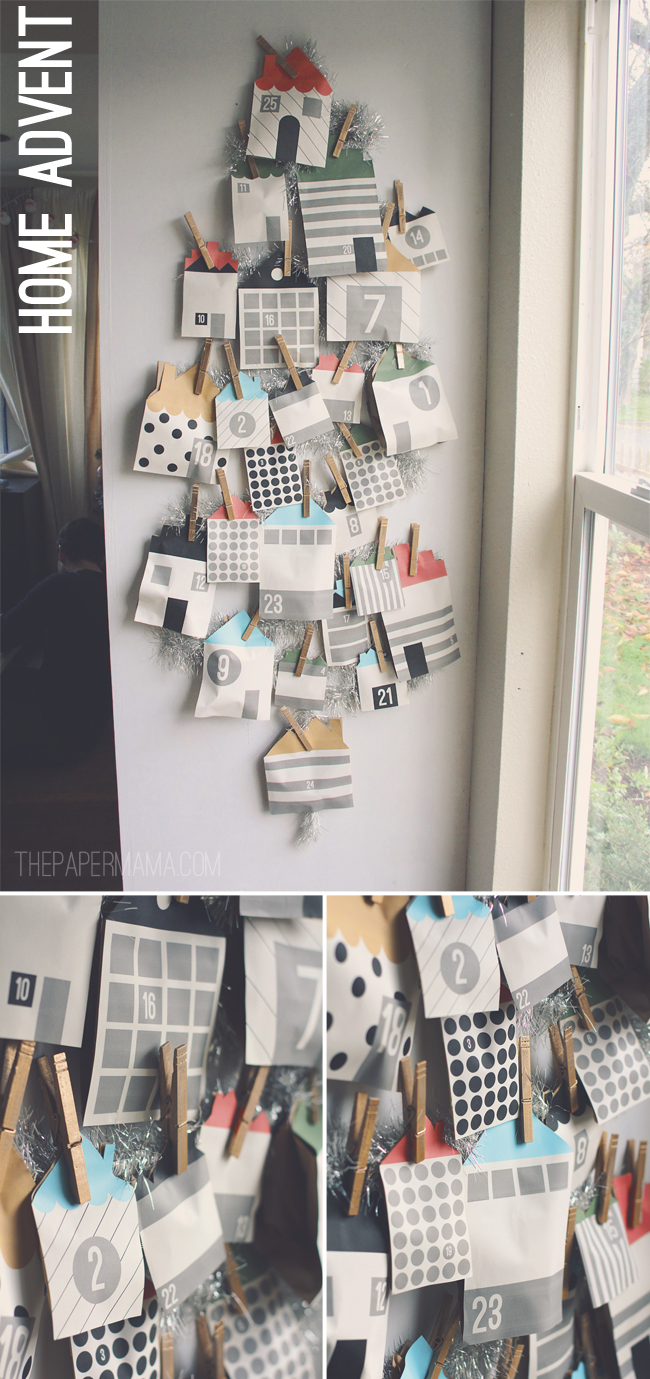
Day 32: I know… it’s December 1st. BUT, just in case you haven’t set up your advent calendar yet… here’s a fun one for you! My little home advent.

Supplies:

– My home printouts (right click + save: One, Two, Three, Four, Five, Six, Seven, Eight, Nine, Ten, Eleven, Twelve, Thirteen, Fourteen)

– Paper lunch bags (or any large pieces of paper)

– Clothes pins

– Tinsel garland, ribbon, or twine

– Tape

– Adhesive

Directions:

– Print out all the home printables.

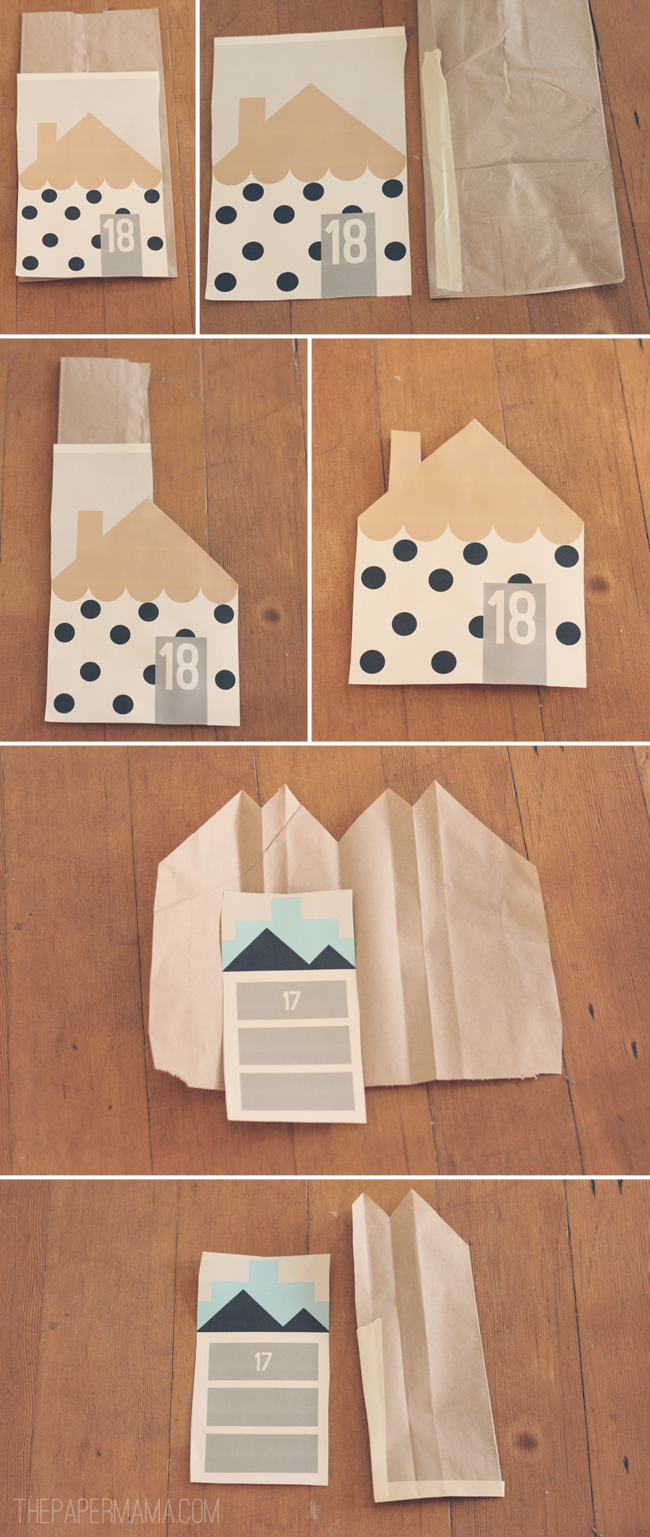
– Cut out the sides and base of each house (leaving the roof untrimmed).

– Size them up next to the lunch bags. If the bag is too big, fold it smaller than the house and tape. Tape the house down over the face of the bag. Trim the excess paper where the roof is. Repeat this for all the homes (check out the photos below for help). If you don’t have paper bags, you can always fold up a piece of paper and tape it up. You’re pretty much creating a little paper pocket (behind the houses) for your advent goodies.

– Hang the houses however you’d like! I chose to string up a tinsel garland, in the shape of a tree, and pin up the houses with gold-spray-painted clothes pins.

– Fill with your favorite goodies, and enjoy!

– Chelsey

…………………………………………………………………………………………………………………………………………………

To keep up with my 50 DIY Days, click here: