Featured
Featured


Explore
Latest Posts


Hello,
I’m Chelsey
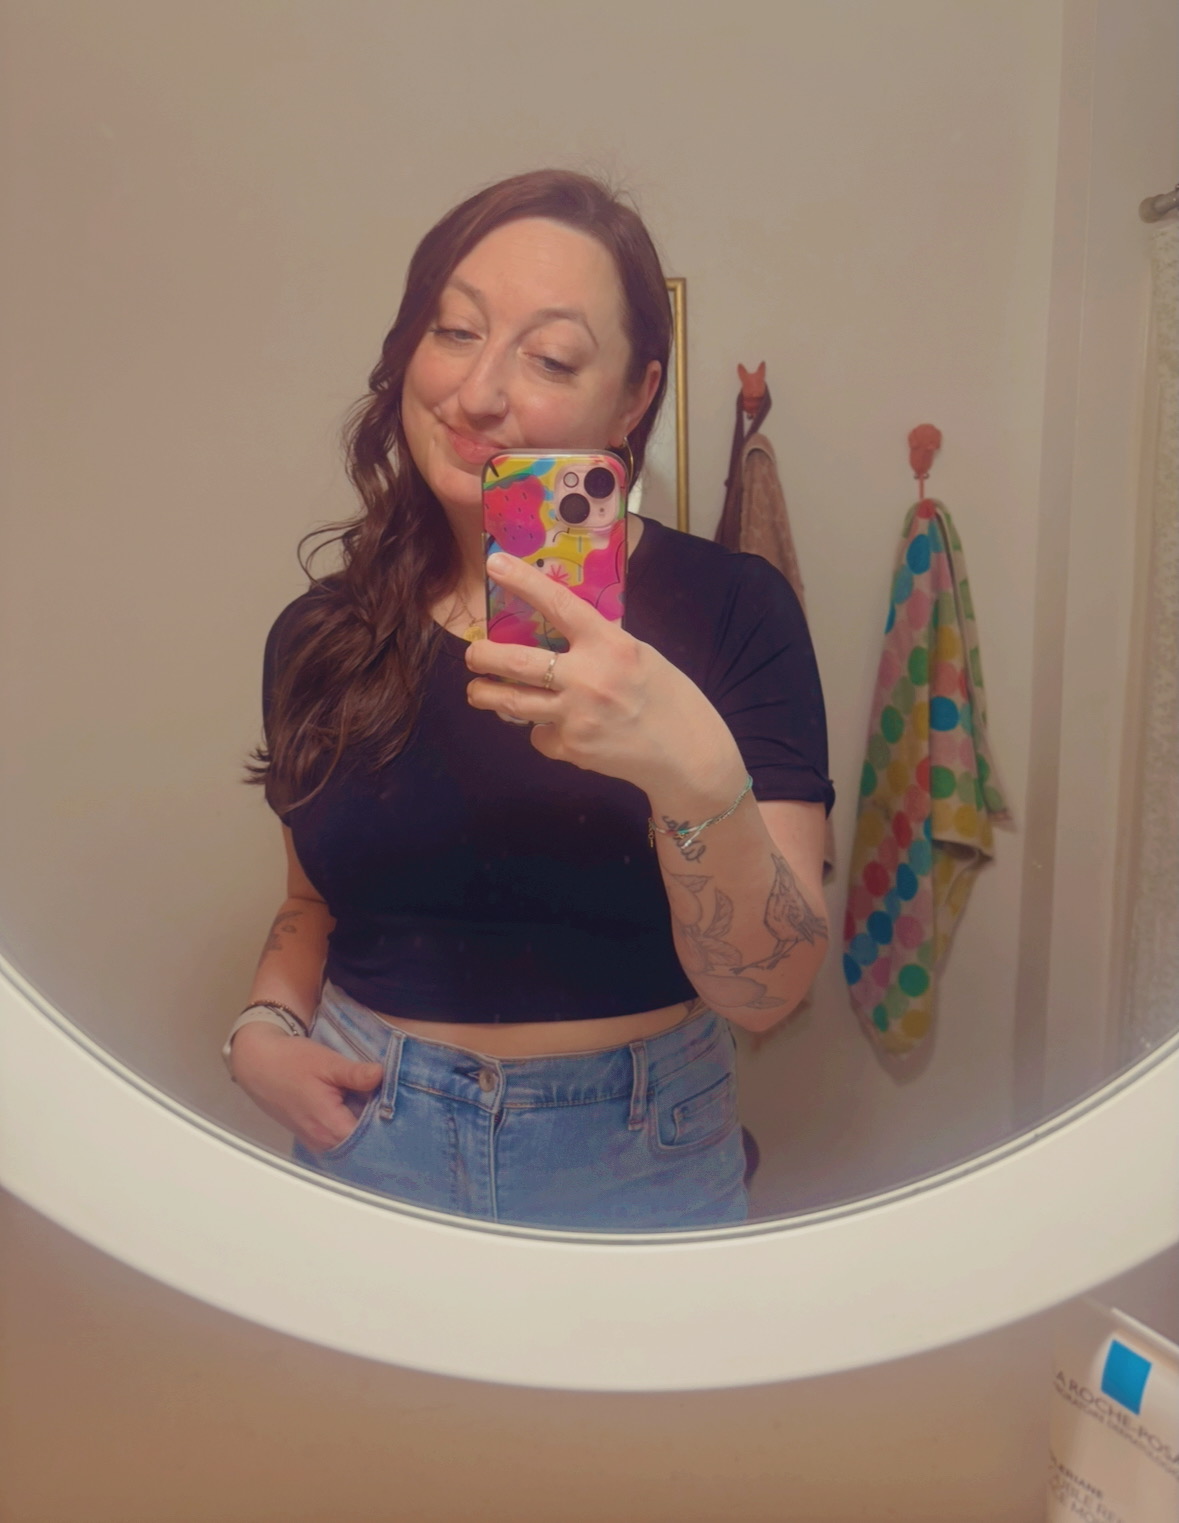
Hello, I’m Chelsey!
Welcome to The Paper Mama — I’m a longtime blogger, maker, and adventure-seeker based in Portland, Oregon. Here, I share my love for travel, DIY creativity, and good food (especially the kind someone else cooks). Whether I’m exploring a new city, crafting something fun, or hunting down the best eats, I’m trying things, making stuff, and eating well — one day at a time. So glad you’re here!