Disclosure: Lowe’s Home Improvement provided me with free products in exchange for this post. All opinions are my own.

How to Incorporate Hidden Storage into the Backyard!
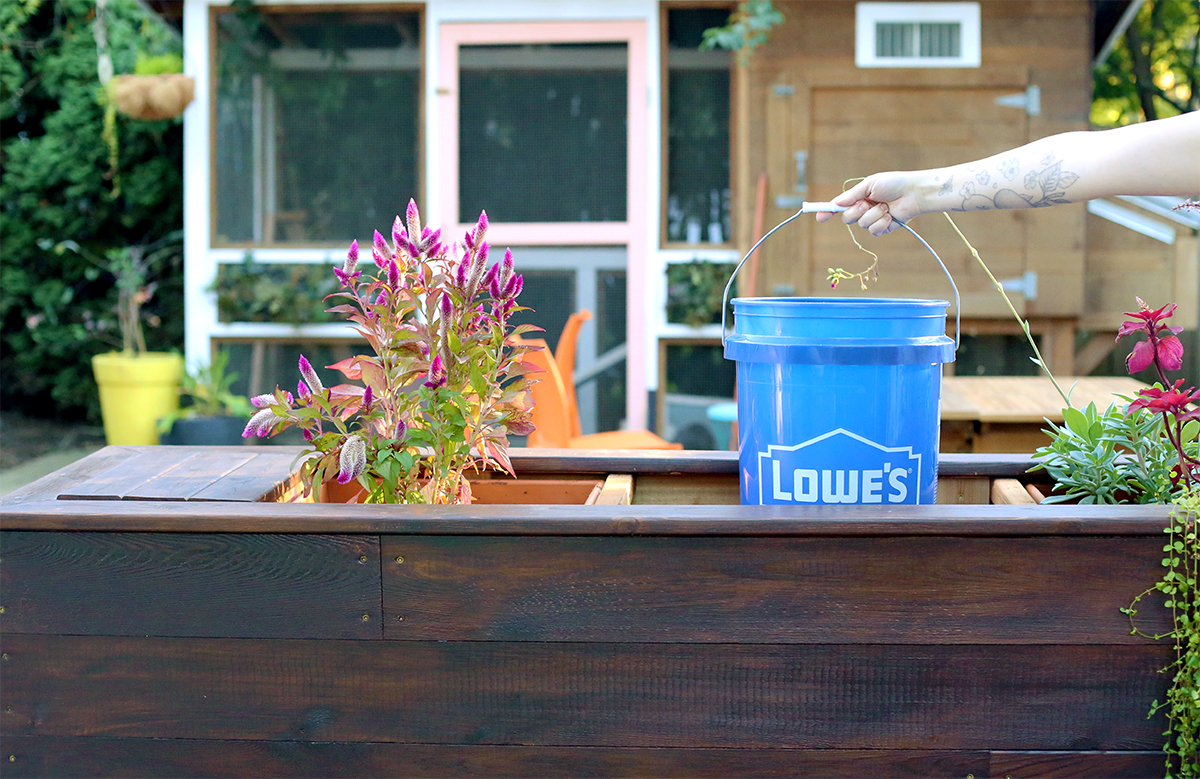
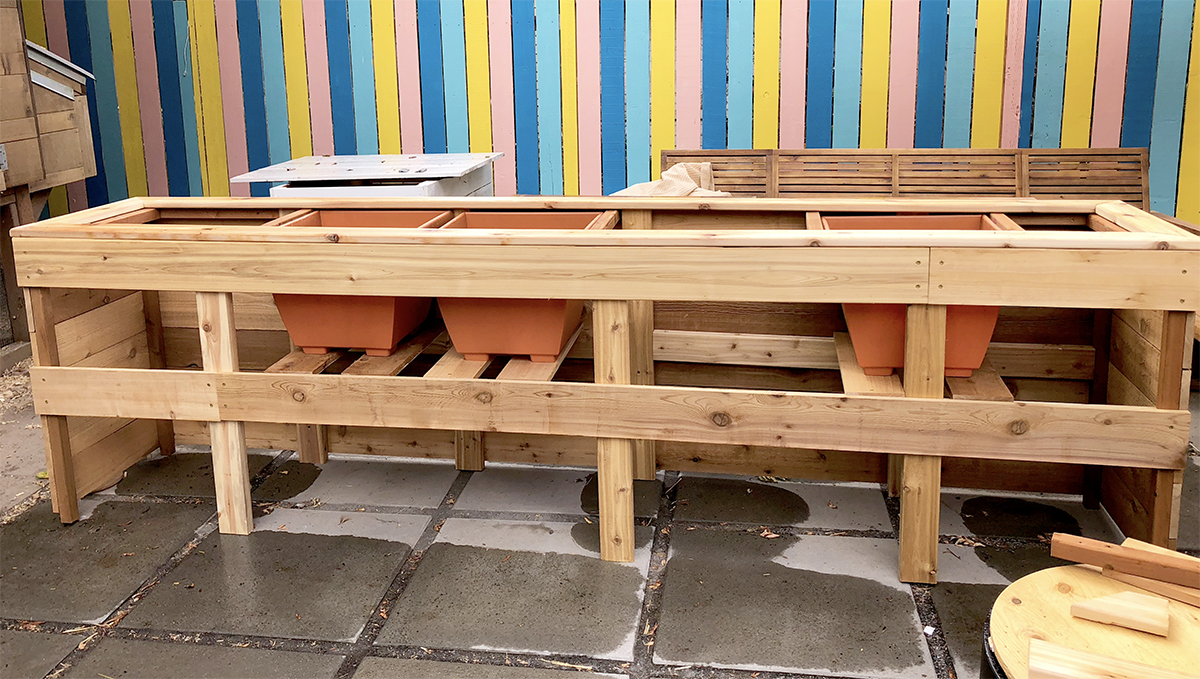
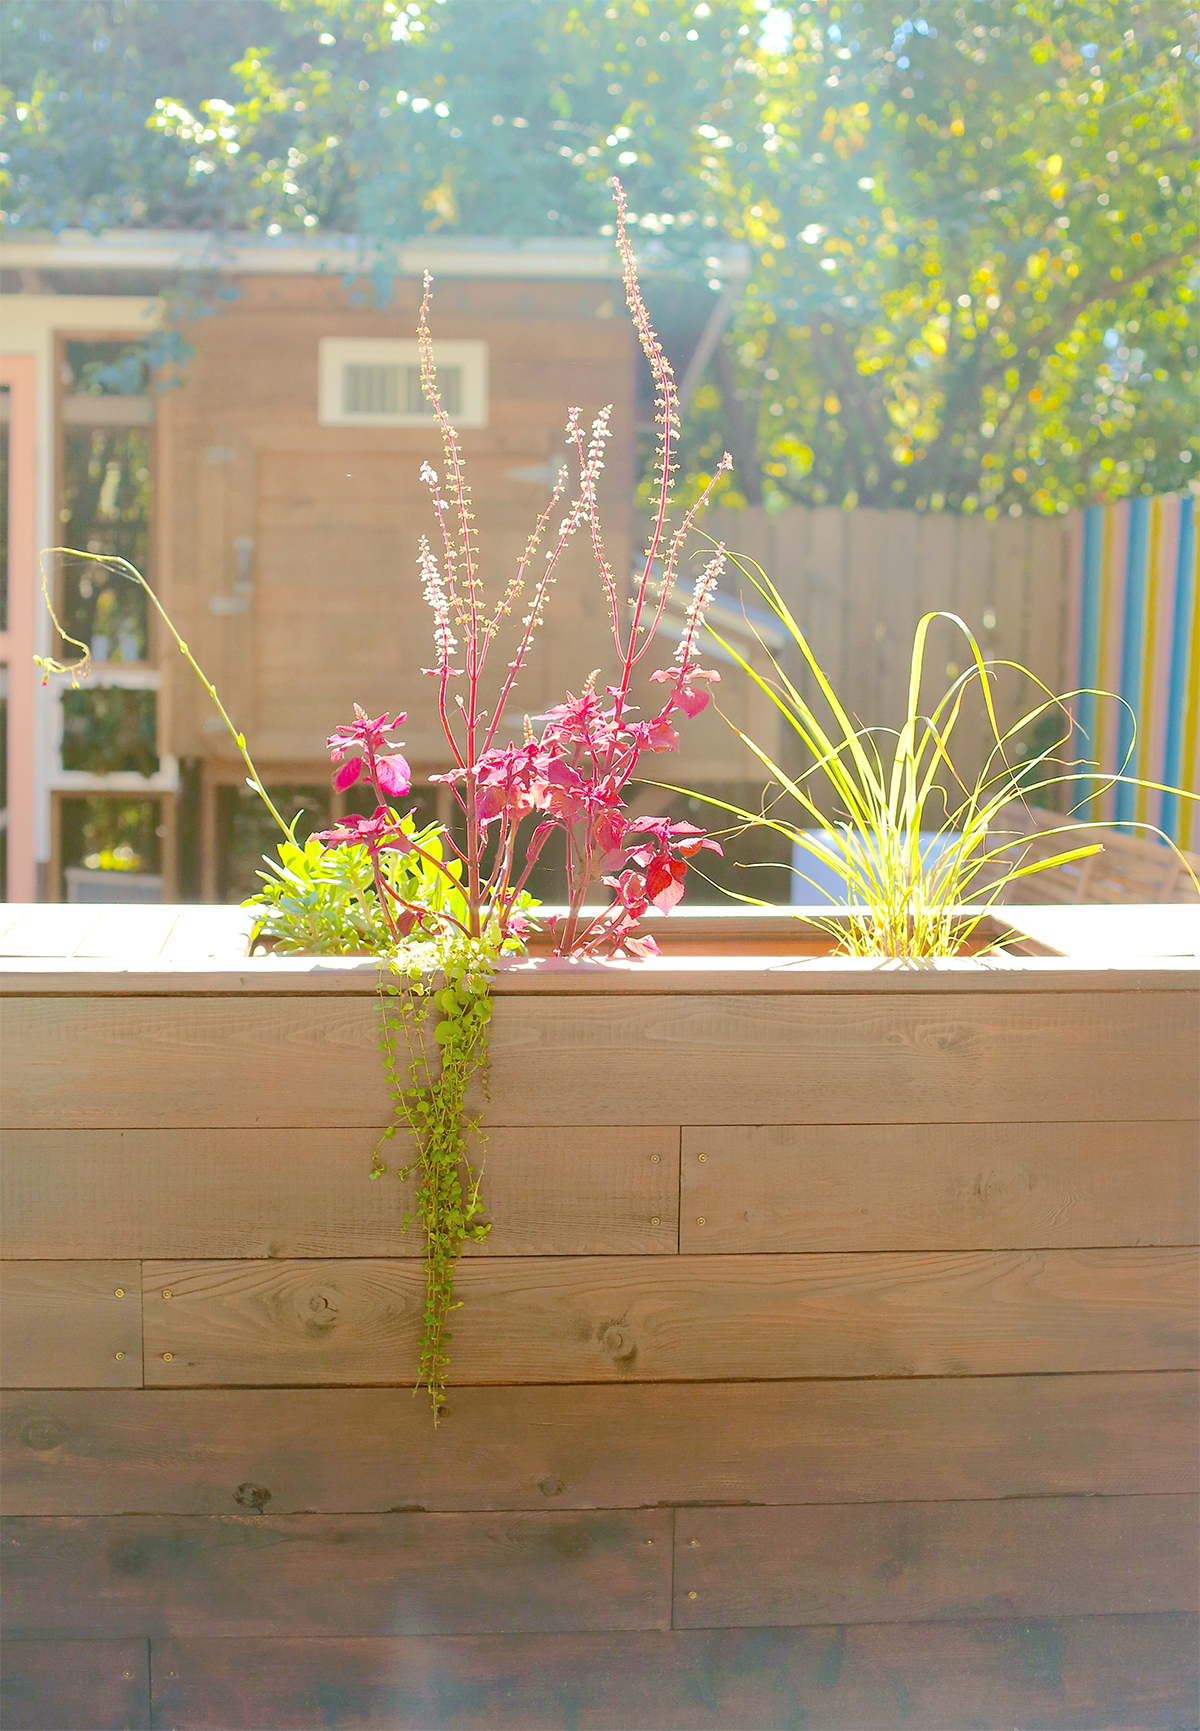
We live in the Pacific Northwest and it rains A LOT. We live in this wet climate with very limited indoor or outdoor storage, so anytime my husband and I build something new around the home we always think about how to sneak storage into the project. While planning our backyard makeover we made sure to plan for multiple spots that could hide everyday outdoor items from view. Our large wood planter does just that. It’s tall and hollow and it’s the perfect spot to hide weatherproof containers.
By adding a couple of tall resin deck boxes into our wood planter we have hidden a ton of kid’s outdoor toys and the outdoor pillows can now stay dry and clean for the winter. In addition to the deck boxes we decided to use 5 Lowe’s buckets (with lids) to store smaller items. We have BBQ tools in one bucket, small garden tools in another, spray paint (I surprisingly have a lot), storing hoses for the winter, and a sort of catchall bucket. By adding this bit of storage we have been able to clean up our small shed in the back and we can actually find things easier. It’s amazing. All of these items used to build this can easily be found at Lowe’s!
Do you want to see how we built this piece? Follow the directions below. You can adjust them to fit the size of your yard.
Supplies:
- 15 @ 1in. x 6in. x 8ft. Cedar Flat-top Wood Fence Picket
- 4 @ 2in. x 4in. x 8ft. Cedar Board
- 2 @ 1in. x 4in. x 10ft. Cedar Board
- 1 @ 1in. x 4in. x 6ft. Cedar Board
- 2 @ 2in. x 2in. x 8ft. Treated Lumber
- 3 @ 17.5in. x 17.5in. Plastic Planter
- 1 box of #8 x 2 1/2 in. Construction Screws
- Stain
Storage containers:
Tools:
- Saw (or get the boards cut to size at Lowe’s)
- Screwdriver
- Socket Wrench
How we built this:


Front Construction:
- Even though our planter box is close to 10 feet long we chose to use 8 foot boards because we couldn’t fit that many long boards into our car (10 foot long boards would be perfect for this project if you can fit them in your vehicle).
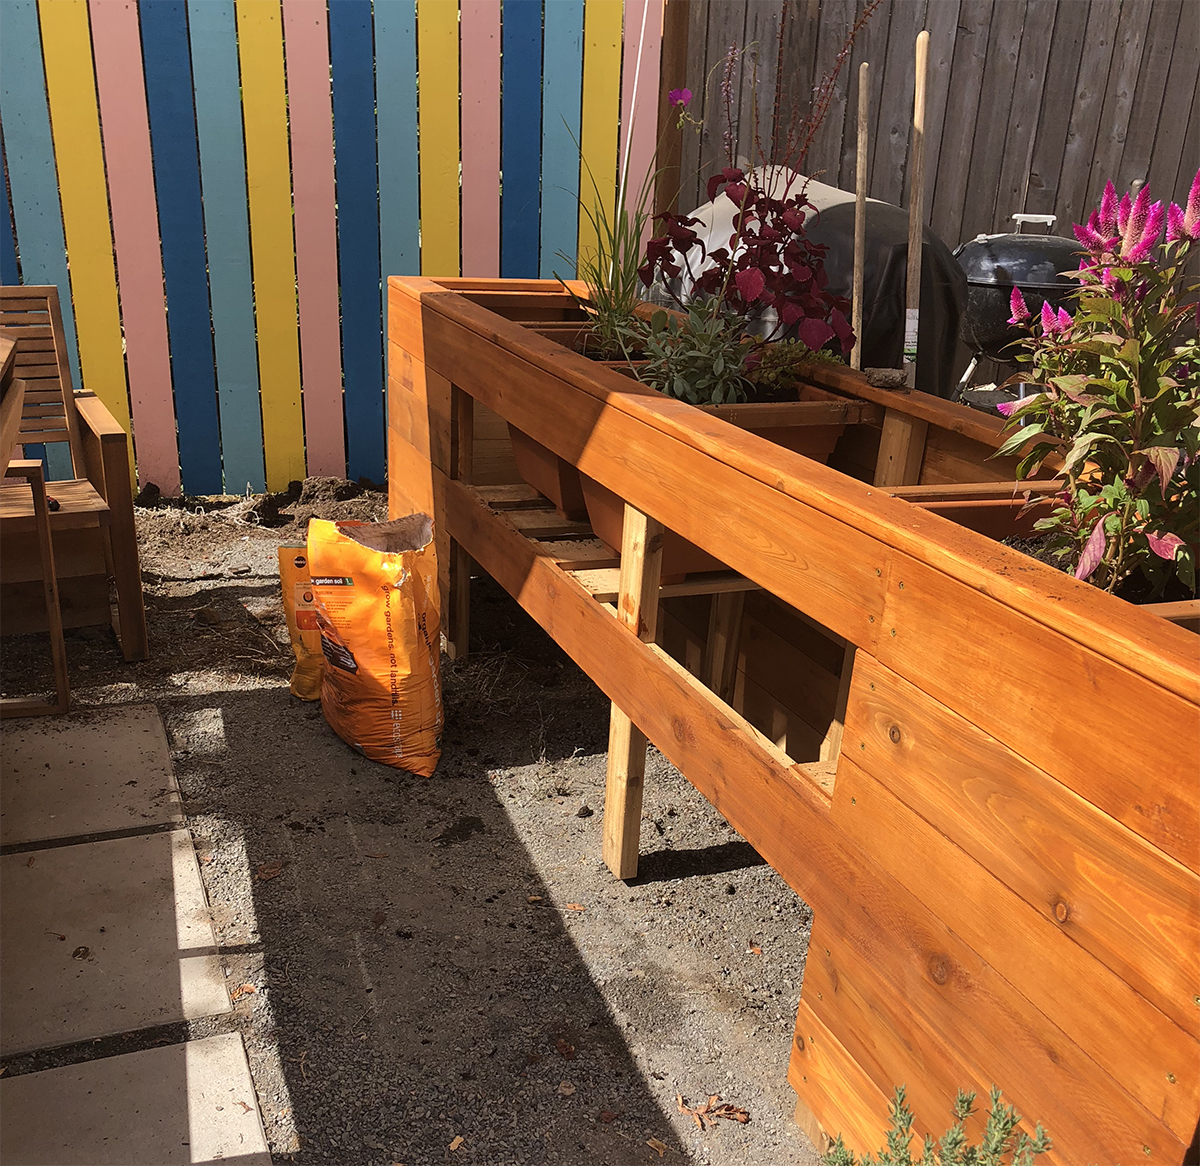
- Cut list: Cut a few of the 1in. x 6in. x 8ft. Cedar Flat-top Wood Fence Picket boards into a variety of sizes and piece them together in six horizontal rows measuring ten feet long (adding 2 foot cut boards to 8 foot boards is a good way to do this). Cut two 35 inch long pieces from the 2in. x 2in. x 8ft. treated lumber board. Cut three 35 inch long pieces from a 2in. x 4in. x 8ft. cedar boards.
- Use the #8 x 2 1/2 in. Construction Screws to vertically attach the 35 inch long boards to the pieced together cedar boards.
- One inch in from the ends of the pieced together cedar: use the #8 x 2 1/2 in. Construction Screws to vertically attach the two 35 inch long 2in. x 2in. Treated Lumber.

Frame and Side Construction:
- Cut list: Cut three 35 inch long piece from the 2in. x 4in. x 8ft. cedar board. Cut twelve 21 inch long pieces and one 24 inch piece from the 1in. x 6in. x 8ft. Cedar Flat-top Wood Fence Picket. Cut two 35 inch long pieces from the 2in. x 2in. x 8ft. treated lumber.
- Horizontally line up six of the 21 inch long 1in. x 6in Cedar Flat-top Wood Fence Picket pieces. Attach the 34 inch long 2in. x 2in. treated lumber to the edge of the right side of the cedar with the screws. When that’s finished attach the left side of the boards to the right side of the front construction panel you built (see the right side of the top photo above for reference).
- Horizontally line up six of the 21 inch long 1in. x 6in Cedar Flat-top Wood Fence Picket pieces. Attach the 34 inch long 2in. x 2in. treated lumber to the edge of the left side of the cedar with the screws. When that’s finished attach the right side of the boards to the left side of the front construction panel you built (see the left side of the top photo above for reference).
- Attach the 24 inch piece from the 1in. x 6in. cedar to the top of the right side panel. Attach the other end of the 24 inch piece to the top of the 35 inch long piece from the 2in. x 4in. cedar board. Attach one 2in. x 4in. x 8ft. cedar board from the top of the left side panel and to the other side of the 35 inch long piece from the 2in. x 4in. cedar board.
- Repeat the above step 12 inches down from the attached boards.
- Attach the last two 35 inch long cedar pieces to the inside of the back frames to add support to the wood planter.

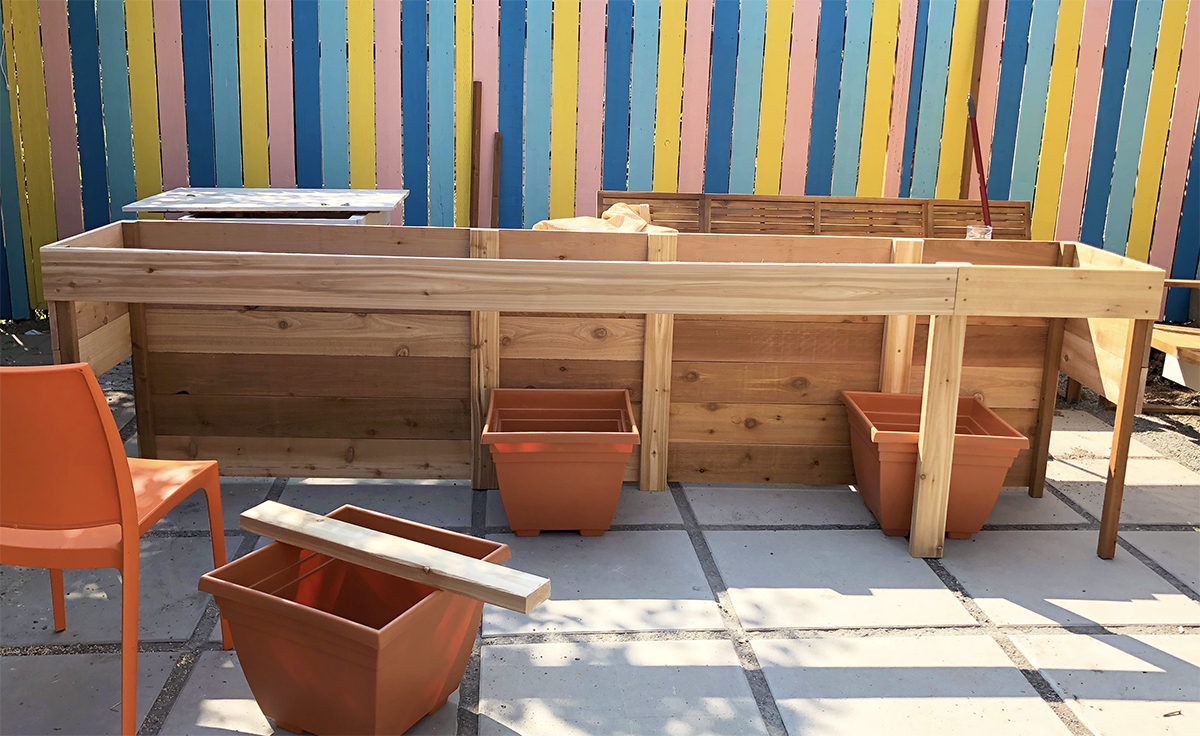
Planter Container Support:
- Now is the time to add your planter supports. I shows a more asymmetrical set up, but you can choose to set it up however you like.
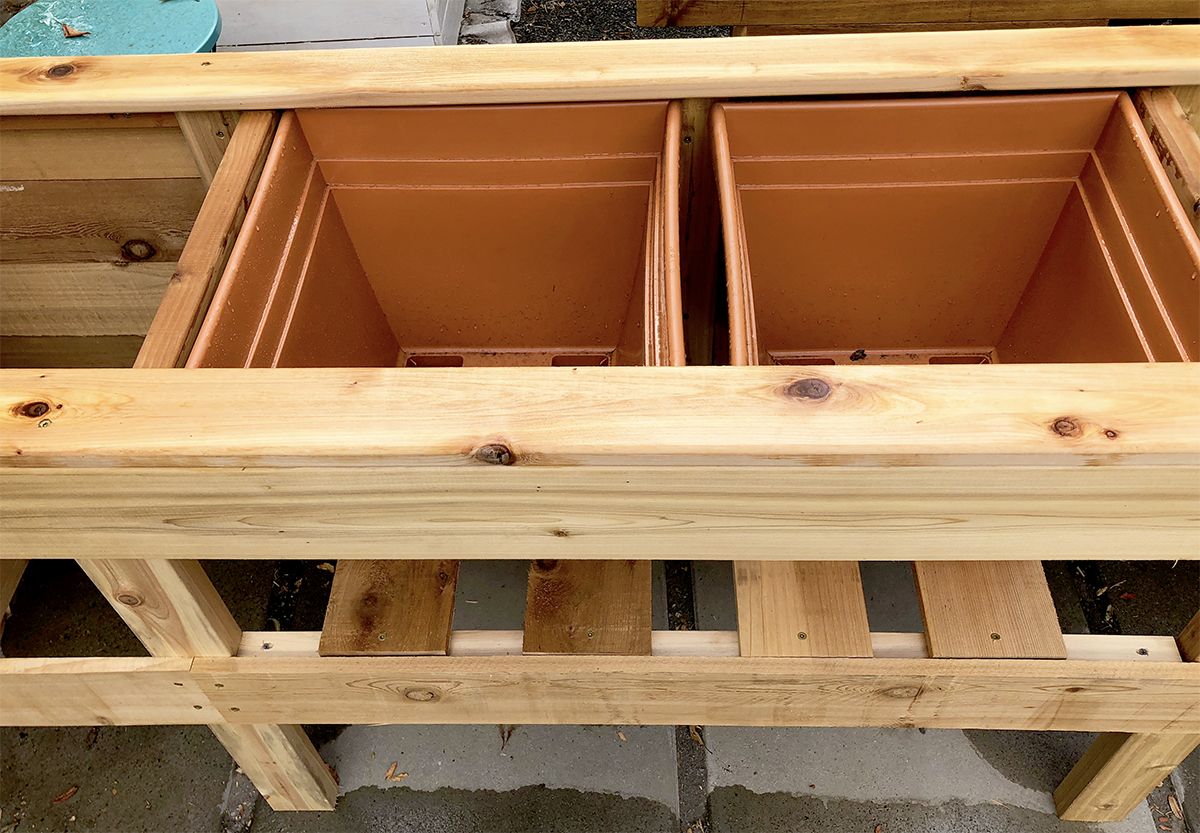
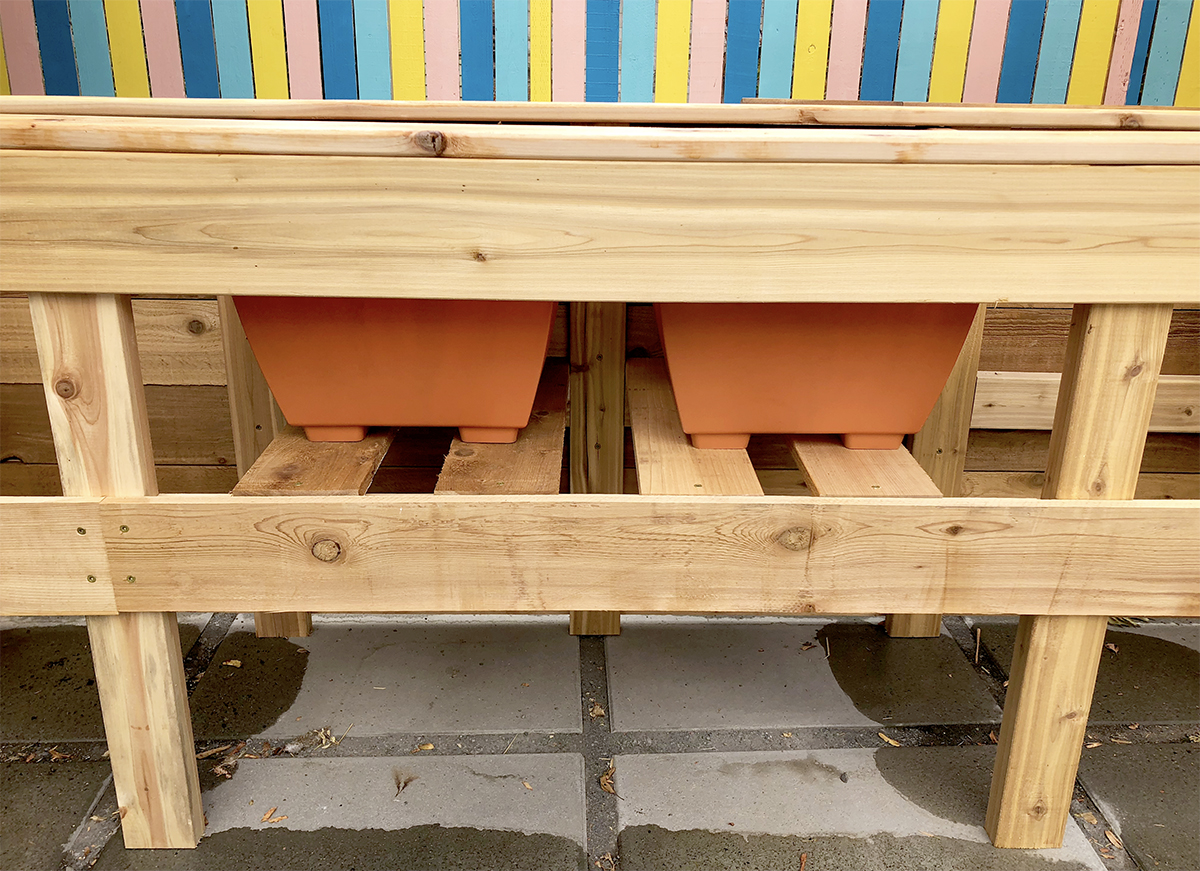
- Measure how tall your planter is + add a couple of inches to that measurement to account for the wood board height. This is how far down you should attach a horizontal piece of board to the front and back of the planter. When that’s in place you can slide in support boards for the planter. Attach with screws (see photos above). Place your plastic planters onto the supports.
- Wood supports for your lids: On each side of the plastic planters attach a 2in. x 2in. treated lumber. On the ends of each side of the wood planter 2in. x 2in. treated lumber.

Back Panel and Top Construction:
- Cut list: Twelve 24 inch pieces from the 1in. x 6in. x 8ft. Cedar Flat-top Wood Fence Picket. Two 21 inch long pieces cut from the 1in. x 4in. x 6ft. Cedar Board.
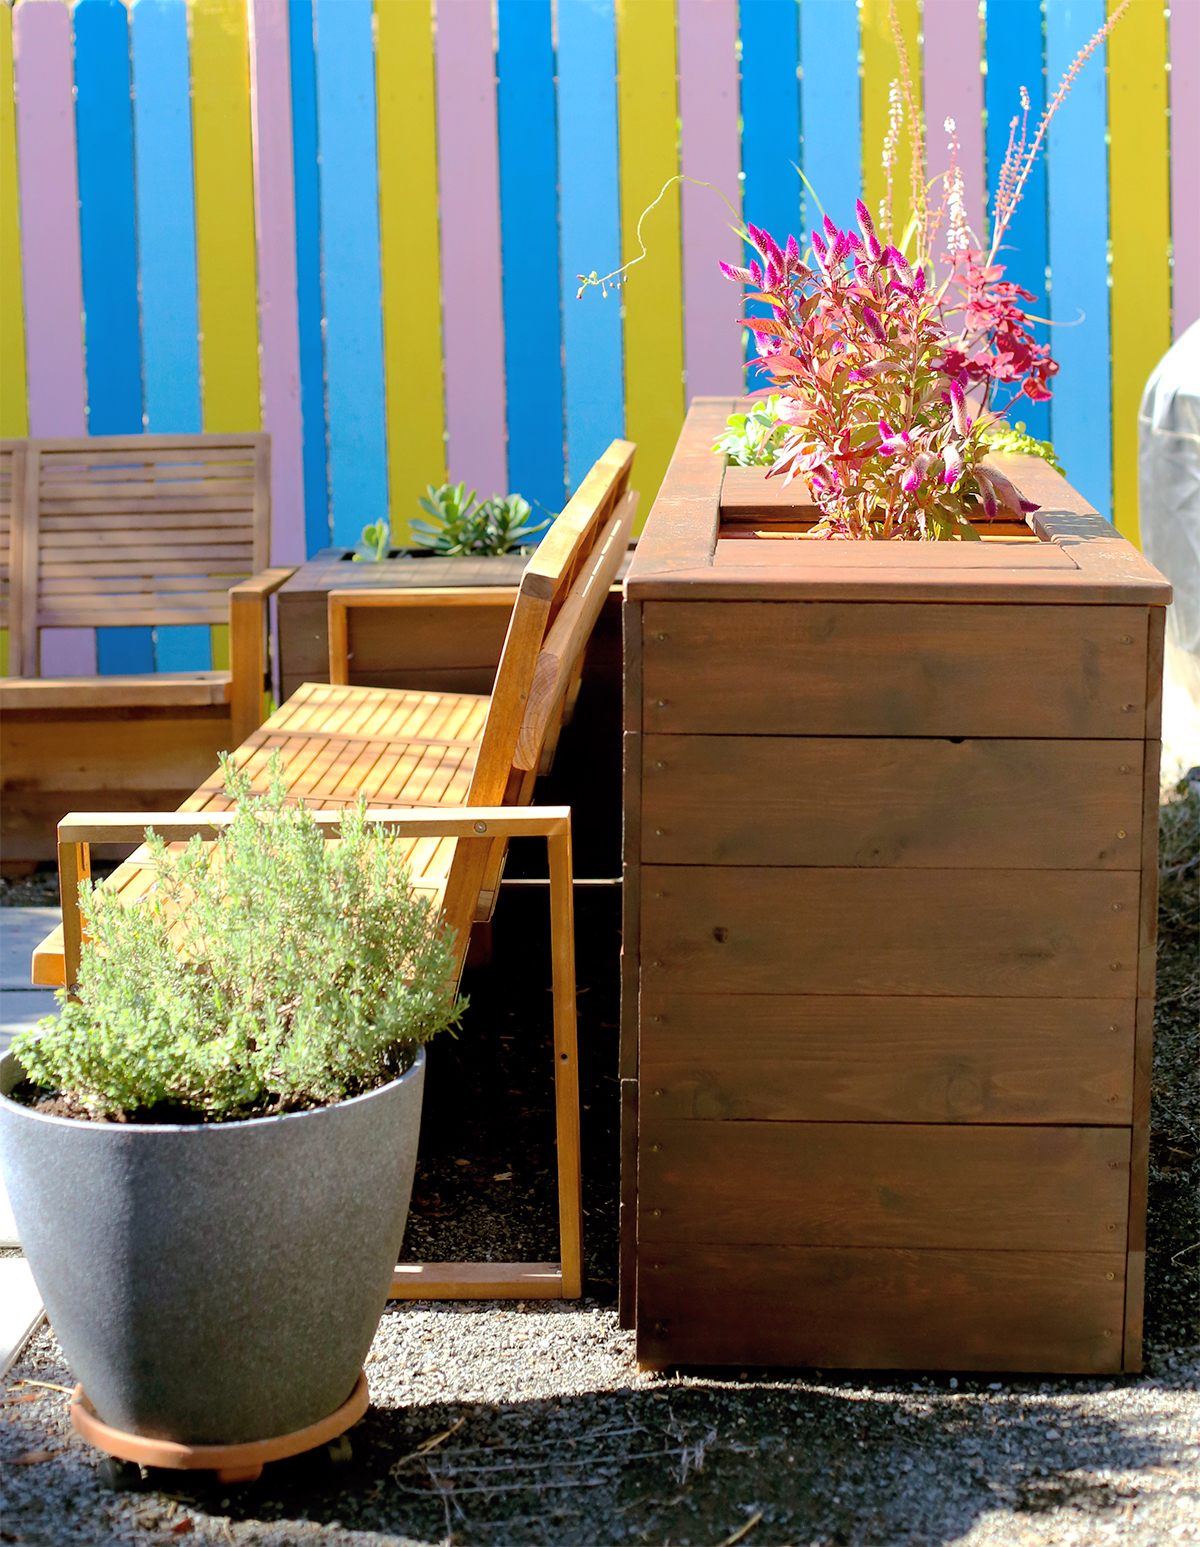
- Since our Outdoor Sofa would be covering most of the back of the planter we decided to only add paneling on the right on left side of the back where the sofa did not cover. This helped save on the cost of wood. We ended up attaching six 24 inch long 1in. x 6in cedar fence boards on right and left side of the back of the planter.
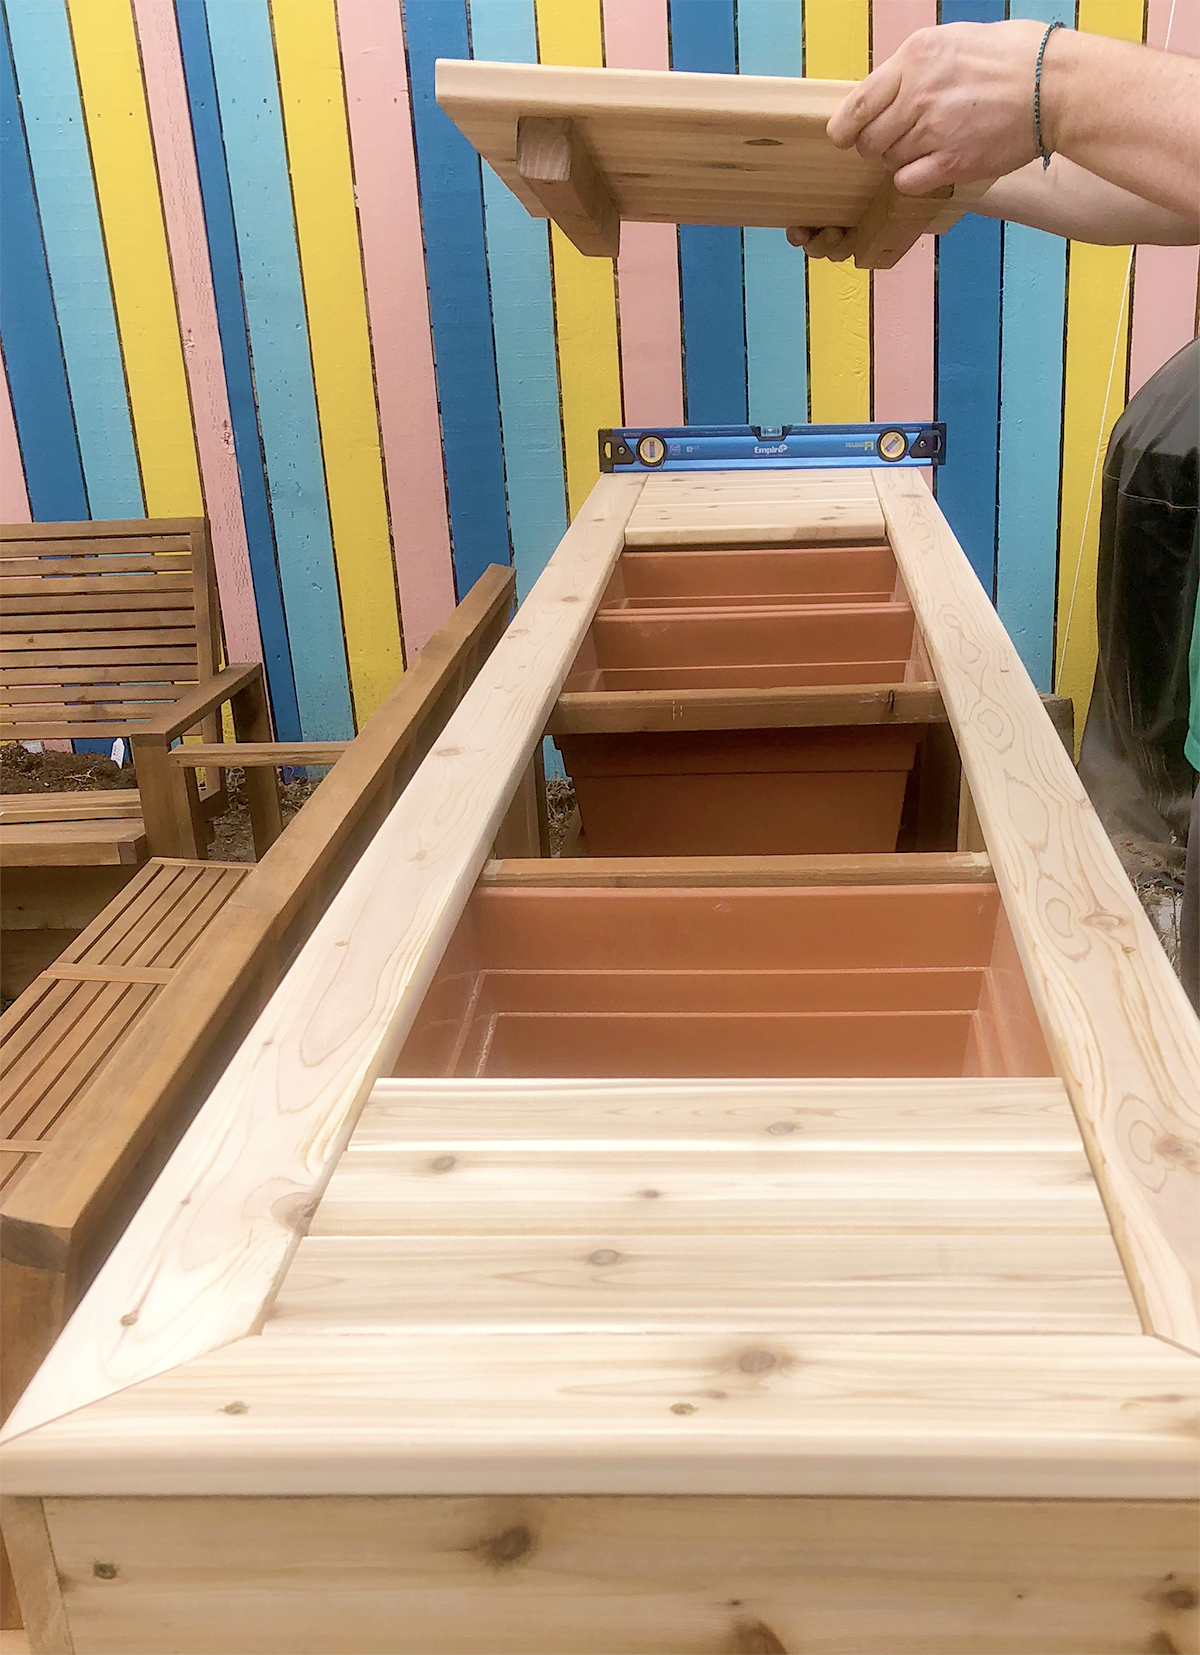
- We framed the top of the wood planter with the two 2in. x 4in. x 10ft. boards and two 21 inch long pieces. Cut the ends at 45 degree angles to match them up and you have a frame!
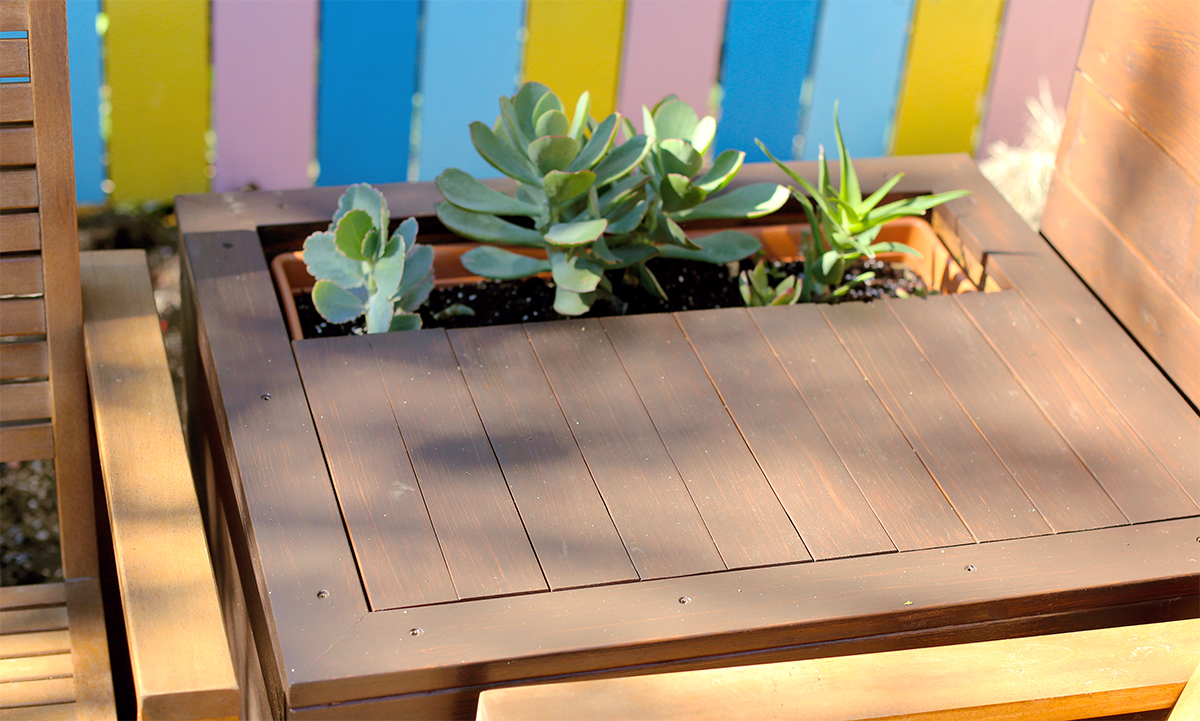
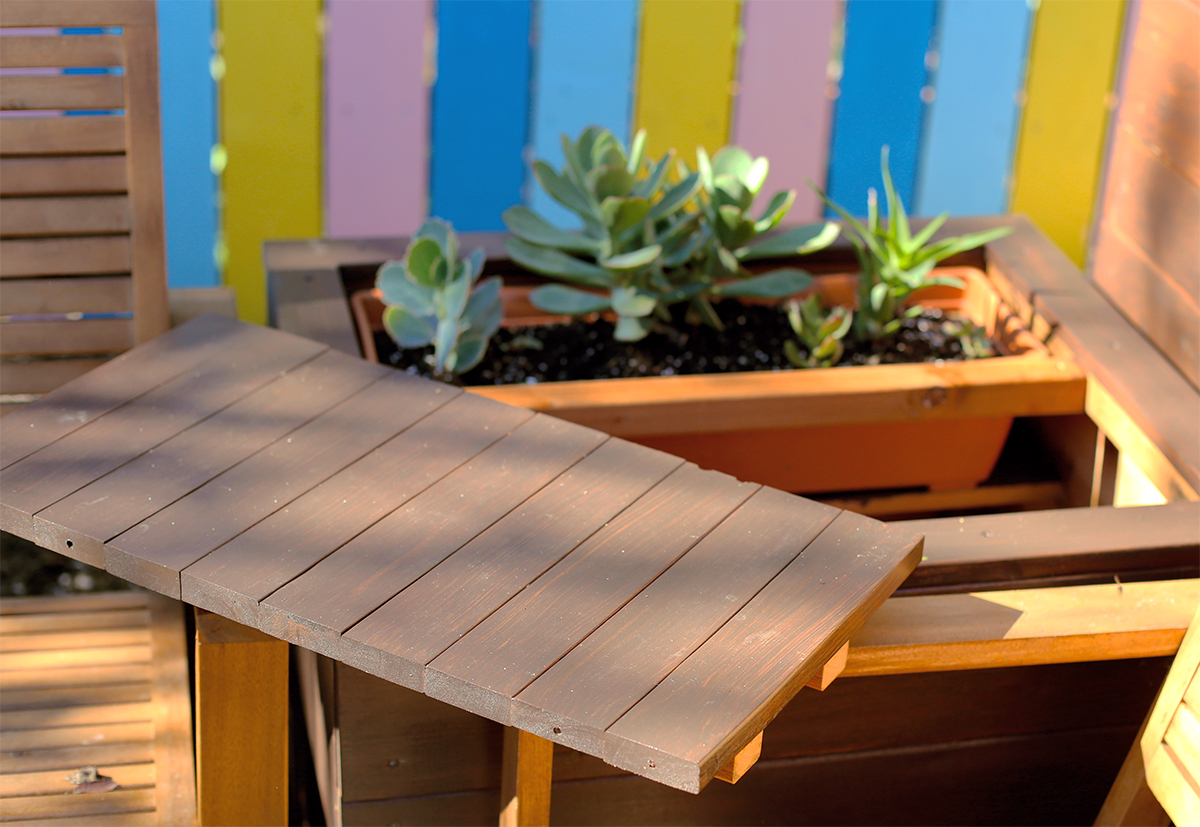
- Building the lids: The lid measurements will depend on where you’ve placed your planters. Measure the length and width of each opening and cut the correct number of boards to fit the space. Our lids are mostly made from the scrap wood we had lying around. Attach the boards together using the 2in. x 2in. treated lumber and screws.
And that is how we built our hidden storage planter! When your done you can seal or stain your wood planter to give it a longer life. In addition to adding storage into our planter we also made a side table to sit in between the two sofas. The lid sits right next to a long planter. To build our side table you can follow the same steps I shared above, but just adjust the measurements. The table is 21 inches wide x 24 inches long x 21 inches high.
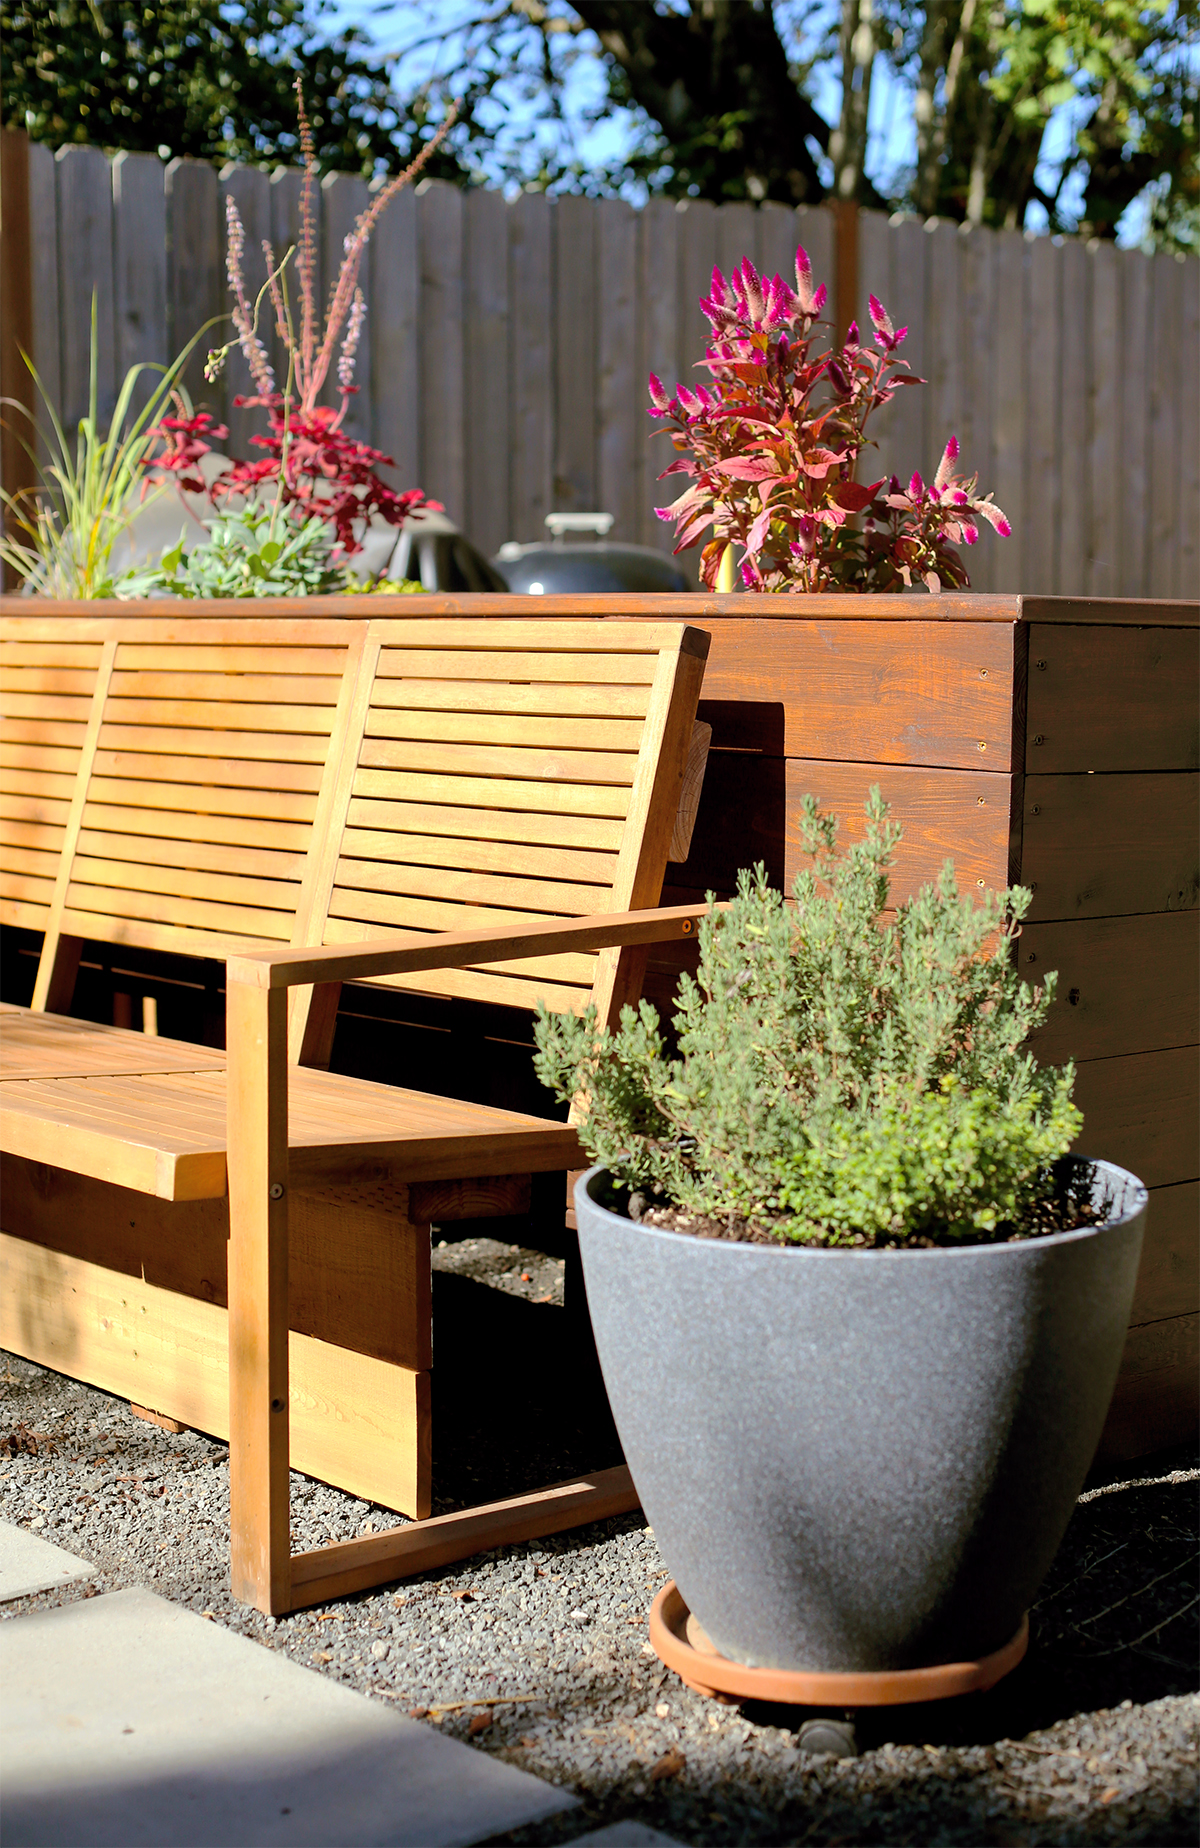

Be sure to check out how we built our outdoor sofas here! Head over here to see the final makeover photos for our backyard!
– Chelsey
Disclosure: Lowe’s Home Improvement provided me with free products in exchange for this post. All opinions are my own. I may earn a small commission for my endorsement, recommendation, testimonial, and/or link to any products or services from this website. Thank you for your support.


Leave a Reply