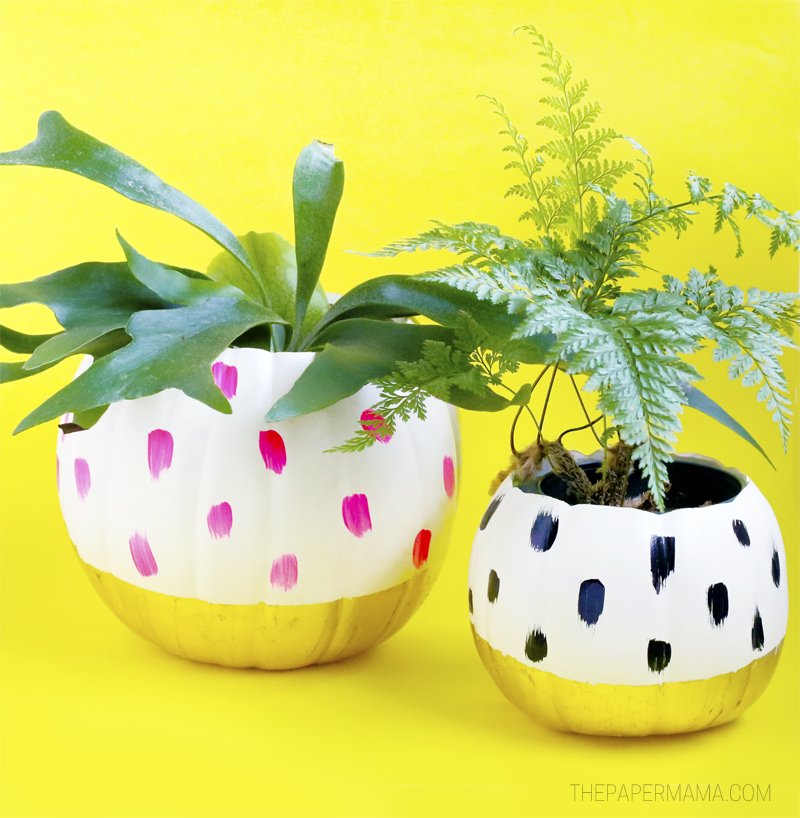
It might not seem like it’s time for Halloween, but it is. Ha! It will be here before you know it and you might as well get crafting now. Right? If it feels like it might be just a little bit early for some Halloween crafting, then this DIY is for you. These planters look are the perfect decor to take you from the end of Summer through all of Fall. I love how they turned out and now I want to gold leaf and paint the real pumpkins we pick out from the pumpkin patch. I mean, I do have some gold leaf left…
Do you want to make these planters? Good! They are very simple to create and I know you’ll love them when you’re finished.
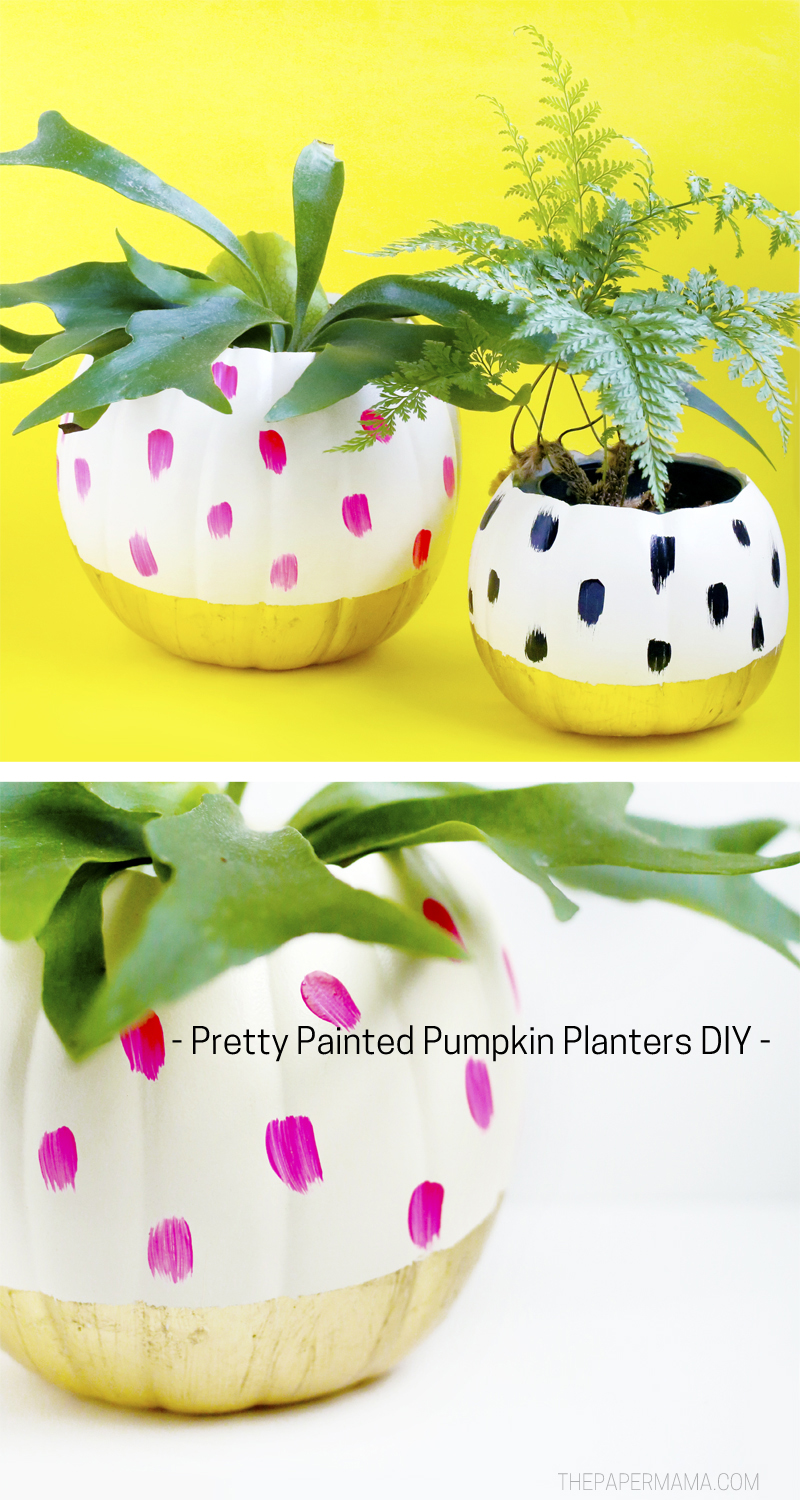
Supplies needed to make my Pretty Painted Pumpkin Planters DIY:
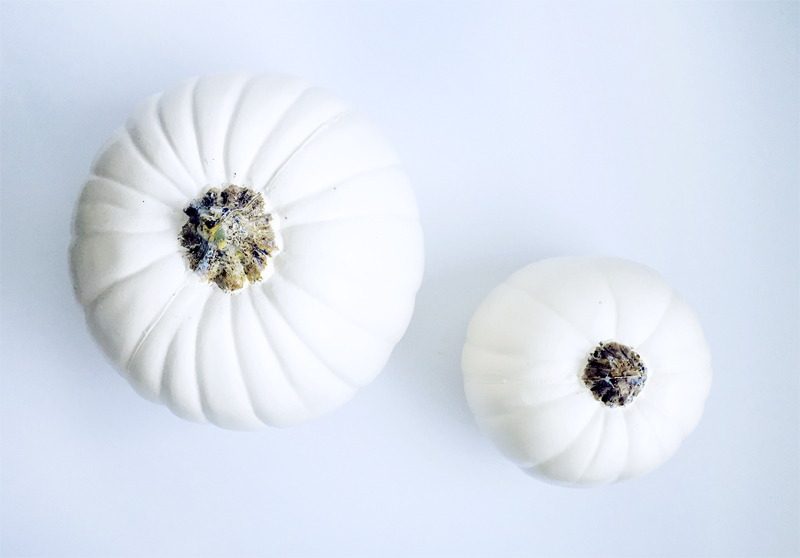
- Foam pumpkins
- Hot knife
- Gold leaf kit (make sure you get the adhesive and sealer)
- Pink and black paint (I used Martha Stewart paint)
- Paint brush for the glue
- Paint brush for brushing on the gold leaf
- Paint brush for the paint
- Plants
- Planters
Directions:
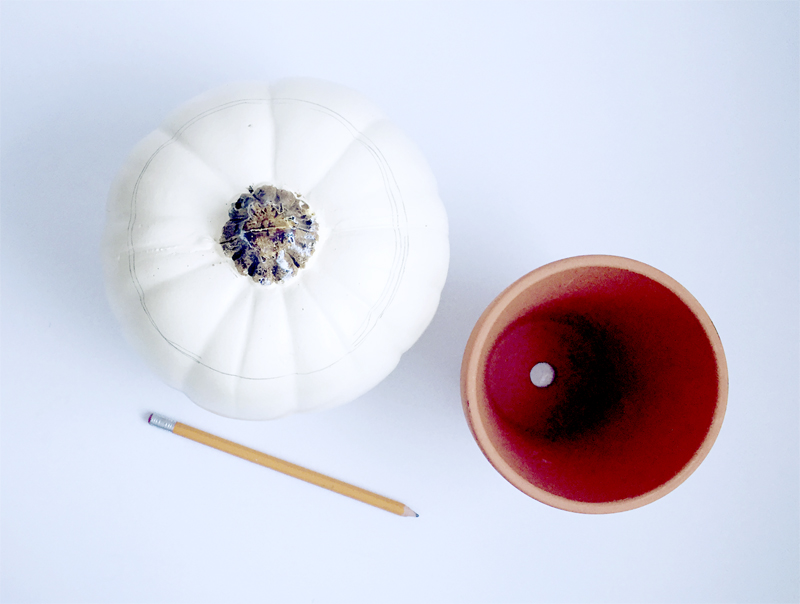
Step 1: Draw a circle on the top of the pumpkin where you plan to cut out the hole for the planter. I just measured the top of my planter to get the right size.
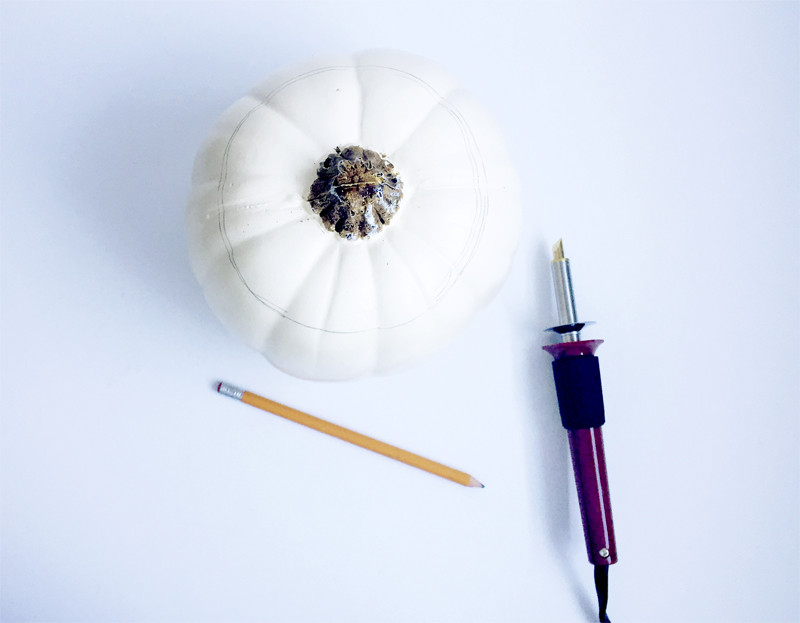
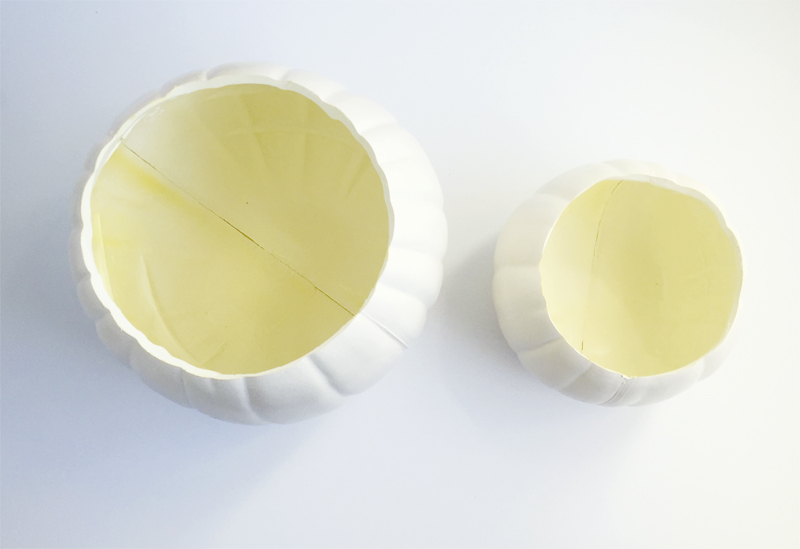
Step 2: Use your hot knife to cut out the tops of the pumpkins along your circle line. Be careful, it’s hot!
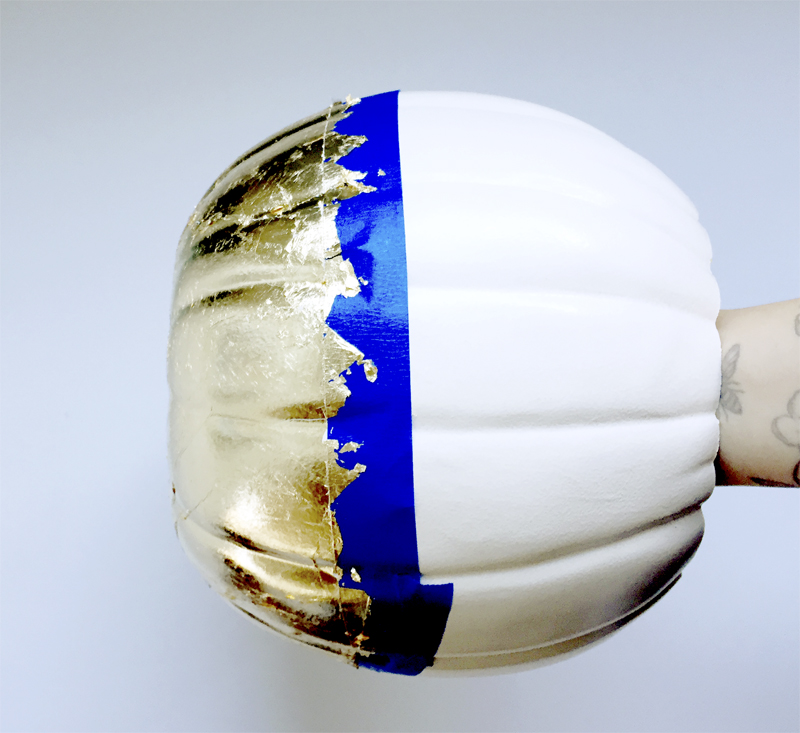
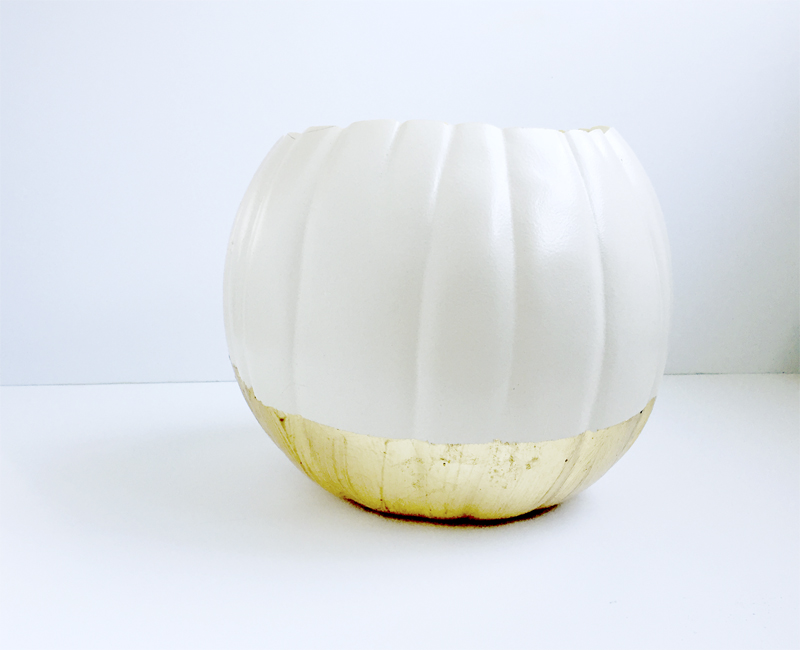
Step 3: Grab your painters tape and tape off a section of the pumpkin near the bottom. Be sure to press the tape up against the grooves of the pumpkin so the adhesive doesn’t escape past the tape.
Follow the directions on your gold leaf package. I applied a layer of adhesive and followed that with some gold leaf. After I was done applying the gold leaf I added a coat of sealer to seal it in.
When the sealer is completely dry, use a knife to gently cut just below the tape on the gold leaf. Carefully peel off the tape (do this slowly so the gold leaf doesn’t peel off with the tape.
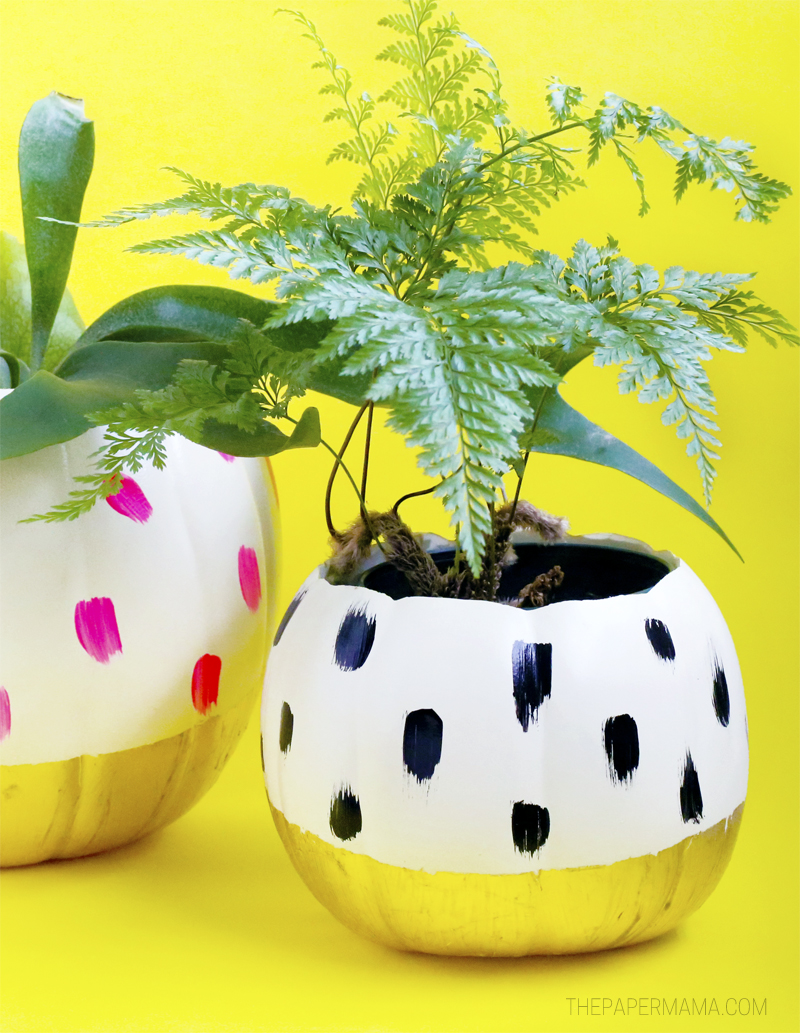
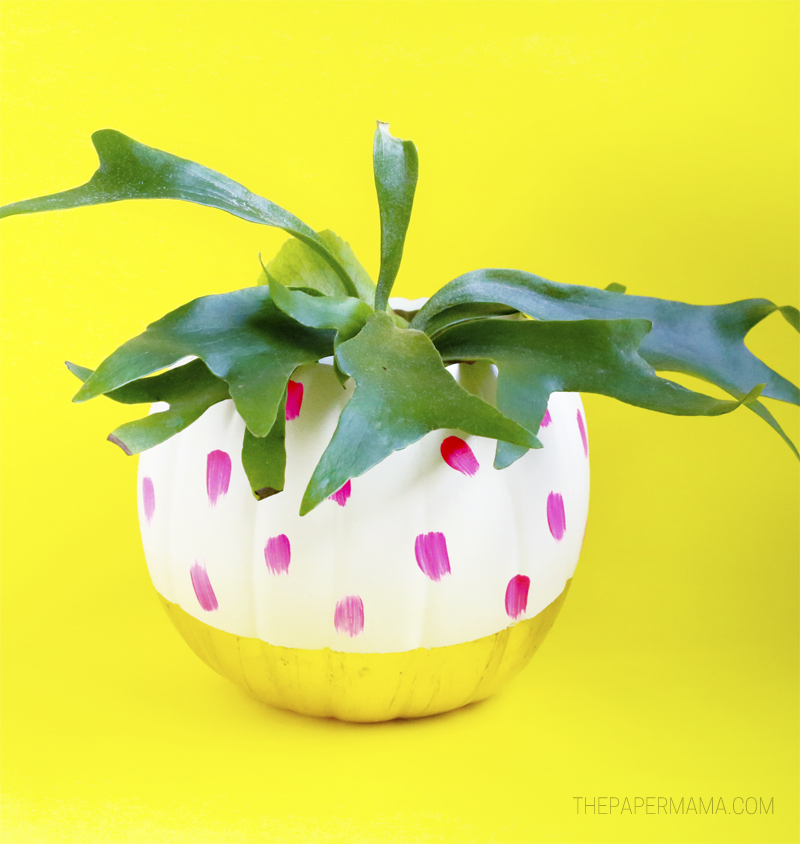
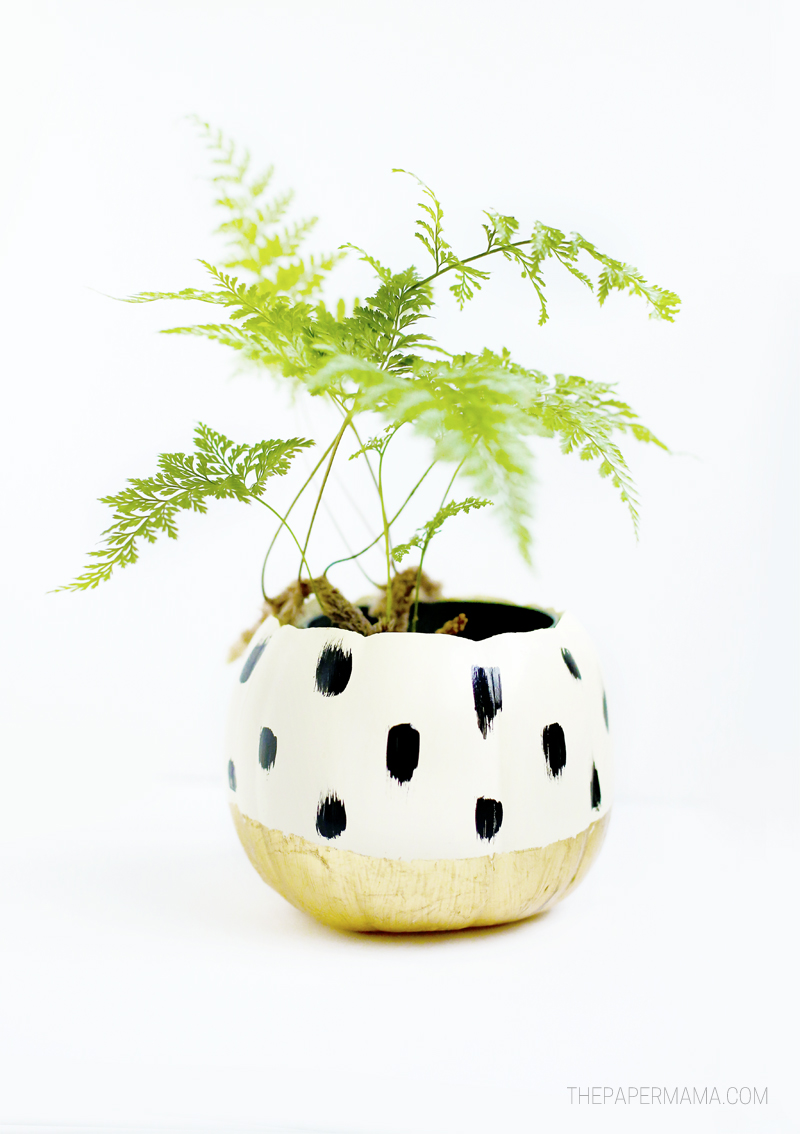
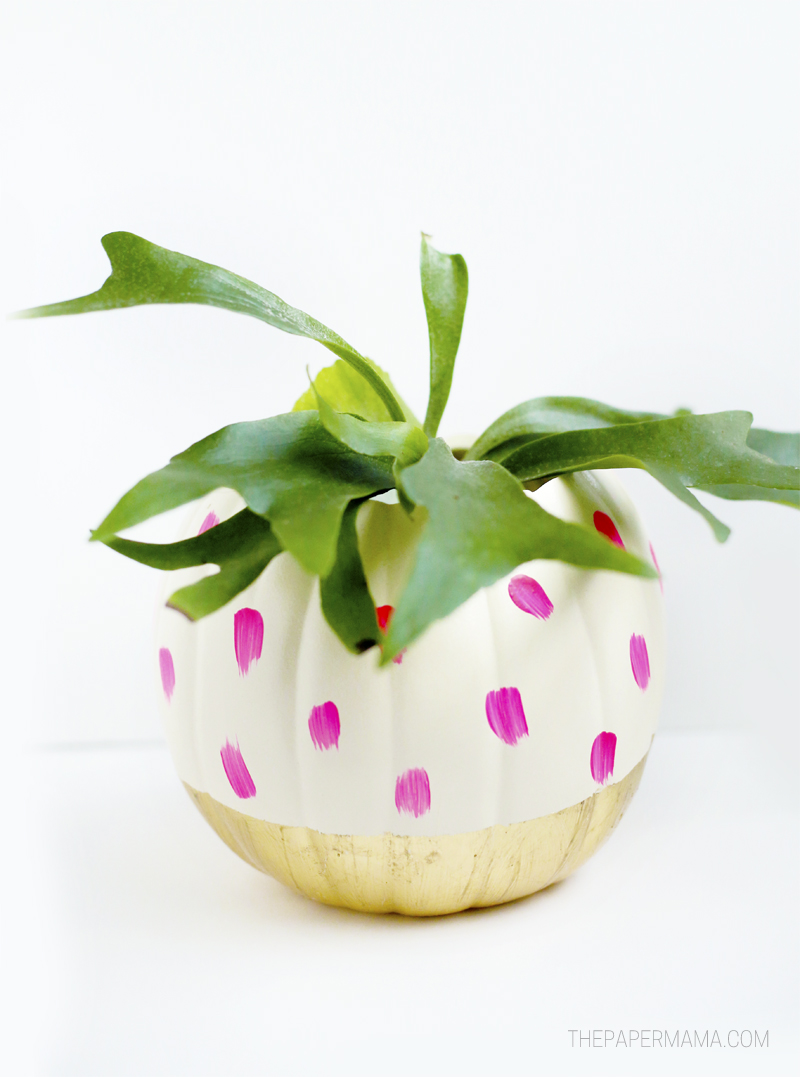
Step 4: Grab your paint and randomly brush on some paint around the pumpkin. Let that dry completely and add your plants! You are done!
To kick off fall in your own home, visit Michaels.com and check out the variety of craft pumpkins available – there is every color, shape and size you could ever want! There are tons of ways to DIY your own craft pumpkin for your home, a party or even as a gift.
Be sure to check out all of the other Michaels Makers pumpkin ideas on the Michaels blog.
I want to see what you’re crafting! You can share a link to what you’ve made in the comments below, or tag me on Instagram with a photo (my user name is @thepapermama).
– Chelsey
P.S. I was provided with a Michael’s gift card, from Michael’s, to create this pumpkin DIY for you!


Leave a Reply