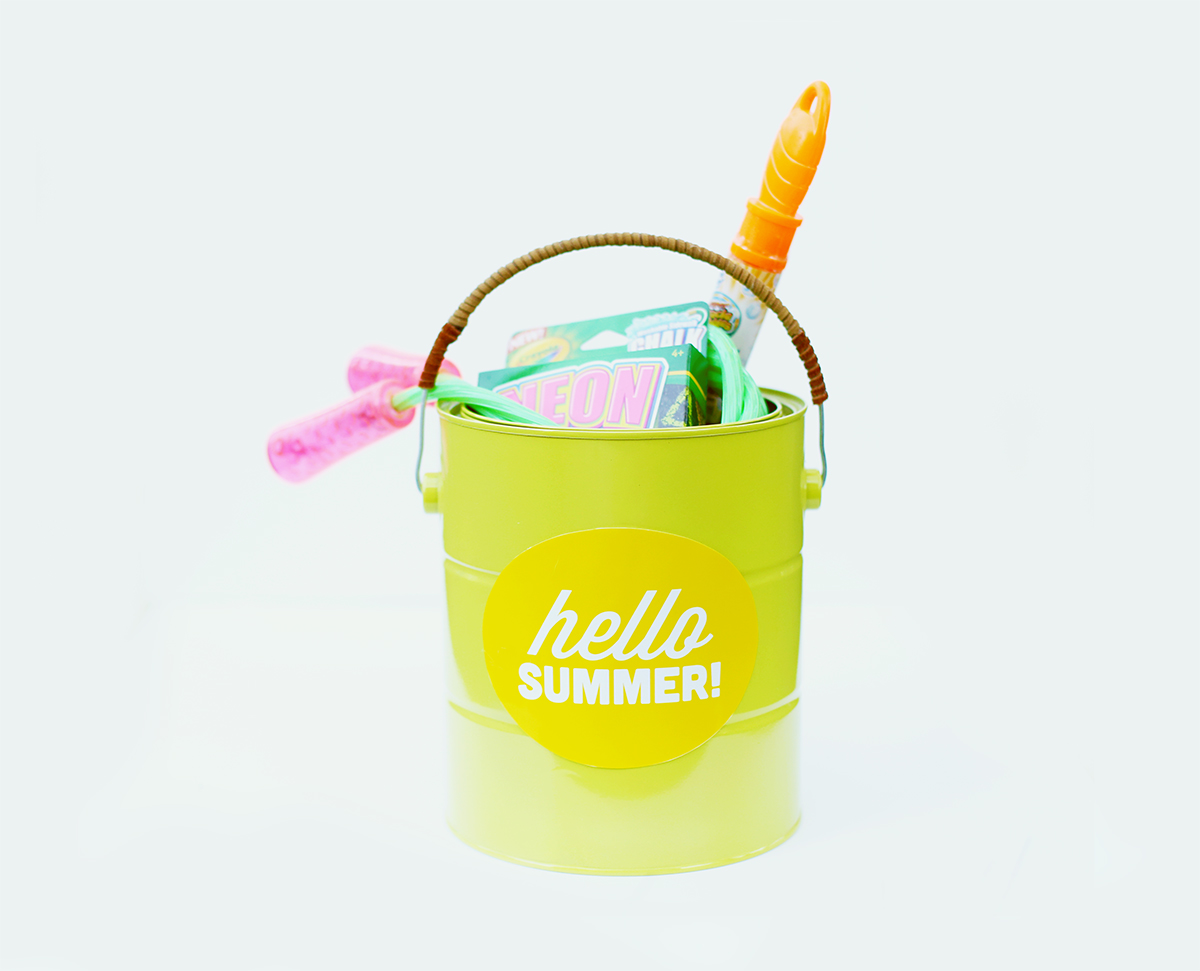
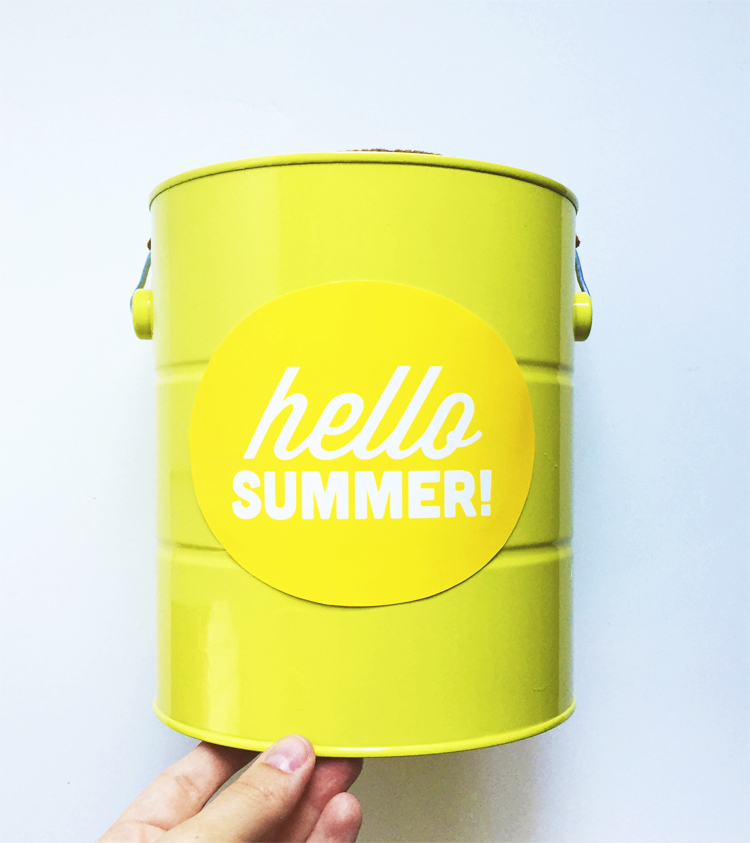
Summer Fun Storage Bucket
In our back room you’ll find a cardboard box full of little summer toys. We have open storage in our back room, so I would prefer to store stuff in cute storage (cardboard boxes weren’t cutting it in the cute storage category). That is why I created this Summer Fun Storage Bucket to hold the jump ropes, chalk, bubbles, shovels, and all the other tiny things that my daughter plays with outside. I’m very happy with the final result and I’m already planning to make a “Hello, Winter” bucket to store gloves, ear muffs, and other small winter items.
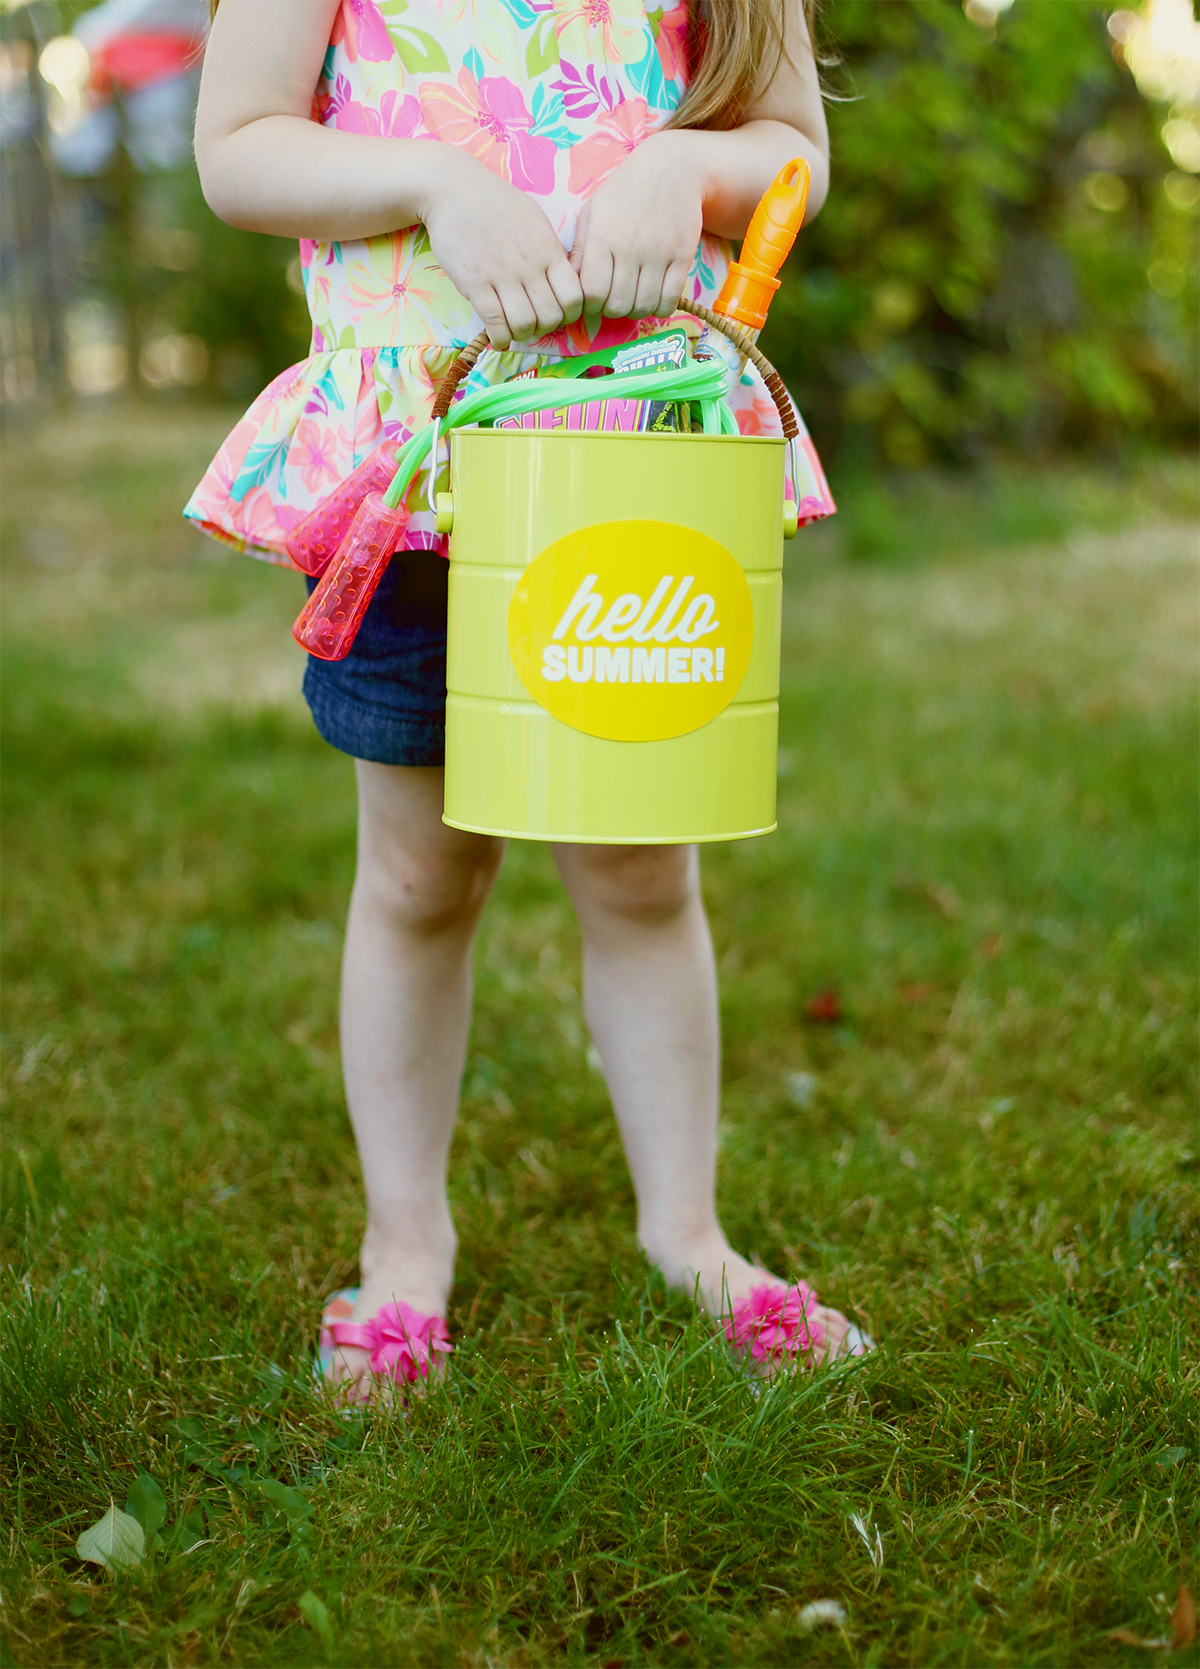
This summer bucket would also make a very adorable gift for any kiddo. We have a couple of kid birthday parties to head to this summer, and I think this would make the perfect gift with all the goodies inside.
Supplies:
- Photo Paper
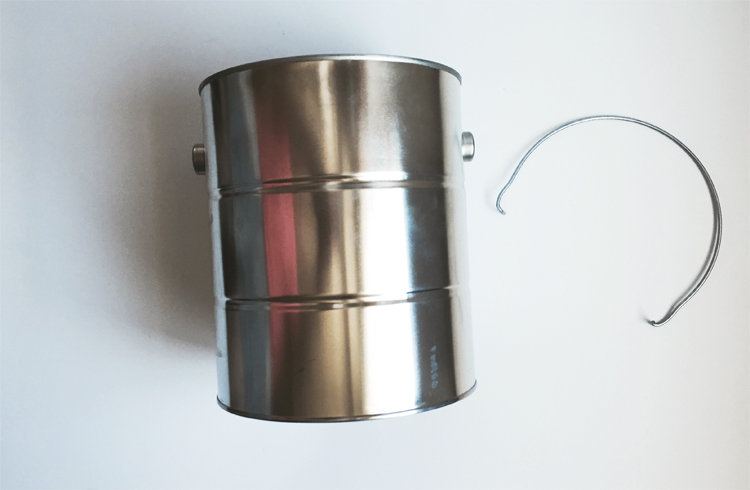
- Empty paint bucket (you can find them at Lowes)
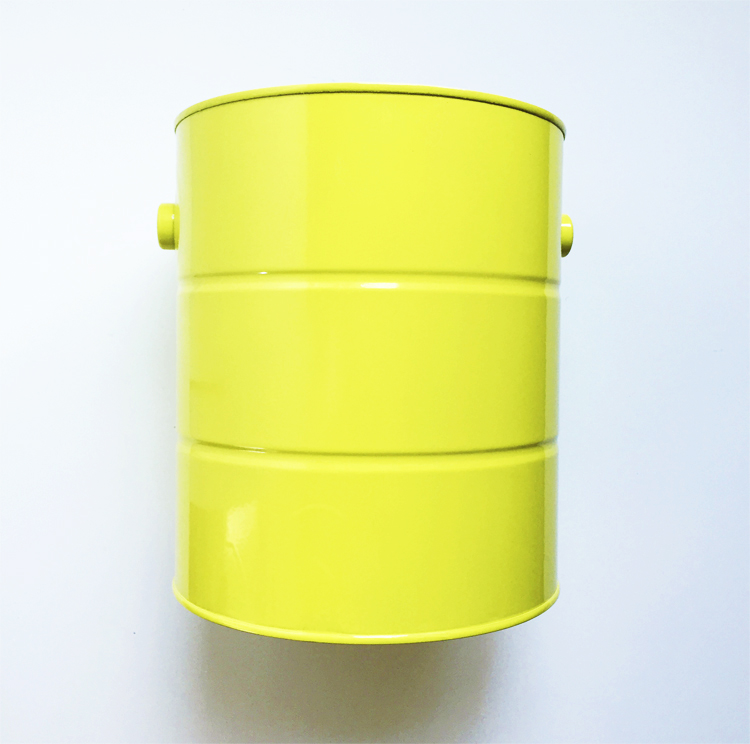
- Spray paint (color is your choice)
- Clear acrylic spray paint
- Hot glue
- ⅛” thick Latigo Lace leather strip
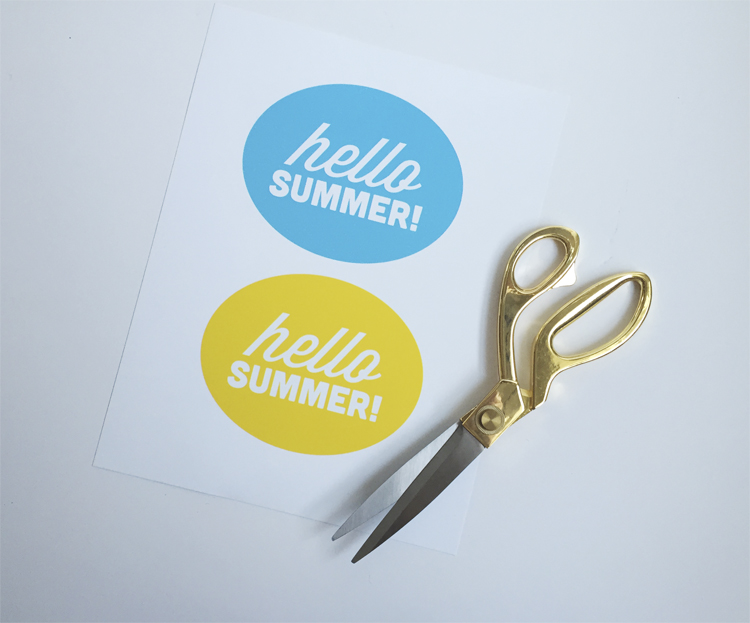
- Free Hello Summer Printable
- Goodies to put in your summer bucket (jump rope, chalk, shovel, bubbles, and other summer fun items)
Directions:
STEP 1: Carefully pop out the handle from the paint bucket. Clean any dirt or grease off of the outside of the paint bucket.
STEP 2: In a well ventilated space (preferably outdoors) and wearing a mask, spray the paint onto the the outside of the bucket (following the paint can directions). Let the paint dry for 24 hours before handling.
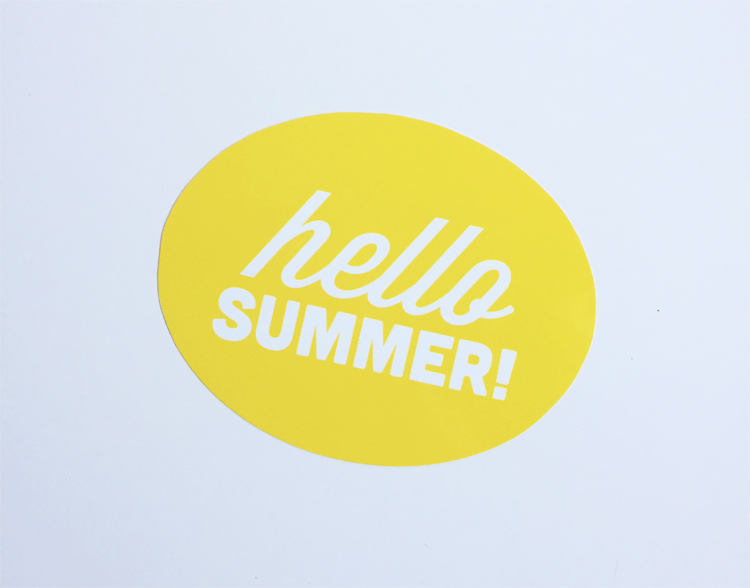
STEP 3: Print out the Hello Summer Printable out onto the HP Photo Paper. Cut one of the ovals out. When the paint can is completely dry, use the hot glue to adhere the cut out Hello Summer oval onto the front of the bucket. Optional: If you’re worried about the Hello Summer printout getting wet, this would be the time you apply a couple of layers of the acrylic sealer spray to your bucket and Hello Summer image. This will protect it from water.
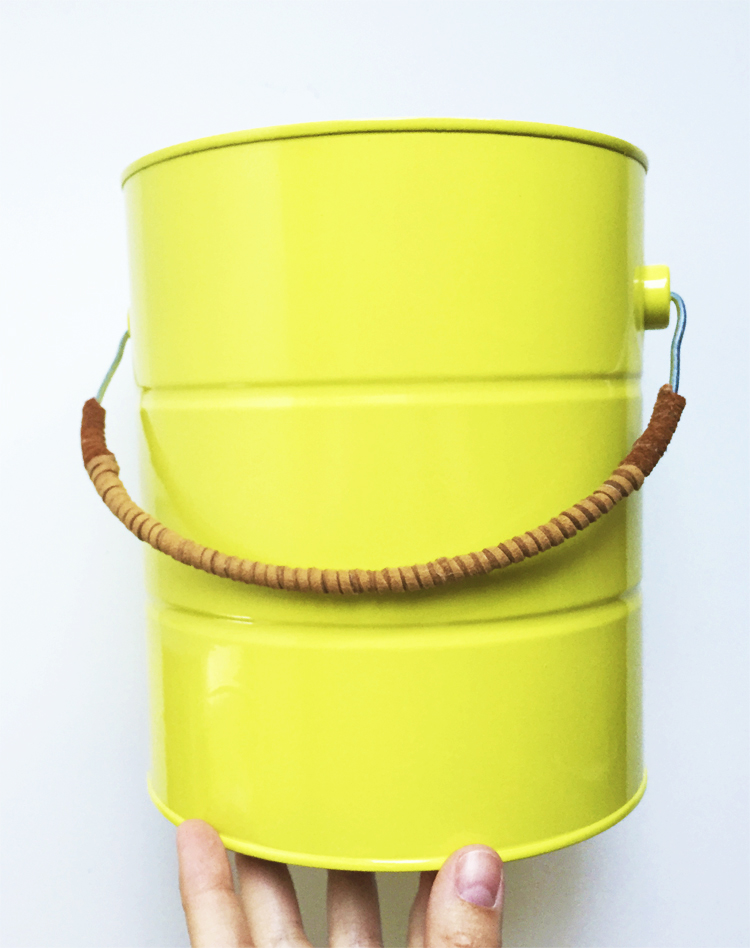
STEP 4: Grab the leather strip and the bucket handle. Warm up the hot glue gun.

A. Put a tiny dot of hot glue at the end of the leather strip and glue it to the handle. Start wrapping the leather around the handle, adding dots of glue to the leather every couple of leather wraps.

B. Continue wrapping and glueing the leather onto the handle until it’s about 1 – 2 inches from each end. Note: I had two different colors of leather, so I chose to put the darker leather at the ends.
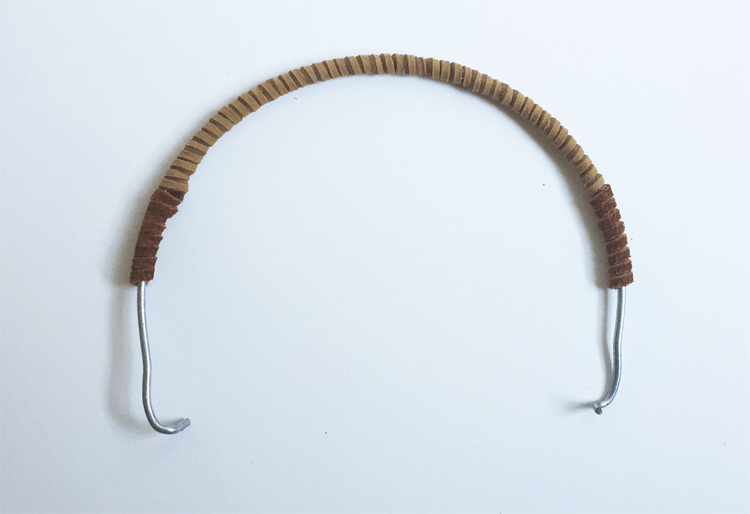
C. Carefully pop the bucket handle back into place.
Add all of your summer fun toys to the bucket and you’re done!
– Chelsey
P.S. I am a paid contributor for the HP Create site.


Leave a Reply