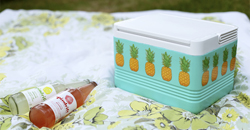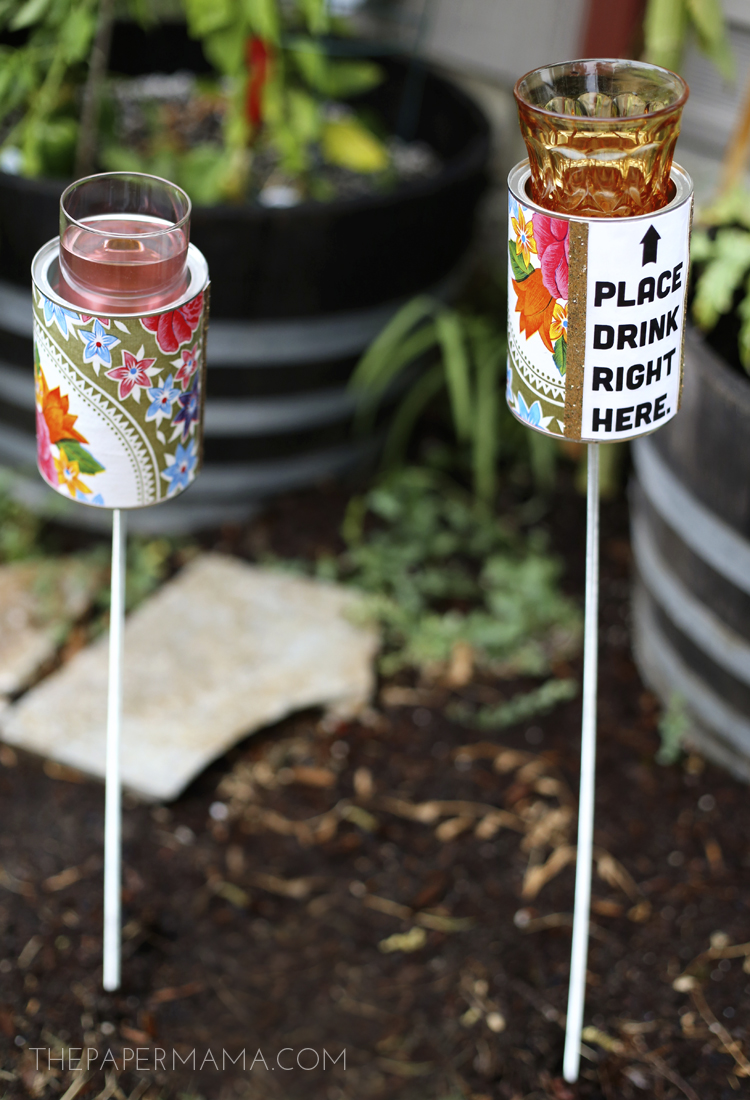
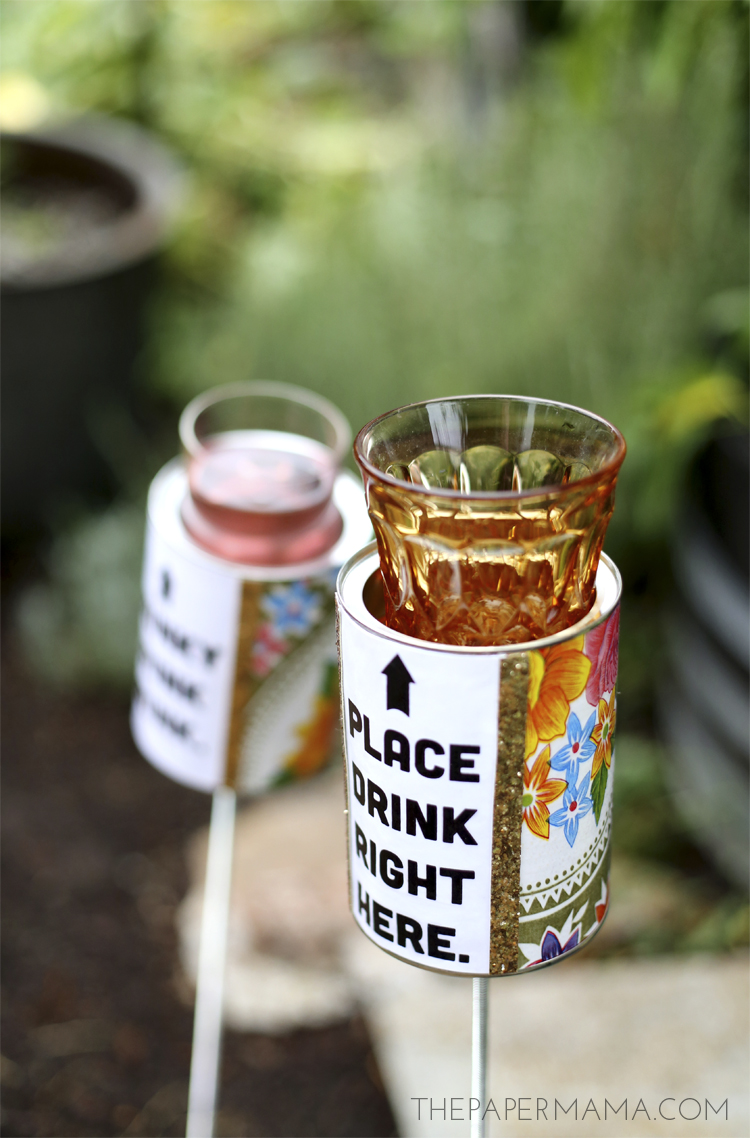
I love sitting outside with a delicious drink out in the yard, but I don’t like holding any drinks in my hand (and they tip over if I set it in the grass). I do have a couple outdoor tables, but they are very heavy and awkward to move around. And this is why my outdoor drink holder diy, that I made for the HP Create blog, is so lovely. They are easier to store and move around the yard than a table. These would also be perfect to take with you on a camping trip.
Supplies you will need to create this Outdoor Drink Holder DIY:
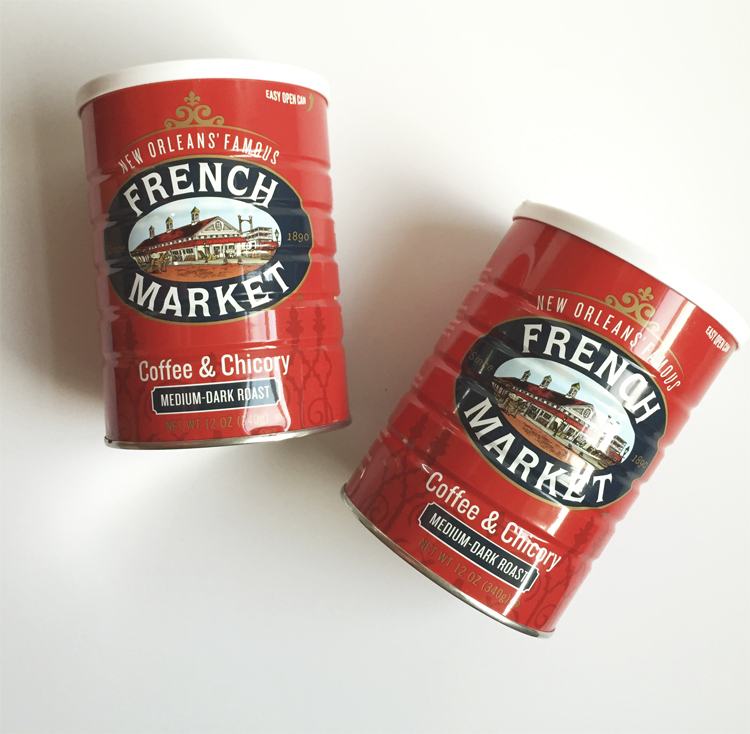
- One wide mouth tin can (I used coffee tins)
- ¼” – 20” x 36” threaded rod
- Two ¼” hex nuts
- Two ¼” washers
- ¼” drill bit
- ¼ yard of cute vinyl tablecloth fabric
- ½ inch wide ribbon
- Hot glue
- Drink holder printable
- Art Plaster mix
- Colorful acrylic paint (I used satin Martha Stewart paint)
- Clear acrylic sealing spray (optional)
Directions:
STEP 1: Clean up your tin can with soap and water, then dry completely. In the center on the bottom of the can, mark the can with a marker in the center. Use your ¼” drill bit to drill a hole in the bottom.
STEP 2: Measure the can from top to bottom. Then measure around the center (add a ½” to this measurement so the fabric can overlap a bit). Cut out a strip of vinyl tablecloth fabric to fit the outside of the can.
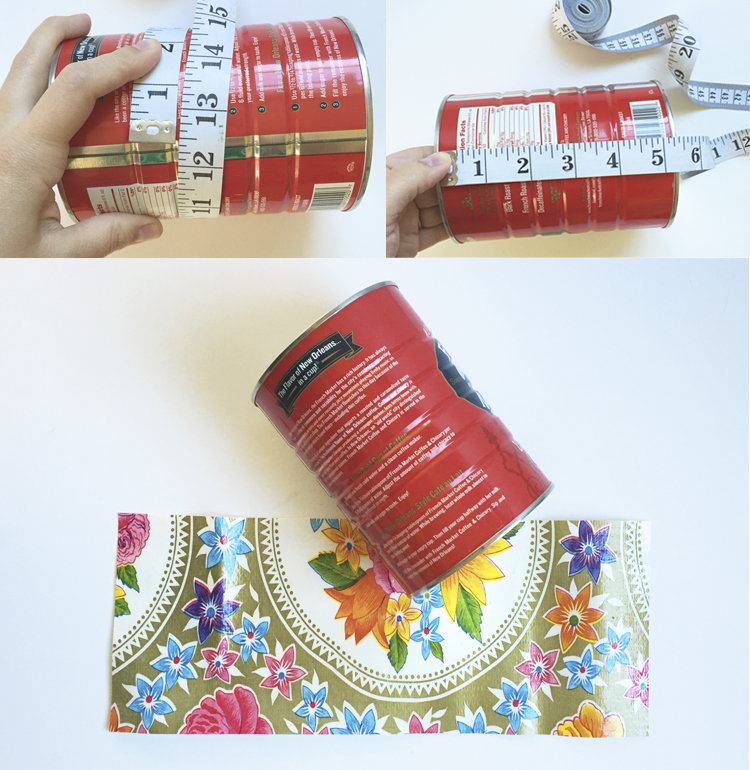
STEP 3: Use hot glue to adhere the vinyl tablecloth piece around the can.
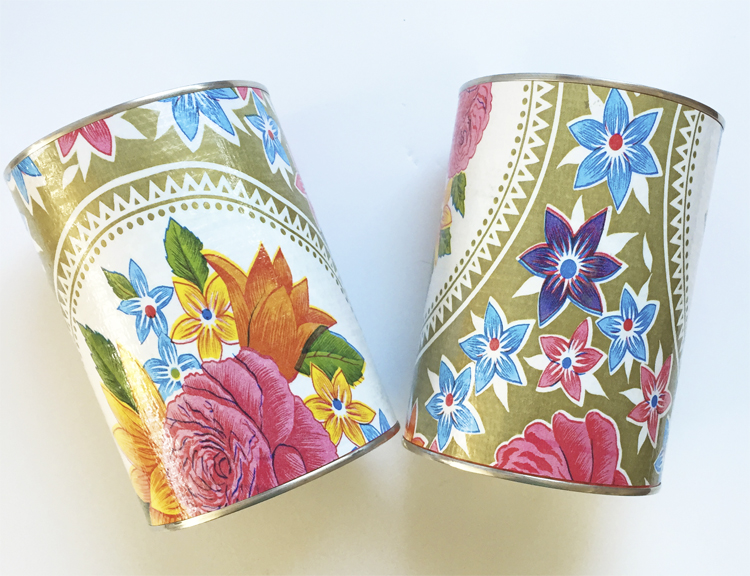
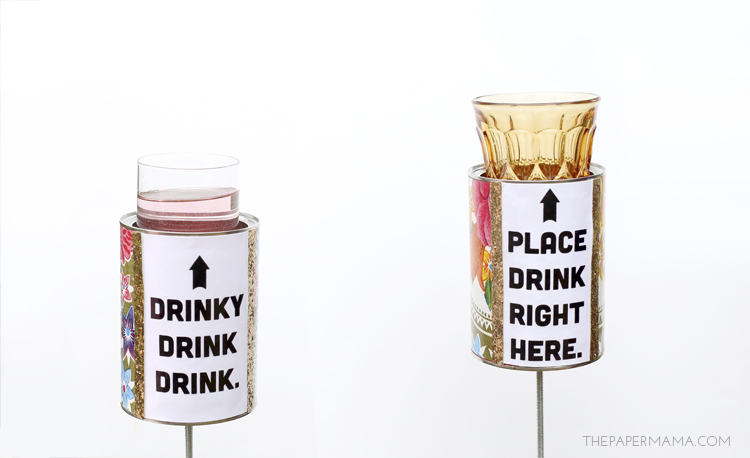
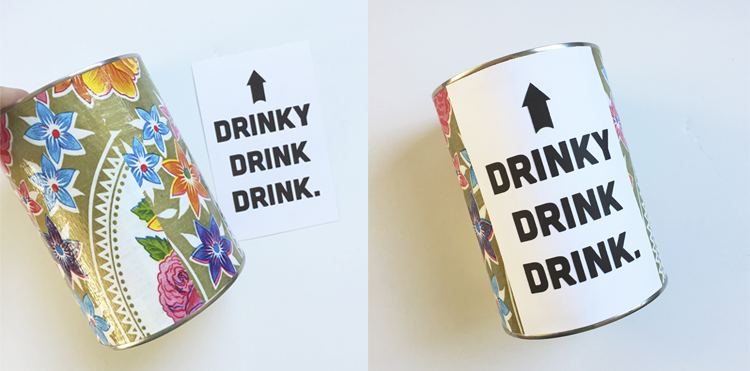
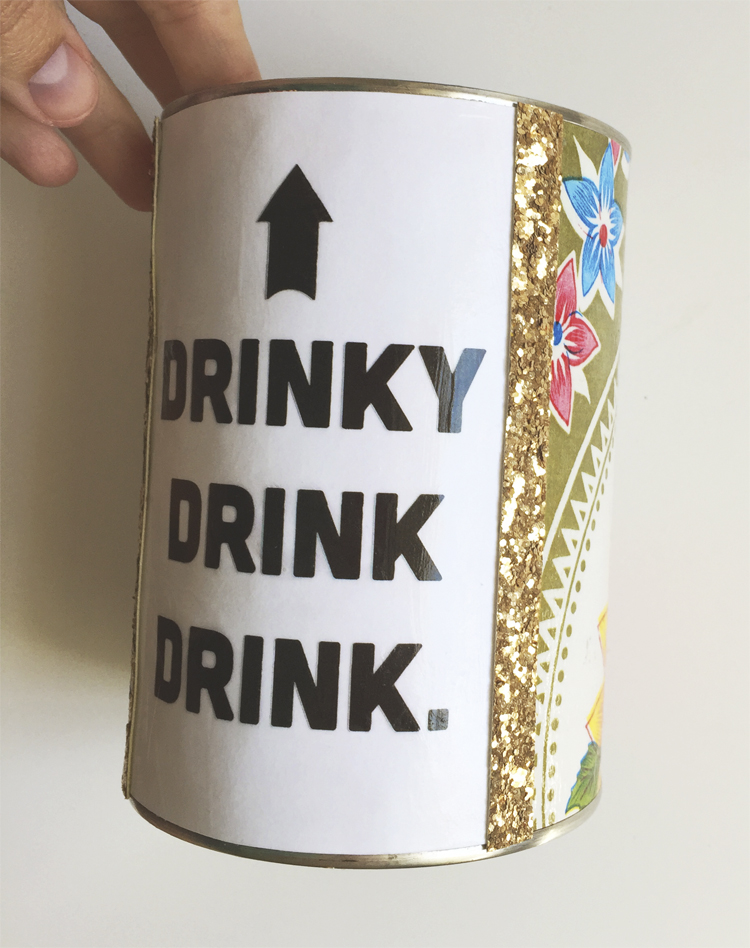
STEP 4: Print out the free Drink Holder Printable onto the cardstock paper. Pick out the printable you want on your drink holder, and trim it to the same height of your can. Use the hot glue to adhere the trimmed printable over the vinyl fabric seam. Optional: now that you have glued the printable onto the can, I’d suggest applying a couple coats of clear acrylic sealer to the paper. This will help protect it from liquids (apply the spray in a well ventilated space, preferably outside). Let the spray dry completely.
STEP 5: Trim two pieces of ribbon to the same height as the can. Use the hot glue gun to adhere the ribbon pieces over the edges of the glued on printable.
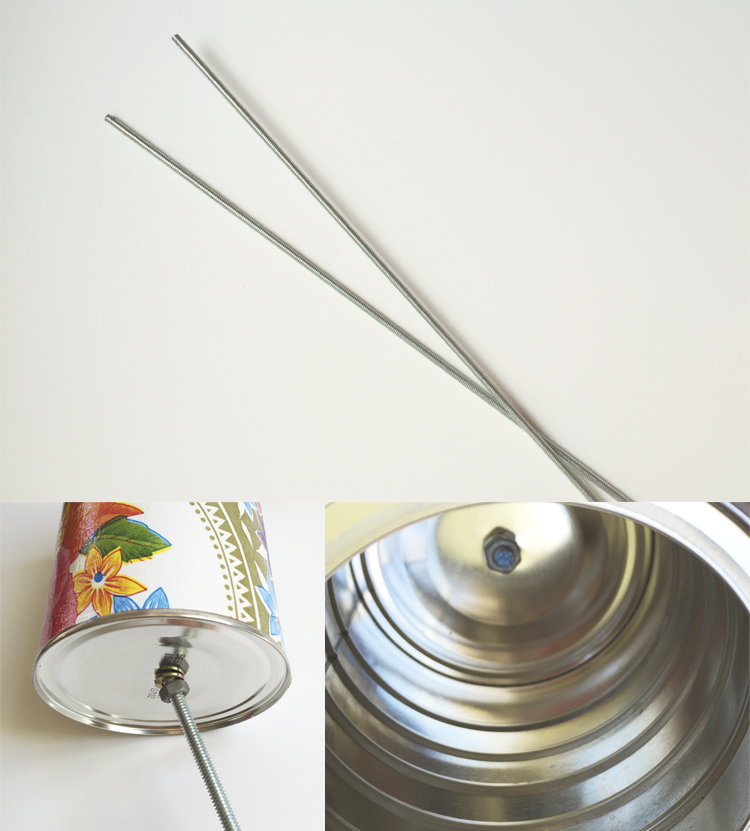
STEP 6: Screw one nut onto the threaded rod down about 1.5 inches. Place one washer over the nut, then place the can over the washer (through the hole you drilled). Put the second washer and then the nut onto the threaded rod inside of the can. Tighten the nuts to secure the can.
STEP 7: Mix a small amount of the ArtPlaster (following the directions on the packaging). When the mixture is ready to pour, pour it into the bottom of the can. Tap the bottom of the threaded rod on the ground to get any bubbles out of the plaster. The plaster should cover up the nut and washer to create a flat base when it’s dry. When the plaster is dry, apply a couple coats of the acrylic paint. When the paint is dry you can add a couple coats of clear acrylic sealer spray (in a well ventilated space, preferably outside) to the inside of the can to seal the paint and plaster. Let dry completely. Tip #1: this Outdoor Drink Holder DIY is not 100% waterproof. Be sure to move this drink holder inside when you’re not using it outside. This will keep it nice!

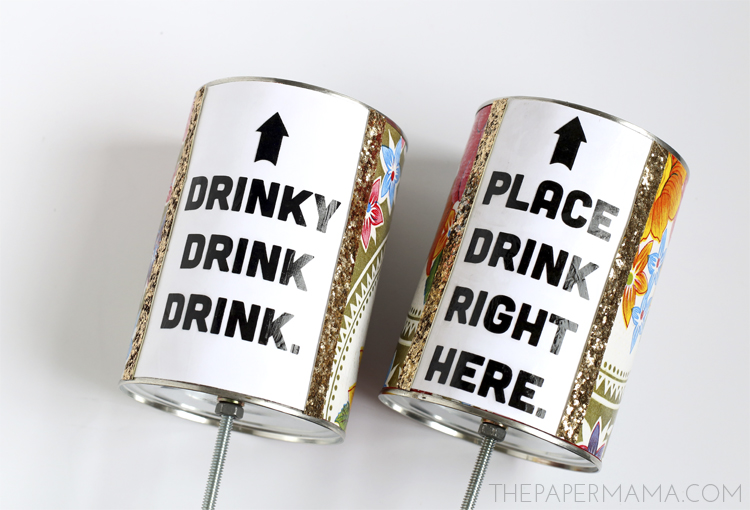
When you’re finished, head outside and push this drink holder in the ground next to a favorite chair. Sit back and relax with your drink nearby!
– Chelsey
P.S. I’m a paid contributor for the HP Create blog.