Day 11: Hello! I am the author of
Rocky Mountain Mama. I am married to my best friend and I am a part-time working mother to 2.5-year-old Christopher. I blog about balancing life as a working mother and dealing with all the stresses that come with it. When I do find “me” time, I am either organizing or working on one of many craft projects.
Materials:
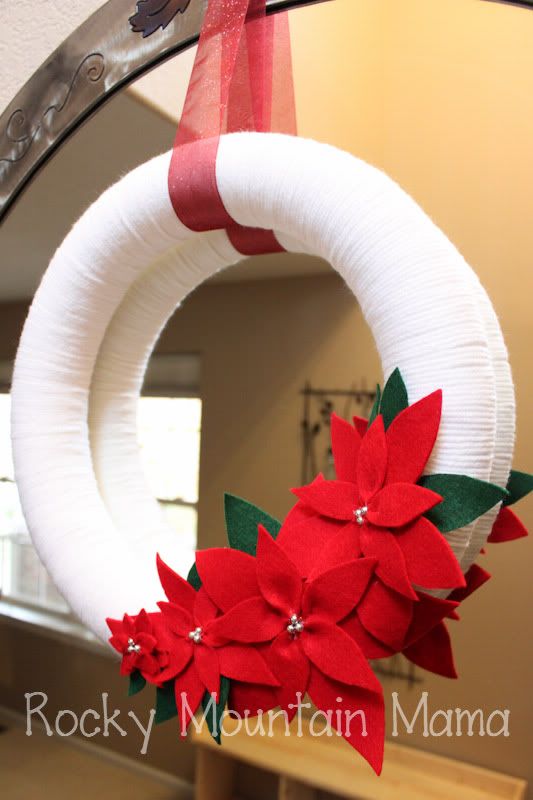
– Foam wreath {I used a 14″ wreath}
– White yarn
– Red & green felt
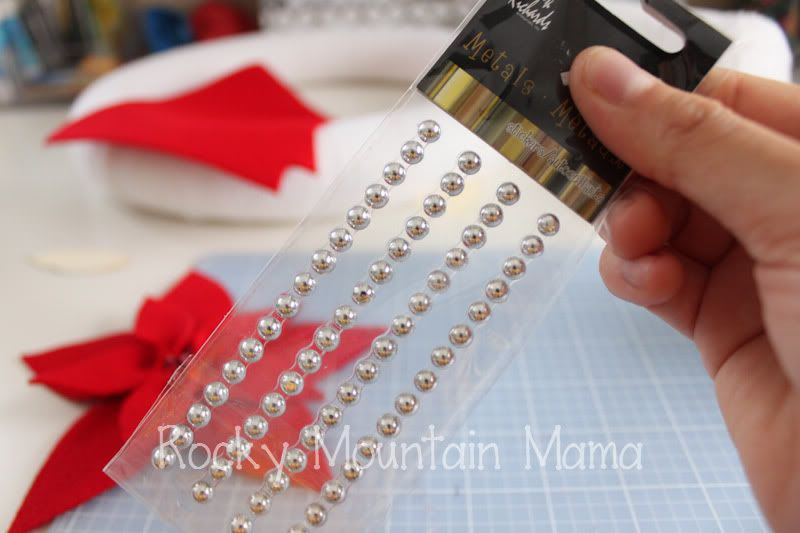
– Silver, round stickers or beads {I found these great scrapbooking stickers that worked perfectly}
– Glue gun
Directions:
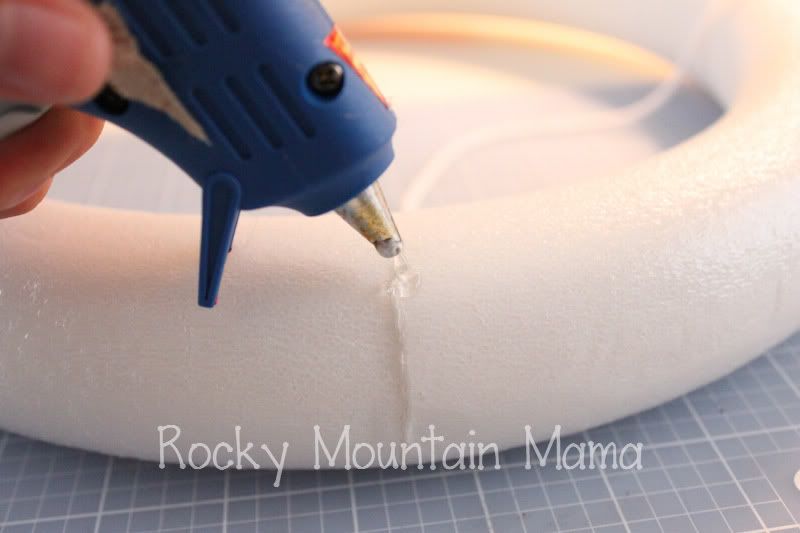
1. Put a dab of hot glue on whatever side you decide is the back and attach the end of your yarn.
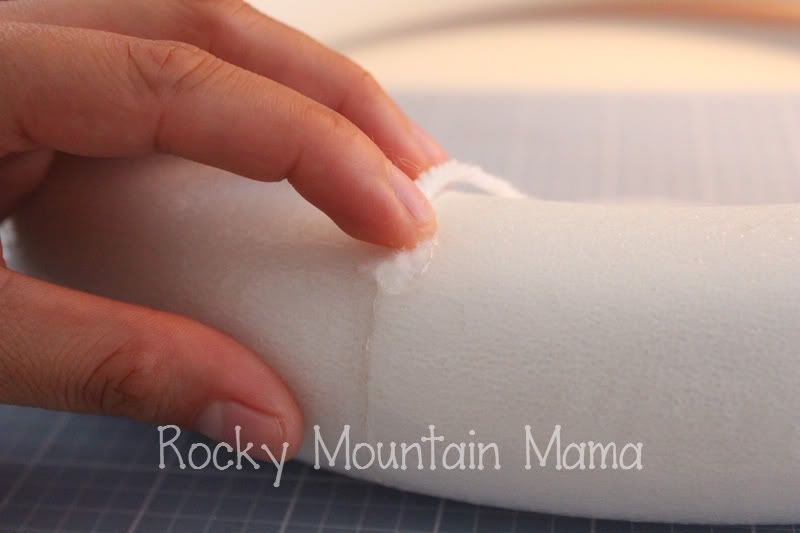
2. Get a glass of wine and turn on the TV. Then, start wrapping. Make sure you keep your yarn in nice, straight, tight lines.
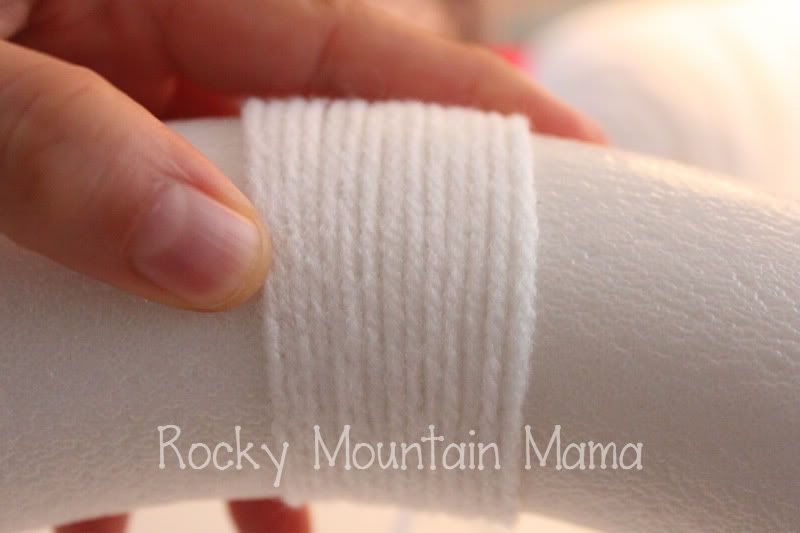
3. Wrap some more.
Tip: I found that if I wrapped the yarn through the wreath a bunch of times and then {neatly} pushed all the yarn together, it seemed to go a lot faster.
4. Once you have finally made it all the way around your wreath, add another drop of glue to the back of the wreath and attach the end of the yarn. Then snip it off your spool of yarn.
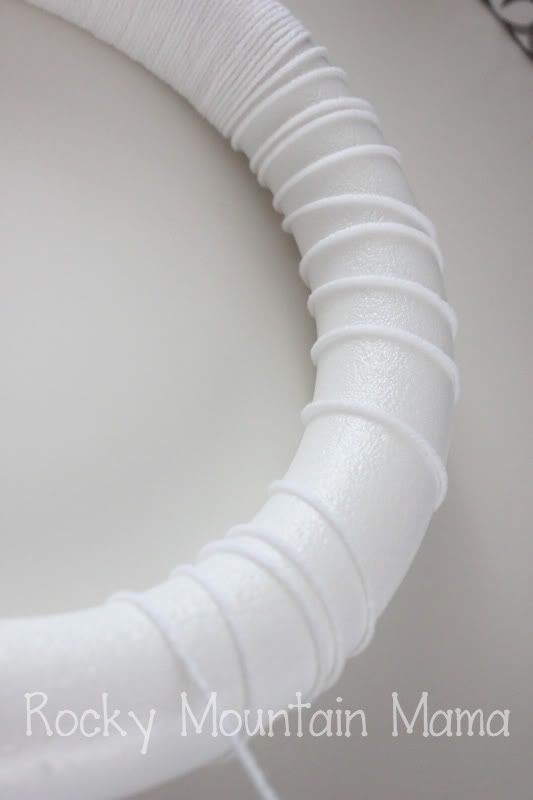
Now, if you are insane, like I am, you may choose to go around once more using loser loops. The reason for this is to make your wreath look a little more chunky. I kept going back and forth about whether or not I liked it, but I am so glad I decided to go around once more. Now that it’s finished, I am super happy with how it turned out.
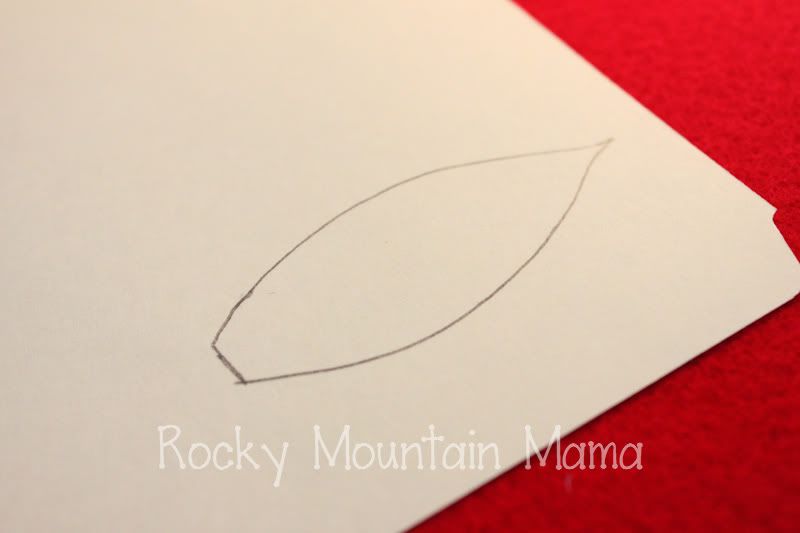
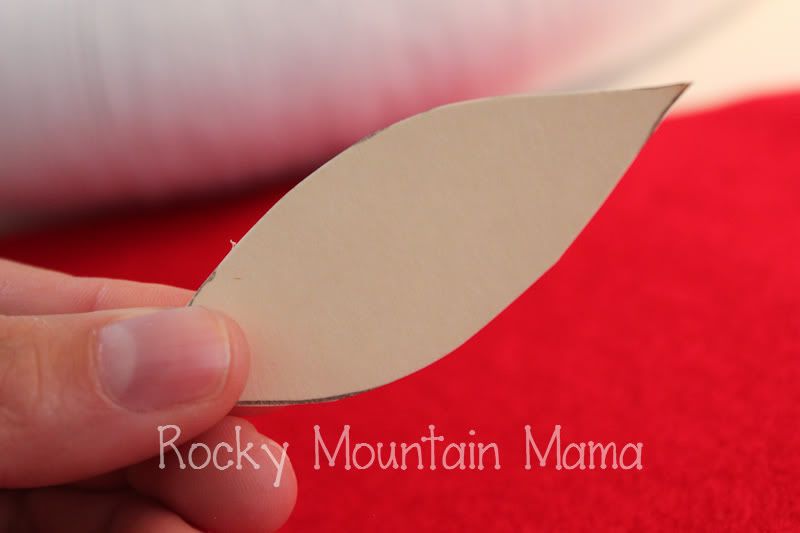
5. Make a template for your poinsettia flower petals. I had old file folders sitting around from this project, so I used those to draw my petals.
Remember that you are going to want many different sizes of poinsettias. And each poinsettia needs two different size petals. I ended up making 5 different size petals.
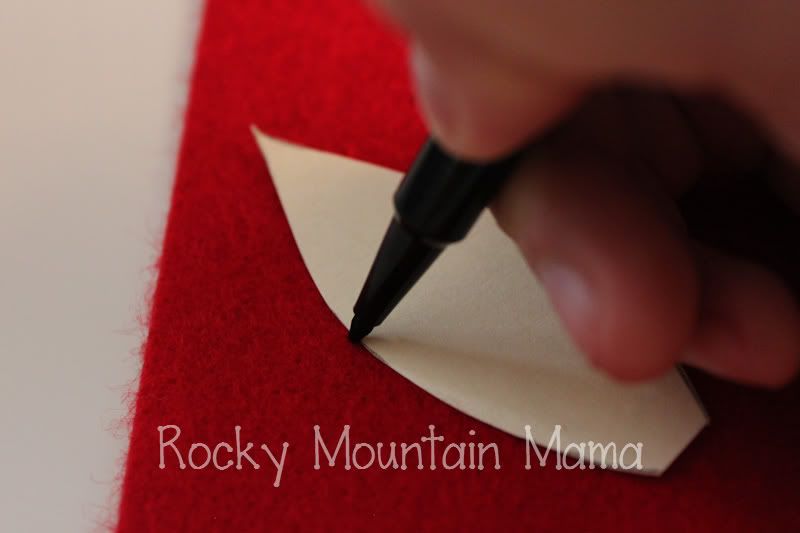
6. Use your template to trace 5 petals onto your red felt. Cut out your petals.
8. Put together your petals.
There are a couple different ways you can put your poinsettias together. One way requires a needle and craft thread. If you are not saavy with a needle and thread, skip ahead. The other option is to use a hot glue gun.
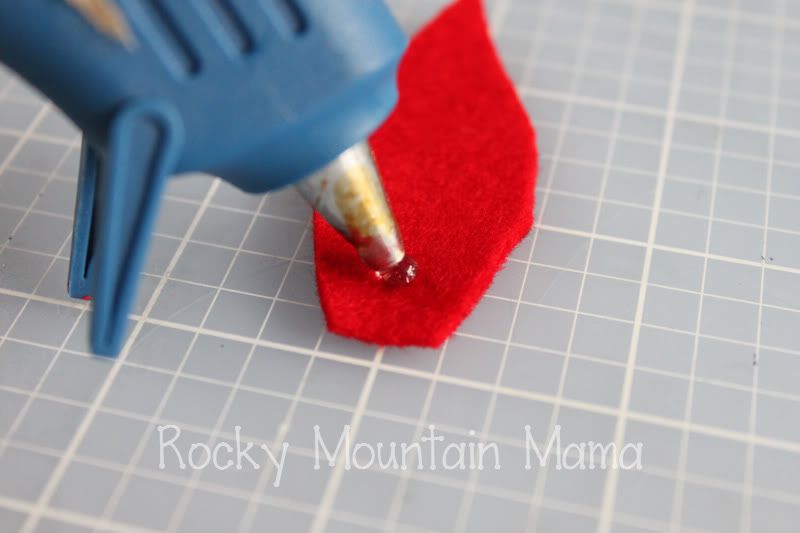
Glue Gun Option {must easier}:
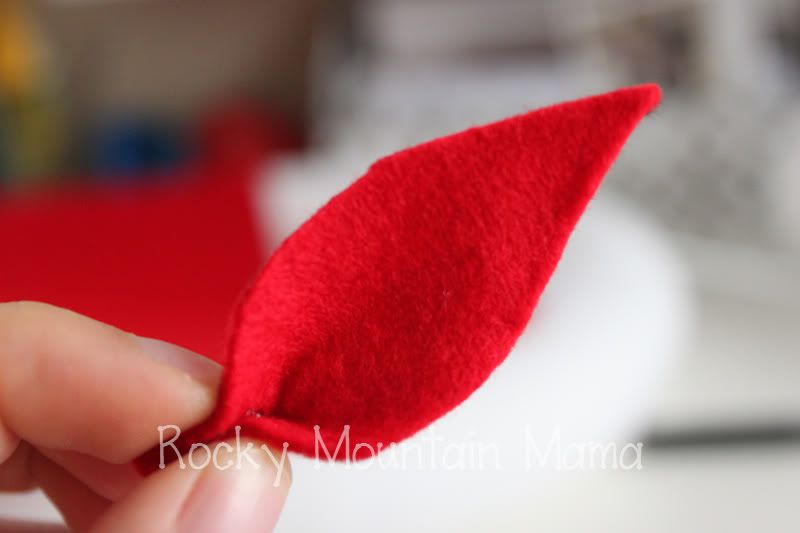
1. Take one {smaller} petal and put a tiny drop of hot glue near the flat end.
2. Pinch the corners together and hold until glue is set. Repeat for remaining petals.
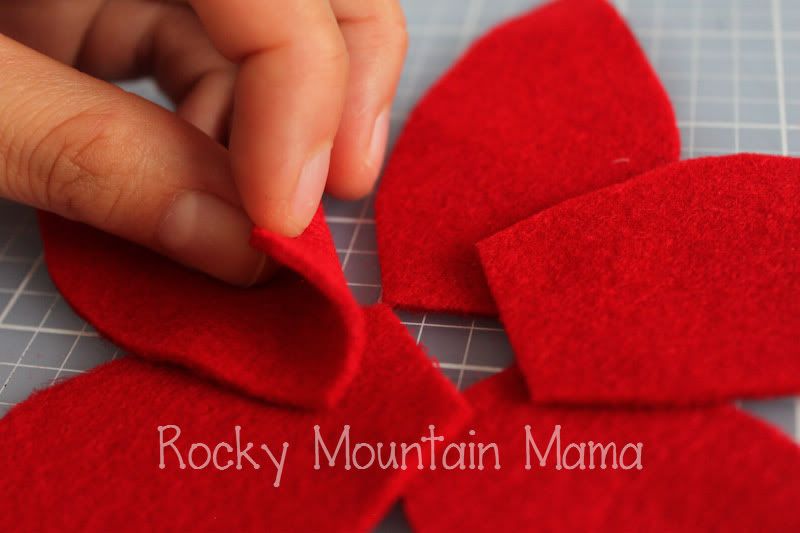
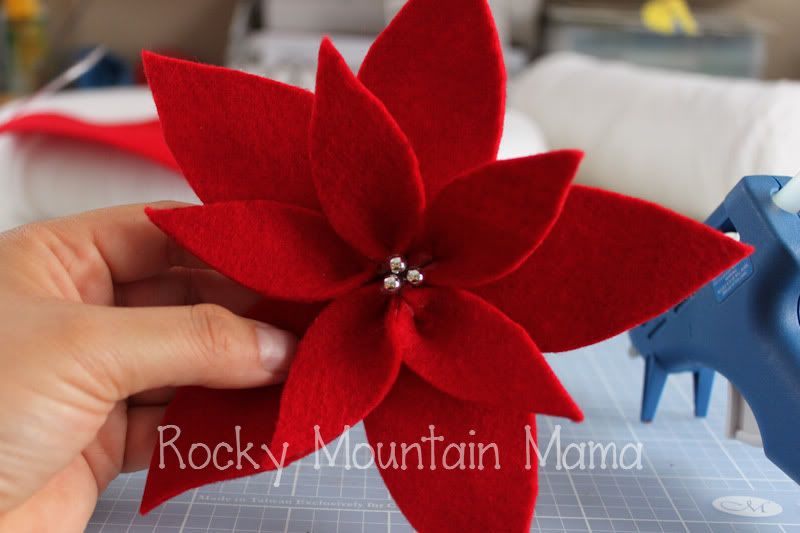
3. Arrange larger petals in star shape and hot glue corners together.
Tip: You can also cut out a small circle and attach it to the back of your large petals for added support.
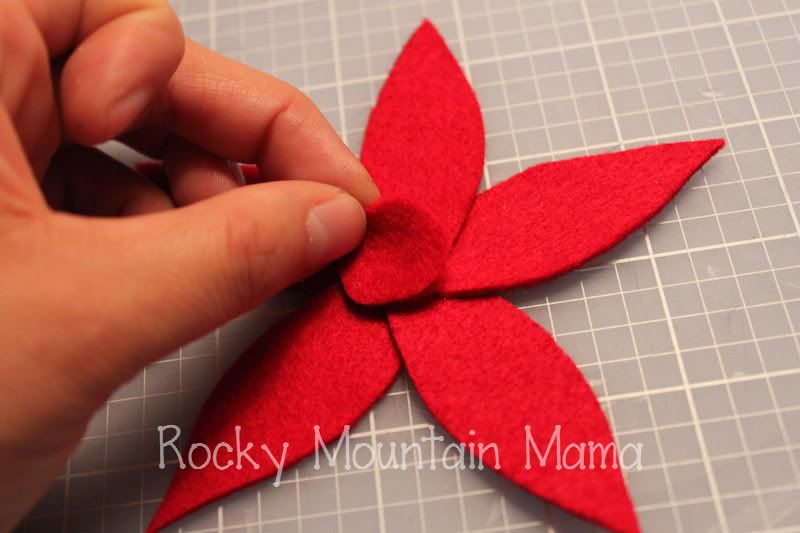
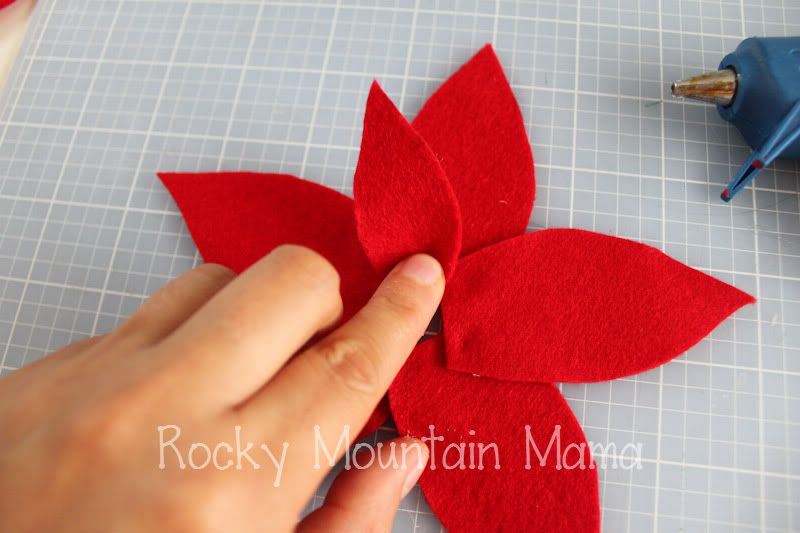
4. Arrange smaller petals on top of your “star” and glue into place.
5. Add 3 silver stickers/beads in the center of your poinsettia.
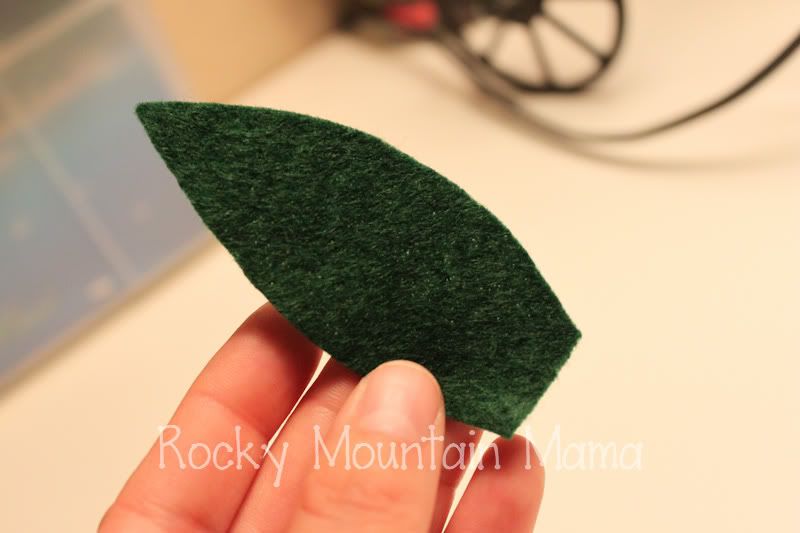
6. Cut leaves out of green felt and arrange on the back of your flower.
Needle & Thread Option:
1. Using a needle and craft thread, sew the petals together.
2. Push all petals together and knot the thread.
3. Attach the first and last petals together using one more stitch, then knot the thread.
Do this with both sizes of petals.4. Attach smaller petals to larger petals using a dab of hot glue.
5. Add 3 silver balls in the center of your poinsettia.
6. Cut out leaves and arrange them on the back of your flower.
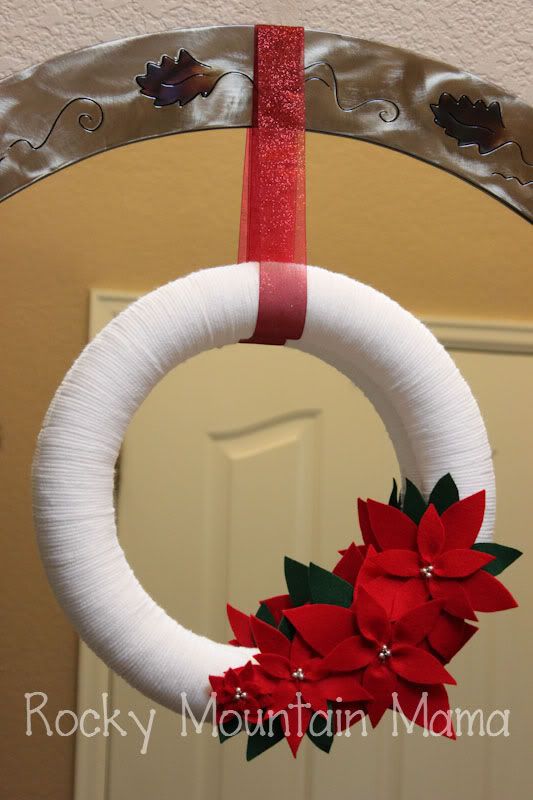
9. Arrange your poinsettias on wreath. Pin in place.
I decided not to glue my flowers onto my wreath, because this way, I could change out the flowers depending on the season.
Total cost of this project: $12!
………………………………………………..
Pin It


