
I tried on some of my favorite 4 inch heels today… I can’t walk in them anymore! Not that I was that great in the first place… ;D But, it’s really been about a year and a half since I really wore my tall heels!
I’m just trying to practice to get ready for my girls night that’s coming up in a couple weeks. 😀 😀 No way am I going with the 4 inches. Maybe 2? You know how I said I really needed a night off? Well, it’s coming up soon. My night off. Whew.
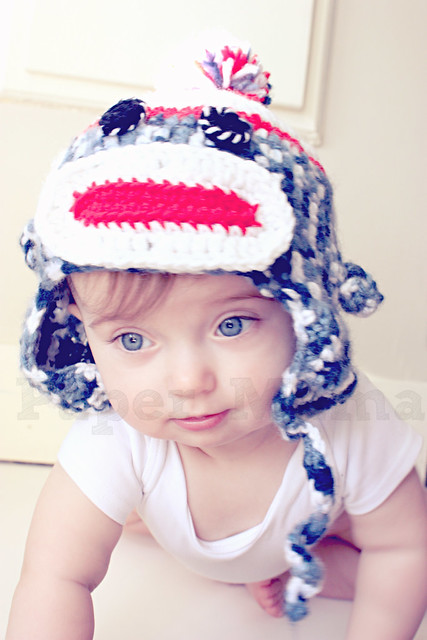
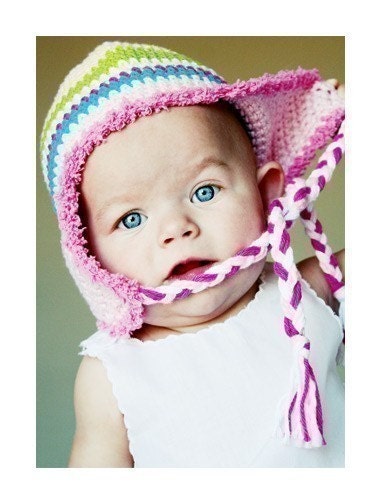
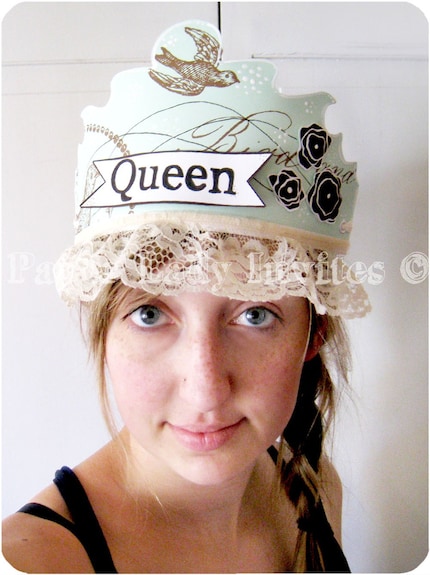
By they way. I have a new crown up in my shop:
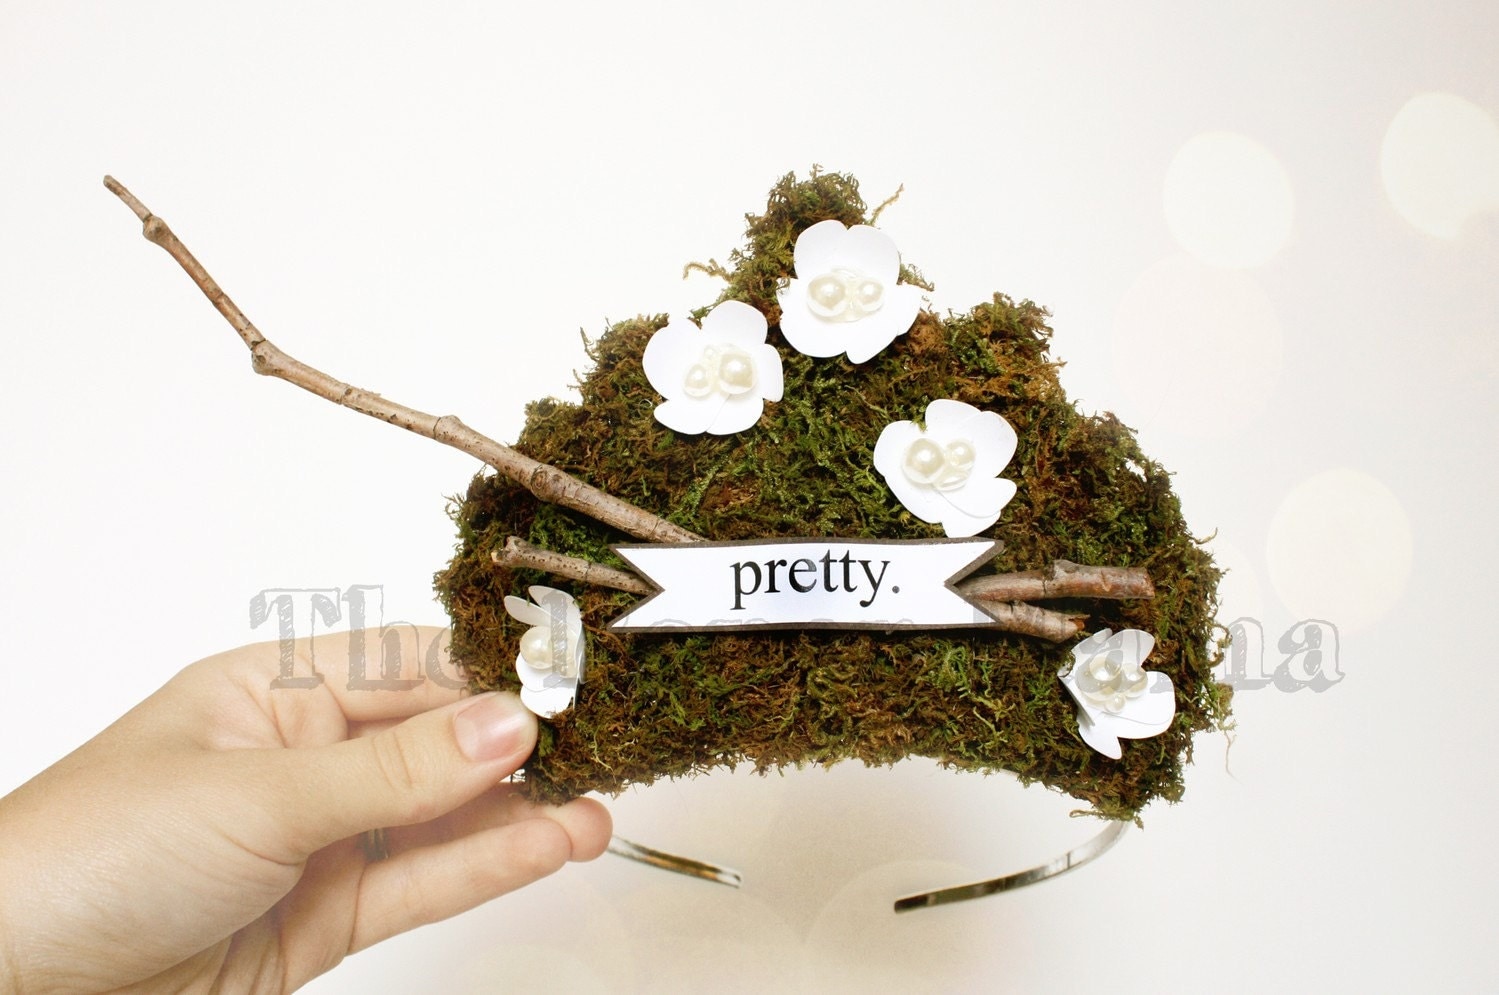 |
| {Moss Girl Crown} |
 |
| {Moss Girl Crown} |
Please go and buy everything. Ha! Just kidding. 🙂

Would ya could ya? Vote for me?

Leave a Comment
Categories: about me, paper mama shop


