April 2nd
This weeks challenge: Surprise
The challenge: The challenge will be based around your children. Take or find a photo of your baby (or kid… or puppy… or kitty). We just had April Fools! Any surprises?
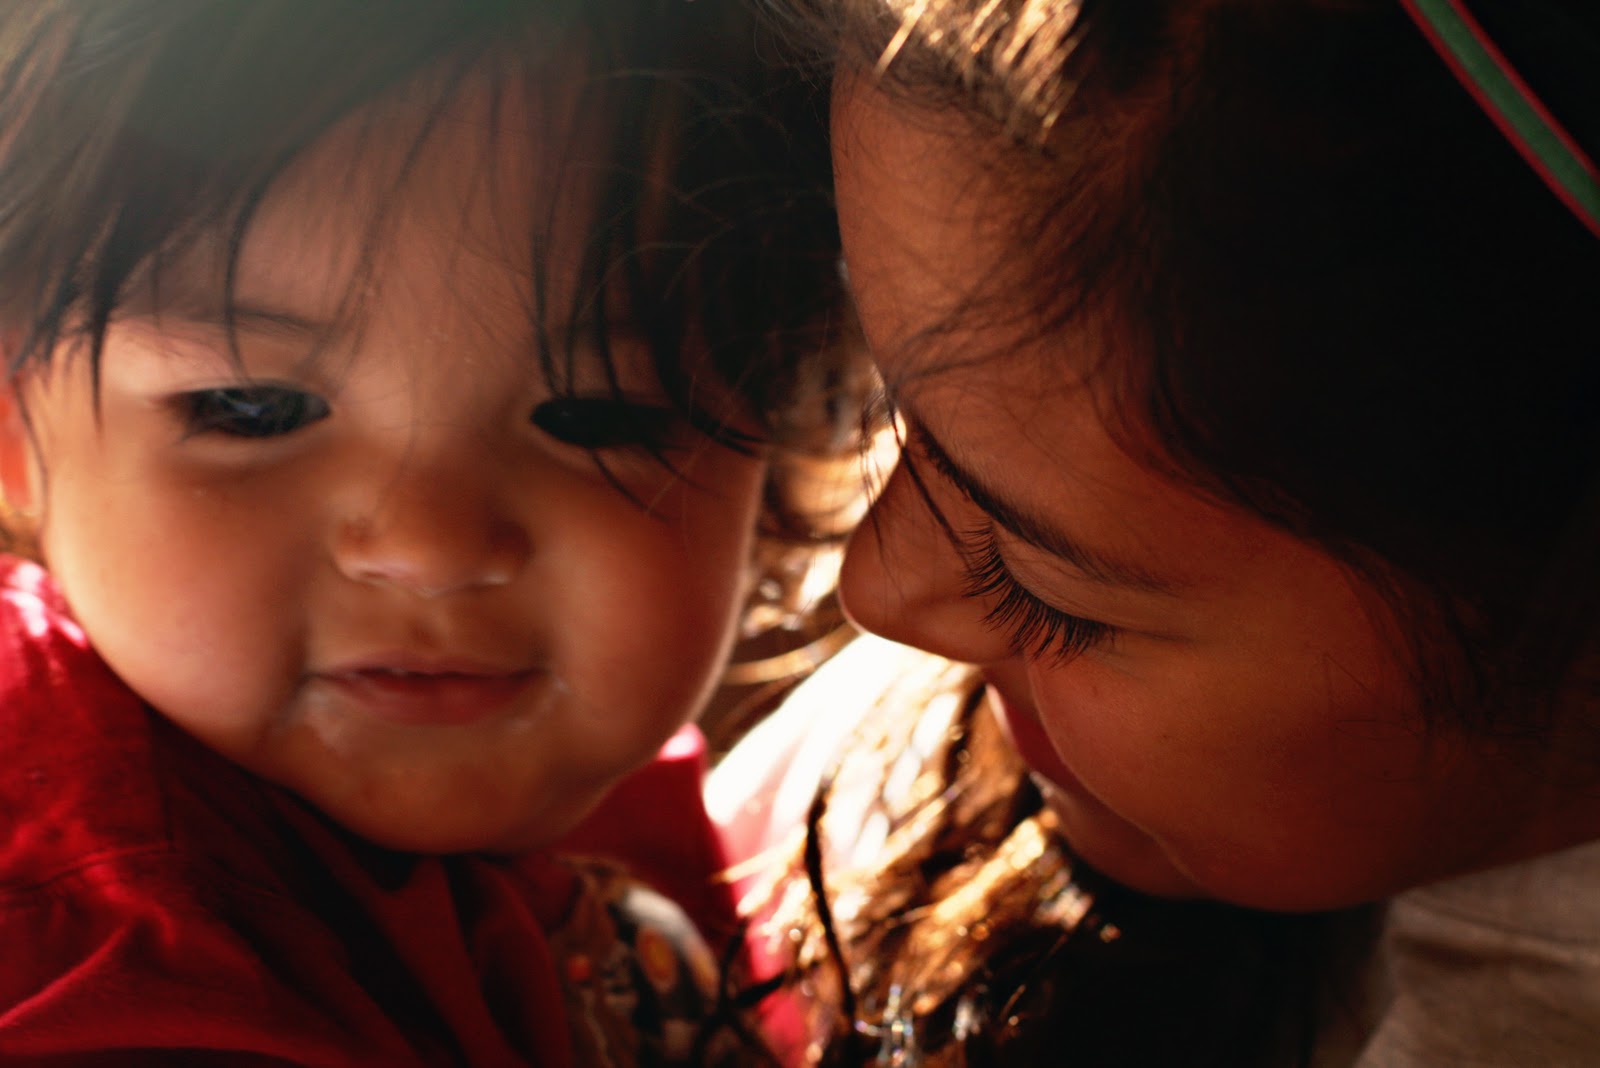
My example of “Surprise”:

……………………..
Here are a couple links to some free photo editing software if you don’t already have something:
Picnik
Picasa
Gimp
Pixlr
……………………..
Remember: my photo challenges do require you to have either your children or one of your furry children (pets) in the photo. It could be just one finger… or a toe… but, they must be there.
There always has to be rules… I know, boring right? But, it’s to help me and you. 🙂 Click on this link for more details… Each entry does need to link back to my blog… All photo entries need to be in by 11:59 PM Pacific Time on April 7th …
……………………..


❤ Chelsey

Categories: Uncategorized