Ruari Vlog. Questions Answered.

SO. The other day I was making a little vlog… and, Miss R asked if she could make one too! So, of course we had to make one! I tweeted and facebooked and instagramed asking if any of my readers had a question for my sweet girl. And, you all did! She loved making this video. She just sat there and kept asking, “What’s next?”

Thank you for the questions everyone! And, if you missed my tweets…. etc. You can follow me on twitter here, Facebook here, and my instagram name is: thepapermama

Enjoy!

<3 Miss R


Things to love + Valentine’s banner freebie!

Another BHG.com inspired project! I saw on their website the other day they had this really cute Be Mine Valentine banner. It was made of fabric… but, I thought it might be easier to make it into a paper printable. So, that what I did. You’re welcome to print one out the letters and make the banner for yourself! Here, here, and here. Just print, cut, and I used hot glue to attach the letters to some ribbon.

Great idea to add some fun to your home decor. Paint pens!

I would love this handmade dress for my girl. So so sweet.

Sweet sweet adorable freebie Valentine’s to print out here!

Love this guys work. Check it out. Wonderful paper cuttings.

Jen from Jen Loves Kev has starting creating sweet custom little fox dolls. Her custom orders are sold out already… BUT, keep your eye out for more listings from her to get your own. They are adorable.

P.S. I’m walking the March for Babies again this year. SO, if you’d like to donate for my walk you can click here!

And, don’t forget to share your self portrait to win a custom illustration from me!


Pin It


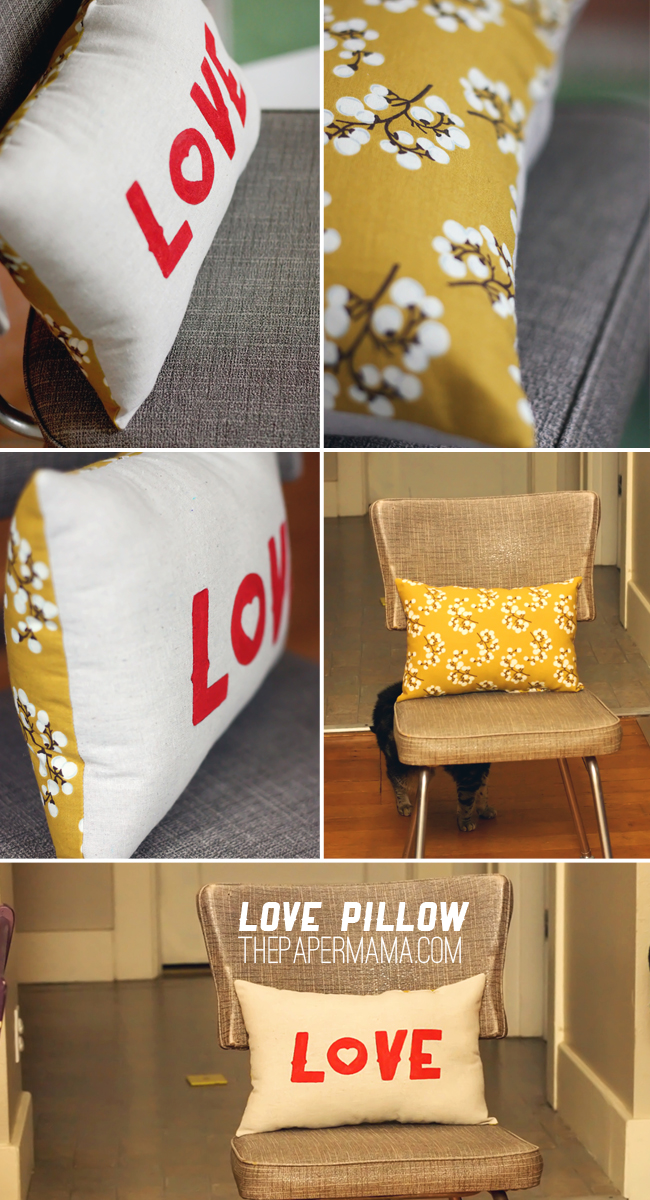
My Love Pillow

The other day I was wandering the Better Homes and Garden’s website and found this. I wanted to go for it. And, I’m so glad I did. It turned out so sweet! It’s perfect in my little home. I will be keeping it out longer than just Valentine’s Day. I wanted to share a little printout of the word “LOVE” for you guys to use to paint onto your own pillow!

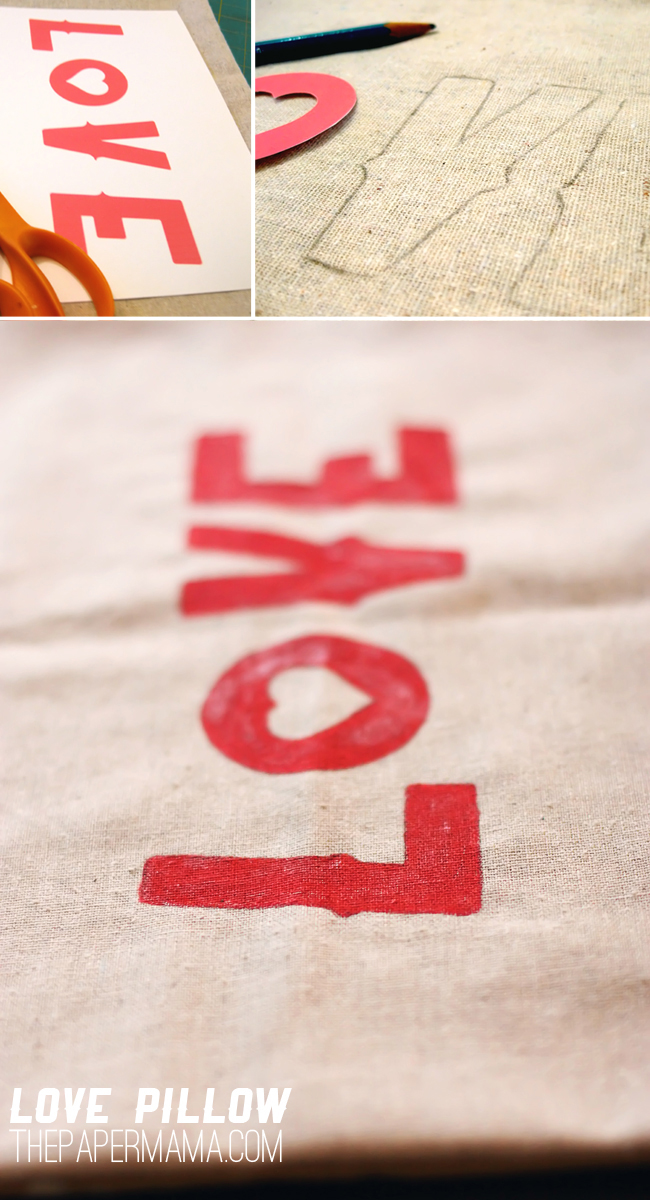
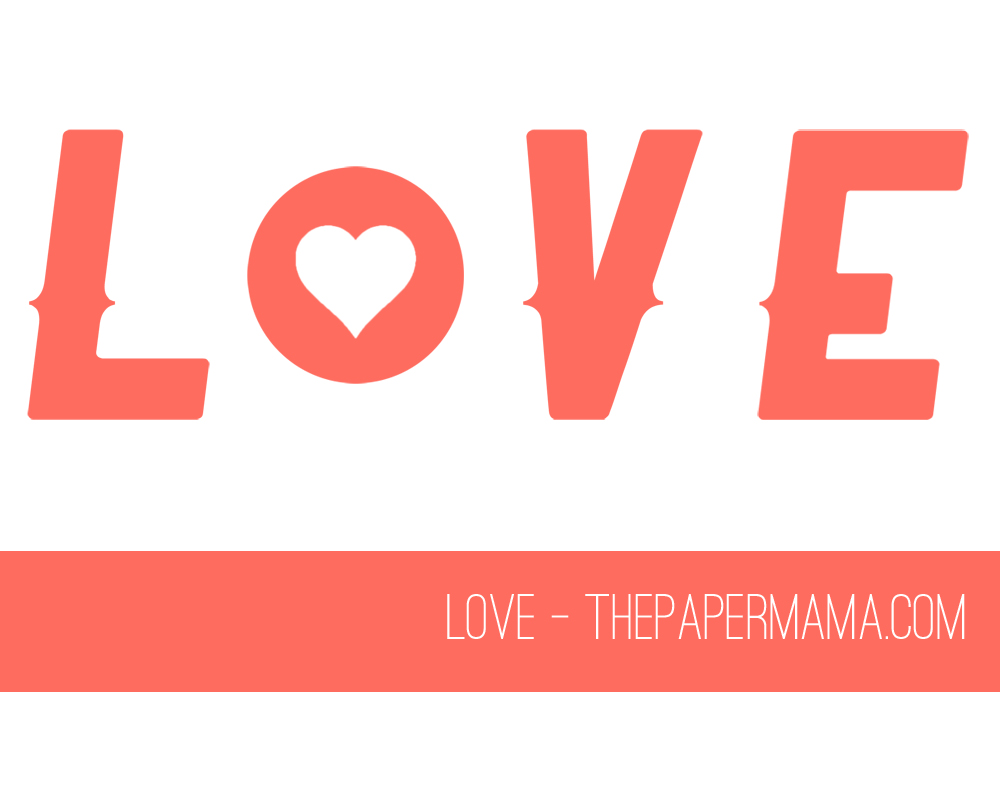
Here’s the “LOVE” printout for you to use. You can print it out, cut out the letters, and then trace the words onto your pillow. Enjoy! And, if you make this pillow too… Let me know! I’d LOVE to see it. Hee. In case you’re wondering… The paint I used was acrylic and I did make sure to put a piece of paper inside the pillow before I painted so it wouldn’t bleed through.

AND, P.S: How much do you love that fabric on the back of my pillow? I love it so much I think I will go buy more of it and make a quilt with it! We really want new bedding and I love this fabric enough to put it on my bed. FYI: I found it and Joann Fabrics. Happy Thursday everyone!

{Related Posts: I Love Us freebie print, Valentine’s Day Prints, Bacon Hearts Treat, Self Portrait Challenge/Giveaway}


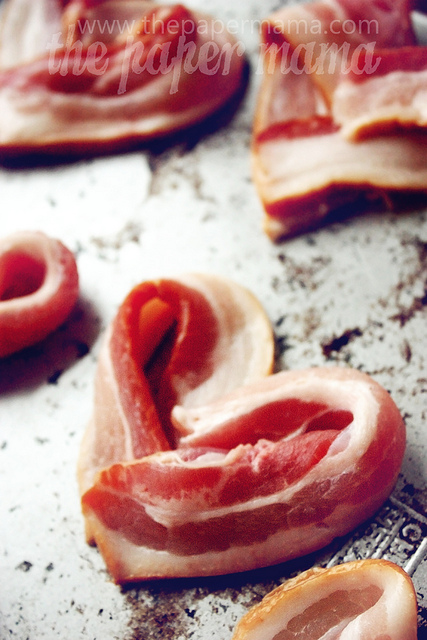
The Original Bacon Hearts Recipe

Update July 2019:

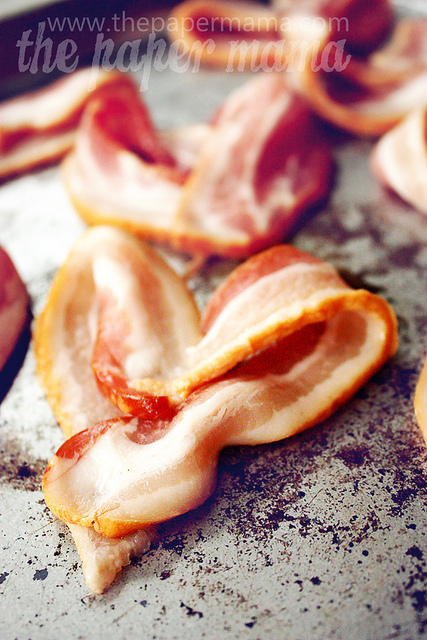
Back in 2011, I shared this Bacon Hearts Recipe with my readers for a budget Valentine’s Day idea, and everyone loved it. It’s been all over the internet and even featured in Ladies’ Home Journal (do you remember that magazine?). It’s been up on the blog for so long without any updates, so today I’ve decided to republish this recipe with updated tips and photos.

The Original Bacon Hearts Recipe

Tips for Baking that Bacon:

  1. The thing about this recipe is it needs a strip of thick and floppy bacon to work. If the bacon is too thin, it falls apart. If it’s thick but stiff, it will not bend into the heart shape.
  2. Be sure to keep an eye on your bacon while it’s baking. It can go from looking good to burnt in a short amount of time.
  3. If this is your first time making bacon hearts, maybe try baking a single piece as a trial run?
  4. A few readers have suggested using toothpicks to hold the heart shape together while baking. Soak the toothpicks in water before baking, so they don’t burn.

Bacon Hearts Recipe:

Directions:

  • Preheat your oven to 400.
  • Cut the bacon slices in half.
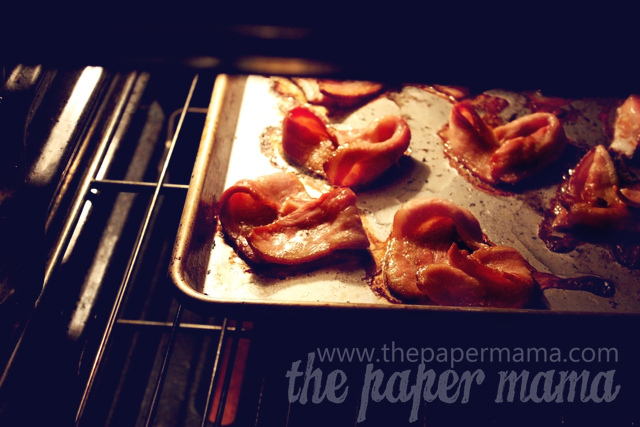
  • Using two pieces of the cut in half bacon, shape them into a heart on a sheet pan. Be sure the sheet pan has sides on it to keep the grease from dripping in the oven.
  • Bake for 15 – 18 minutes or until cooked. Keep an eye on the bacon hearts while they cook! They can easily burn.
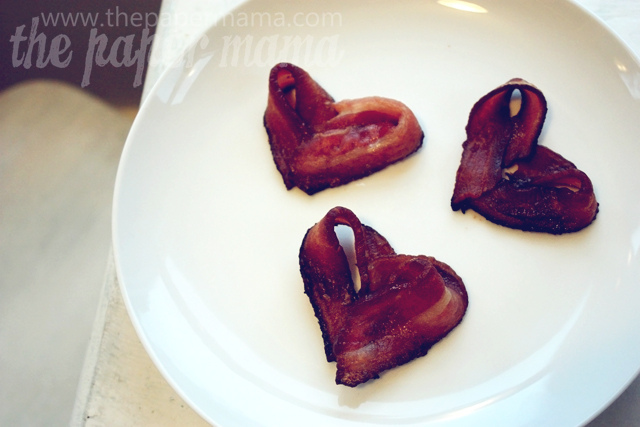
  • When your hearts are done baking, place them on a paper towel to catch the bacon grease.
  • These hearts are delicious on eggs, toast, salads, and more!
The Original Bacon Hearts Recipe
bacon hearts, how to, recipe, valentines day, sweetheart, chocolate covered bacon hearts

The Original Bacon Hearts Recipe

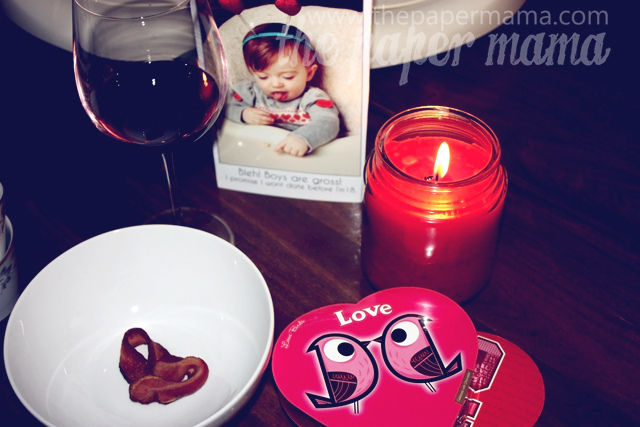
Now that your bacon hearts are cooked serve them on a fancy plate or a pretty box and share with your loved one. To transform this into a treat, maybe think about dipping the bacon heart in chocolate?

– Chelsey

Disclosure: I may earn a small commission for my endorsement, recommendation, testimonial, and/or link to any products or services from this website. There are affiliate links in this post. Thank you for your support. I do hope you enjoy! P.S. Even the pioneer woman liked my bacon heart and that made my day. 


Paper Terrarium Tutorial with Free Printable!

Paper Terrarium Tutorial

Paper Terrarium Tutorial

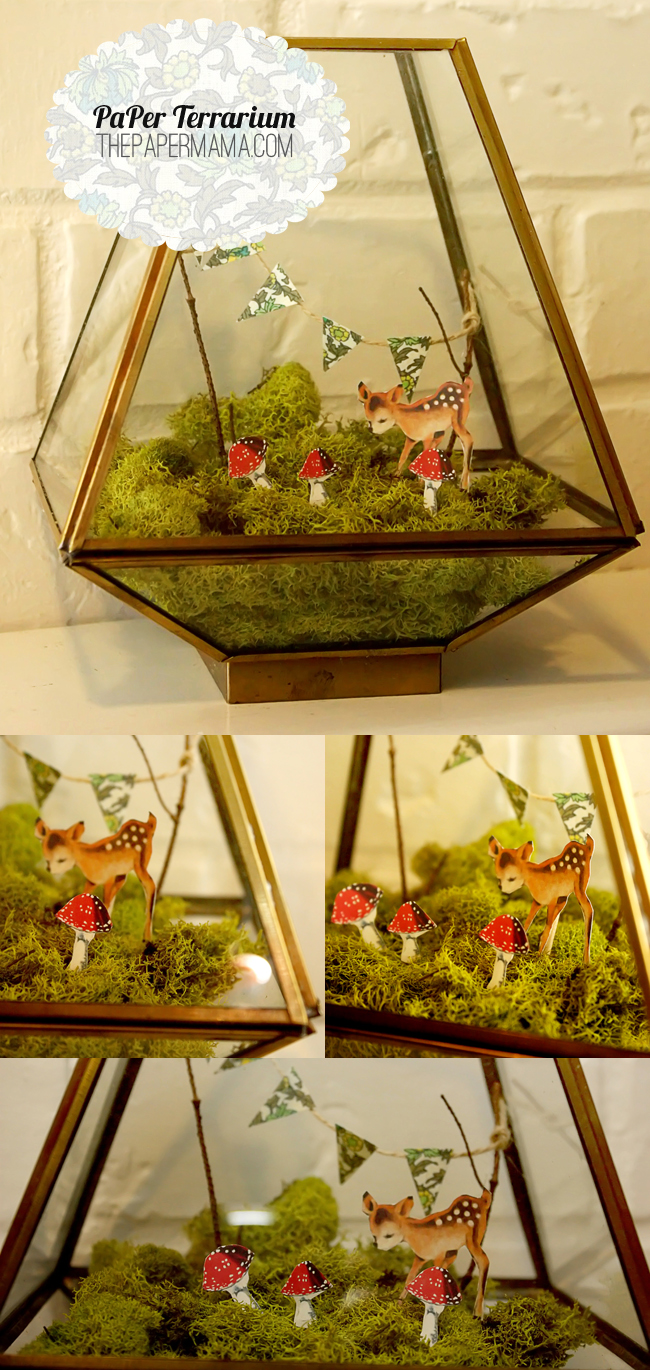
This weekend my husband announced, “We cannot go anywhere this weekend. Because football.” SO, that meant I had some time to get some crafting done (because… I don’t watch football… unless it’s the Superbowl). I’ve been wanting and thinking of creating a terrarium for some time. BUT, I’m not too sure I’d be able to keep a live terrarium… alive. Heh. So, I introduce to you: the Paper Terrarium Tutorial. It does not require anything alive… AND, the items needed are inexpensive. Yay!!!!

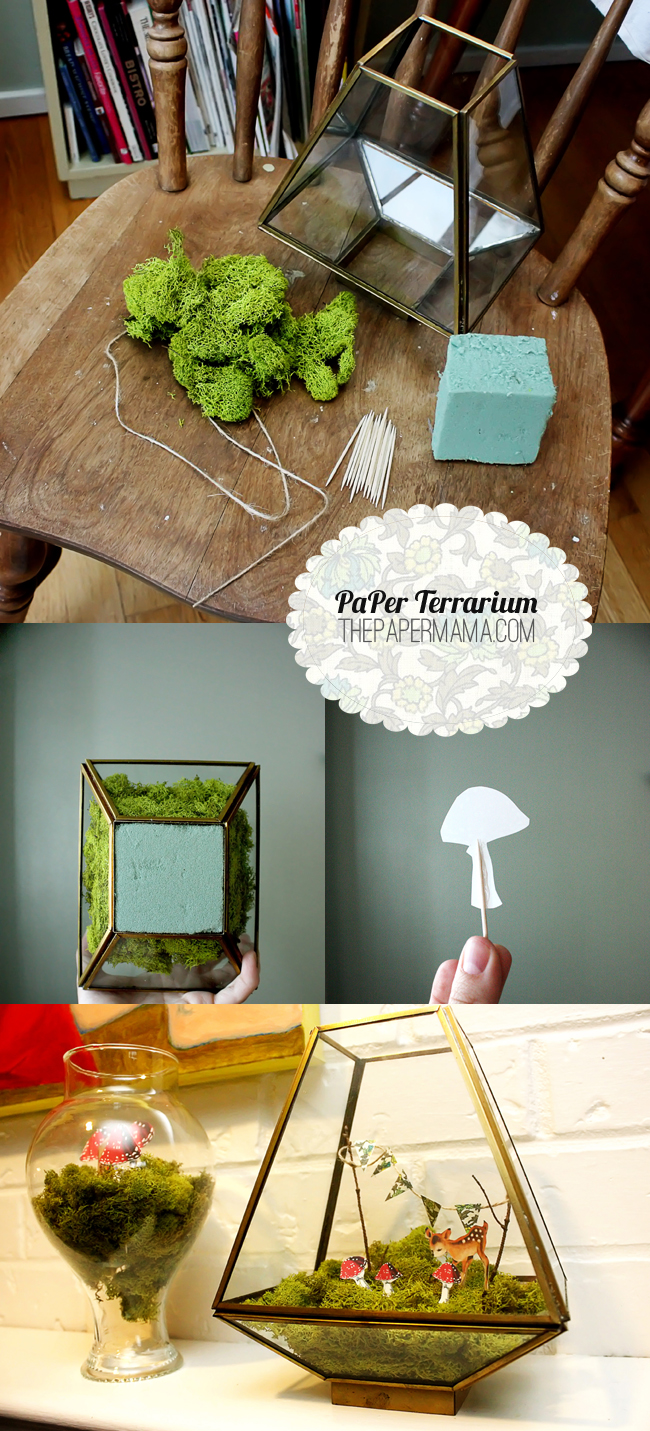
What you need:

  • A glass container. I found mine CHEAP at a thrift store.
  • Moss. I got mine at a craft store. The bag filled 2 terrariums.
  • Floral foam. Just a small amount will do.
  • Tooth picks.
  • Hot glue.
  • Scissors.
  • String.
  • A couple of tiny twigs.
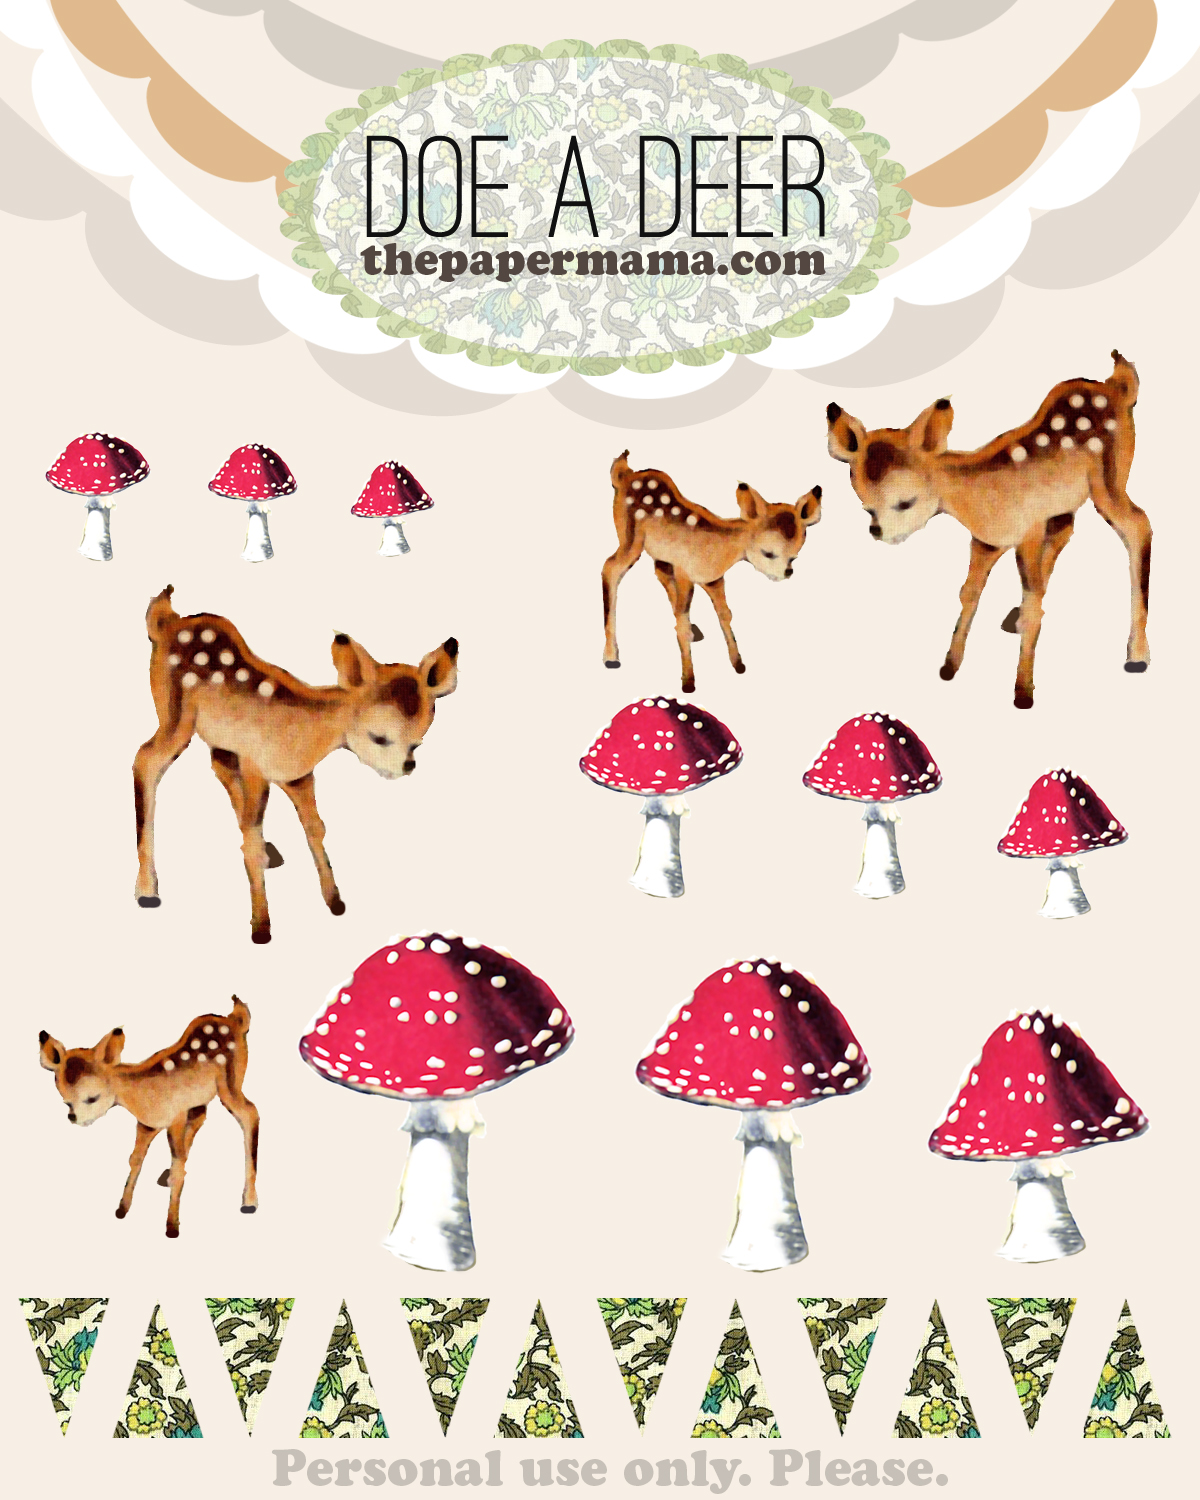
  • My Doe A Deer freebie printout.

What to do:

  1. First place your foam in your glass container.
  2. Then you can start forming your moss around the foam. I made sure to cover any foam spot that may show through the glass.
  3. Next, cut out all the paper pieces you’d like for your terrarium. I’ve included a couple of different sizes of deer and mushrooms for you to choose from. After they’re cut out you can hot glue the tooth picks to the backs of the cutouts. Glue your banner triangles to the string. Tie that string to the twigs!
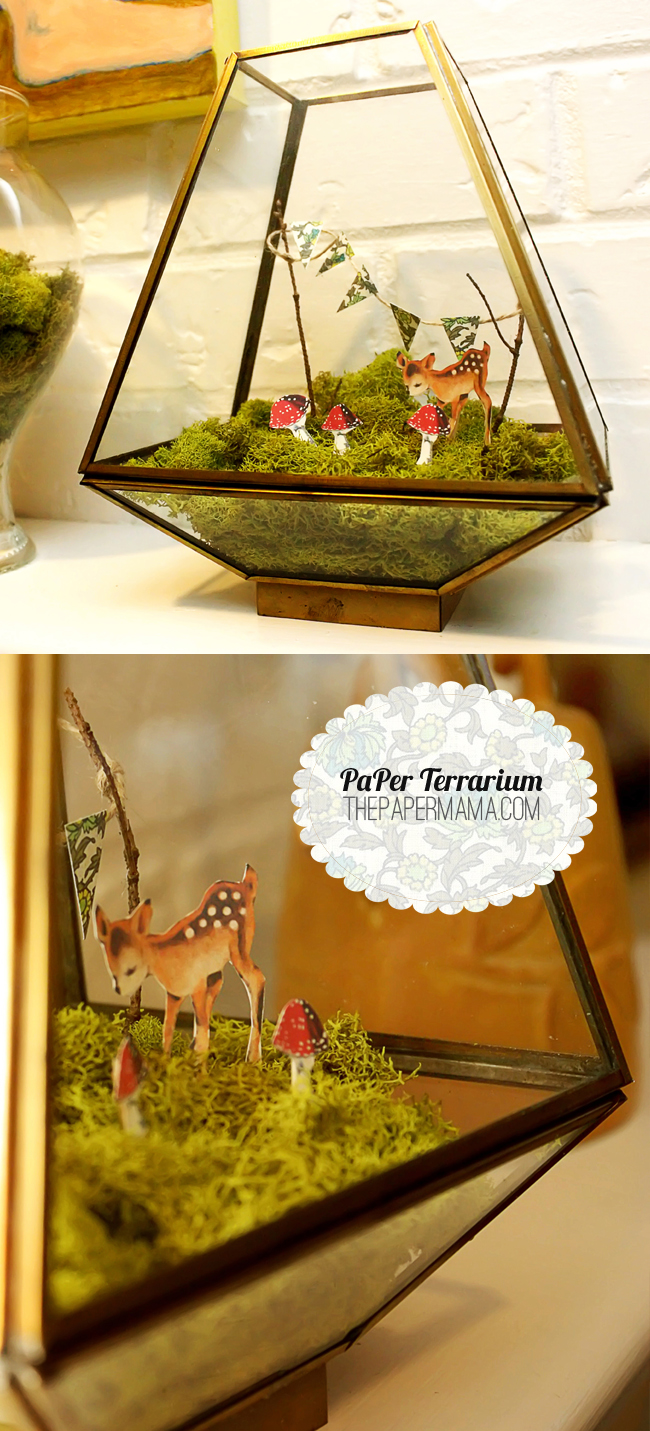
  4. Arrange your paper pieces exactly how you’d like! And, you’re done!
  5. I made 2 terrariums and the rough total cost of each one is about $5. Woo hoo!

Paper Terrarium Tutorial

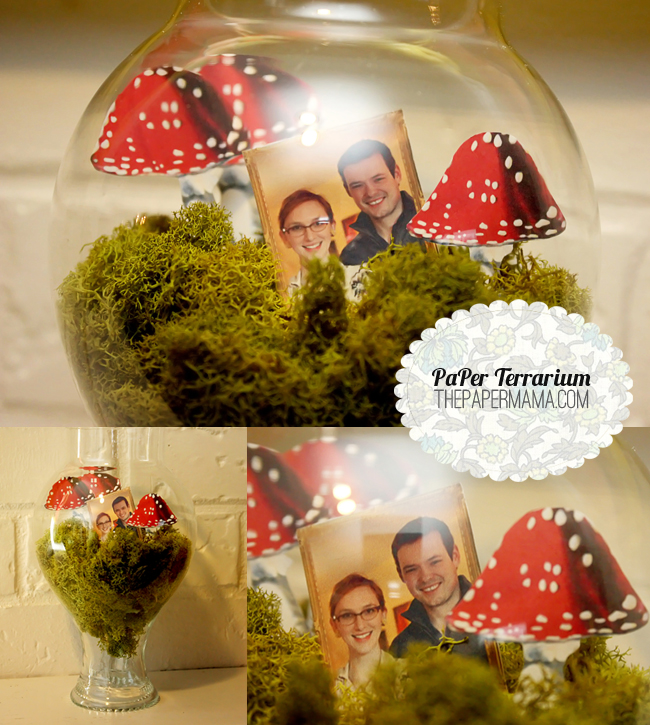
I had originally came up with this idea because my good friend Christina is getting married this summer, and she was looking for a way to create a terrarium for cheap. AND, I think I’ve found it. Another little idea I had for this is to add a little photo to the mix for a wedding center piece! Very cute… having different photos in each terrarium? Love it.

Paper Terrarium Tutorial

Freebie printout (click on the image below, right-click, and save):

Paper Terrarium Tutorial

 I hope you guys enjoy!

– Chelsey

Save