Day 42: Patterned Aztec Leggings

DAY 42 is brought to you by, the lovely Jess of IROCKSOWHATIt’s just not fair. It’s not fair that boys get jipped in the clothing department. To find awesome clothes for your boy means you’re gonna have to PAY for it. I’m sorry, if it’s not at Target or Old Navy (and sometimes The Gap clearance) Wyatt will probably not wear it. Thrift stores are okay, but with the cost of some of them nowadays, I mind as well just buy new.

There were pictures going around of some awesome Walmart aztec printed pants that EVERYONE got (I’ve seriously spent the last hour searching for these online and I can’t even find the specific ones I’m talking about). I too, tried to get those pants, but my Walmart was sold out. I set out to make Wyatt some cool patterned pants for himself, so I picked up some leggings from the girl’s department at Target and some fabric paint and got started (I chose girl’s leggings because I can never find fitted cotton pants for boys. Everything is baggy style.)
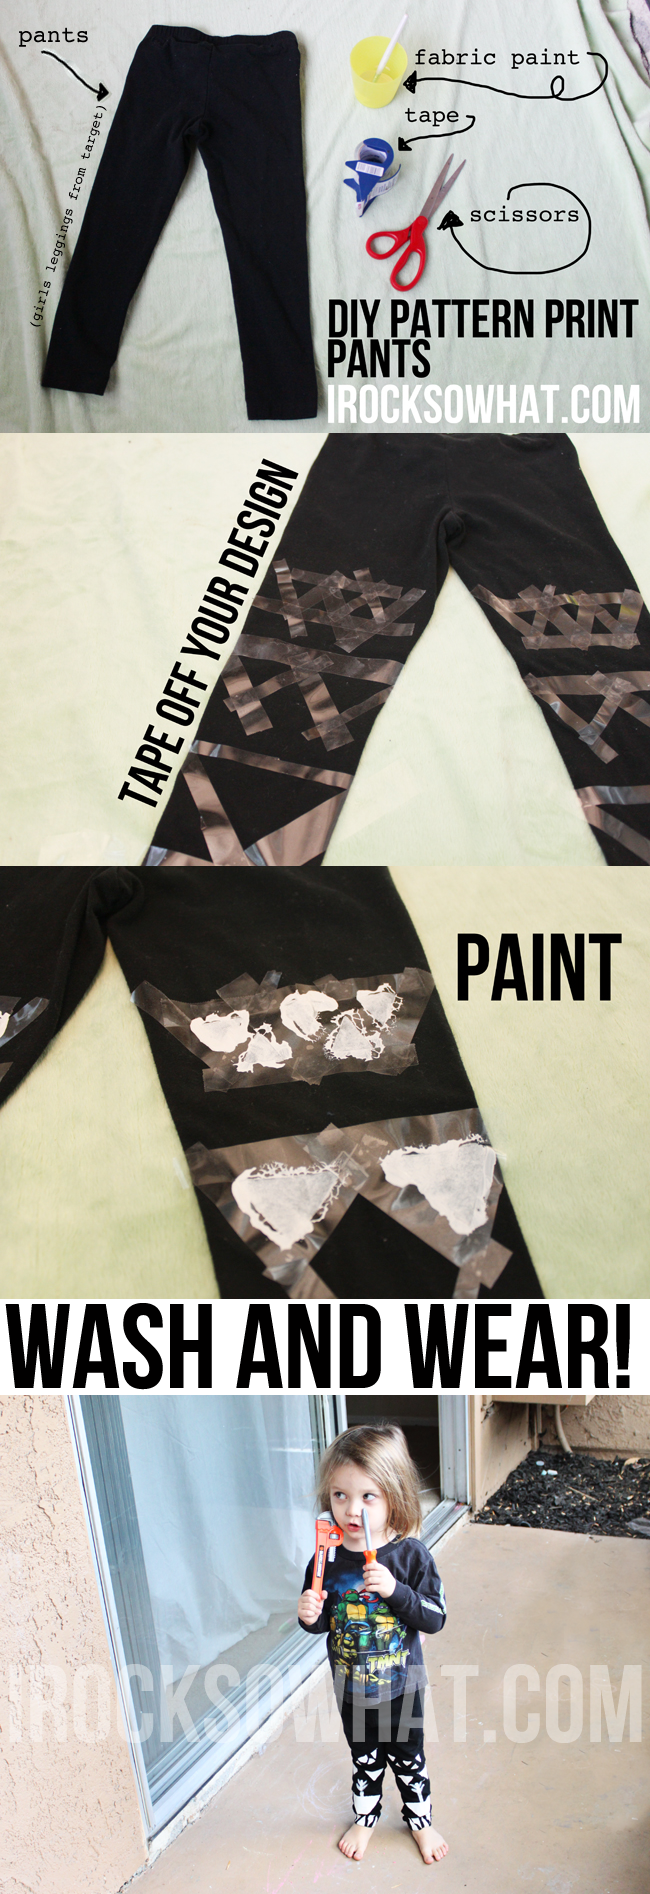
This was a crazy easy project and taping off my design gave me a little bit of confidence to not mess up (pro tip : use painters tape. I didn’t and I wish I had. It would have probably made cleaner lines and would have been easier to peel off). I’m not that awesome at painting. I did one coat, let it dry, and then went ahead and did another coat. I didn’t remove the tape until after everything dried. I let my pants sit over night to make sure they were super dry, and then I threw them in the wash and dried them (also, it’s best to work with pants/shirts that have washed and dried already). Also be sure to only use fabric paint (which I got at Michael’s). It’s made for fabrics. You can wash and dry it.

Perfect gift for your kiddo!

– Jess, IROCKSOWHAT

…………………………………………………………………………………………………………………………………………………

A very big THANK you to Jess for sharing this fantastic DIY. Please, be sure to give her blog home a visit.

To keep up with my 50 DIY Days, click here:


Day 41: Laminated Tablet Sleeve

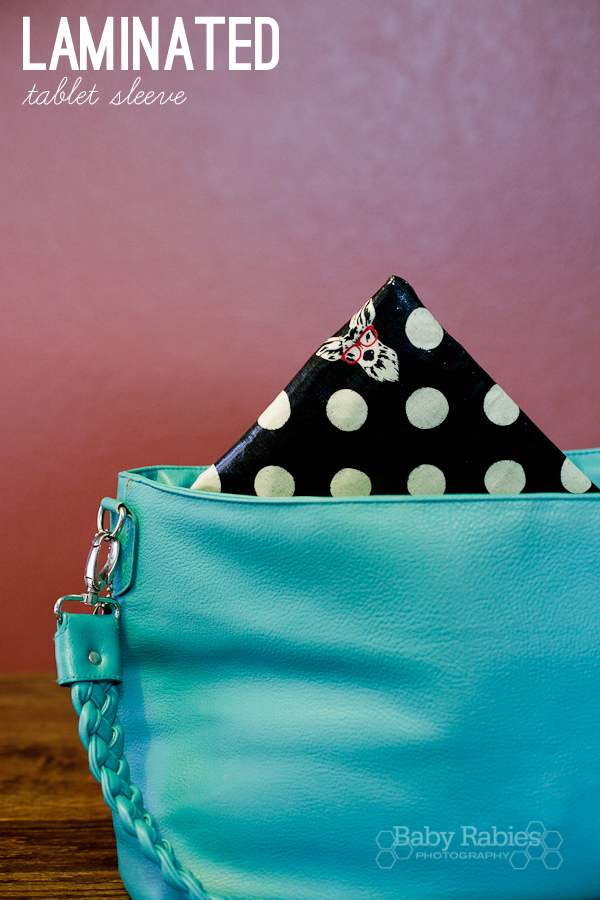
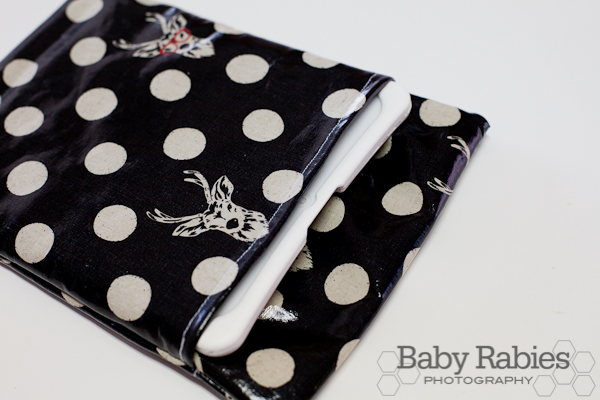
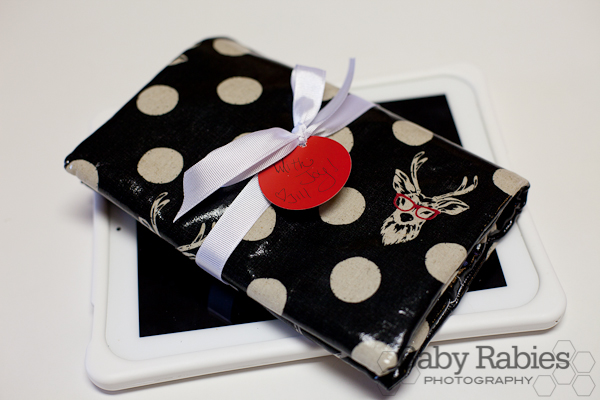
DAY 41 is brought to you by, the lovely Jill of Baby Rabies: Okay, so maybe you can’t afford to give all your friends and family new tablets for the holidays, but you can give them something to keep those tablets (that hopefully someone else is bringing them) safe and dry.

This is an easy sewing project. Really, all you need to be able to do is sew a straight line. I know because that’s all I can do. Except don’t look too close at my lines because they aren’t all the straight.

What you’ll need:

– 1 yard of laminated cotton (or oilcloth)

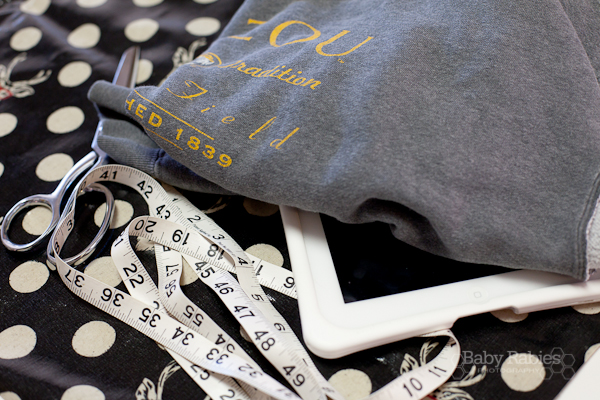
– 1 old sweatshirt or towel

– measuring tape

– scissors

– sewing machine and thread

– the dimensions of the tablet you’re making the cover for

For the purposes of this tutorial, I’ll give you the dimensions I used for my iPad2 in a protective case. I measured with the case on, and came up with 11″ x 9″. Then I added a 1/2″ to each measurement. That was the final dimensions of I needed the sleeve to come out to- 11.5″ x 9.5″.

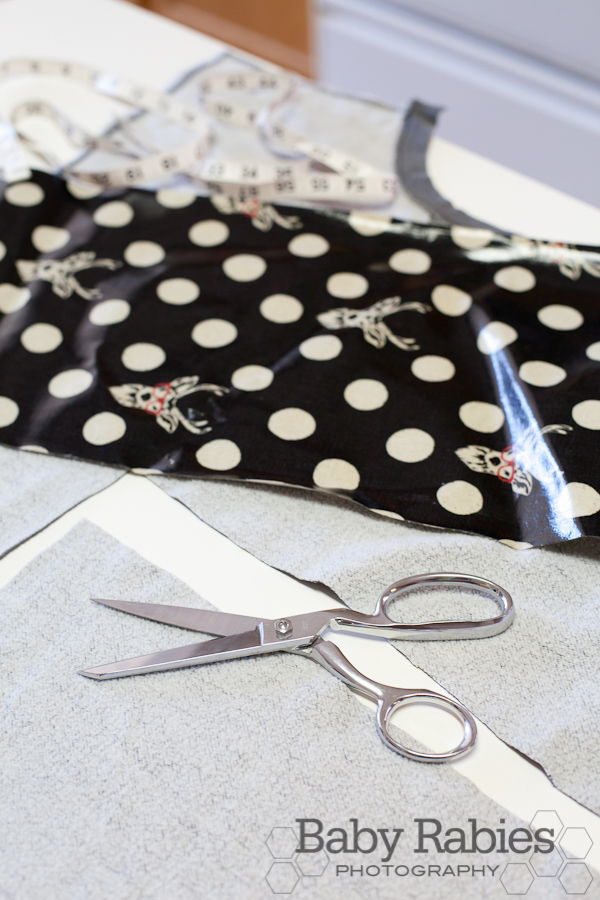
I cut my laminated cotton fabric to 28″ x 10″ and the sweatshirt to 26″ x 10″.

The formula for figuring this out based on your own tablet dimensions is as follows:

Start by adding .5″ to your final width. This will be the same for both fabric pieces.

For the laminated fabric, double your final height measurement, then add 4.5″. The total will be your length of laminated fabric you need to start with.

For the sweatshirt, double your final height measurement and add 2.5″. This will be the length of sweatshirt (or towel) you need to start with.

After you’ve cut out your pieces, lay your laminated fabric right side down. Place your sweatshirt on top of it, with the side of the material that you want exposed to the tablet. I chose the inside of this old sweatshirt.


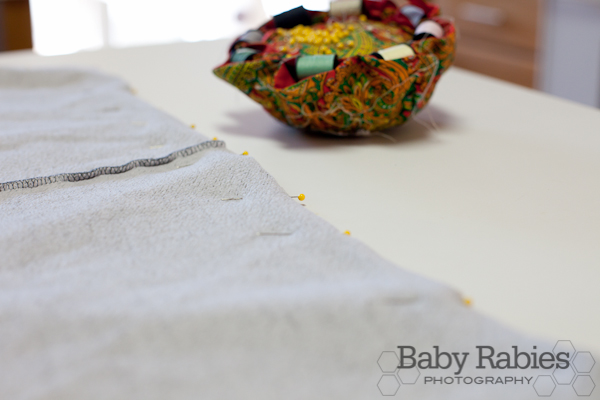
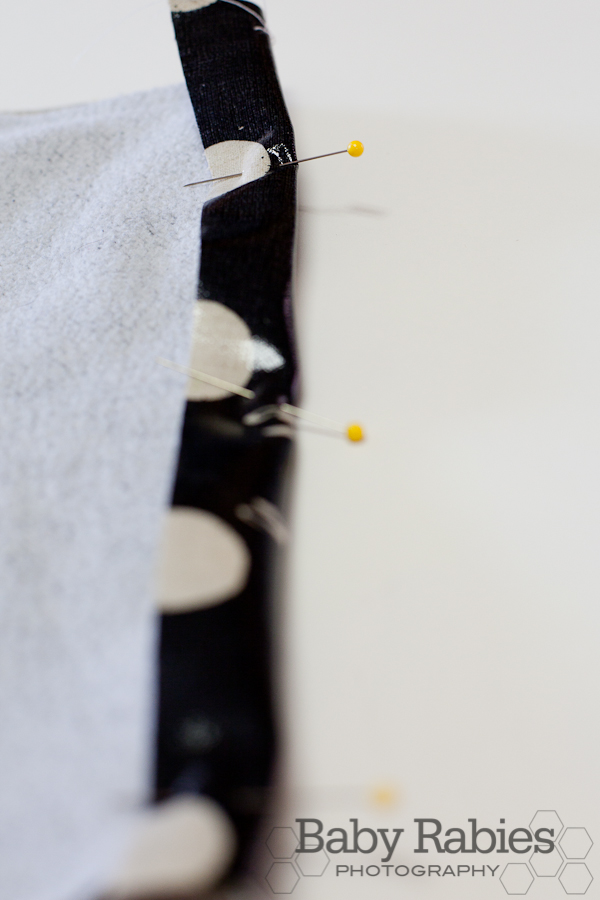
Pin your two pieces together, leaving 1″ of laminated fabric extending past the sweatshirt fabric on either side.

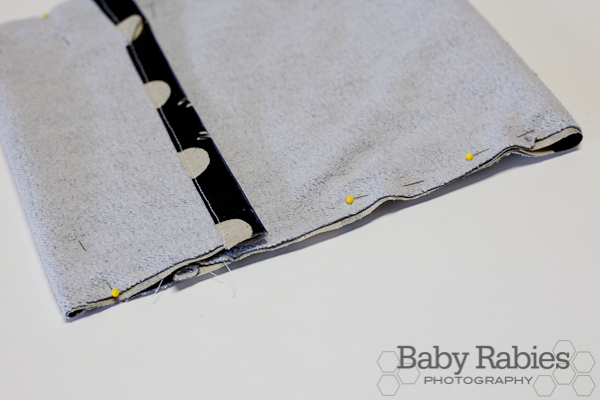
Stich the 2 pieces of fabric together .25″ from the edge, then fold the 1″ of laminated fabric over each end of the sweatshirt, pin and stitch down. No need to double fold here. The laminated fabric won’t fray if you leave a raw edge, and it won’t be visible when the project is complete.

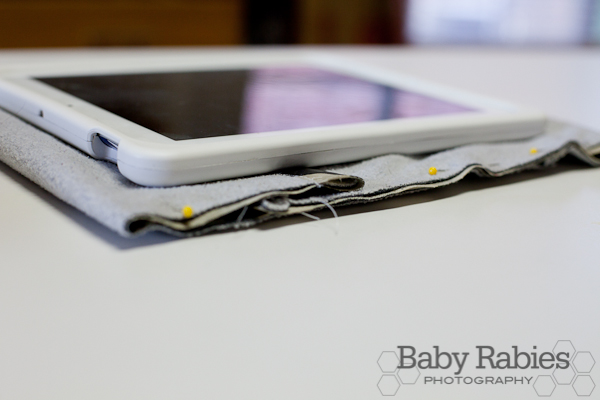
Lay the piece right side down again. Fold the bottom of the fabric up to a few inches below the top. Fold the top of the fabric down until it overlaps the bottom by 1″. Pin all the way around, then stitch together each long side, 5/8″ from the edge. Don’t do anything to the horizontal opening.

Remember to adjust your machine settings to allow for such thick fabric! You might need to loosen your tension and lengthen your stitch.

Trim the edges of the fabric as close to your first line of stitching as possible (.25″ in), then carefully trim your corners at a diagonal CAREFUL not to clip the stitching.

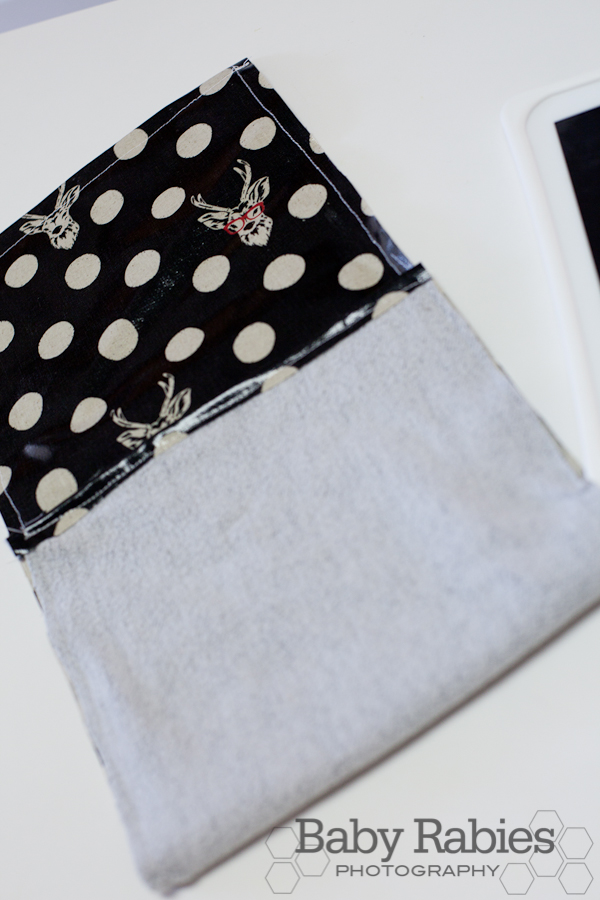
Finally, turn the project right side out, using a pencil or a crochet hook to really pop out those corners.

When you’re finished, you’ll have a water-resistant tablet cover that’s sure to be the envy of everyone at the coffee shop. I mean, they’re totally not envious of the actual tablet, right? Just the gorgeous, handmade sleeve it lives in.

– Jill, Baby Rabies

…………………………………………………………………………………………………………………………………………………

A very big THANK you to Jill for sharing this fantastic DIY. Please, be sure to give her blog home a visit.

To keep up with my 50 DIY Days, click here:


Day 40: Christmas Yarn Wreath

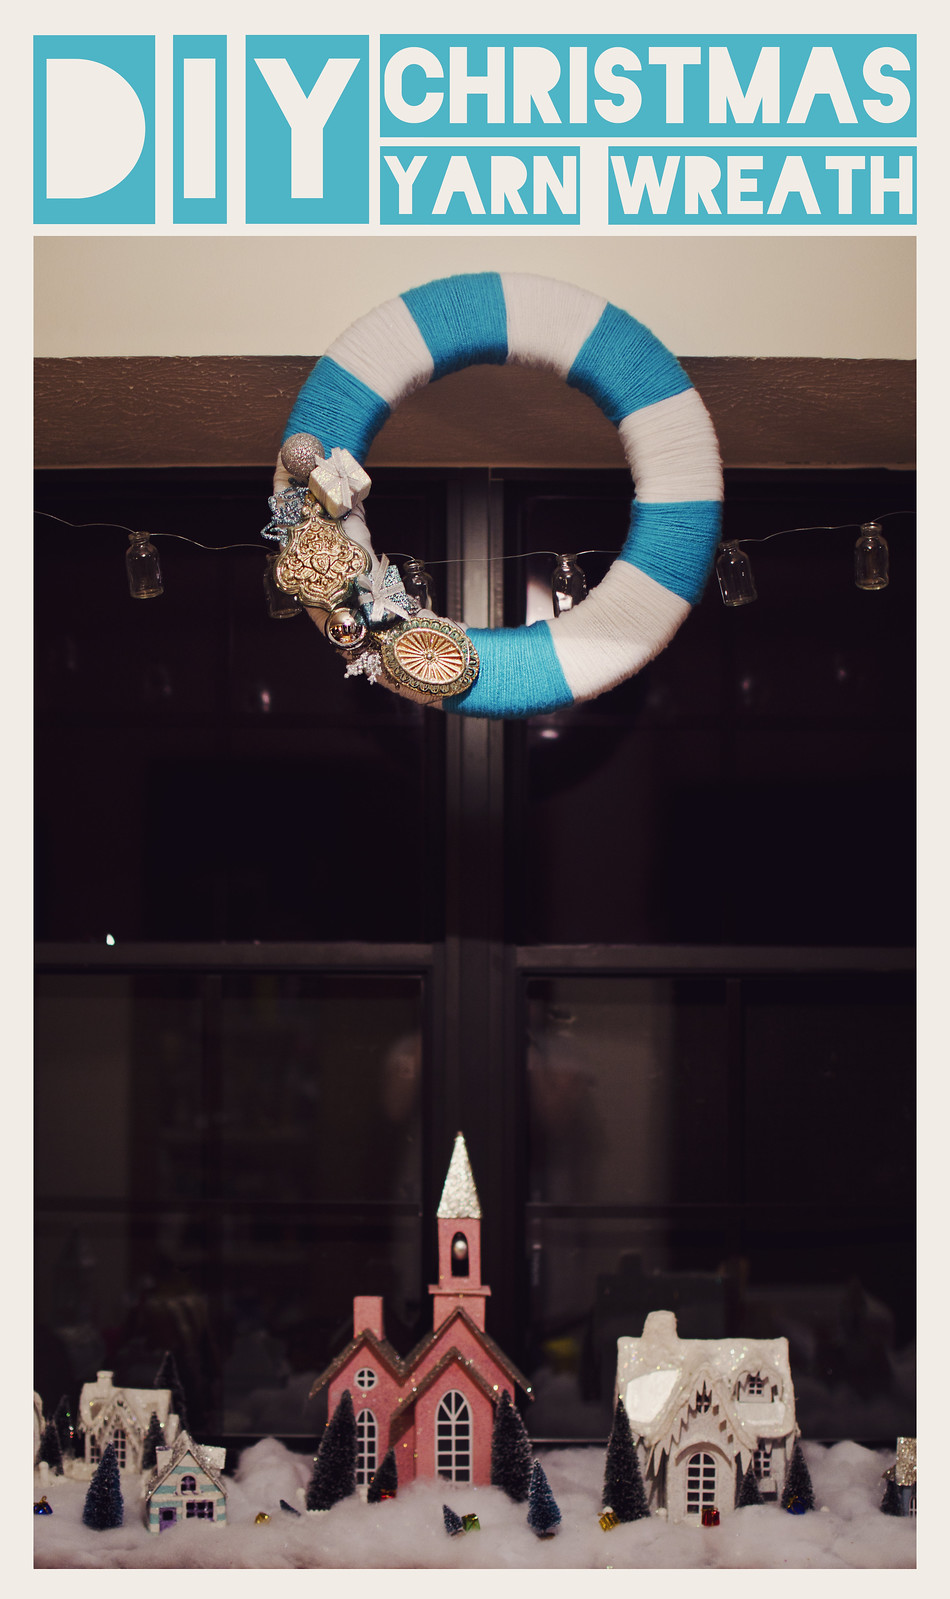
DAY 40 is brought to you by, the lovely Violet of Blythe Ponytail ParadesHi! I’m Violet from Blythe Ponytail Parades and I’m here to share a fun Christmas wreath DIY!

So let me start by saying that this project IS a bit time consuming. I suggest having a movie marathon while you do it. It’s still fun though.

Here’s what you’ll need:

  • – A blank wreath ( I used a styrofoam wreath)
  • – Yarn of any color(s)
  • – Christmas ornaments
  • – Scissors
  • – Hot glue (optional)

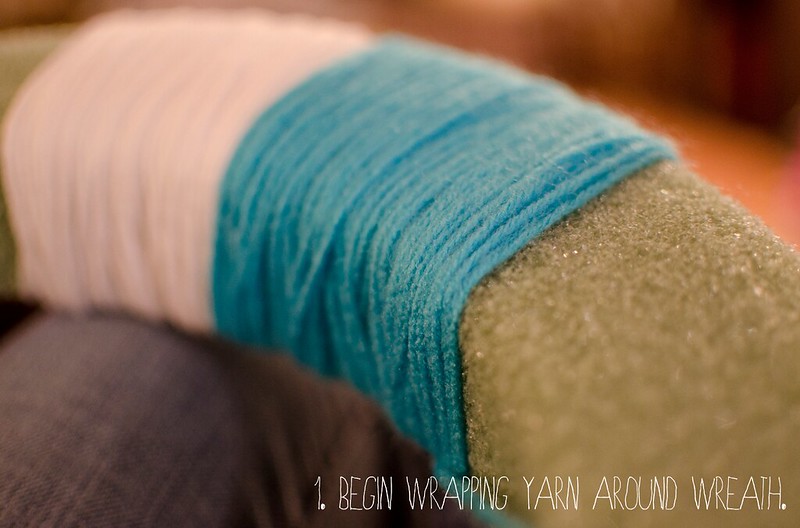
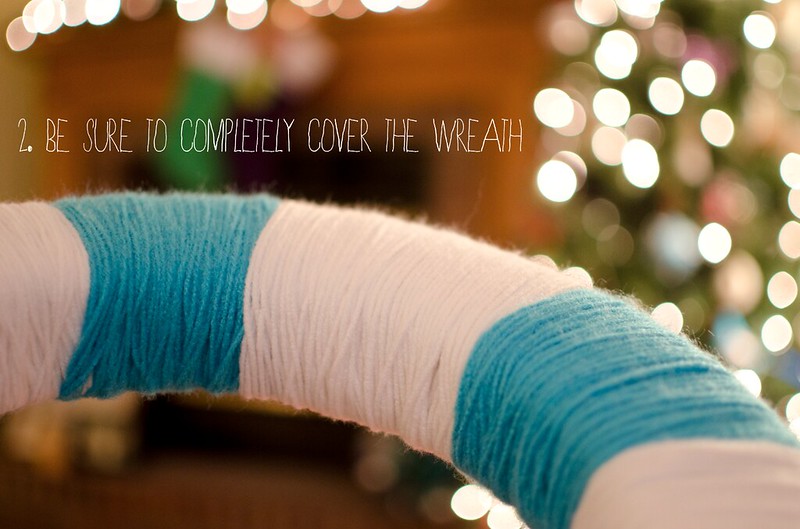
Ok, so I began by deciding on a striped pattern, so this required two yarn colors! I layered the yarn three times for each strip so as to make sure that NO styrofoam was shining through.

I left a bigger spot of white on mine to be the place for ornaments! When you wrap your wreath, you can do it in any way possible! Solid colors, stripes or maybe even more stripes.

I attached mine using silver threading and wrapping it around each piece, but you can also do this with hot glue!
And you’re done! Voila! Simple, cheap and elegant. I was pretty excited to hang this and it’s nice having something I can pull out every year. Let me know if you try it too!

…………………………………………………………………………………………………………………………………………………

A very big THANK you to Violet for sharing this fantastic DIY. Please, be sure to give her blog home a visit.

To keep up with my 50 DIY Days, click here:


Day 39: Paper Terrarium Revisited

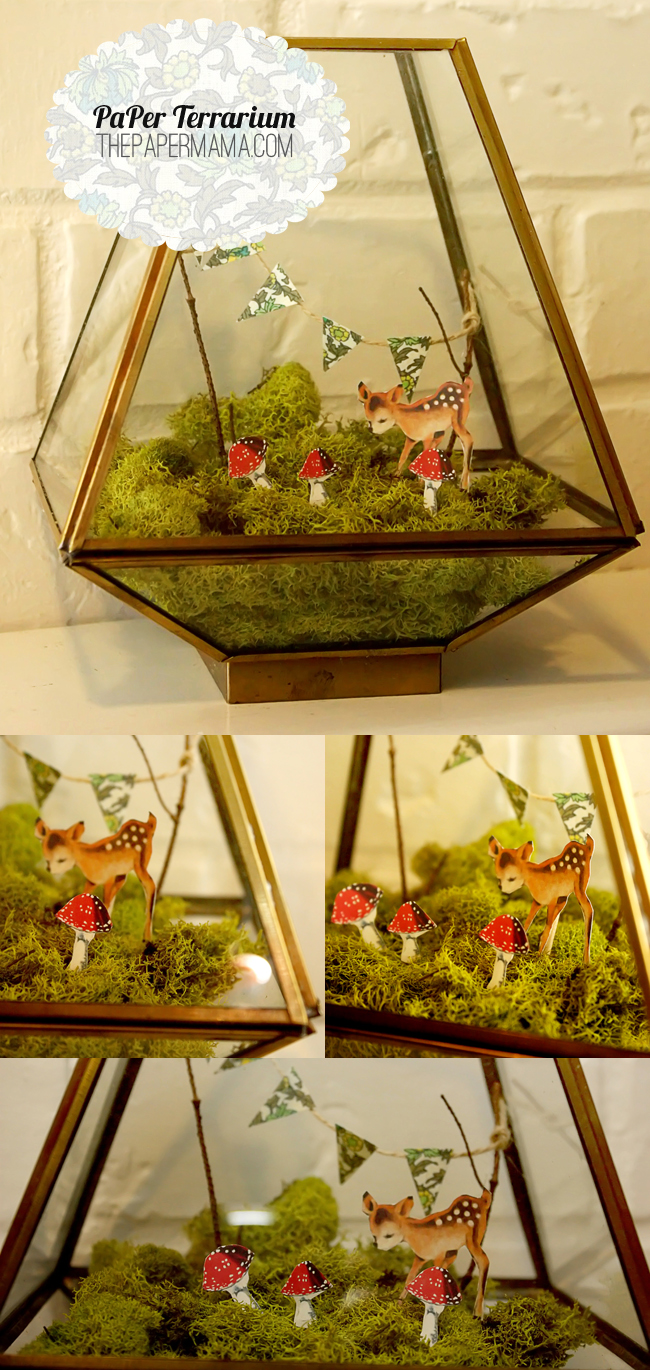
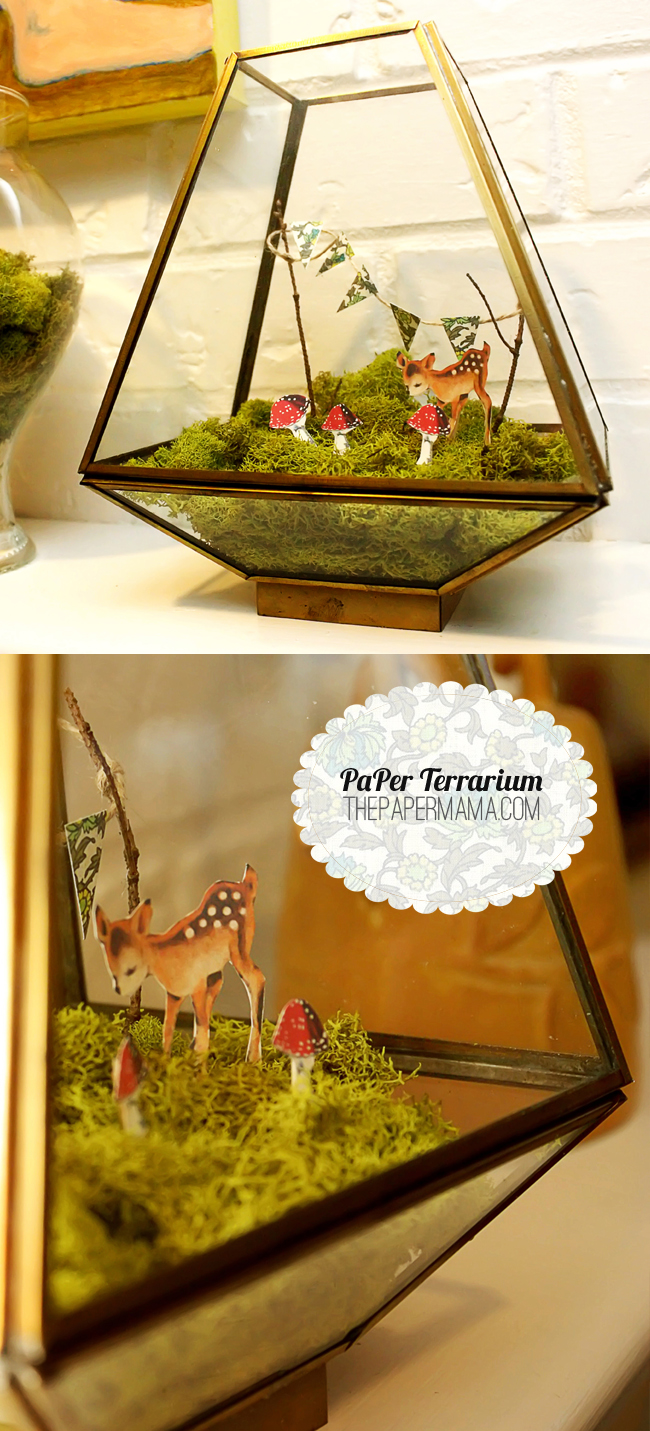
Day 39: Today I wanted to revisit my Paper Deer Terrarium. I made this little cutie last January. I still have it on display and will occasionally add something new to the mix. Maybe a tiny pumpkin for Halloween, or a couple of mini candy canes for Christmas? Yes! Perfect.

I’m 90% sure I wouldn’t keep a live terrarium… alive. Heh. So, say hello to: the Paper Terrarium. It does not require anything alive… AND, the items needed are inexpensive. Yay!!!!

What you need:

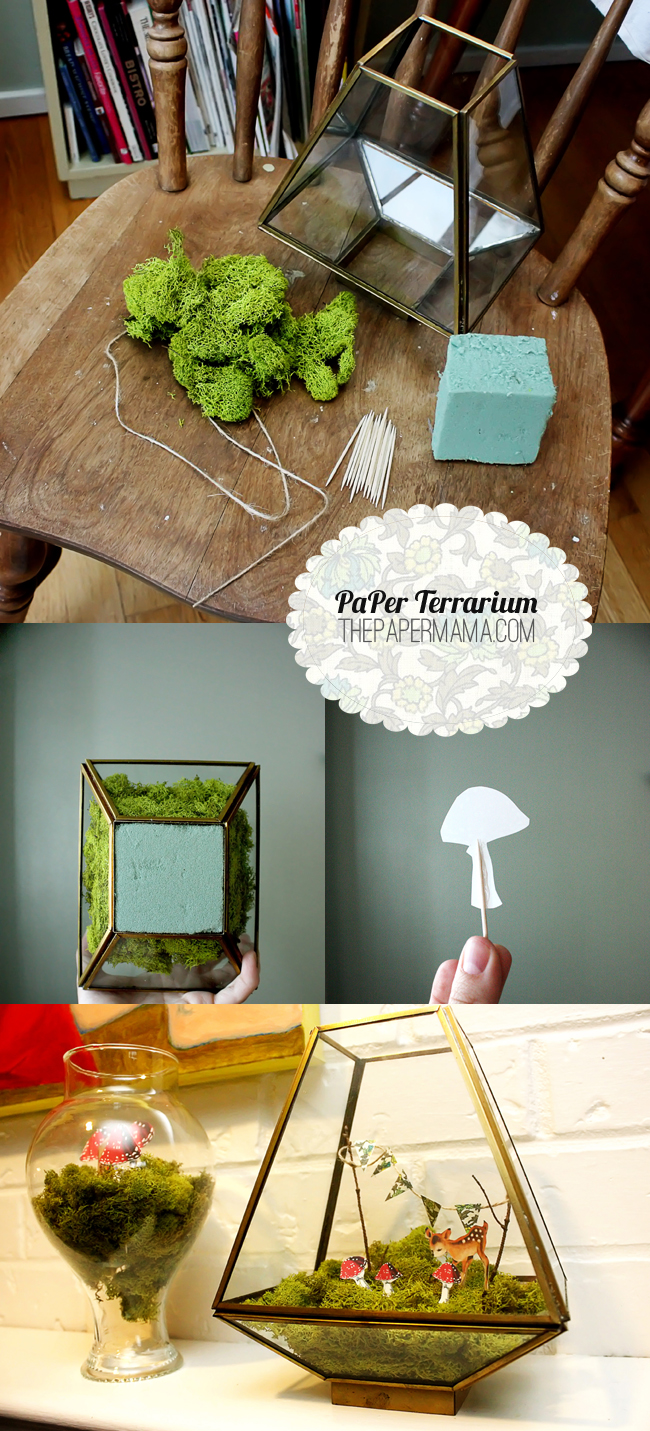
  • A glass container. I found mine CHEAP at a thrift store.
  • Moss. I got mine at a craft store. The bag filled 2 terrariums.
  • Floral foam. Just a small amount will do.
  • Tooth picks.
  • Hot glue.
  • Scissors.
  • String.
  • A couple of tiny twigs.
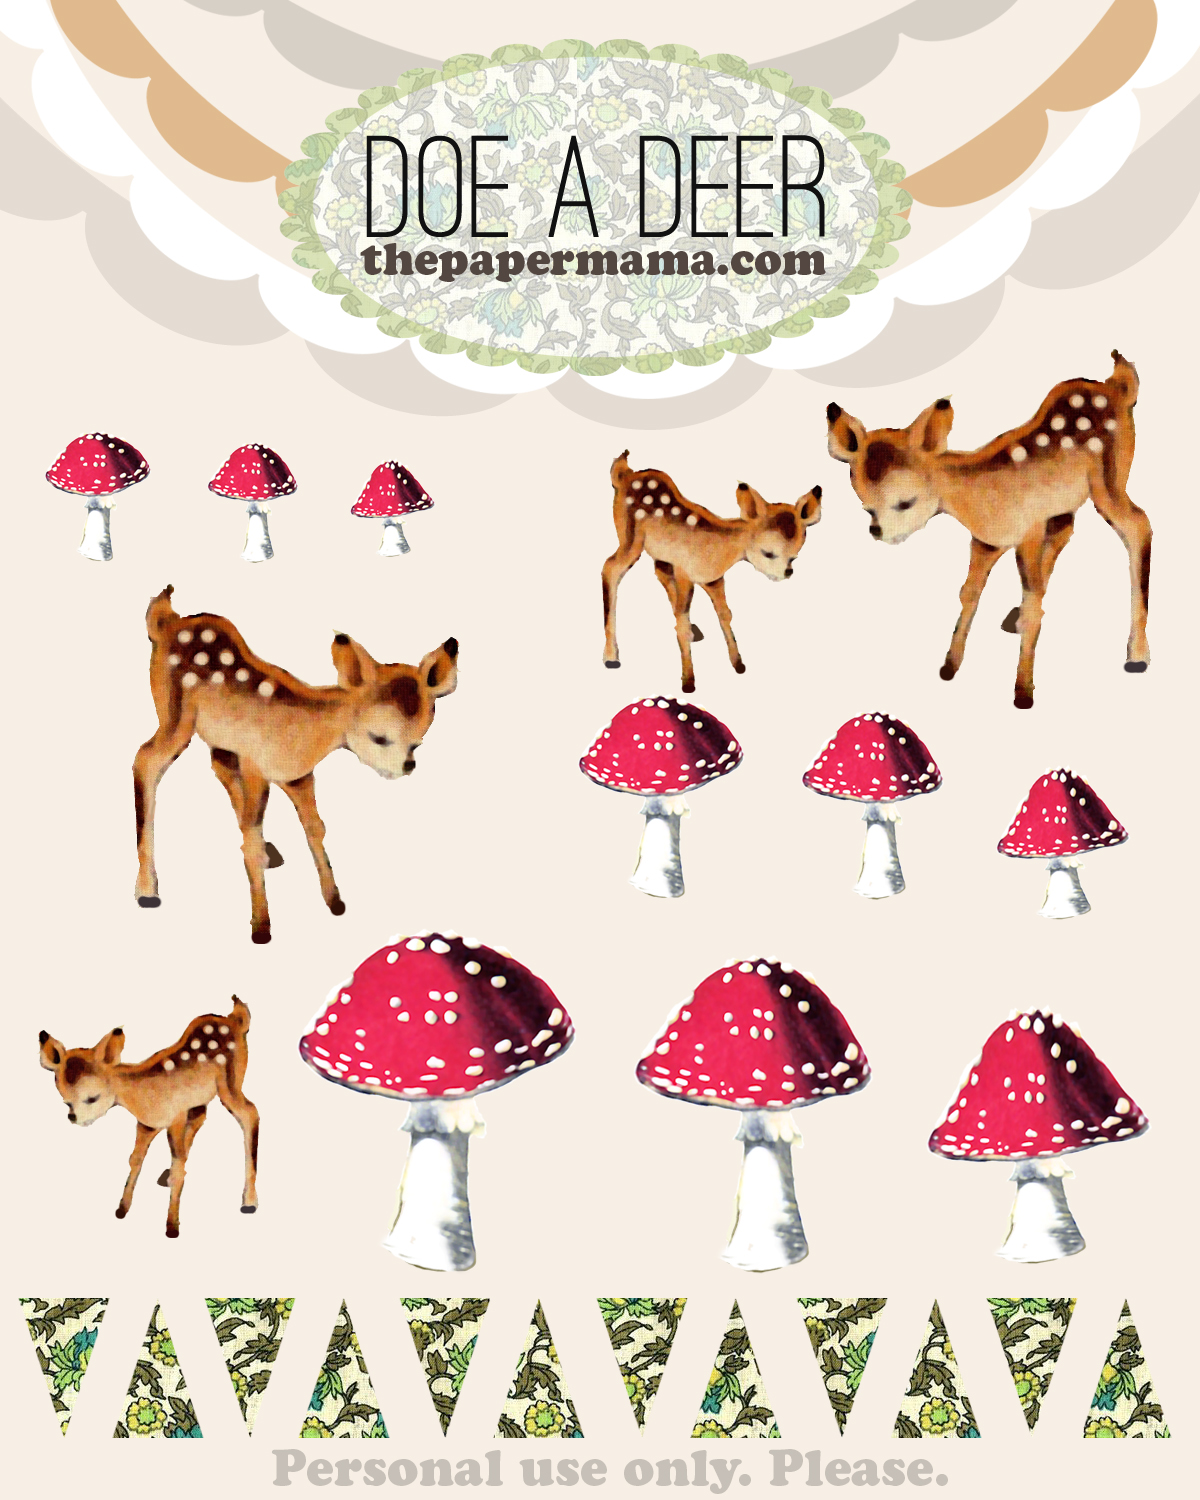
  • My Doe A Deer freebie printout.

What to do:

  1. First place your foam in your glass container.
  2. Then you can start forming your moss around the foam. I made sure to cover any foam spot that may show through the glass.
  3. Next, cut out all the paper pieces you’d like for your terrarium. I’ve included a couple of different sizes of deer and mushrooms for you to choose from. After they’re cut out you can hot glue the tooth picks to the backs of the cutouts. Glue your banner triangles to the string. Tie that string to the twigs!
  4. Arrange your paper pieces exactly how you’d like! And, you’re done!
  5. I made 2 terrariums and the rough total cost of each one is about $5. Woo hoo!

Freebie printout (click on the image below, right-click, and save):

 I hope you guys enjoy!

 – Chelsey

…………………………………………………………………………………………………………………………………………………

To keep up with my 50 DIY Days, click here:

Categories: 50 DIY Days


Day 37: Mini Donut Muffins with Cinnamon Sugar!

DAY 37 is brought to you by, the lovely Christina of the Sweet Lavender Bake Shoppe blog. It’s time to start baking:

Mini Donut Muffins with Cinnamon Sugar

Makes about 2- 3 dozen

Recipe adapted from here

For the donut muffins:

  • 3 cups all purpose flour
  • 2 1/2 teaspoon baking powder
  • 1/4 teaspoon baking soda
  • 1/2 teaspoon salt
  • 1/2 teaspoon freshly ground nutmeg
  • 1/2 teaspoon ground cinnamon
  • 3/4 cup whole milk, room temperature
  • 2 tablespoons buttermilk, room temperature
  • 1/2 teaspoon vanilla extract
  • 10 tablespoons unsalted butter, room temperature
  • 3/4 cup + 2 tablespoons vanilla sugar
  • 2 large eggs, room temperature

For the cinnamon sugar coating:

  • 1 cup vanilla sugar
  • 1 1/2 tablespoon ground cinnamon
  • 8 tablespoons unsalted butter, melted and very slightly cooled

To make the donut muffins:

1. Preheat your oven to 375*F. Grease and lightly flour two mini muffin tins. Get out a bowl and sift together the flour, baking powder, salt, baking soda, nutmeg and cinnamon. In a separate bowl, whisk together the milk, buttermilk, and vanilla extract. Set aside.

2. In the bowl of your electric mixer (fitted with your paddle attachment), beat the butter and sugar until light and fluffy (also called “creaming”). This will take about 5 minutes. Next, mix in the eggs, one at a time, scraping down the side of the bowl after each addition. Mix until just combined.

3. With the mixer on low, mix in 1/3 of the dry ingredients followed by 1/3 of the milk mixture. Scrape down bowl. Continue to alternate until all of the remaining ingredients are incorporated, finishing with the dry ingredients. Be careful to not overmix. You don’t want dense donut muffins!

4. Fill your greased/floured muffin cups just to the rim with batter. Bake until lightly golden and firm to the touch, 15 to 20 minutes. 

5. Let the muffins cool in the pan for 5 minutes and then remove the from the tins.

To coat the muffins with cinnamon sugar:

1. Combine the vanilla sugar and cinnamon in a bowl. 

2. Roll each muffin into the melted butter making sure to coat all sides. Then sprinkle generously with cinnamon sugar.

Set out and eat eat eat! 

You’ll want to make a lot of these. Seriously. They’re amaz-z-z-z-z-zing.

– Christina, Sweet Lavender Bake Shoppe

…………………………………………………………………………………………………………………………………………………

A very big THANK you to Christina for sharing this fantastic DIY. Please, be sure to give her blog home a visit.

Save

Tags: ,

Categories: 50 DIY Days, food, Sweets


Day 36: Happy Christmas Tree Skirt!

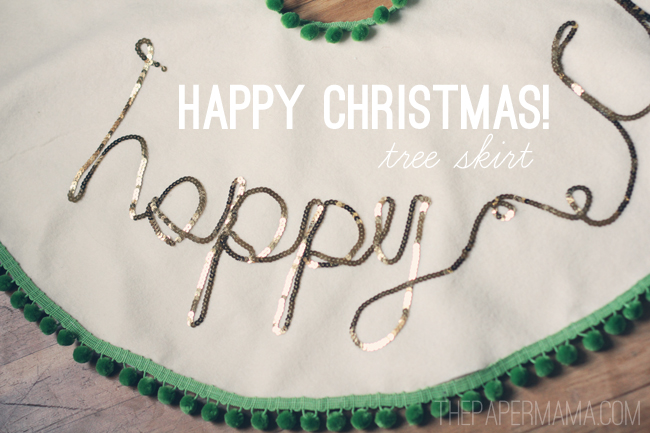
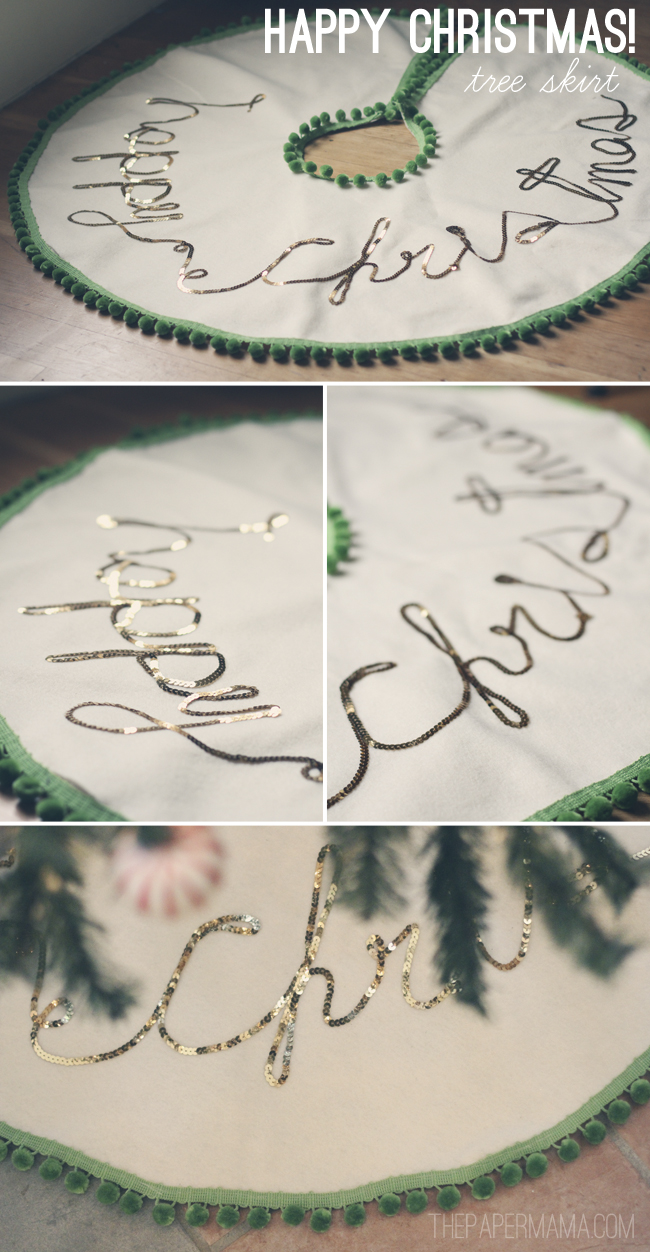
Day 36: Happy Christmas! Add a little handmade skirt to your Christmas tree. I’m absolutely in love with this skirt. It makes me happy to see it under my tree. I do think it’s a good project for beginner sewers (like myself).

Supplies: 

– 2 yards of felt (or 1 yard, I doubled up my felt to make it thicker, the skirt will be about 36 inches in diameter)

– Roughly 3 1/2 yards of pom pom ball fringe (this circumference is based on my lame math skills… plus adding a bit more)

Fabric glue

– Sequin strand: Depending on what you’re spelling, about 3 – 4 yards

– A string and pencil

– Scissors

Directions:

– First, decide if you’d like the felt doubled up or not. I wanted my skirt to be thicker, so I laid one yard of fabric on top of another yard of fabric. Fold this into quarters.

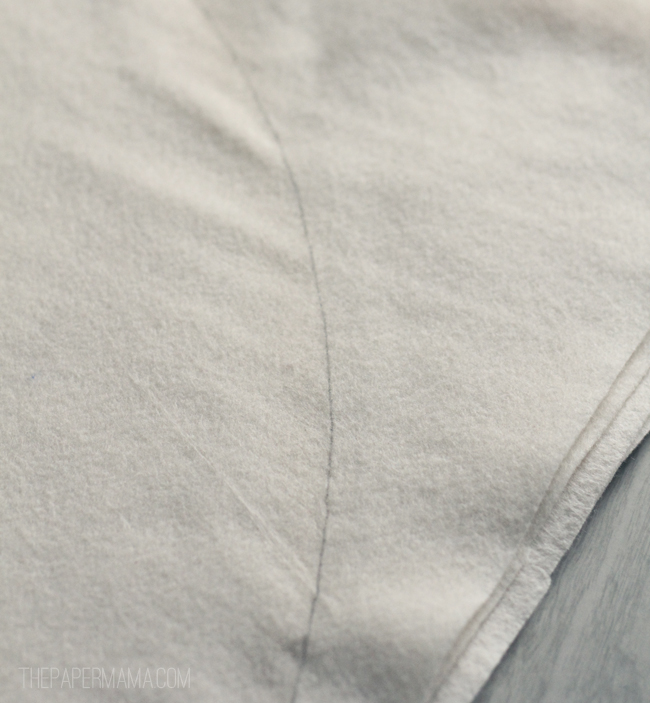
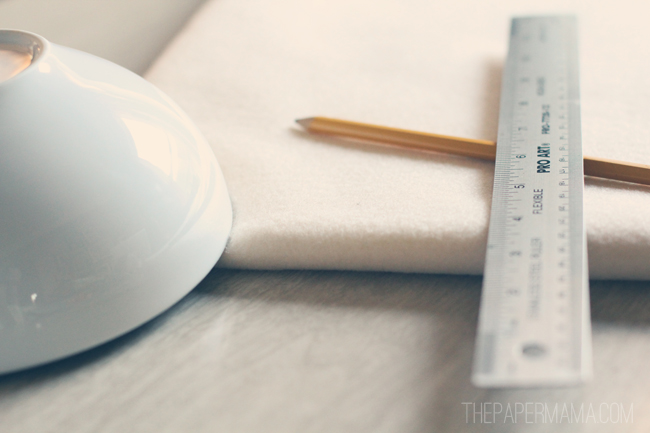
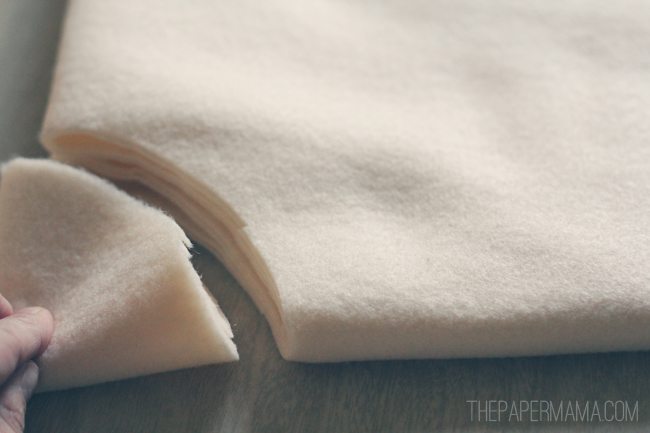
– Tie the pencil to the end of your string. Hold the end of the string at the center of the folded corner, trace a line at the other end of the felt. This should create a curved line. Cut that out.

– Grab a bowl, you’ll use this to trace the center hole of your tree skirt. Trace on the folded corner of your felt (see picture below) and then cut it out.

– Grab a ruler, trace a straight line from the edge of the outside circle to the inside circle. Cut that out.

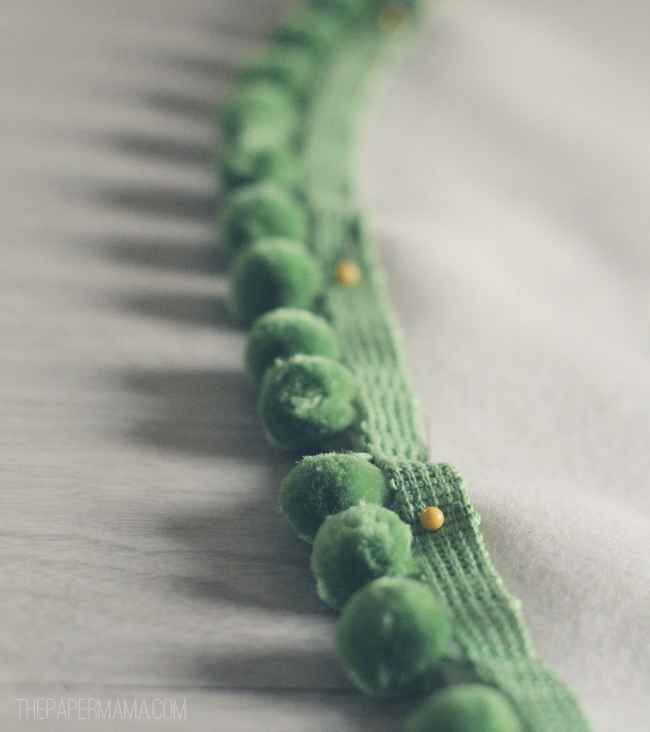
– Pin your pom pom fringe to the outside circle, the inside circle, and the straight line you cut.

– Hop on your sewing machine and sew that fringe! It’s a bit time consuming, and the fringe is hard to keep in place on the felt… but, other than that, it’s pretty simple.

– When your pom poms are sewn on, let’s write a sequined greeting on your tree skirt! I chose, “Happy Christmas”. I free handed this… but, you’re more than welcome to use a pencil and lightly write out your words. Use the fabric glue to glue down your words.

– Let this dry overnight, and you’re done!

The only thing I will do different next time, is NOT go with a cream color. While at the fabric store, I must have forgotten about the 2 cats I have. They LOVE laying on tree skirts. Sooo… yeah. Cream + dark haired cats = messy. Oh well. I still love it.

– Chelsey

…………………………………………………………………………………………………………………………………………………

To keep up with my 50 DIY Days, click here:


Day 35: Pinecone Gift Tags Printable

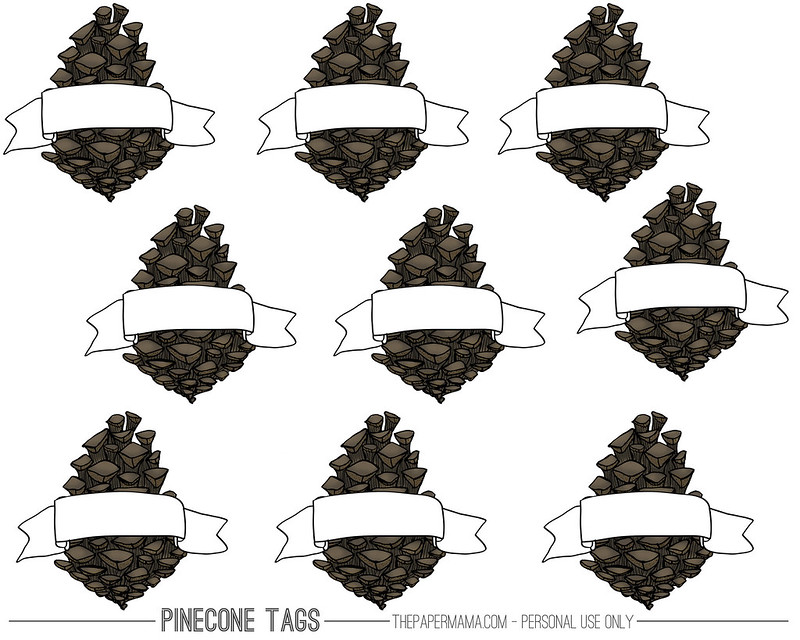
Day 35: Today I’m sharing more pinecones (I love pinecones). A pinecone gift tag. Much more exciting than store bought! Click on this link here (or the photo below) and right+click and save. Print your pinecones, cut them out, punch a hole in the top, and string them onto a Christmas gift. Have fun!

– Chelsey

…………………………………………………………………………………………………………………………………………………

To keep up with my 50 DIY Days, click here: