My Favorite Outdoor Furniture Ideas for the Backyard

Disclosure: This post contains affiliate links.

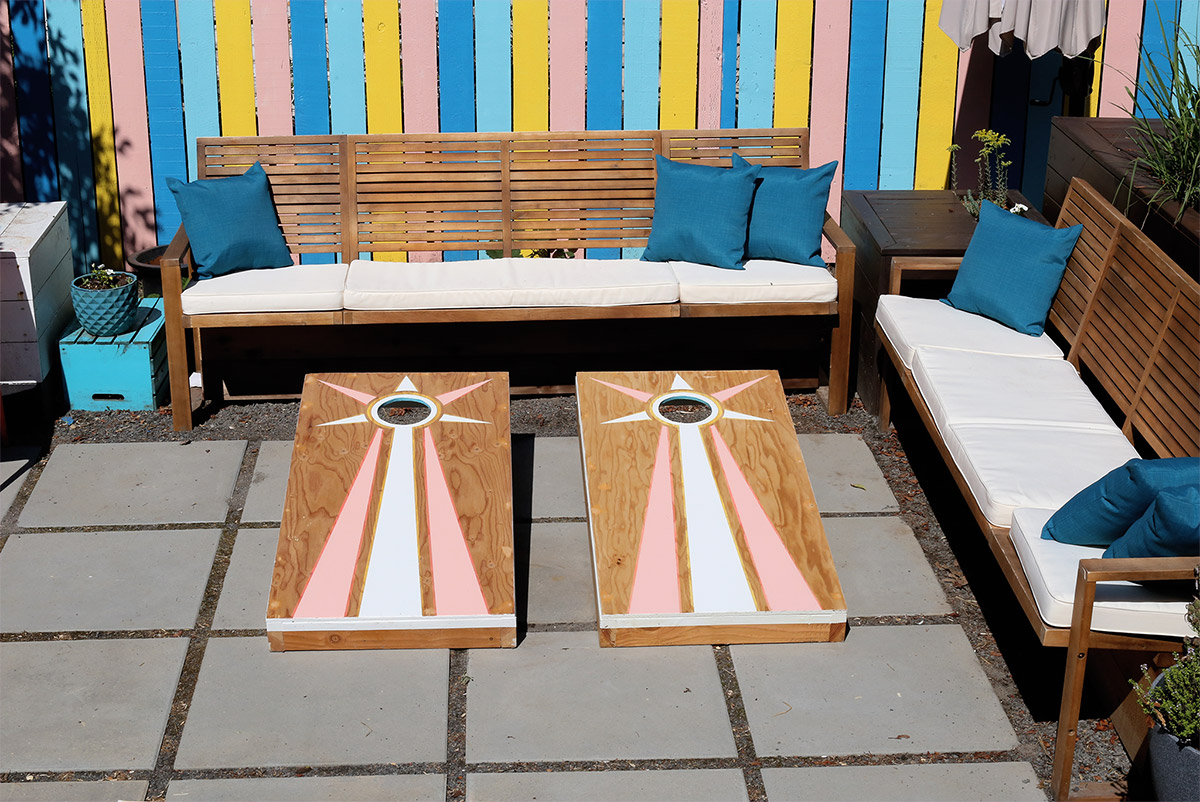
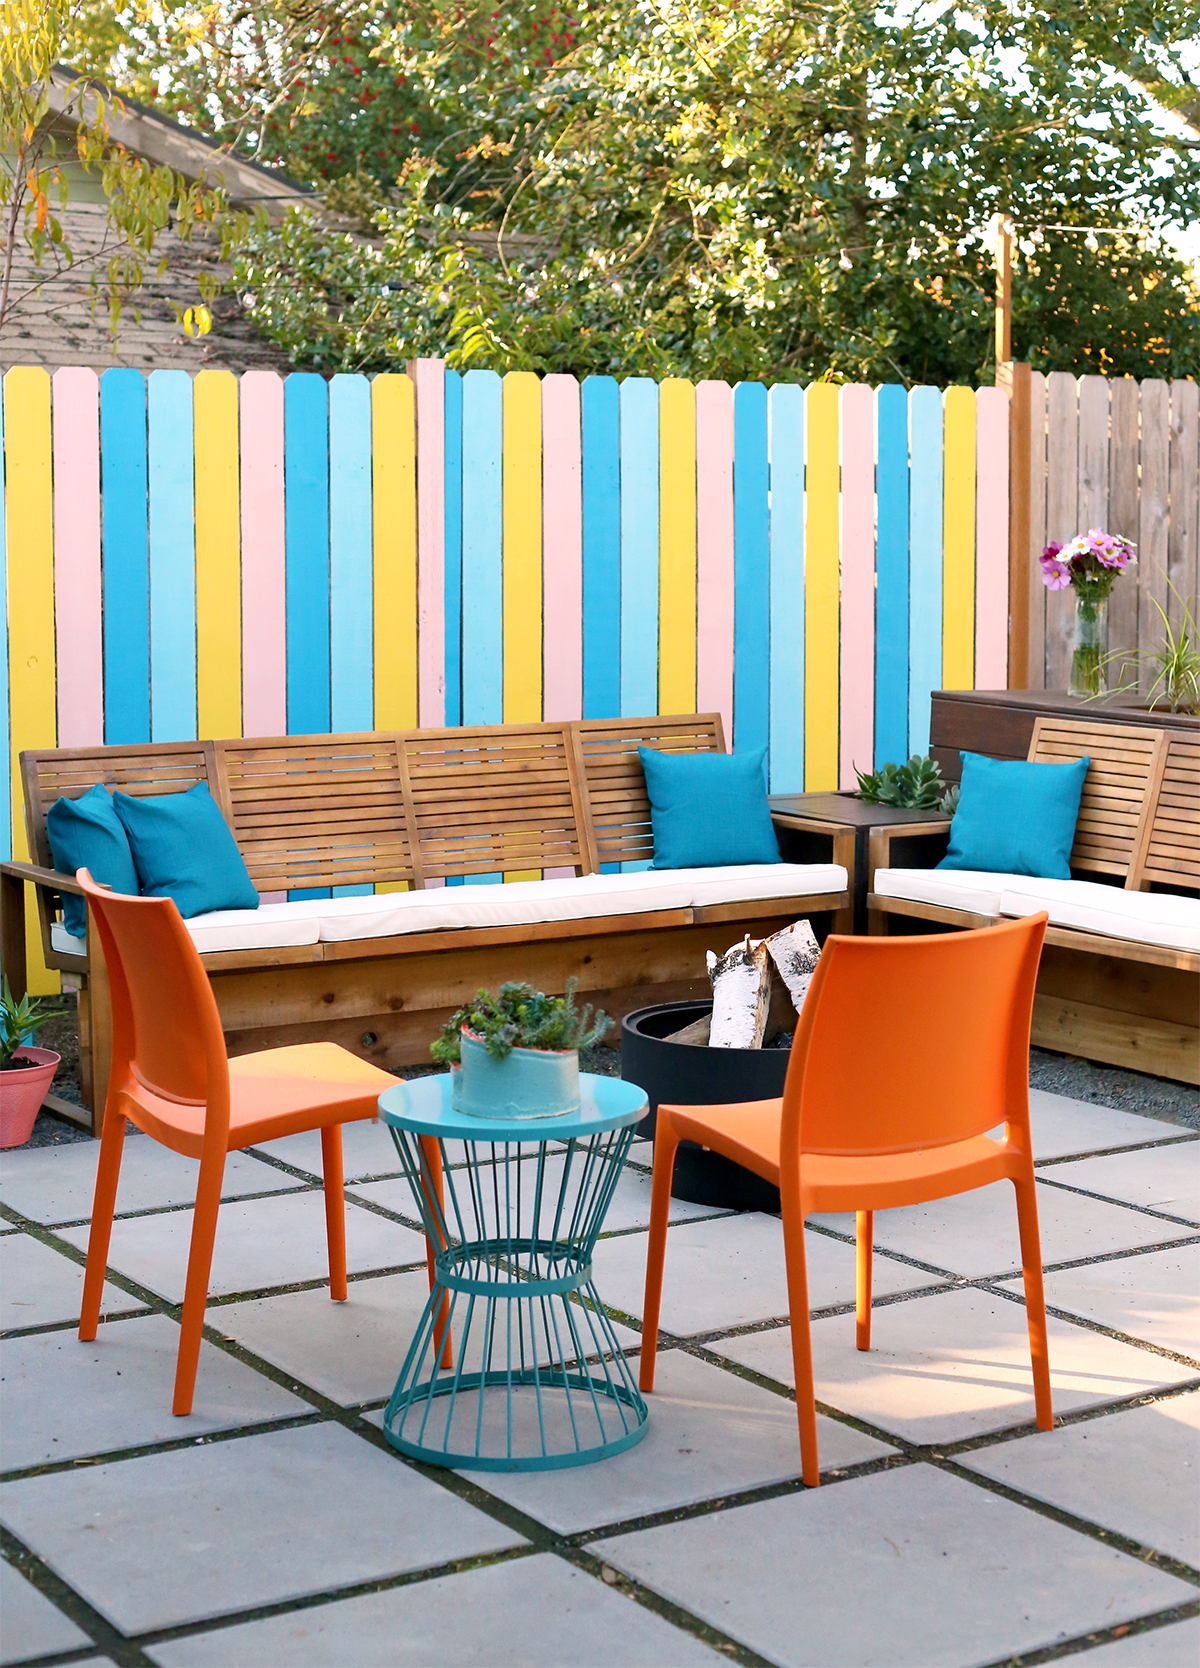
Last Summer, my husband and I gave our back patio a colorful makeover, and I love it, but what you don’t see in this photo is the other side of that yard that’s desperately in need of some love. Behind our large planter is a pile of dirt and debris, leftover from digging out the patio area. Continue reading

Categories: favorite


DIY Colorblocked Cork Boards with Blender Pen Image Transfer

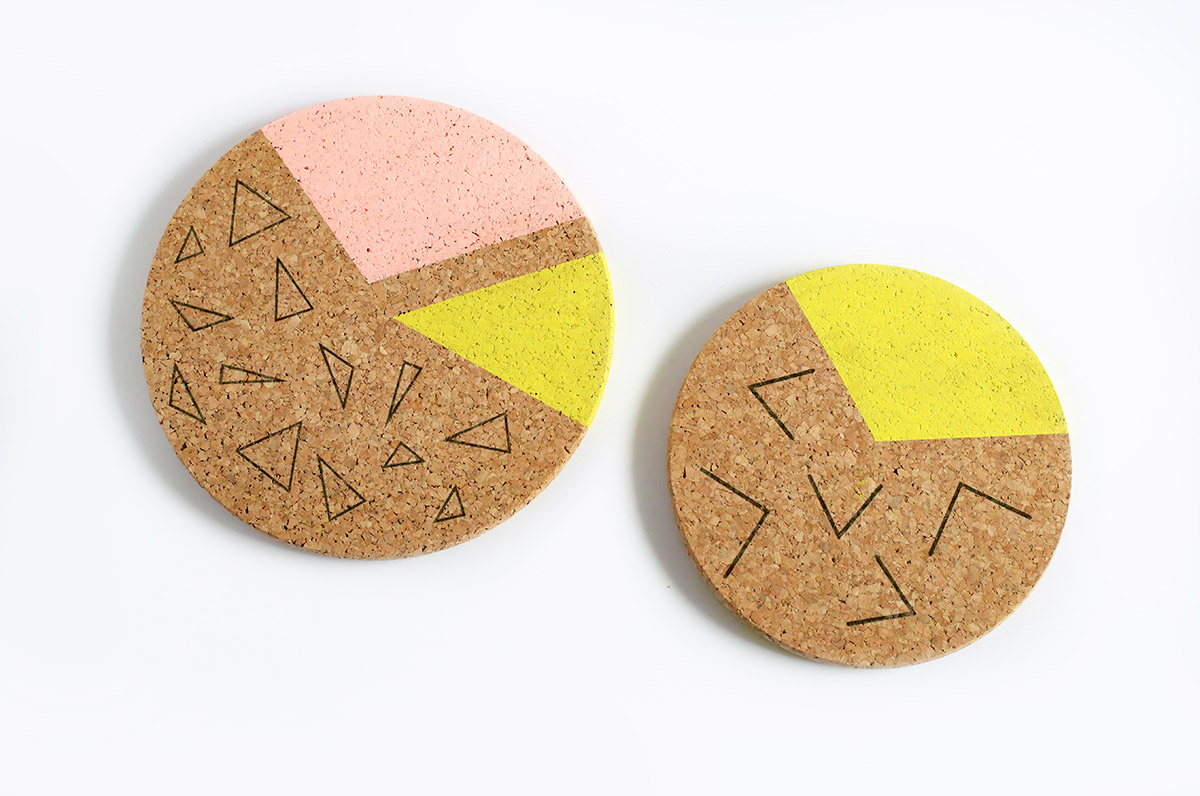
DIY Colorblocked Cork Boards DIY Colorblocked Cork Boards

This is day 3 of my image transfer DIYs! I started with a wood block photo transfer, then yesterday was my packing tape image transfer. Today you’ll see how I made my DIY Colorblocked Cork Boards with Blender Pen Image Transfer. Transferring images with a blender pen is such a fun technique. Grab a laser printed image, something to transfer the image onto, and the blender pen.

If you like the pins featured on the cork boards you can find them in my shop.

Continue reading

Tags:

Categories: diy, For The Home


Personalized Photo Candle DIY – Packing Tape Photo Transfer Technique

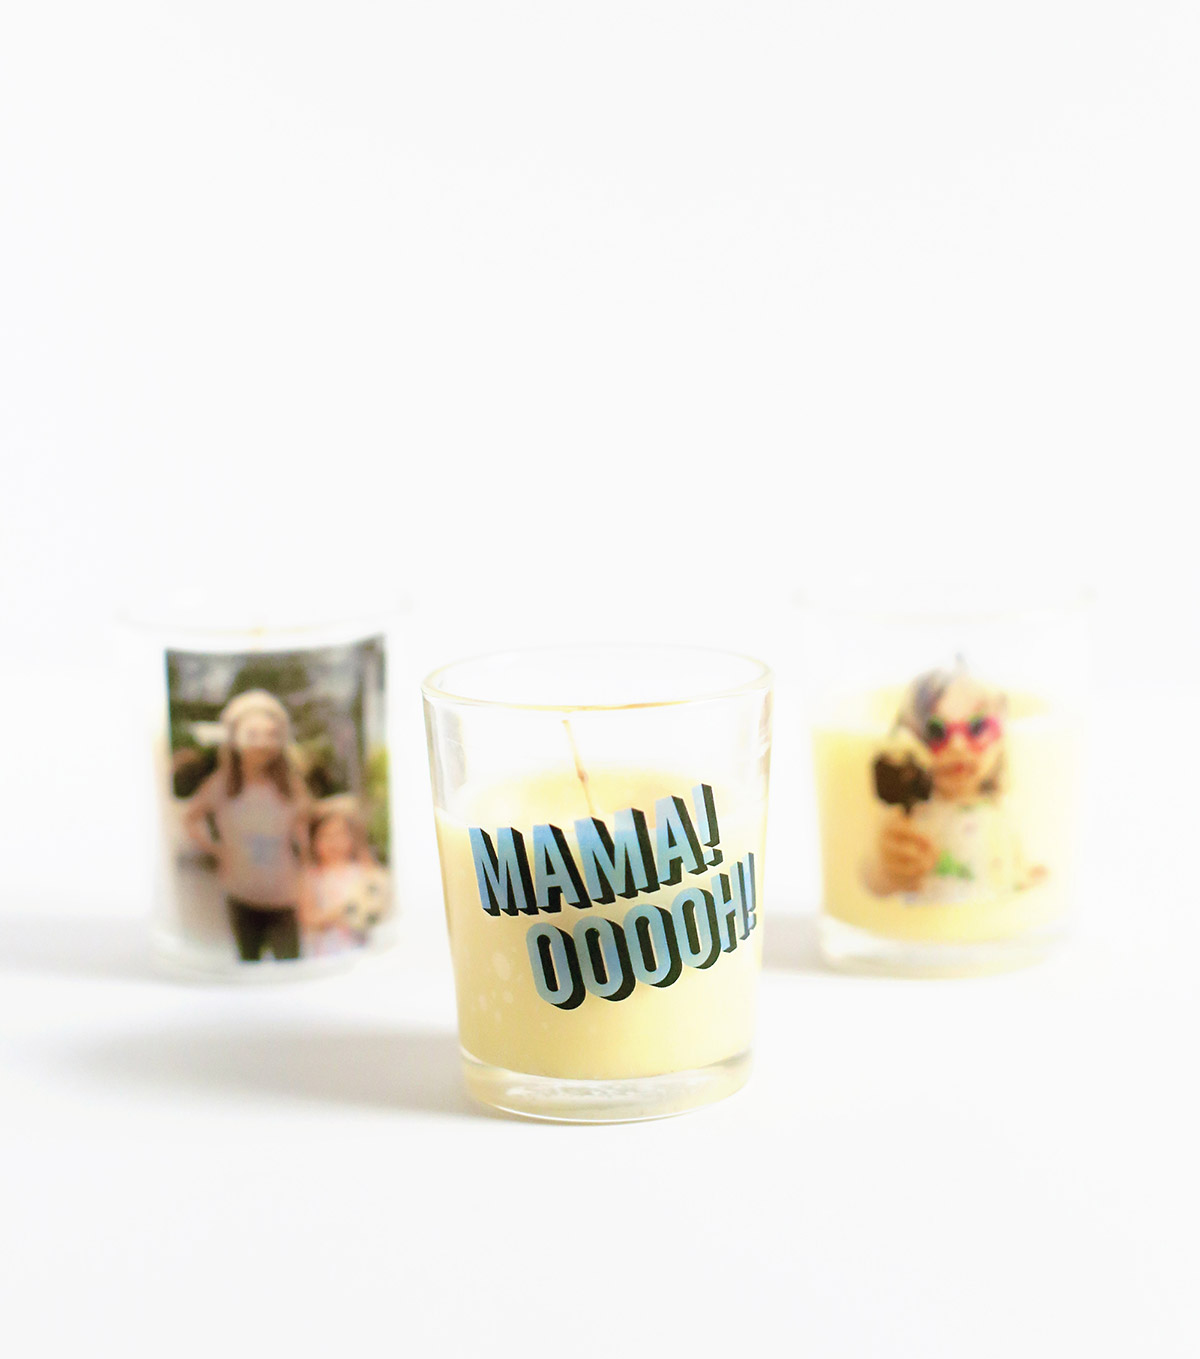
Personalized Photo Candle DIY - Packing Tape Photo Transfer Technique

Yesterday I shared my Colorfully Painted Wood Block Photo Transfer DIY with you, so today I’m sharing a Packing Tape Photo Transfer Technique. This process is VERY simple and the perfect way to make a Personalized Photo Candle DIY. This is another project that my friend Lindsay, of Shrimp Salad Circus, and I taught at the Craftcation Conference.

If you’re not really into candles, that’s fine. You can use this Packing Tape Photo Transfer Technique for many projects (as long as it doesn’t need to go in the dishwasher). I’ve seen it used in pantry organization, for personalizing journals, and decorating computers/tablets.

Ready to get started? Follow the directions below.

Continue reading

Tags:

Categories: diy, For The Home


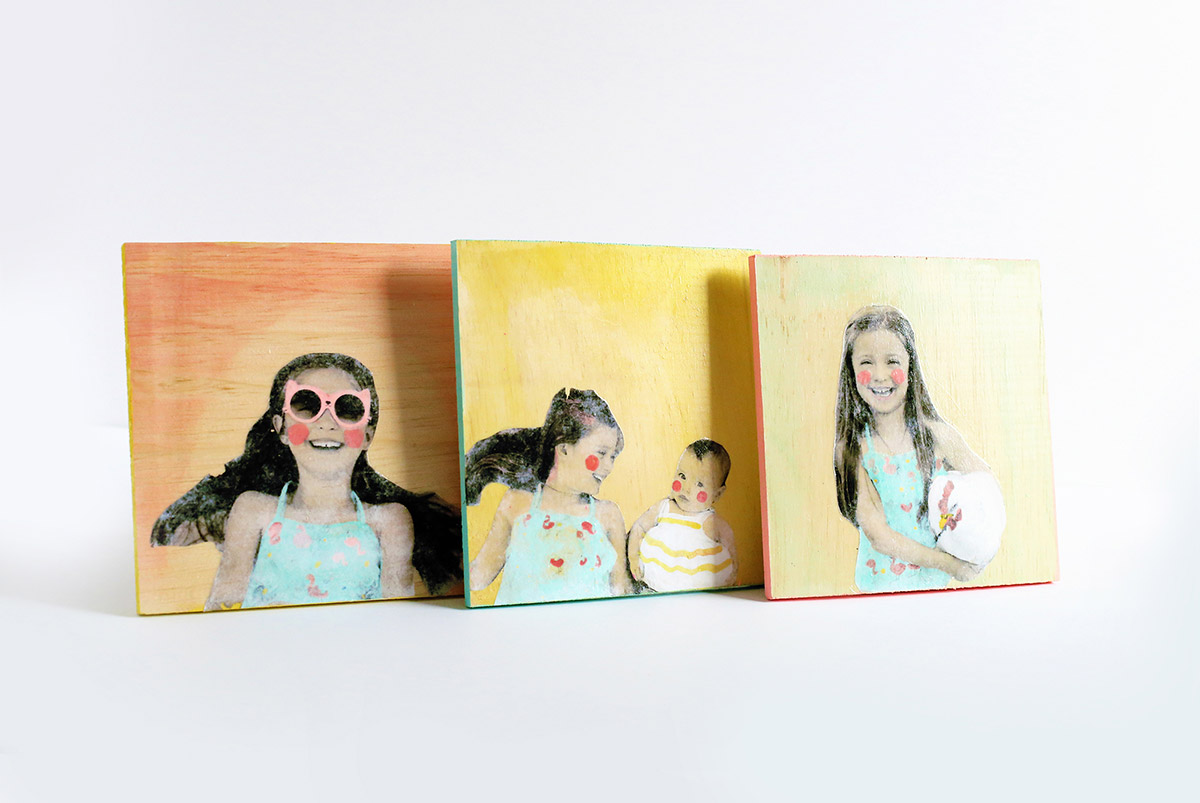
Colorfully Painted Wood Block Photo Transfer DIY

Colorfully Painted Wood Block Photo Transfer DIY

If you follow me on social media you’ll notice that my friend, Lindsay of Shrimp Salad Circus, and I were in Ventura, CA to teach a couple of art classes for the Craftcation conference. The great thing about this event is how welcoming and relaxed it is. This is my second time attending and I feel inspired to create more after this trip.

So today I’m sharing one of the projects we taught to our class. It’s my Colorfully Painted Wood Block Photo Transfer DIY. It’s a fun project that paints colorful details BEFORE the actual photo transfer. Follow my directions below to see how i made this.

Continue reading

Tags:

Categories: diy, For The Home


Our Colorful Small Space Patio Makeover: with Before and After photos!

DisclosureLowe’s Home Improvement provided me with free products in exchange for this post of Our Colorful Small Space Patio Makeover. All opinions are my own.

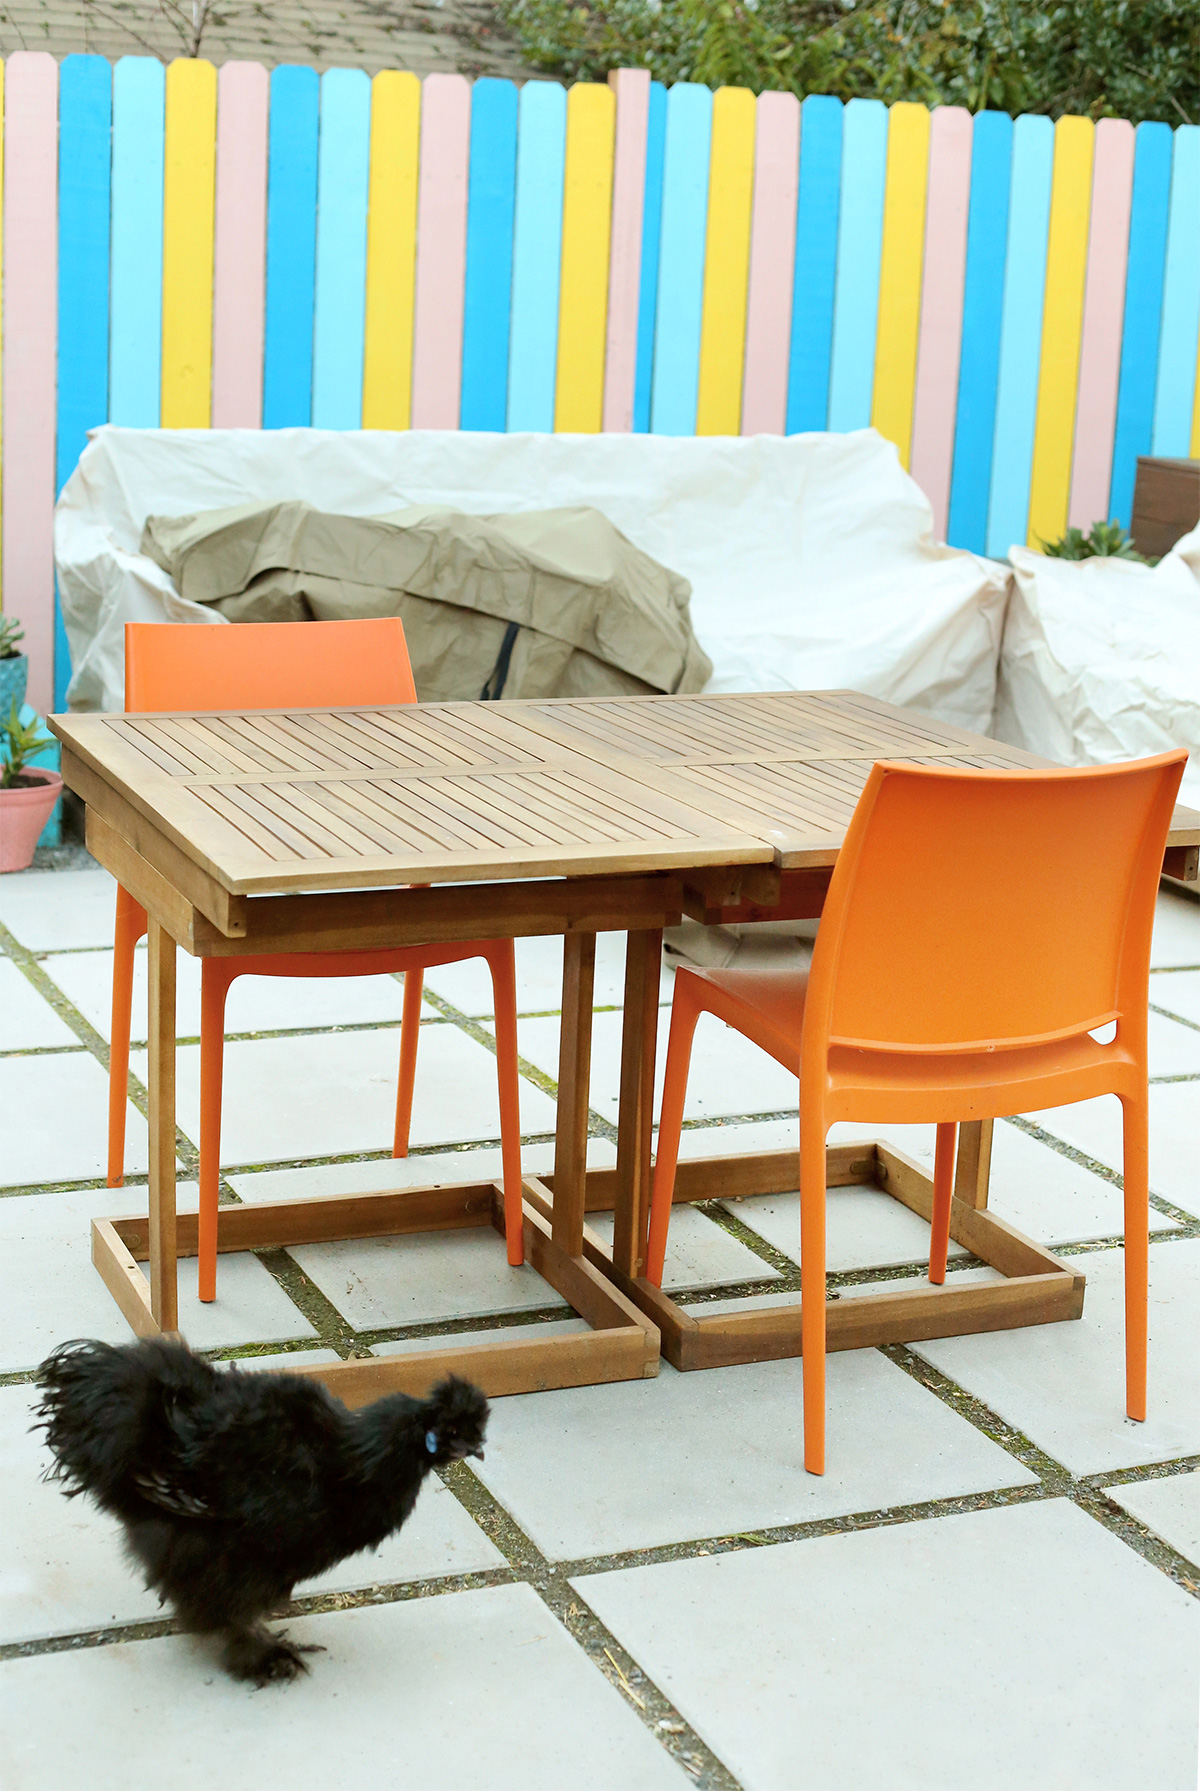
Our Colorful Small Space Patio Makeover: with Before and After photos!Our Colorful Small Space Patio Makeover: with Before and After photos!Our Colorful Small Space Patio Makeover: with Before and After photos!

It’s the first day of Spring, so to celebrate I wanted to share our Our Colorful Small Space Patio Makeover that my husband and I put together with the help of Lowe’s! It turned out great and I love spending time back there. This project took longer than expected to finish, but we are done and we are happy. We’ve spent many evenings sitting out there roasting marshmallows by the fire, and when the kids are in bed we enjoy some wine late into the evening. It’s been so nice to finally have a space in our backyard we can actually enjoy.

Continue reading


Pretty Wood Bead Chandelier DIY

Disclosure: The Bead Chest provided product for me to create this sponsored Pretty Wood Bead Chandelier DIY. All opinions are my own. Thank you for supporting the sponsors that make The Paper Mama site possible.

Pretty Wood Bead Chandelier DIY Pretty Wood Bead Chandelier DIY

Making a beaded chandelier has been on my to-do list for a couple of years now and I’m happy to report: I’ve finally made one! My original plan was to make a chandelier to hang in our dining room, but when we began planning our backyard makeover I knew I wanted to make this to hang outside. With the help of supplies, from The Bead Chest,I transformed over 1,200 beads into this pretty wood bead chandelier DIY!

This project is VERY time consuming, but simple to make. I promise. Maybe sitting down to binge watch some shows while you string beads will make the time fly by? Please explore the directions below to see how I made my chandelier. Feel free to come up with your own bead pattern if you prefer.

Continue reading