 I’m sort of a weirdo with my purse. I like my purse clean and organized. I haven’t always been this way…. Seriously. I was totally fine with taking 9 million hours to find that chapstick at the bottom of my purse (drove husband crazy). But, in the past year I’ve discovered the value of being able to find something I need fast. Mostly because of the crazy toddler I usually hang out with. She doesn’t enjoy sitting still while I pay for anything. Plus, last year I pulled out an opened tampon out of my purse with all my blogger friends at a nice restaurant. Ba! Ha. My daughter used to always get into my purse and open up all my tampons. Weirdy. Anywho… that inspired me… hee.
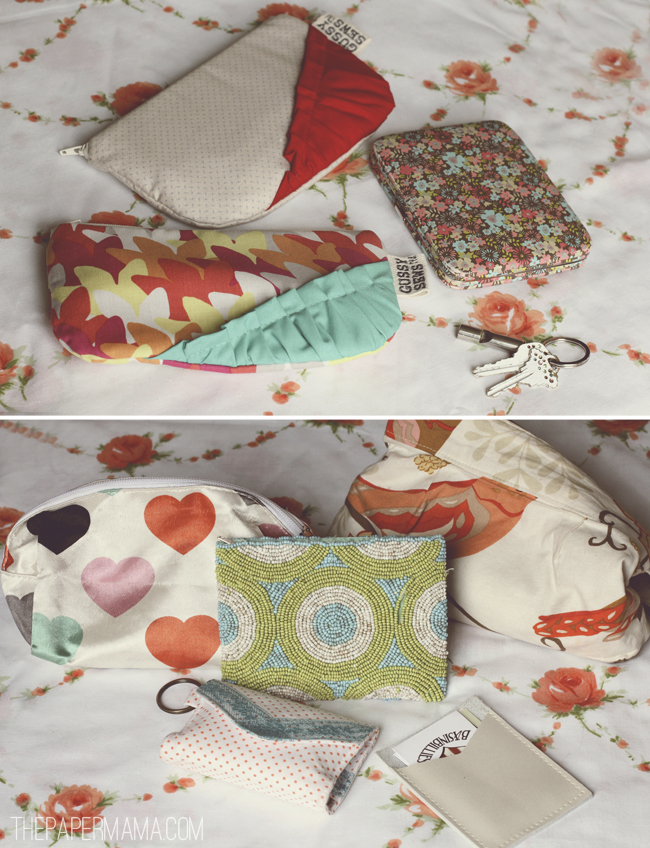
So, this is what I want to show you. My sort of anal…. but, awesome…. organization of my purse. I keep my bag filled with many tiny bags….yup. I have a beauty bag, a pen/pencil and sketch pad bag, my “emergency” bag, and a couple others. Here, I’ll just show you how I organize…..
All the bags (and my keys… and, rape whistle. Thank you mom.):
My artsy pouch:
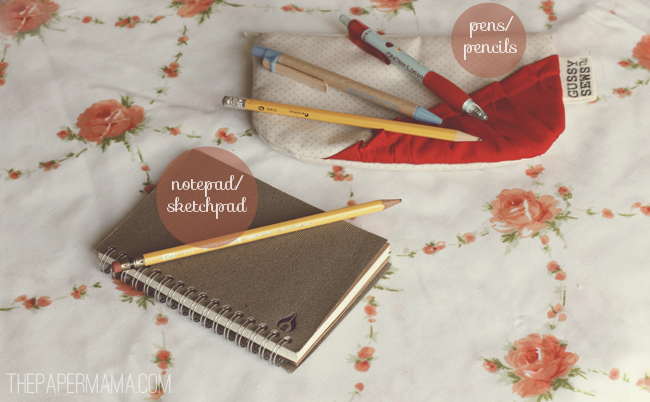
{//Pouch care of: Gussy Sews//Pens and Pencils//Notepad care of: Miro//}
Hello artsy pouch. This is where I carry pencils, pens, and a teeny notepad. I have been known to carry a massive sketchbook with me wherever I go… but, it’s really too much for everyday. Now, if I we’re headed somewhere I know I’ll just be sitting around and hanging out… I’m tossing my sketch pad in there! PLUS, I add an additional pouch of all my sketching pencils/pens/erasers.
My beauty kit:
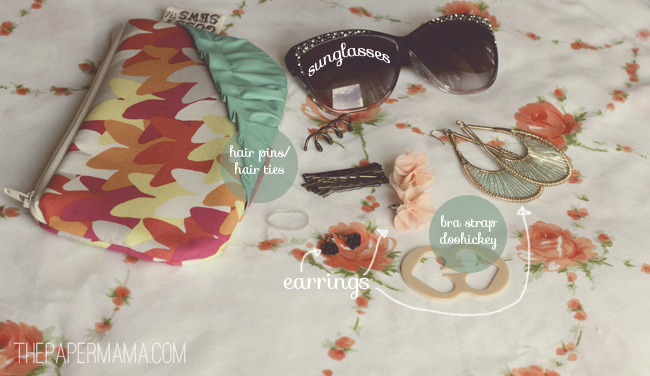
{//Pouch care of: Gussy Sews//Earrings: all from F21//Bobby pins, hair ties and Spin pins//Bra strap clip//Sunglasses: Target//}
My little beauty bag. Earrings… in case I forget to wear some and I’m out on a hot date. Bobby pins and hair ties are always necessary. Plus, I carry one of those Goody Spin Pins. Seriously the fastest way to get my hair out of my face. AND, the sunglasses. Those are only in my purse about 6 months out of the year…. Oregon.
My “emergency” pouch:
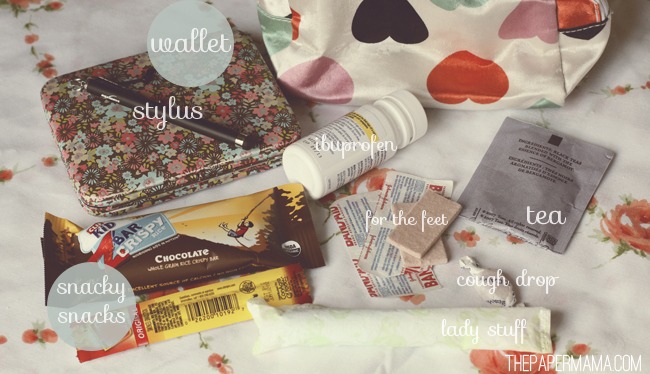
{Pouch: f21//Wallet: Target//Stylus//ibuprofen//little bandaids and mole skin//tea//tampon//Snacky snacks//}
This is my “emergency” kit. I carry the things I always seem to need… but, never think to carry in here. Bandaid? Yup. Right there. Mole skin for shoes hurting my feet? Yus. Girly time stuff? Tampon and ibuprofen are there. Tea? Yeeeess. AND, snacks? Yes. I’m a grumpy girl when I get hungry. I ALWAYS remember to pack Ruari’s snacks… but, not for me. So, I just have those things in my purse. Just in case. And, then there’s my wallet. I don’t carry it in the emergency kit… just pictured it here. I just carry my ID and cards in there. I decided against taking a photo of all my cards to share online. Ha!
The everyday bag:

{//Pouch co: Charm Design//lip gloss: f21//lipstick 1: Radiant reef//lipstick 2: Maybeline are you red-dy//chapstick: Burts Bees//lipstick 3: Revlon Lip Butter peach parfait//lotion: coconut-lime//Mirror//lipstick primer: mac//}
This is my everyday bag. I put things in here that I tend to look for everyday. Lotion and chapstick are the big ones. I’ll also toss my keys and cell phone in here. I don’t wear too much makeup…. I basically stick to mascara, lipstick, and maybe a bit of coverup if needed. So, I don’t really carry any of that stuff with me… except my fave lipsticks/chapstick. Let’s talk about that mac primer…. it’s awesome. I put it on before all lipstick. Basically it makes your lipstick last SO much longer… I can wear the super cheap lipstick and make it last all day with this stuff! It’s $15… but, it’s worth it. I don’t wear lipstick everyday so I don’t go through it too fast.
The others:
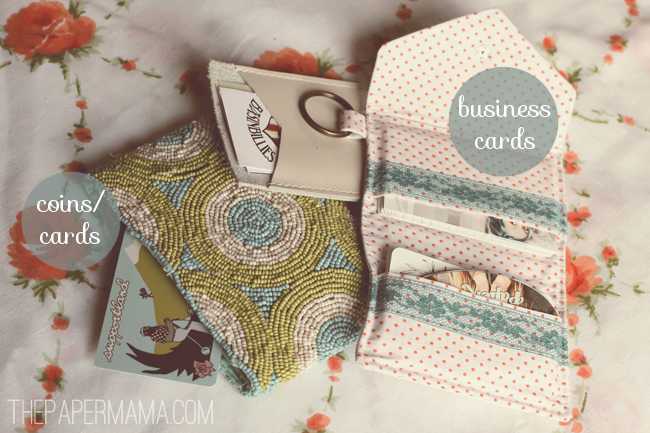
{//Beaded coin purse: gift//Leather bizz card carrier: Freshly Picked//Bizz card wallet and keychain: Peggy Anne Design//}
And, the leftovers of the purse…. I have my little beaded purse. That carries all those darn shop cards… etc. (P.S. I do love my Supportland card). I also throw change and coupons in there. My leather business card holder came from Susan, Freshly Picked, when I met her at Alt Summit. She was adorable by the way. She was handing out all her business cards in these leather carriers. I kept mine and use it to put any business cards people give to me while I’m out and about. My business card keychain is for MY cards. I seriously have like 5 different types of cards. I just throw in a variety and that way I always have my cards with me.
I forgot to include my phone in these photos… that’s ALWAYS with me. Naked without it. And, on occasion I throw (gently) my camera in there. Yup… that makes my purse ridiculously heavy. BUT, if I want a lighter purse and I’m headed out for the evening… I can just remove a few of my pouches that I know I won’t need. I have pockets in the purse that catch my receipts and other nicknacks… like plastic horsies.
I hope you enjoyed the tour.
– Chelsey
{Related posts: //Simple things to pack with a baby//What did I learn at BlogHer?//Packing for Alt//}
I was provided with 2 Gussy Sews compact bags, and a Miro notepad.. All opinions are 100% my own. You can use the discount code: PAPERMAMA at Gussy Sews through May 13th to save 10%!


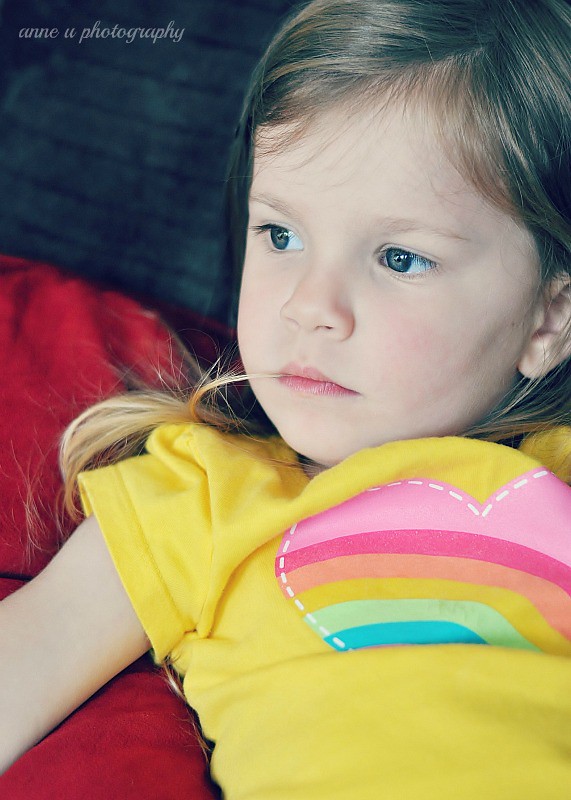



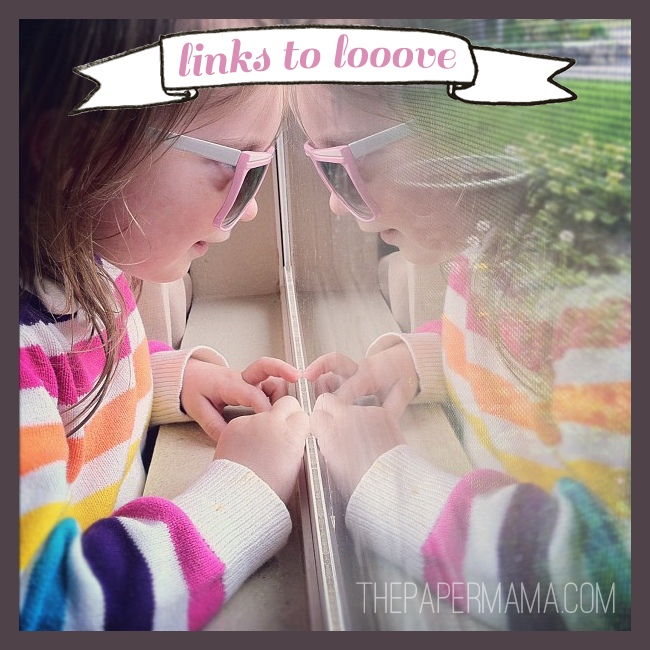 “Mama, it’s orange out there!” Ha ha! That’s what Ruari said when she put on her sunglasses and looked outside. I hope you all have a wonderful weekend! I’ve got some gardening to do on Saturday! Yay! We’re so ready to get our garden all together. And, I’m so excited to share these moments with my girl. <3 So, here are some links to love this week…..
 I’m sort of a weirdo with my purse. I like my purse clean and organized. I haven’t always been this way…. Seriously. I was totally fine with taking 9 million hours to find that chapstick at the bottom of my purse (drove husband crazy). But, in the past year I’ve discovered the value of being able to find something I need fast. Mostly because of the crazy toddler I usually hang out with. She doesn’t enjoy sitting still while I pay for anything. Plus, last year I pulled out an opened tampon out of my purse with all my blogger friends at a nice restaurant. Ba! Ha. My daughter used to always get into my purse and open up all my tampons. Weirdy. Anywho… that inspired me… hee.






 Say hello to my bug collection! My Paper Insect Collection! I love this thing… when I first described this idea to my mom… she was sort of grossed out. BUT, now that it’s finished she loves it… so do I. I love quirky little bits of art around my home. This is definitely quirky. The best part: you don’t have to kill bugs for your collection. Well, you could…. but, this is safer. Ha!


