Day 20: Popcorn Packaging!

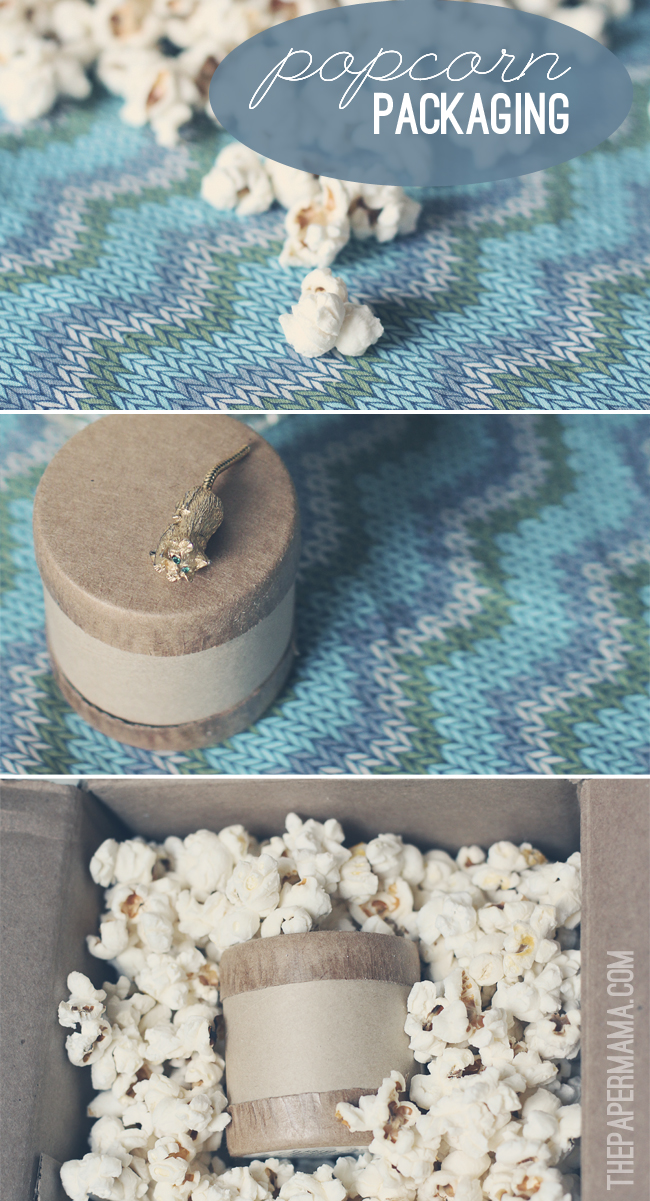
Day 20: Popcorn packaging! WHA? That’s right. It’s almost time. Almost time to send your packages out for the holidays! All you need: a box, a jar of popcorn kernels, and something to send. I sent this sweet little kitty brooch out to my friend a couple weeks ago. She was able to compost the packaging! No need to deal with those annoying styrofoam puffs.

How to pop kernels without oil:

– Heat up a large pan on your stove top to medium/high heat

– Pour 1/3 cup of kernels into the pan. This amount will fill a small box. If you need more, make a couple of batches.

– Place the pan on the stovetop, and cover with a lid.

– Shake the pan a few times to keep the kernels from sticking. When you hear the popcorn popping, remove from the heat.

– Your popcorn is done when you don’t hear any more popping.

– Let cool, use as packaging!

– Chelsey

…………………………………………………………………………………………………………………………………………………

To keep up with my 50 DIY Days, click here:

Tags: , , ,

Categories: 50 DIY Days


Day 19: Pepperoncini Cheese Dip Recipe!

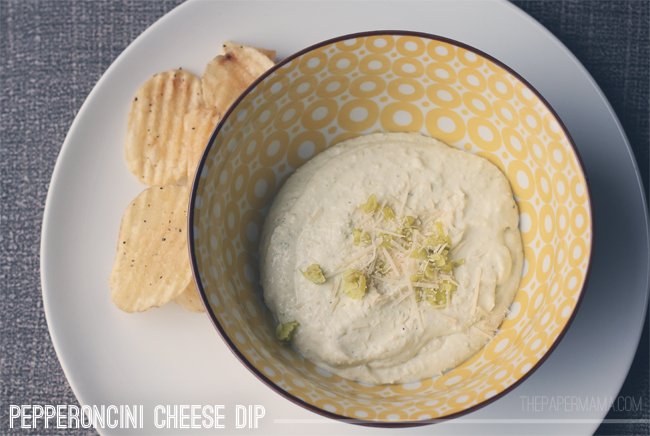
Day 19: This is a DELICIOUS appetizer. Pepperoncini Cheese Dip. I always buy this dip pre made, at a local grocery store. The sad part about the pre made stuff, the ingredients have a ton of items that I can’t even pronounce. Preservatives and other random items I just don’t want. SO, I guessed and tested and made my own! It’s not exact, but it is pretty darn close! STILL yummy.

Pepperoncini Cheese Dip

– 1 cup sour cream (I prefer to use Cacique brand Crema Mexicana)

– 8 oz. cream cheese

– 1/4 cup cottage cheese

– 1 fresh squeezed lemon

– 2 teaspoons fresh parsley

– 3 garlic cloves (minced)

– 2 tablespoons of the pepperoncini juice

– 1 cup parmesan (grated)

– 1/4 cup Irish sharp cheddar

– 1/4 cup jack cheese

– 1 – 2 cups pepperoncinis (chopped)

– Salt and pepper to taste

Directions:

– In a food processor: combine the sour cream, cream cheese, cottage cheese, lemon juice, garlic, and pepperoncini juice. Blend until creamy. Do a quick blend, in the processor, of the 3 grated cheeses (don’t blend too much, keep a bit of the cheese chunky). Stir in the chopped up pepperoncinis (don’t blend, you’ll want the crunch of the peppers in the dip). I LOVE pepperoncinis…. so, I put in 2 cups. You can put in less if you’d like. Add salt and pepper to taste. You’re done! Feel free to play around with the types of cheese you use. Instead of Irish Cheddar… maybe Gruyere or Fontina?

Serve this cheesyness with some bread… OR, potato chips. Hee. Bring this appetizer to your next holiday party, and enjoy! You can ALSO serve it warm…. I like it both warm and cool.

– Chelsey

…………………………………………………………………………………………………………………………………………………

To keep up with my 50 DIY Days, click here:


Wordless{ish} Wednesday: It starts tomorrow!

The Holiday Photo Challenge starts tomorrow! It will run from 11/15 to to 12/17. There will be some awesome prizes for 3 winners! Are you ready?

…………………………………………………………………………………………………………………………………………………………..

If you have a Wordless{ish} Wednesday, please feel free to link it up below. And, feel free to link up to these blogs too… Parenting by DummiesProject AliciaJenni from the BlogBree: his honey and her mommy, and Live and Love Outloud.


Day 18: Leaf Place Markers

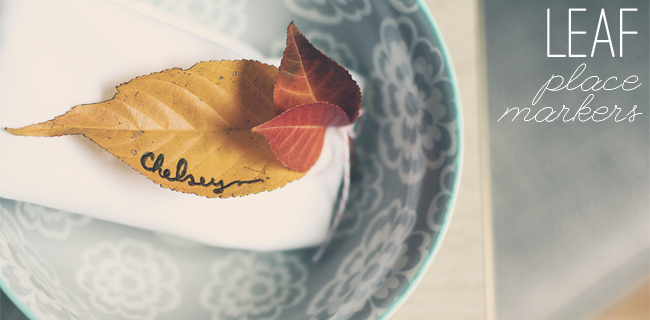
Day 18: Today…. leaf place markers! This will be perfect for your upcoming Thanksgiving dinner. It’s a very simple table marker DIY.

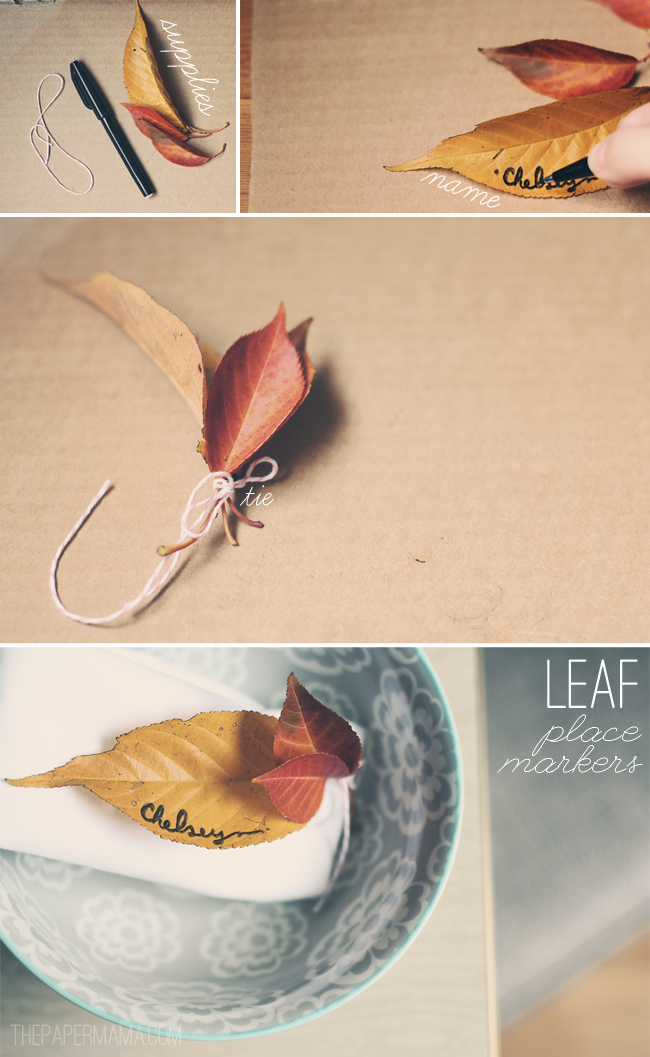
What you need: leaves, a permanent marker, and a bit of string. If you’re going to use “fresh” leaves, create these place markers the day of your dinner. If you’re afraid you wont have any fall leaves by Thanksgiving time, press a few leaves in between some books. That way, they’ll be all ready to mark your plates for Thanksgiving dinner.

Write your names on a leaf, tie a grouping of leaves together, and mark your table place spots.

Enjoy (and enjoy your dinner)!

– Chelsey

…………………………………………………………………………………………………………………………………………………

To keep up with my 50 DIY Days, click here:


Coming soon: Holiday Photo Challenge!

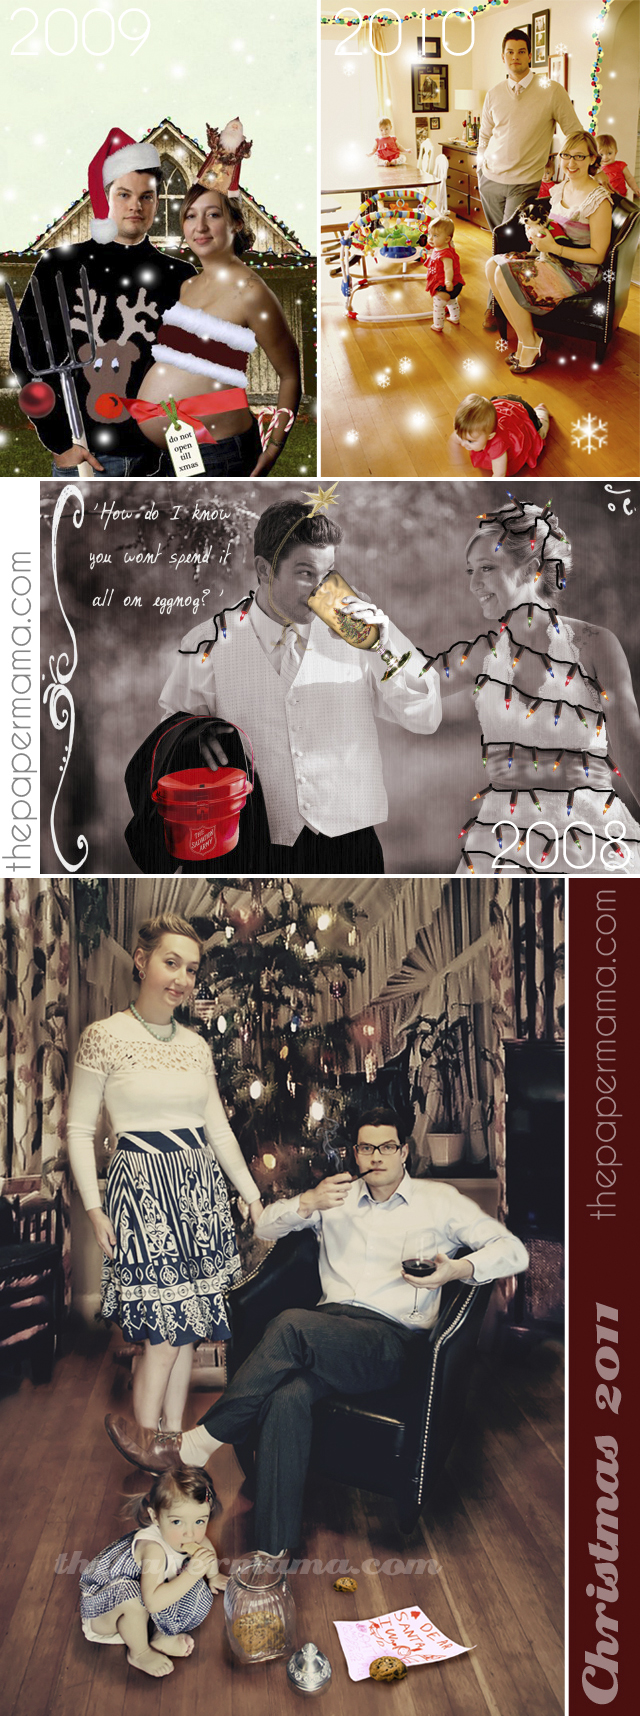
Just here to let you know: The Holiday Photo Challenge is coming up! Yup! This week. Get yourself ready, it’s time to take your Holiday photo! WHATEVER holiday you celebrate: you’re welcome to join. We celebrate Christmas, and I have my Christmas photo all ready to go. Hope to have you (P.S. there will be something to win)!

See you soon.

– Chelsey


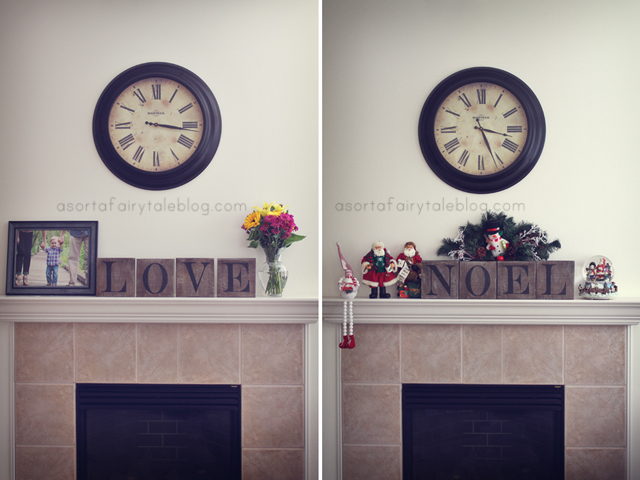
Day 17: DIY Love and Noel Blocks

DAY 17 is brought to you by, the lovely Mandy of A Sorta FairytaleHi! My name is Mandy from A Sorta Fairytale blog! I’m here to share a fun DIY project with you all! Thanks Chelsey for having me.

With fall in full swing, the Holiday’s are on my mind. How about you?? I’ve been itching to find some awesome home/holiday decor that I could make myself. But if I’m being honest, I’m not good at DIY stuff, so if I can do this – anyone can. lol.

This is actually a project that I did for a church activity and I really loved it so I thought I’d share! My friend Paige made a set of these and pretty much told me how to do it – so I can’t take any credit for creativity… lol. 

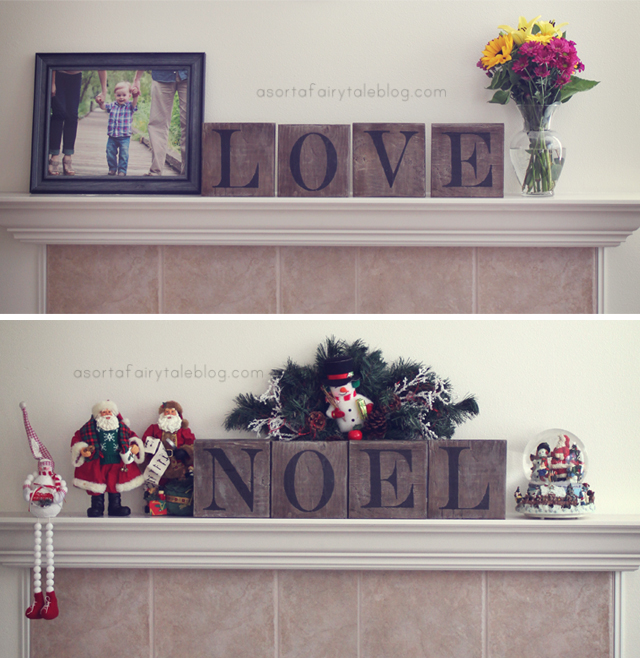
What I love about these blocks is that they are year-round decor, but can also be Christmas decoration as well since they are reversible.

Here is what you need:

– 4 wooden blocks

– Paint (whatever color’s you want)

– Foam brushes

– Stencils (or in this case, we used a cricut and contact paper)

– Sand paper or ab electric sander.

– Rubber Gloves

– Wood Stain

– Hair dryer (to speed up dry time)

– Here are the step by step directions, based on how I made them.  

  1. – I went to Home Depot and just got the cheapest wooden board I could
    find. I found one that was 12ft x 8in (2″ depth) for $4.98. I had them
    cut the board into 8″x8″ squares. It ended up making 12-13 blocks, I only needed 4, but
    it was fine because I was giving some of the other blocks to a friend.
  2. – Sand the blocks down so that they are smooth enough to paint. You can sand them with individual sand papers but it will take quite a while, so if you have an electric sander that would be much easier and cut down on time.
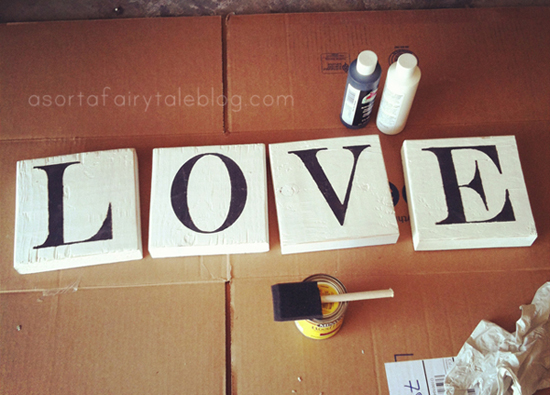
  3. – Paint the blocks whatever color you like! I painted mine white to start. I used a hair dryer to speed up the drying time.
  4. – This next part is tricky. At least it was for me. Because I didn’t have the size stencils I wanted, I bought contact paper at Fred Meyer, and then my friend Paige used her Cricut to cut out the letter stencils. But if you don’t have a Cricut, you could easily buy stencils that would work or try tracing the letters and cutting them by hand.
  5. – Stick contact paper stencils to painted block. Put the ‘N’ on the other side of your ‘V’ block.
  6. – Paint in the stencils the color of your choosing. Let dry.You can stop here if you decide you like them as is.
  7. – Use the sand paper along the edges of the blocks to achieve a “distressed” look.
  8. – Paint on the stain. (I suggest using rubber gloves, as to not stain your hands!) I used a dark walnut color stain, the brand is Minwax. It’s recommended to leave it on between 5-15 minutes and then rub it off with a rag.I left the stain on for way too long on my blocks and so they ended up being really sticky/tacky & took a long time to dry. I sprayed some polyurethane on them hoping it would help coat the blocks and harden. And it did, it just took a few days. Because we painted the wood first, the stain doesn’t soak in as well, so be sure to remove the stain fairly quickly so your blocks don’t end up sticky like mine did. In the end though, I love the way they turned out! They look older and more rustic.

And that’s it! I really am not the best crafter, so I hope this wasn’t too confusing!

…………………………………………………………………………………………………………………………………………………

A very big THANK you to Mandy for sharing this fantastic DIY. Please, be sure to give her blog home a visit.

To keep up with my 50 DIY Days, click here:


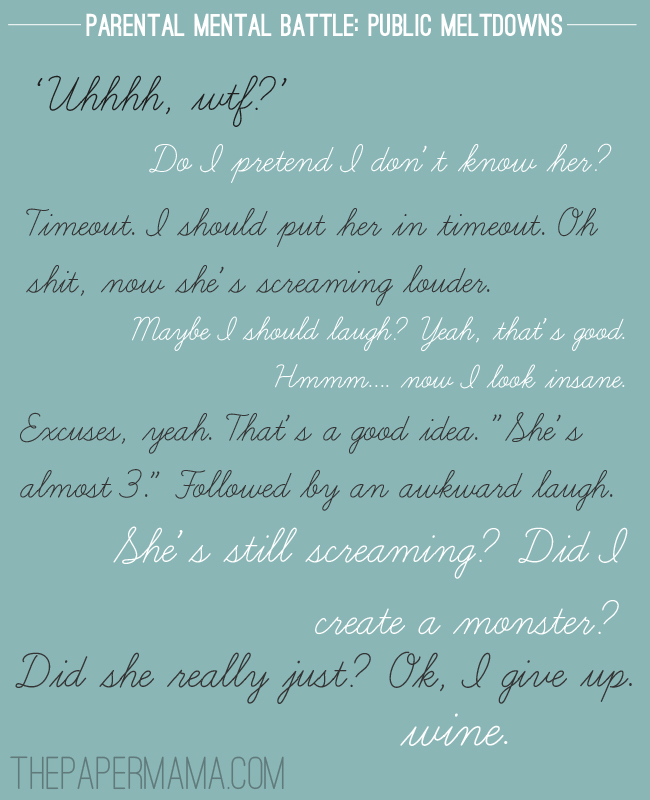
Crazy ass mental battle

You’re out in public. Your sweet/cuddly kiddo has suddenly turned into Cujo (slight exaggeration) because he/she wants a this or a that. Here you are…. completely thrown off guard by this sudden crazed change in your darling child. What do you do? The mental battles have started…. I’ve created an image to share exactly how I handled this situation:

In a situation like this, what do your mental battles sound like?

– Chelsey