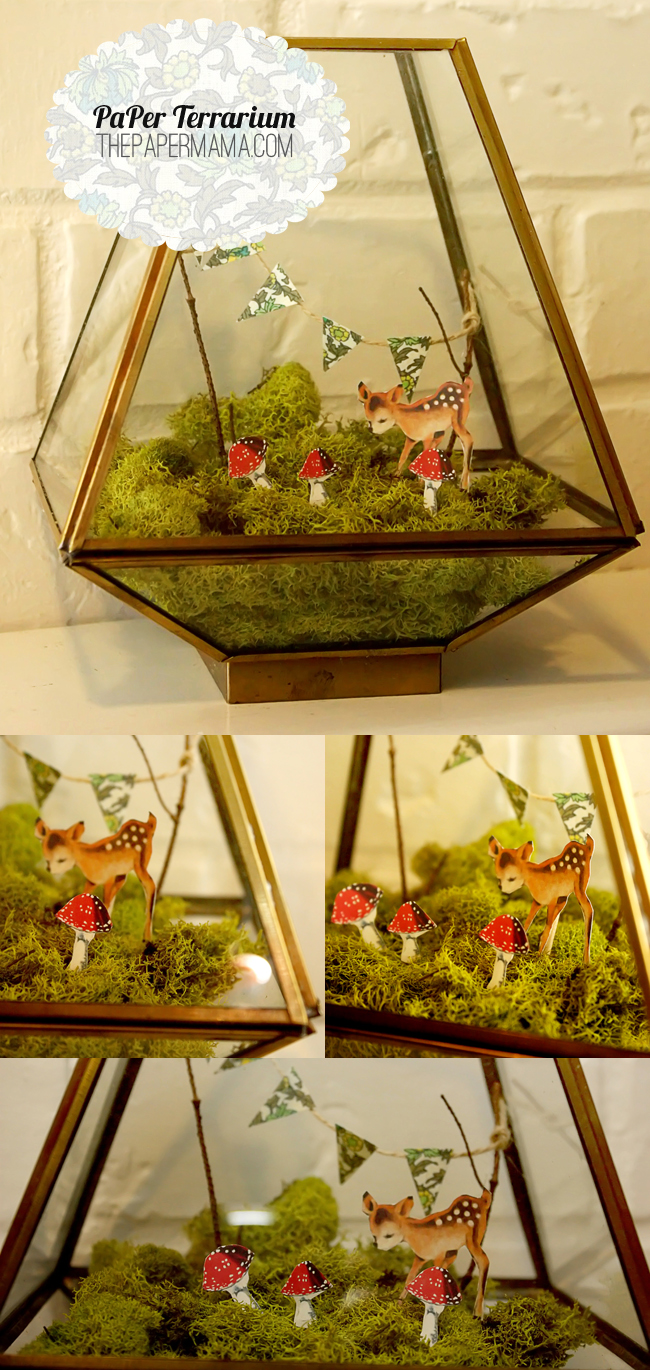
Day 39: Today I wanted to revisit my Paper Deer Terrarium. I made this little cutie last January. I still have it on display and will occasionally add something new to the mix. Maybe a tiny pumpkin for Halloween, or a couple of mini candy canes for Christmas? Yes! Perfect.
I’m 90% sure I wouldn’t keep a live terrarium… alive. Heh. So, say hello to: the Paper Terrarium. It does not require anything alive… AND, the items needed are inexpensive. Yay!!!!
What you need:
- A glass container. I found mine CHEAP at a thrift store.
- Moss. I got mine at a craft store. The bag filled 2 terrariums.
- Floral foam. Just a small amount will do.
- Tooth picks.
- Hot glue.
- Scissors.
- String.
- A couple of tiny twigs.
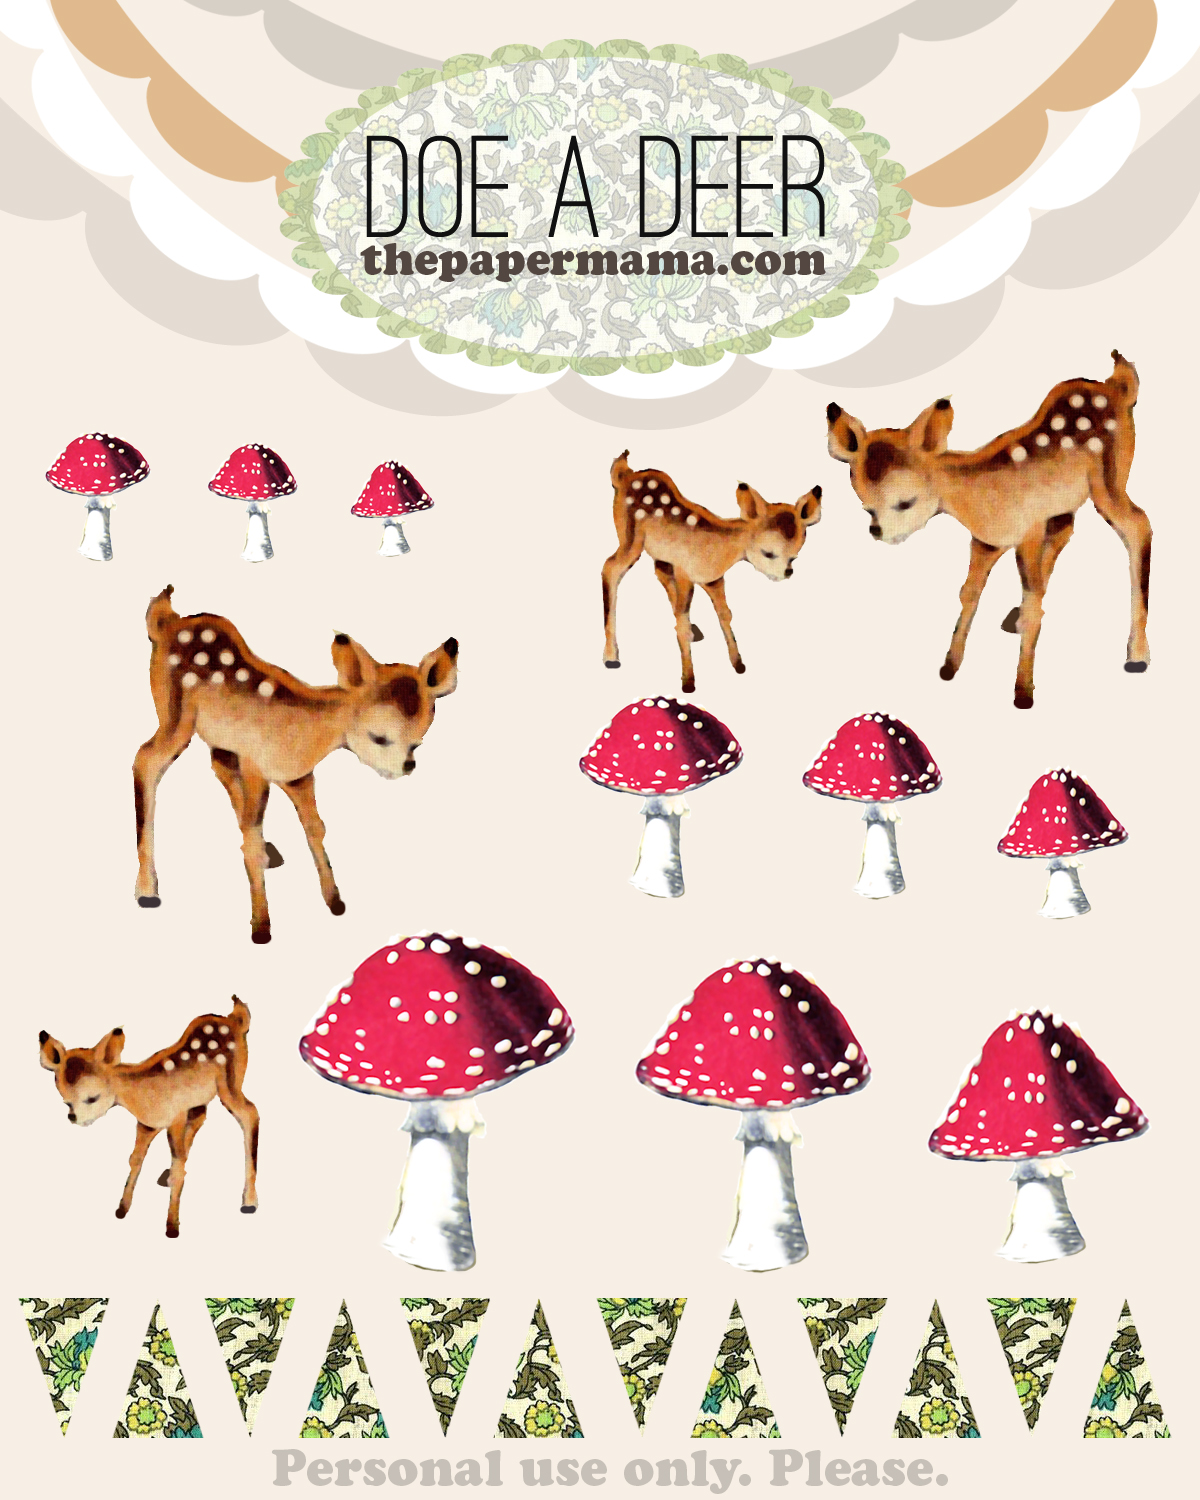
- My Doe A Deer freebie printout.
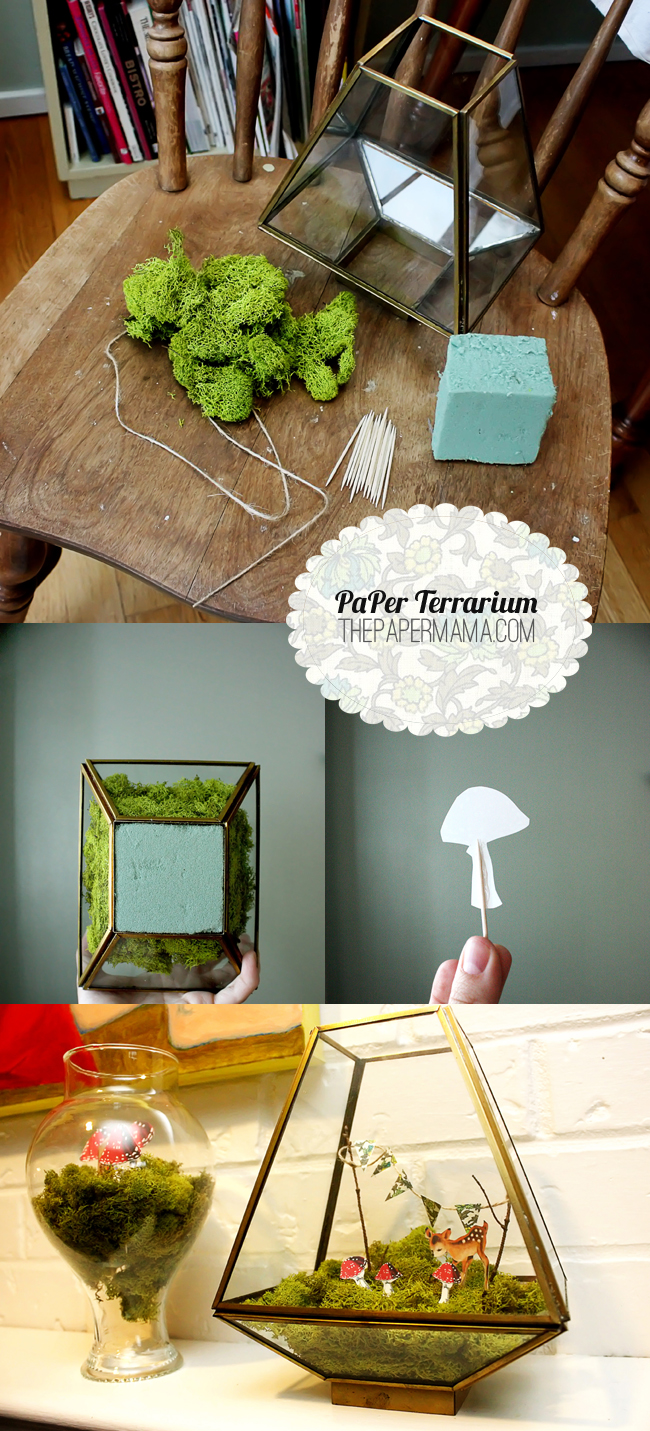
What to do:
- First place your foam in your glass container.
- Then you can start forming your moss around the foam. I made sure to cover any foam spot that may show through the glass.
- Next, cut out all the paper pieces you’d like for your terrarium. I’ve included a couple of different sizes of deer and mushrooms for you to choose from. After they’re cut out you can hot glue the tooth picks to the backs of the cutouts. Glue your banner triangles to the string. Tie that string to the twigs!
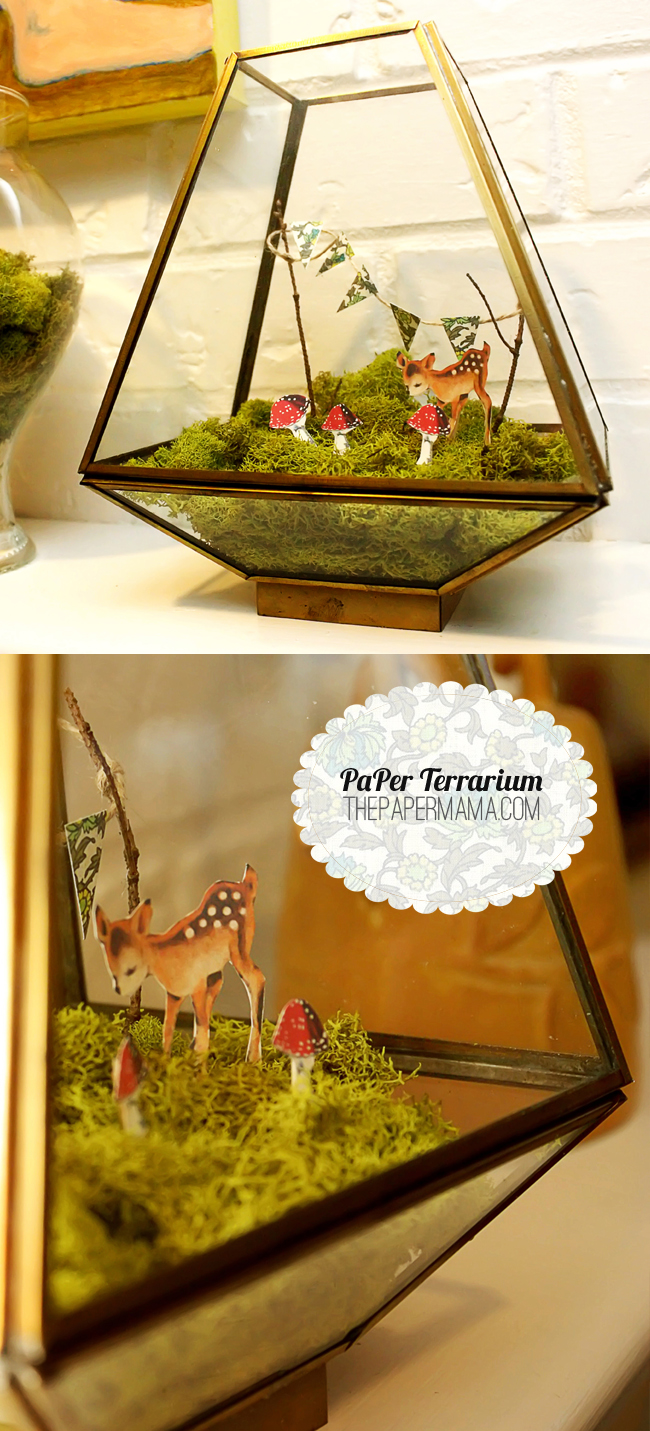
- Arrange your paper pieces exactly how you’d like! And, you’re done!
- I made 2 terrariums and the rough total cost of each one is about $5. Woo hoo!
Freebie printout (click on the image below, right-click, and save):
I hope you guys enjoy!
– Chelsey
…………………………………………………………………………………………………………………………………………………
To keep up with my 50 DIY Days, click here:







adorable – thanks!
Hee!
I declare this to be one of the cutest DIY crafts I've ever seen.