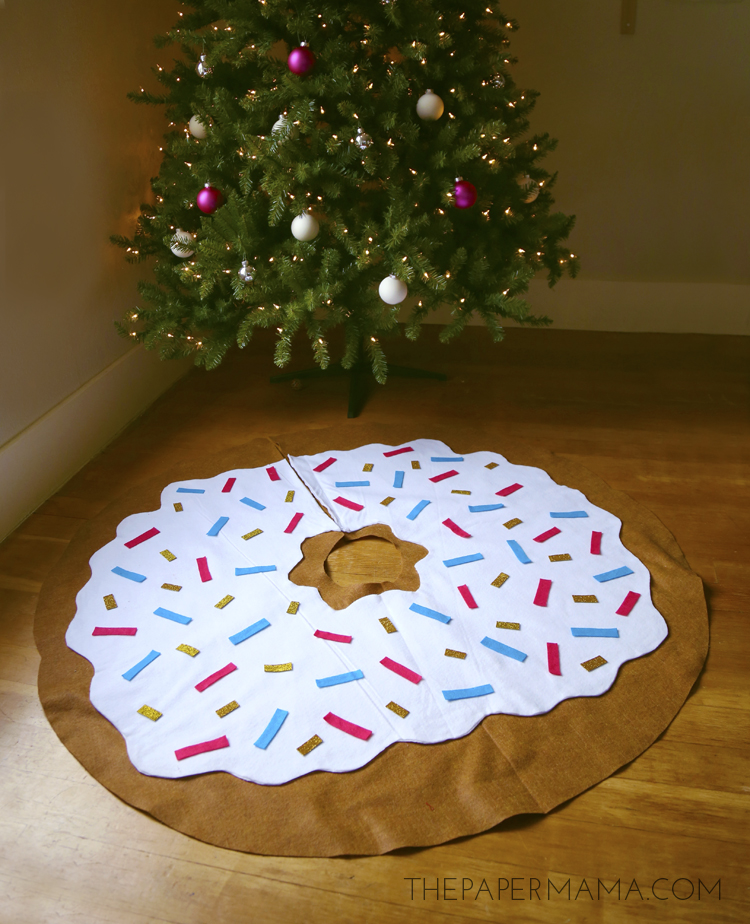
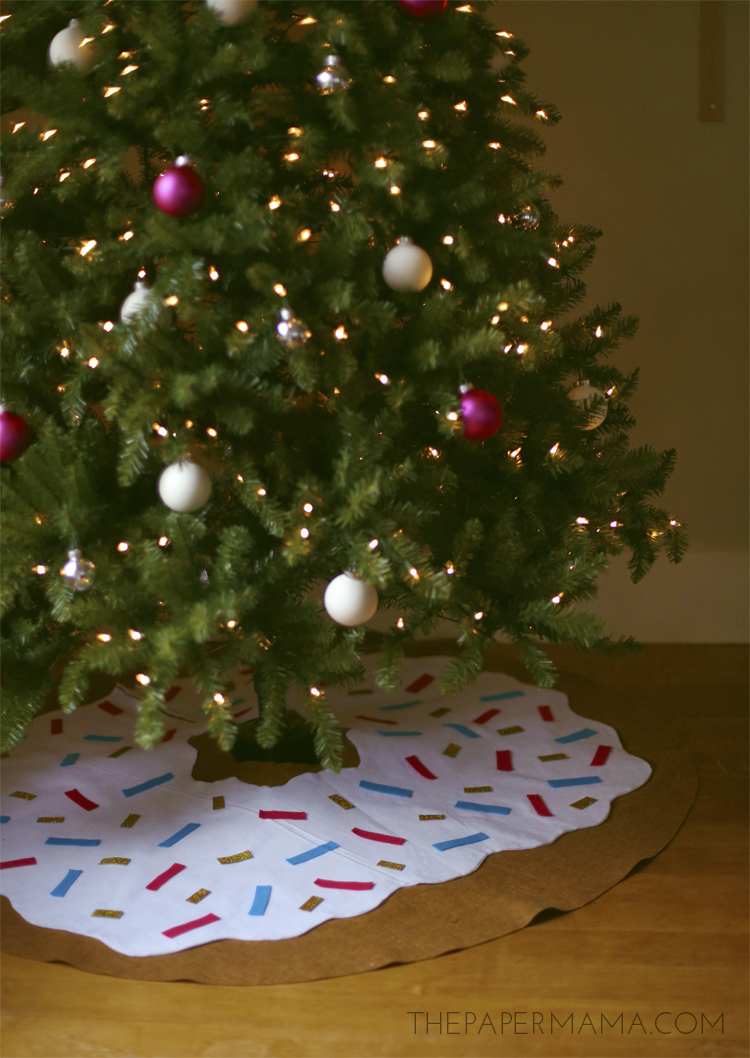
Day 19 of my 50 DIY Days: Doughnut Tree Skirt DIY
The other day, on Instagram, I mentioned that I am really CRAVING sweets (and other random foods, like grapefruit) and it is affecting my crafting. That’s why our Christmas tree skirt looks a lot like a doughnut… I couldn’t help myself. Sugar is on the brain! It’s really weird because I’m typically a salty person. Pregnancy is so weird.
Anyway, This doughnut is super cute sitting under the tree and it’s a bit healthier than a real doughnut. Right?
Supplies:
- 50 inches of brown felt
- 84 inches of white felt
- 1 small sheet of pink felt
- 1 small sheet of blue felt
- 1 small sheet of gold sparkle foam
- hot glue
- scissors
Directions (I used photos from a past tree skirt DIY for this post, so don’t worry about the color being different):
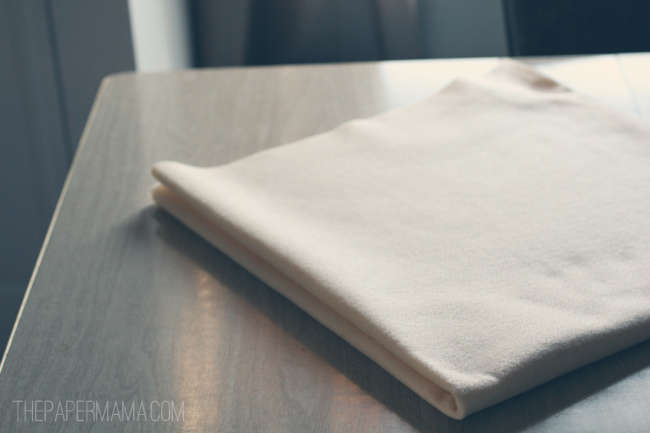
Step 1: Fold the brown felt in half, then fold it again (folded into quarters).
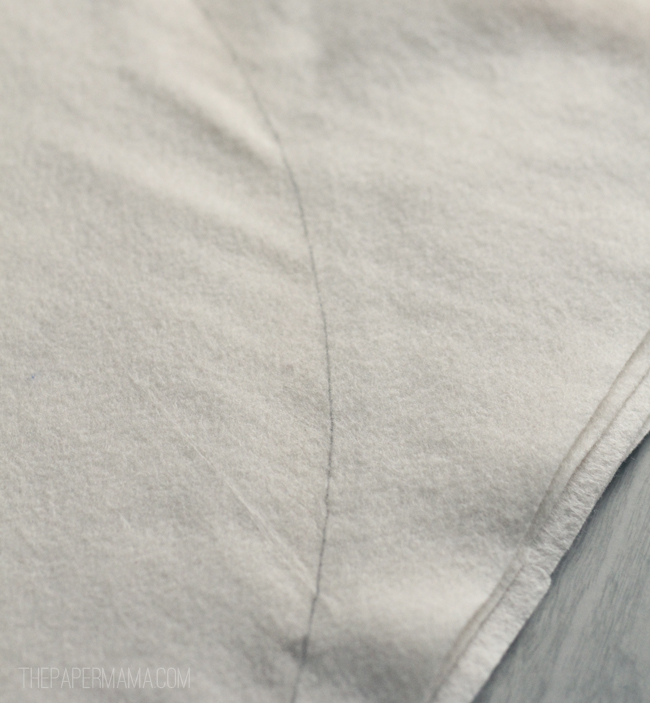
Step 2: Measure out a piece of string to 48 inches and tie one end to a pencil. Hold the end of the string at the center of the folded felt corner and trace a line at the other end of the felt to create a curved line. Use your scissors to cut along that line.
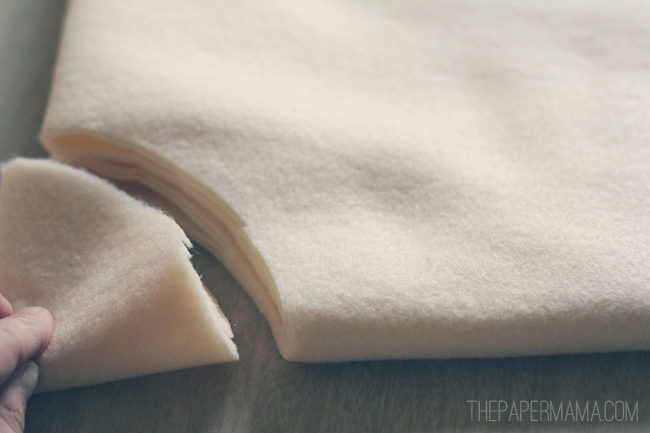
Step 3: Measure out a piece of string to 4 inches and tie one end to a pencil. Hold the end of the string at the center of the folded felt corner and trace a line at the other end of the felt to create a curved line. Use your scissors to cut along that line. This will be the hole that goes around the tree trunk.
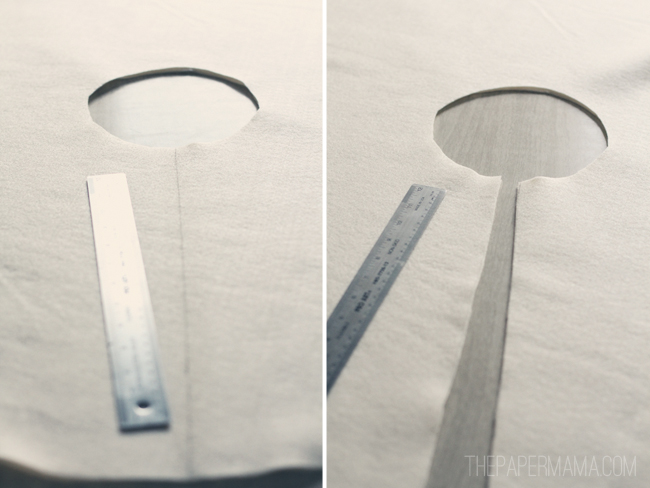
Use a ruler to cut a straight line from the outside circle to the inside circle (this will be the opening to go around the tree).
Step 4: Cut the white felt sheet in half at 42 inches. Fold one sheet in half, then fold it again (folded into quarters). Measure out a piece of string to 40 inches and tie one end to a pencil. Hold the end of the string at the center of the folded felt corner and trace a line at the other end of the felt to create a curved line. Use your scissors to cut along that line. Repeat this step for the 2nd sheet of 42 inch white felt.
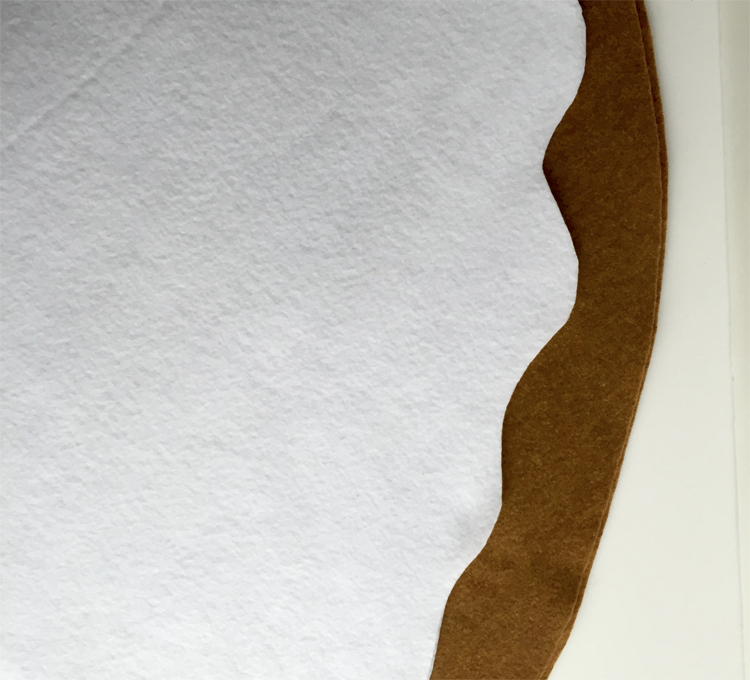
Step 5: Stack the two white felt circles on top of one another (I double up the white felt because you can see the brown felt through one sheet of white). Use your scissors to cut a wavy line along the outside and inside edges of the circles.
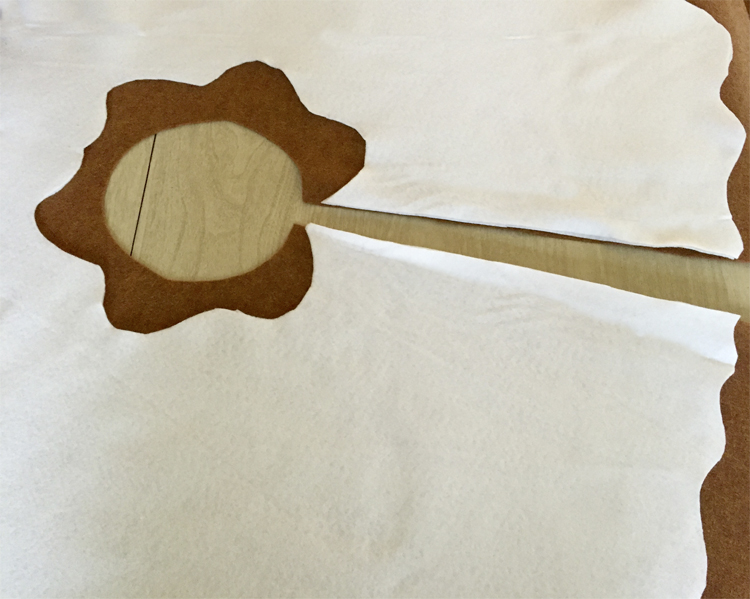
Step 6: Lay the white circles on top of the brown felt circle. Cut a straight line on the white felt along the same cut line as the brown felt.
Step 7: Use your hot glue gun to glue down the two layers of white felt onto the brown felt. This is the doughnut frosting.
Step 8: Cut out small rectangles from the blue, pink, and gold sheets to create the doughnut “sprinkles”. Arrange them onto the doughnut “frosting”, then use the hot glue gun to adhere them to the doughnut.
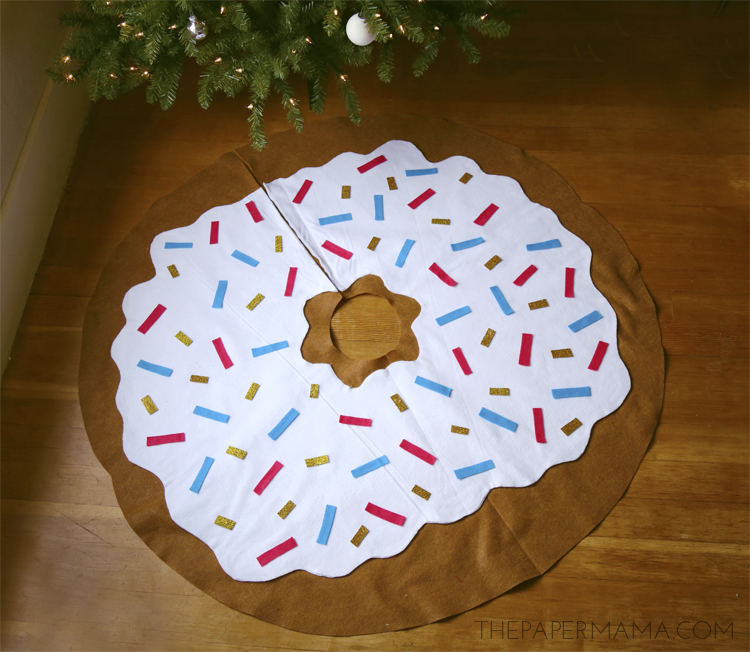
That’s it! This DIY doesn’t really need any sort of pattern and you can really freehand most of it. That’s my kind of DIY!
Are you wondering what the 50 DIY Days is? Each year I share a bunch of holiday DIY ideas, recipes, and guides to inspire you during the Fall. Starting now, through early December, you’ll find a ton of great ideas to get you ready for Halloween, Thanksgiving, Christmas, and any sort of holiday gift giving. You can check out this link to explore past DIY Days.
– Chelsey
P.S. If you create this project, I’d love to see it! You can share a link in the comments below, or tag me in Instagram with a photo, @thepapermama, and use the #papermamafriends hashtag.




Where did you get the felt? I have wanted to do this, but with penguins on the skirt. Thanks