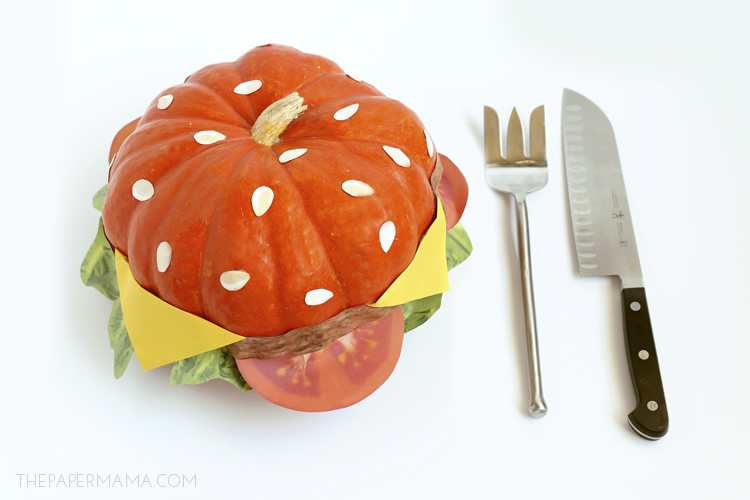
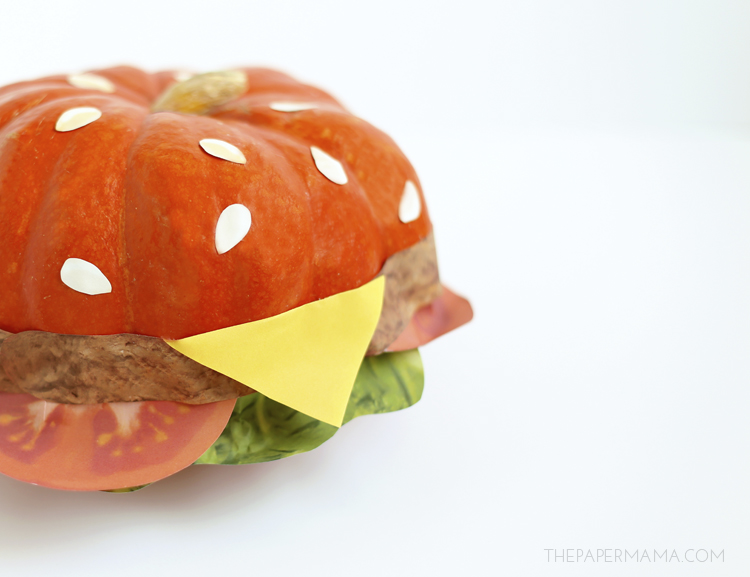
Day 9 of my 50 DIY Days: No Carve Cheeseburger Pumpkin
The cheeseburger pumpkin. This has been on my Halloween to-do list FOREVER. I’ve had this awesome cheeseburger pumpkin link saved for about 3 years now. I wanted to create this pumpkin with free printables so my readers can also make it, and I finally did it and shared it on the HP Create blog! This no-carve pumpkin is less mess and will last so much longer than a carved pumpkin. I’m in love with this weird little pumpkin. It’s current home is right in the center of my fireplace mantel. Do you need to make one? Not want, need? Making a cheeseburger pumpkin is probably a need.
Supplies needed to create my cute No Carve Cheeseburger Pumpkin:
- Printer paper
- Pumpkin (I chose a “fairytale” pumpkin because it was flatter than a typical pumpkin)
- Scissors
- Hot glue gun
- Free printable cheeseburger toppings (printed on the front and back): lettuce front and back, tomato front and back, cheese front and back, sesame seeds (only one side needed) and burger patty (only one side needed).

Directions:
STEP 1: Print out the cheeseburger printables. I provided two sides for each printable so you can print them double sided, just be sure to click the “two-sided” box before printing (the burger and sesame seeds are the only toppings that does not need a double side). Cut out the food: I suggest cutting the cheese into triangles and cutting the tomatoes in half. You might not need all of the toppings, this will depend on how big your pumpkin is. Tip #1: You can adjust the size to make the toppings smaller before you print, if you’d like. Adjust the sizing in your print settings.

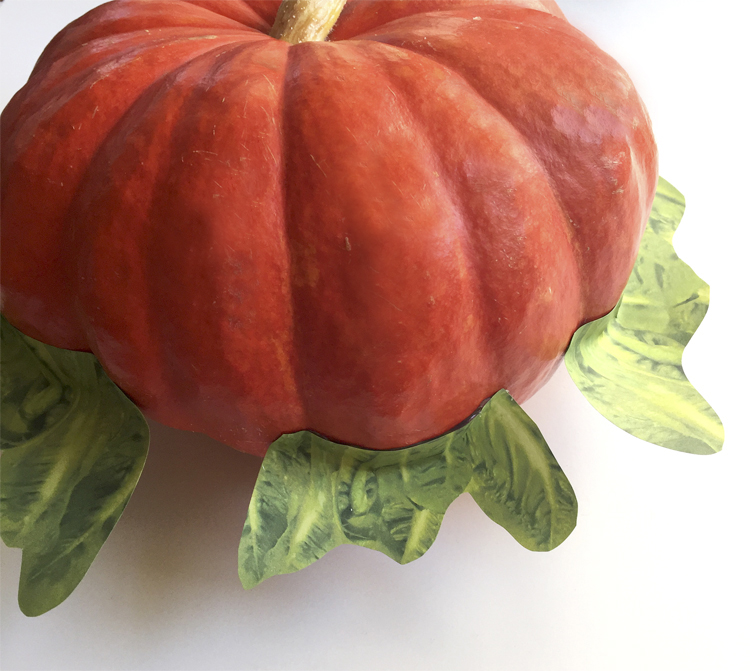
STEP 2: Fold the end of the lettuce before gluing it onto the pumpkin (this will make the lettuce stick out from the pumpkin). Use the hot glue gun to glue the folded edge of the lettuce along the center of the pumpkin.
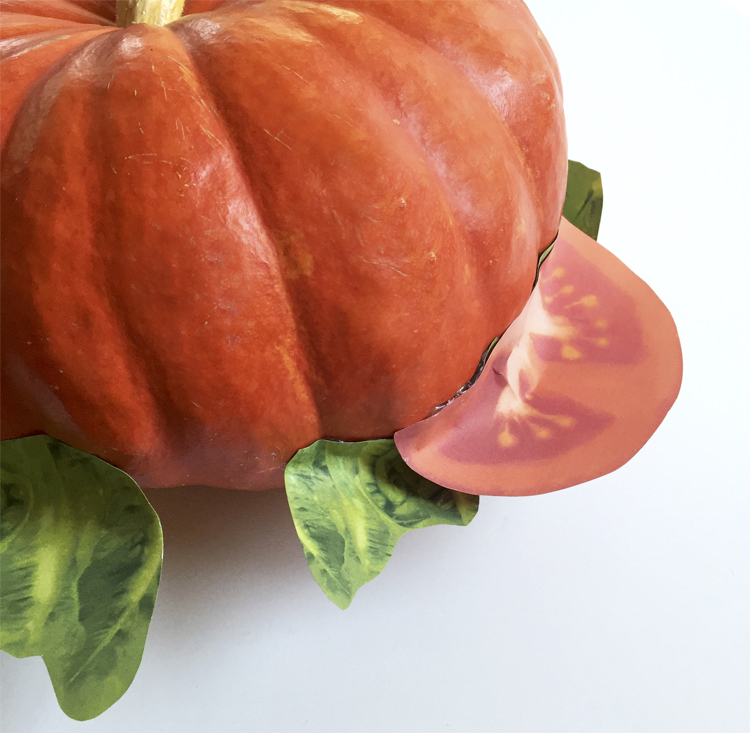
STEP 3: Fold the end of the cut in half tomatoes before gluing it onto the pumpkin (this will make the tomatoes stick out from the pumpkin). Use the hot glue gun to glue the folded edge of the tomatoes along the center of the pumpkin over the folded edge of the lettuce.
STEP 4: Fold the ends of the triangle cheeses. Use the hot glue gun to glue the folded edge of the cheese triangle on the BACK of the burger strip.
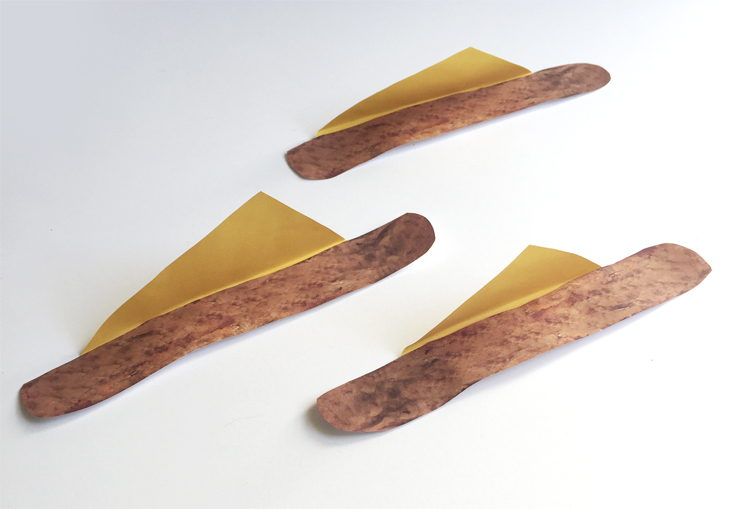
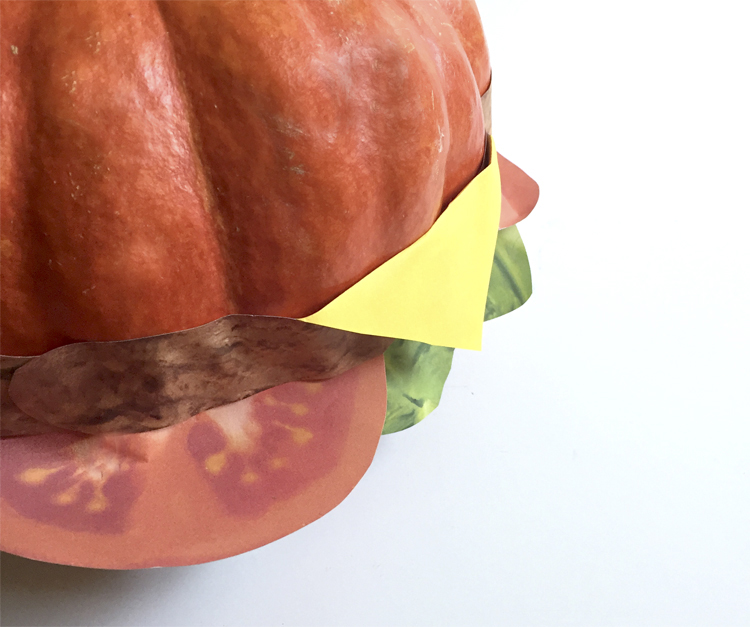
STEP 5: Glue the burger/cheese strips onto the center of the burger of the lettuce and tomato glued folded edges. Repeat until the burger goes around the whole pumpkin.
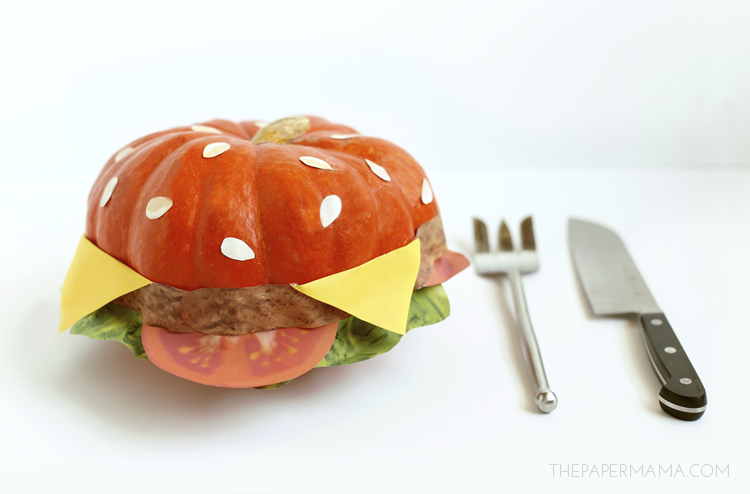
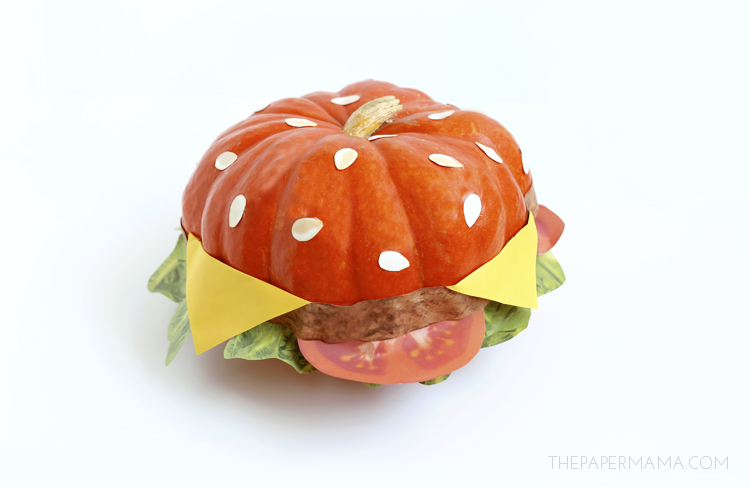
And, you’re done! How cute would this pumpkin be combined with a Bob’s Burger costume?
You can check out this link to explore past 50 DIY Days of Christmas.
– Chelsey
P.S. I am a paid contributor for the HP Create blog. If you create this project, I’d love to see it! You can share a link in the comments below, or tag me in Instagram with a photo, @thepapermama, and use the #papermamafriends hashtag.





Looks like plenty of other people are also going to be carving pumpkin burgers this Halloween.
Did you print on cardstock or regular printer paper?
I printed it on medium weight cardstock.
I want to make this project but can’t find the printables. I went to the HP site and don’t see a search function there, so I don’t know how to get to this. Can you please send a specific link to this project?
Hi Lynette! Sorry about that. I fixed the post for you. You should be able to find all the printables on my blog now. Have fun!
Hi, I want to do this with my kids can you send the link?
Hi Diana! All the links for the printables are on the blog post here: https://thepapermama.com/2015/10/no-carve-cheeseburger-pumpkin/