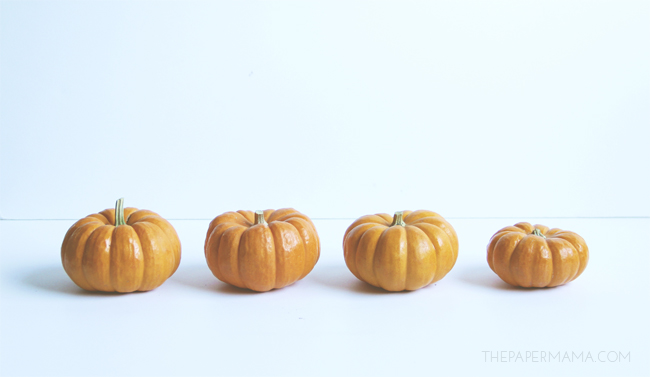
Day 3: Colorful No Carve Mini Pumpkins
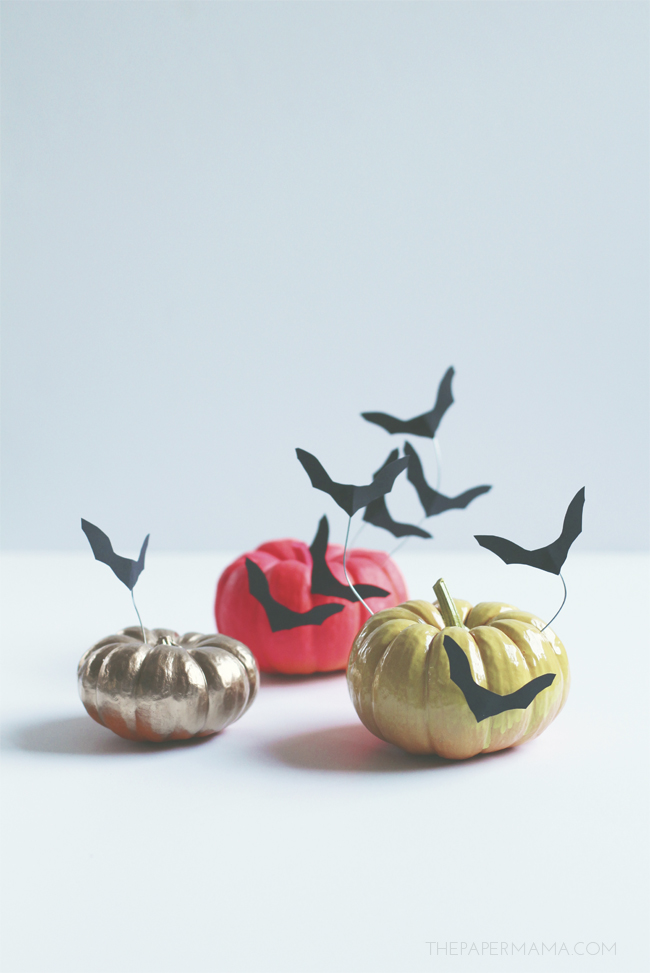
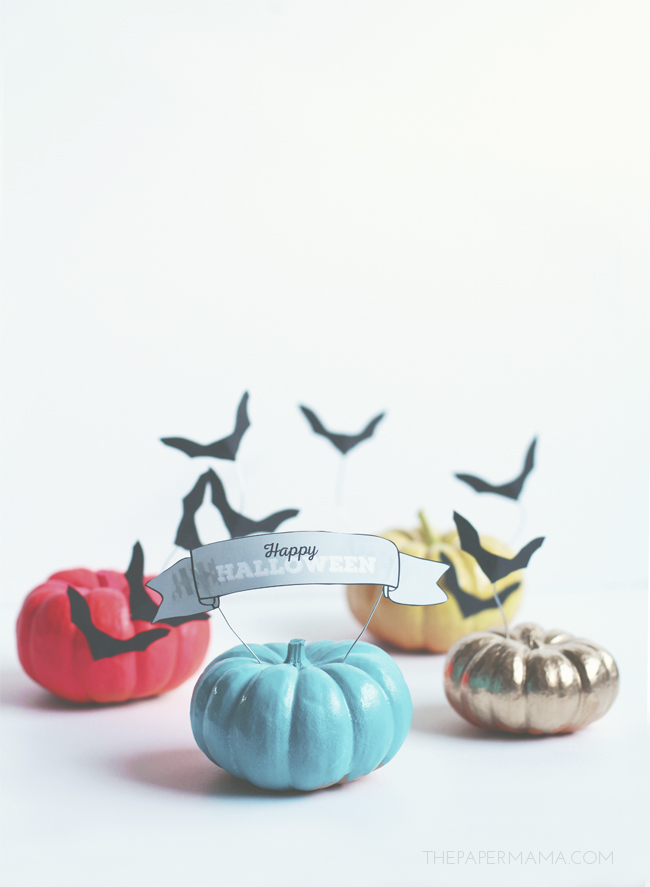
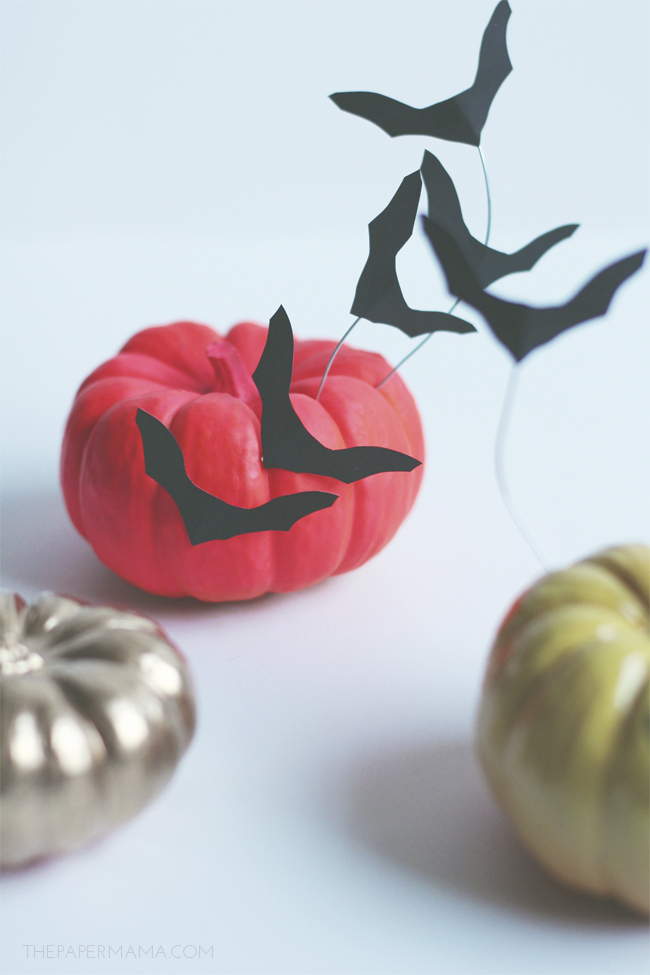
I love to use spray paint in craft projects, so I tend to have a LOT of it leftover (I have a ton from past projects). So the other day I grabbed a few of the mini pumpkins I had lying around and sprayed them with the last bits of my brightest spray paints, but that wasn’t enough. I felt like they needed a little more (cause I can’t stop myself). I made a printable “Happy Halloween” banner, and a bunch of little bats. I attached them to the pumpkins and my project was complete. These little pumpkin friends would make a cute surprise for a friend, or neighbor. Pop them on their front step when they aren’t home. So cute. Want to make them?
Supplies:
- mini pumpkins
- multiple colors of spray paint
- wire
- wire cutters
- tape
- scissors
- Banner and Bat printable
Directions:
STEP 1:
Clean any dirt off of the mini pumpkins and let them dry completely.
STEP 2:
In a well-ventilated area (preferably outside), wearing a mask and eye protection, spray one to two layers of paint on the mini pumpkins.
STEP 3:
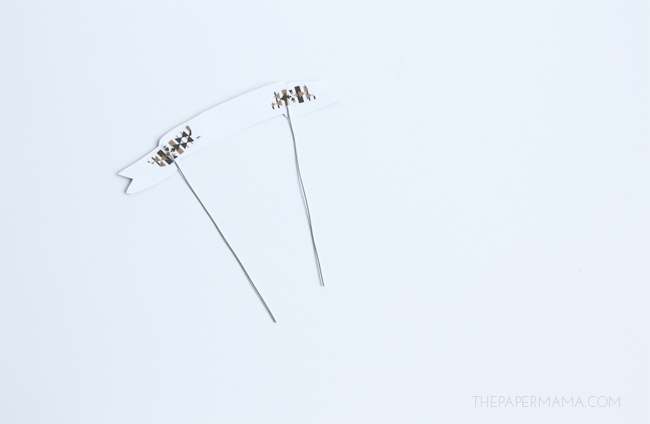
Print out the Banner and Bat printable I made and cut out the shapes.
STEP 4:
Cut out little sections of wire. Tape the banner and bats onto the wire with the washi tape. You can also tape the printables onto the actual pumpkins.
STEP 5:
Push the wires into the pumpkins, and you are done!
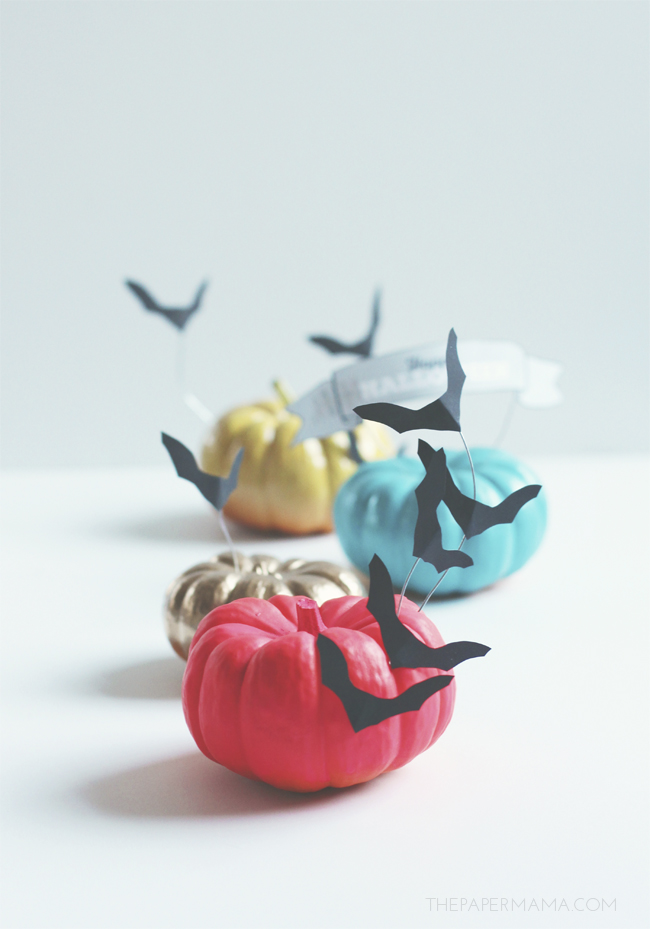
Place these in your entryway, or use them as a surprise gift. I personally chose to keep mind in the front entrance for a pop of color! To see the other 50 DIY Days of Holiday Crafts, check out this link.
– Chelsey


Leave a Reply