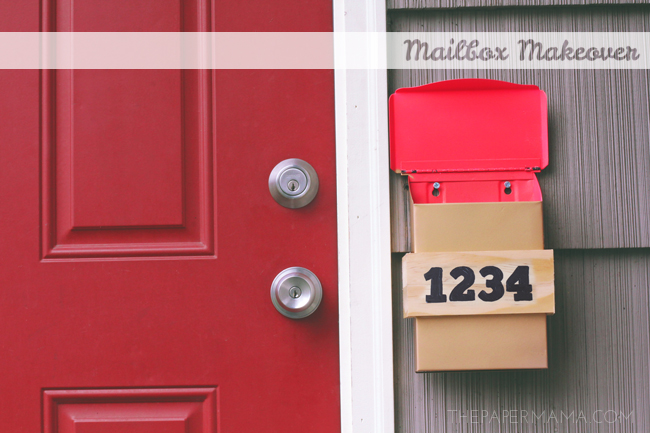
I know it’s winter and all my plants are dead right now, but my front yard is REALLY bumming me out. A lot. I’m typically a fall and winter sorta girl, but for whatever reason I am so ready for the weather to warm up so we can get outside to build things and the plants can start growing! Until the weather changes, I’ll just have to stick to other projects. My Mailbox Makeover DIY (for Better Homes and Gardens) is actually something I could work on in my garage and house.
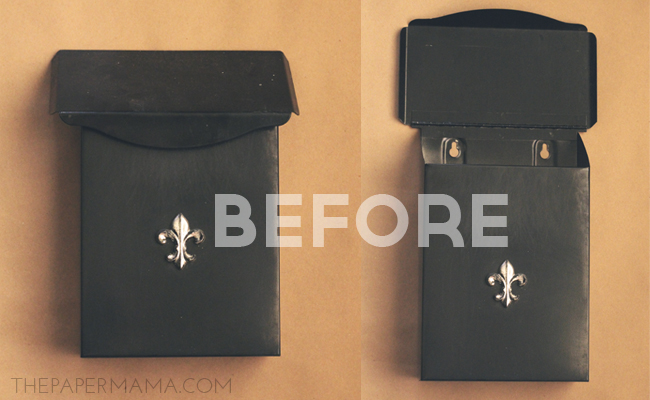
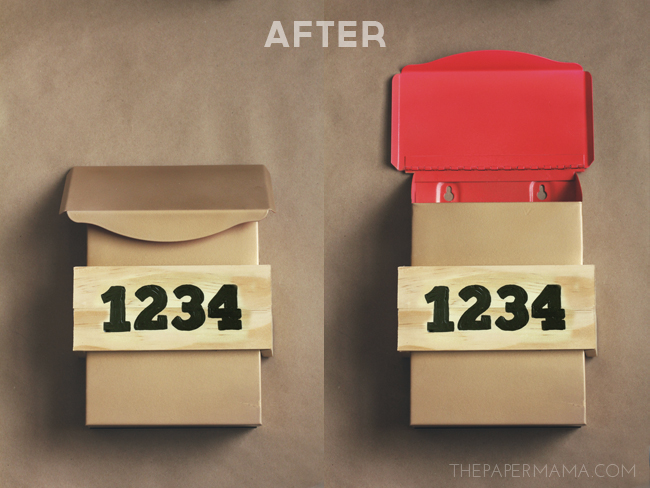
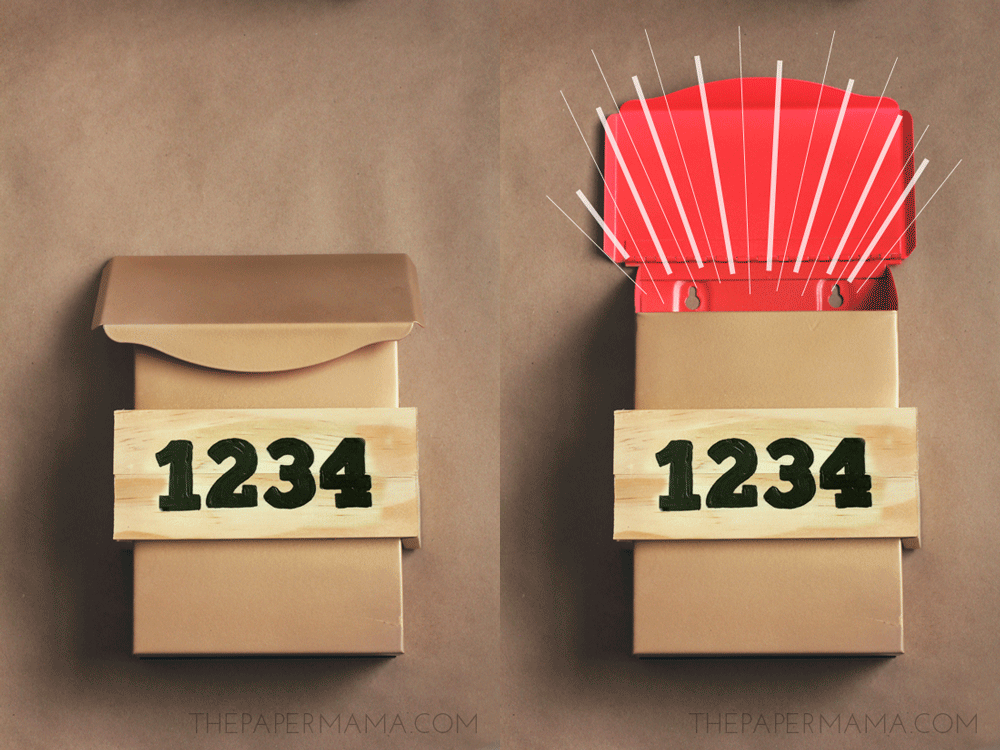
I LOVE how the mailbox turned out. I mean, the old box was pretty beat up and ugly to start… so maybe it wasn’t that hard to make it look nicer. Ha! My favorite part of this project: the pop of hot pink inside. We still have a ton more ideas for the front yard, but this little update has helped. Each time I walk up to my front door I smile, and yeah… I open the mailbox to look at the pop of pink (my neighbors probably think I’m so weird).
I’ve shared a bunch of metal painting tips (painting metal can be difficult), plus exactly how I updated my mailbox. You can head on over to BHG to see the full tutorial for my Mailbox Makeover DIY. Trust me, it’s an easy DIY. The work wasn’t really hard, but it does take a bit of wait time (for the drying paint) and patience. It took me a week to finish, but actual work time was about 3 – 4 hours.
Next up, I want to paint the front door. Probably black. I’m tired of the red. Maybe white? Hmmm… or yellow? Ha! I don’t know. We’ll see. What do you think
– Chelsey
I’m a paid contributor for the Better Homes and Gardens website.





I love this! It is so pretty
I have been eyeing our old mailbox for some time because it needs a major makeover. Love this idea!
Fun! Share a photo if you make it over. 🙂
I love how this turned out! My mailbox needs a serious makeover like this, but my mailbox is massive and I have no idea where to begin lol!
Maybe start with a fresh coat of paint and go on from there? You can always tape it off and add stripes, or something fun. Just be sure to wait 48 hours in between that coat of paint and the next paint steps.