
Day 21: DIY Crayons
I know, you’re thinking… I could just give them a box of crayons and they would be as happy? No way! I promise the recipient of these bad boys will be gaga over coloring. The options are almost endless with all of the fun silicone molds out there – kids in our family are getting stars and hearts this year, but while I was scouring amazon I saw dinosaurs, bears, rings, and more! This is the perfect craft to get your kids involved in too, giving a gift gets that much more fun when it comes from your own hands.
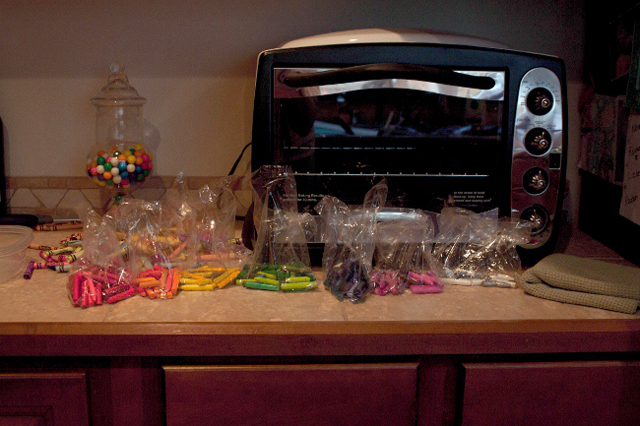
1. Start collecting those crayons! You don’t want to skimp in this part, anything other that crayola just won’t work. I like to stock up when target has back to school and you can get all sizes of crayola at insane prices, like the smaller boxes for .10 – and what’s even better? Right after everyone is back in school and target clearances all of that stuff to cheap. So, there you have it…no excuses, this is a cheap craft I promise!
2. Peel, peel, peel – this is where I enlist child slave labor and bribe my kids and their babysitter with candy, I haven’t heard any complaints yet! You want to make sure you have a nice clean, paper free crayon before you begin. If your having a lot of trouble cut a slit long wise then pop them into the freezer for a bit and the paper should come right off.
3. Break those crayons – they don’t have to be in itty bitty pieces, but you be the judge, you want them to be able to fit your mold nicely. I have found using a butter knife and a cutting board you don’t care too much about can be a great tool.
4. Sort those bad boys – now, this is all really up to you. You can go all out roy g biv in every mold or you can do like I like to do and separate the reds, yellows, oranges, ect into one group and the blues, greens, purples, and etc into another. Or if you really want to get crazy separate them out even more but I have found my way turns out pretty rad looking.
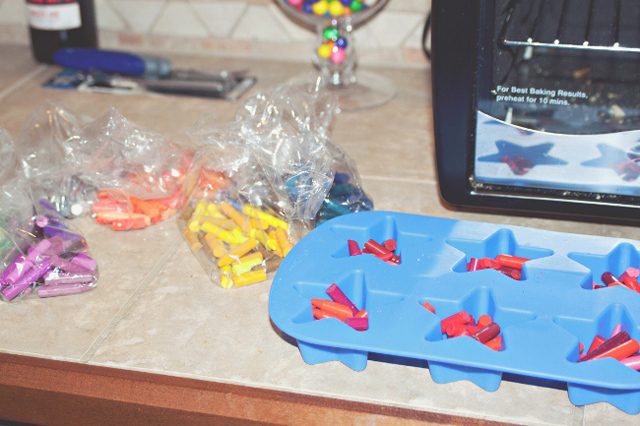
5. The mold – now the first time I did this project I used the very cheap-o heart ice trays from ikea. In the end these worked fine but I was on my toes the whole time watching the oven while they threatened to totally melt on me and when it came time to pull them out they didn’t let the new crayons go without a fight. So, moving on – I shopped from amazon.com this time around and wilton silicone star mold.
6. Now is where you preheat the oven to 350° and start placing your broken crayons into the mold (you didn’t here it from me, but it may or may not make it even easier to pop these bad boys out later if you spray a very light layer of cooking spray first) and place your silicone mold onto a cookie sheet to provide a nice flat stable surface.

7. Once the crayons are in the oven start checking on them every five minutes, you want them to be melted but don’t let them get too hot.
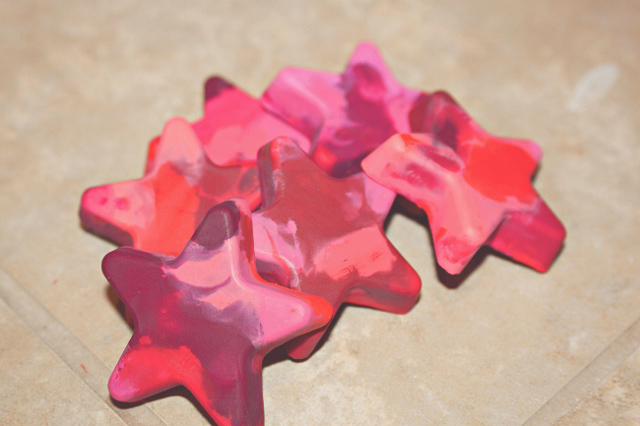
8. You’re almost done! Let your new awesome-sauce crayons cool completely then we can get started on the packaging.

9. it is so simple a monkey could do it – I went to Michael’s and picked up some $1.99 cellophane bags, cut them down to about 4 inches tall. Using some left over kraft paper I cut, folded and glued a piece over the top, added some ribbon and buttons and voila!
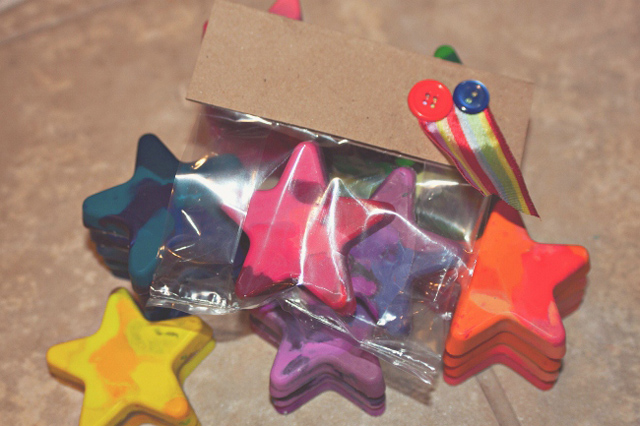
These particular crayons are going to the preschoolers showing up for rowan’s bday on Saturday but you can bet the little cousins are getting a bag full for Christmas – they make a perfect gift for all ages!
………………………………………………..
Thank you SO much to Melissa from Hi, Baby! What a LOVELY guest post. I am totally making crayons for Ruari. 😀 Thank you for joining my 50 DIY Days of Christmas!


