

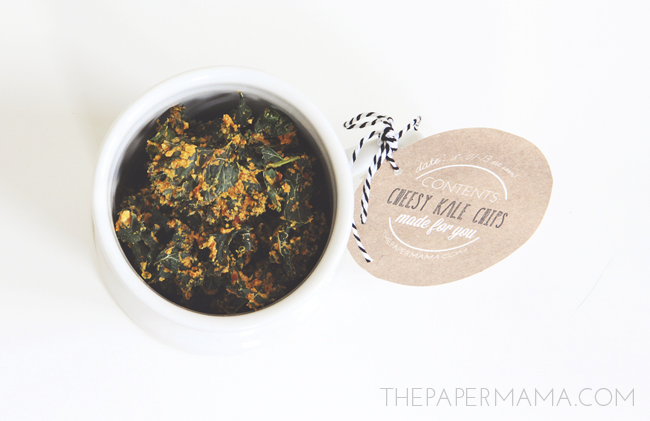
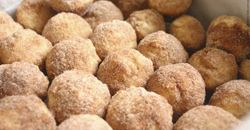
Yes, you read that right: MAGICAL Cheesy Kale Bites. These little pieces of heavenly goodness are so so delicious. They are cheesy, without the dairy. Because they taste as their loaded with cheese, my husband refers to them as nacho kale chips. They’re addictive, and you might not be able to stop snacking on them. I have a whole lot of kale growing in the garden, and I think it may be my favorite veggie, and kale in chip-form might be my favorite kind of chip! Though it’s hard to beat salt and pepper potato chips dipped in pepperoncini cheese dip.
Even though these tasty morsels are considered chips, I’m calling them bites. They are more than a chip. These bites are gluten-free, vegetarian, dairy-free, and Whole 30. This recipe does contain nuts.
Let’s get cooking!
You’re probably tired of my babbling and want to get onto making this snack. Sounds good. Here’s how to make my Cheesy Kale Bites.
Magical Cheesy Kale Bites
They are cheesy, without the dairy. Because they taste as their loaded with cheese, my husband refers to them as nacho kale chips. They're addictive, and you might not be able to stop snacking on them.
- 2 bunches kale
- 1 red bell pepper
- 1 cup raw cashews
- 1/4 cup nutritional yeast (the "cheese")
- 4 tbsp fresh-squeezed lemon juice
- 1 tsp honey
- ¼ tsp granulated onion
- ¼ tsp turmeric
- ½ tsp salt
-
Place cashews in a bowl of water and let sit for 2 hours.
-
Wash and dry your kale. Remove the thick stems, then tear up the kale leaves into smaller bite-sized pieces. Remove seeds from the bell pepper and chop it up into smaller pieces.
-
When the 2 hours are up, drain the water from the cashews. To make the "cheese" blend, place all remaining ingredients, plus the chopped up bell pepper and soaked cashews, into a food processor and blend until smooth.
-
In a large bowl, use your hands to coat the kale with the cheesy blend.
-
Place clumps of the cheesy kale on the dehydrator trays and dehydrate for 8-10 hours, or until crispy. The bottom trays of my dehydrator tend to cook faster, so I like to rotate my trays throughout this process. I had a few thicker kale bites that needed about 3 hours longer than my first round.
-
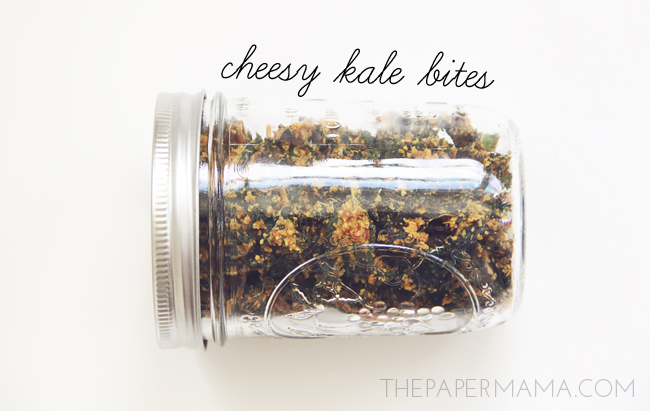
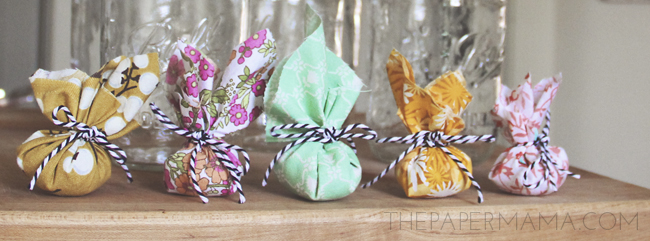
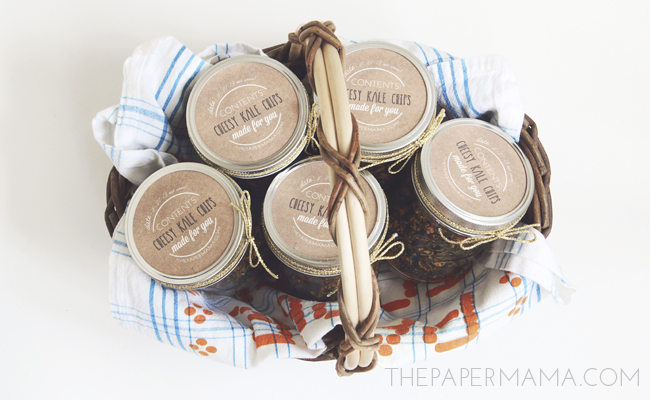
When finished, you can lightly sprinkle a small amount of salt on the bites. I store our cheesy kale chips in a jar. To keep moisture out, wrap a handful of rice in a bit of fabric.
-
The bites last for about a week if stored properly.
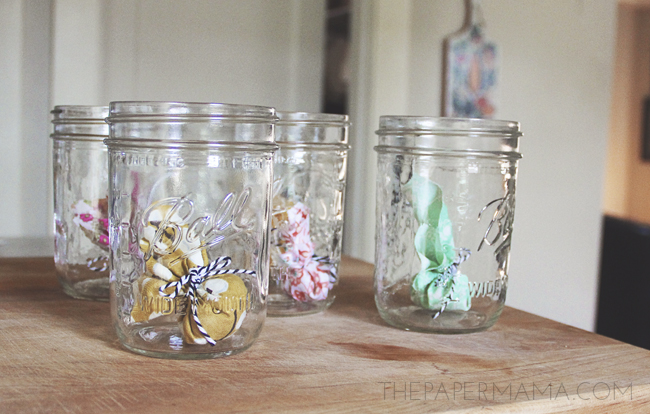
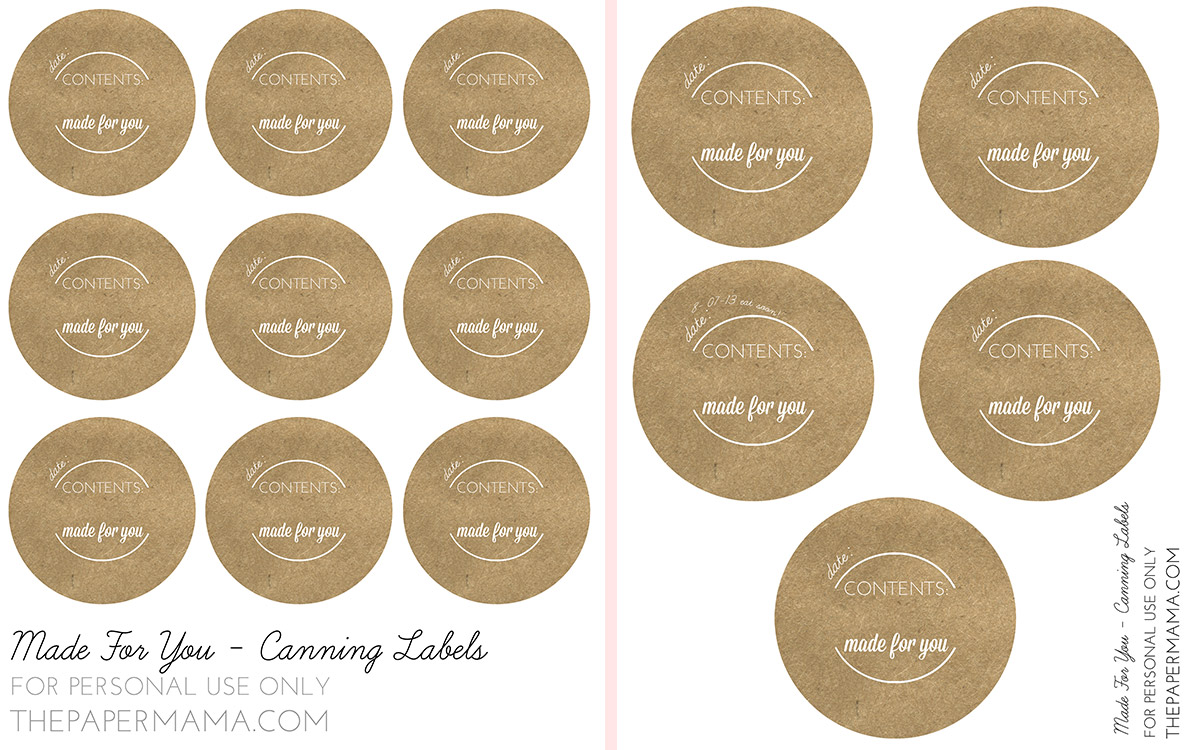
I’m a member of the Portland Preservation society, and when we get together we swap canned goods. For this meeting, I chose to bring these tasty kale chips and packaged them in individual jars. Each jar has small rice pouches, to keep out moisture, then I created “made for you” lid labels. You can download these labels, click on one of the links below.
Click here to download the “Made for You” Wide Mouth Lids printable.
Click here to download the “Made for You” Regular Mouth Lids printable.
I hope you enjoy this recipe. Please do let me know if you make these by tagging me on Instagram, or sharing on any other social media channels. I’d love to see it!
How do these Cheesy Kale Bites look? Have you ever tried kale chips before?
– Chelsey
Disclosure: I may earn a small commission for my endorsement, recommendation, testimonial, and/or link to any products or services from this website. There are affiliate links in this post. Thank you for your support.


These are the only wide mouth labels I have found and do not see a link for printing. AAAHHH lol.
There’s a link when you click on “wide mouth labels”. Here’s the image and I hope you enjoy: https://thepapermama.com/wp-content/uploads/brown-paper-canning-wide-mouth-lid-page.jpg Thanks!
I'm adding this to my must make list! I like that there are no added oils! Just pure goodness. Thank you for sharing.
These were SO good! Thank you for bringing them to canning club, they were an excellent first choice! 😉
I'm glad you loved them! <3
Those look delicious! And vegan too (well minus the honey, but that's an easy switch). Definitely going to be trying those in the near future.
-Jasmine
quirkishembrace.blogspot.com
The original recipe had agave, but I just used honey. 😉
If these taste anything like the little bag you can buy at Trader Joe's IM IN!!!! Love those!
I haven't had the Trader Joe's brand….