November 13th – November 18th
This weeks guest judge:
Buckeroomama from: Mamahood, Among Other Things…
The challenge: “Cozy“
The challenge will be based around your children. Take or find a photo of your baby (or kid… or puppy… or kitty): Dressed up all cozy. Hanging out by the fire in a blanket. Snuggly. In a Snuggie? 😉 Let’s see those comfy photos!
Buckeroomama’s “Cozy” picks:
Why Buckeroomama chose this photo: “I kept going back to this photo. The baby perfectly “scooped” in Dad’s crisscrossed legs, the crop, the guitar pick about to touch the strings, the curve of the guitar, and the slight reflection of light on Dad’s shirt, the pink of her baby pants against the green shirt and the ‘distressed’ denim… wow.”
Congrats! Please feel free to grab a “fact: I’m awesome … #1 winner” button below. Because: you ARE awesome! And, thank you SO much for participating!

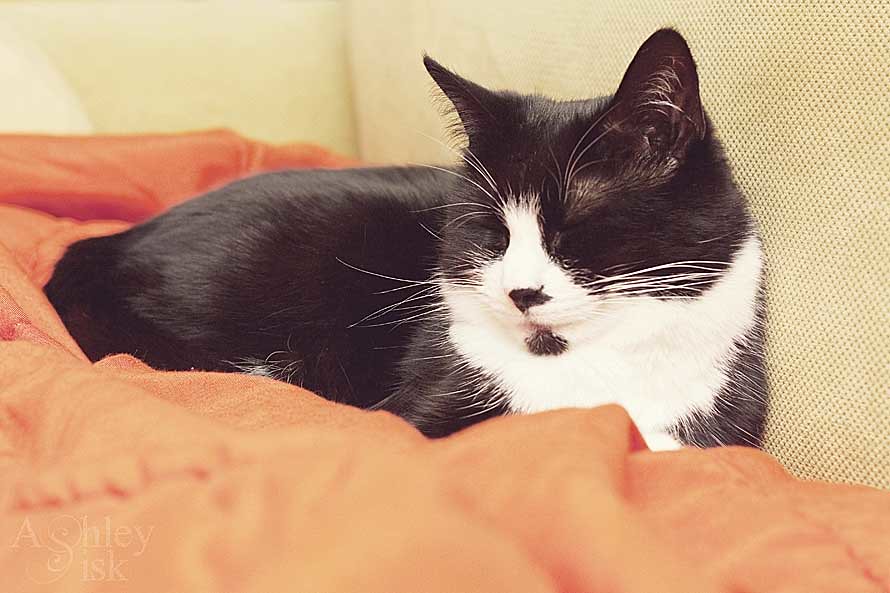
Why Buckeroomama chose this photo: “I love how soft the blanket looks and how the details of the cat really pops and how this furry kiddo seems just so content sleeping on the green blanket.”

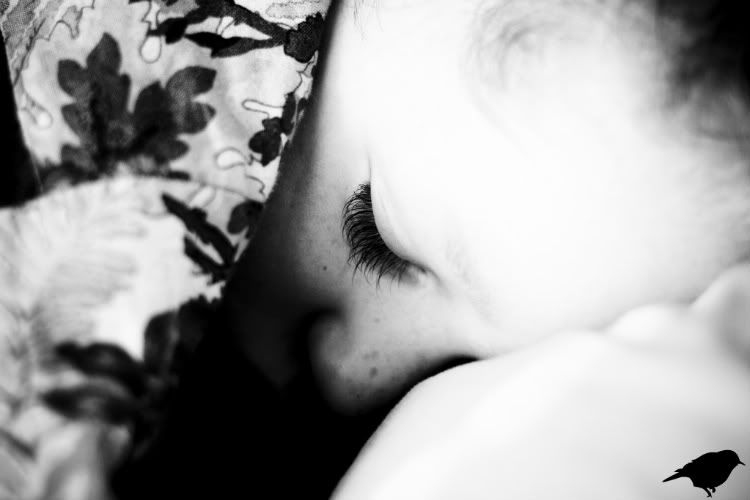
Why Buckeroomama chose this photo: “She looks so cozy all bundled up… and super sweet, too! I love that the colors are slightly desaturated… beautiful post-processing.”
Why Buckeroomama chose this photo: “Nothing cozier than being cuddled against mommy reading a book… The dimness of the photo adds to the ‘cozy’ feel of the picture… It’s just mommy and me, in a world of our own.”
Why Buckeroomama chose this photo: “Who says cozy has to be all bundled up? I love how her hair is blowing in the wind, those huge shades and how she’s all curled up. Slightly different interpretation of the theme, but quite fitting nonetheless!”
Congrats to the top 5 winners! Great job, and please feel free to grab the top 5 button below! You’re all awesome!

My favorites:
If you’re one of my favorites you are more than welcome to grab a “Paper mama hearts me” button below!
And, we both had a few honorable mentions!
Guess what…. after 4 challenges there will be a week long vote off of the winners from the 4 previous challenges… The winner of the vote off will get a small prize! 0 more challenge to go…
Winners so far:
Cozy: … Hi, Baby. …
Eyes: … no one yet …
Black and White: … no one yet …
Blessings: … no one yet …
AND, don’t forget to take your holiday photos for the Holiday Card Challenge!

Would ya could ya? Vote for me?


