

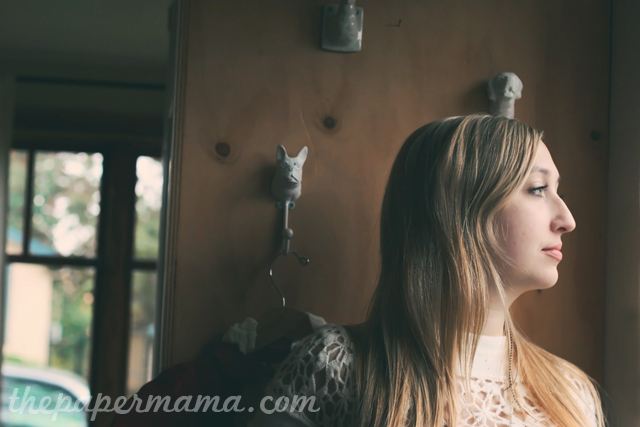
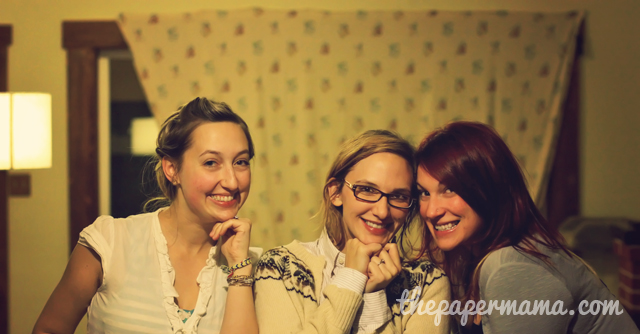
Say Hello to my vintage pinned hair ::hi vintage pinned hairs::! This would be a sort of expanded version of my pinned back bangs I posted last week. This last Friday I needed a way to put up my hair, since it was POURING outside, and I was headed out to my friend’s house for a girls night! When I wear my hair down in the rain…. it’s a very scraggly mess.
I really think this hairstyle would look cute with any type of hair!
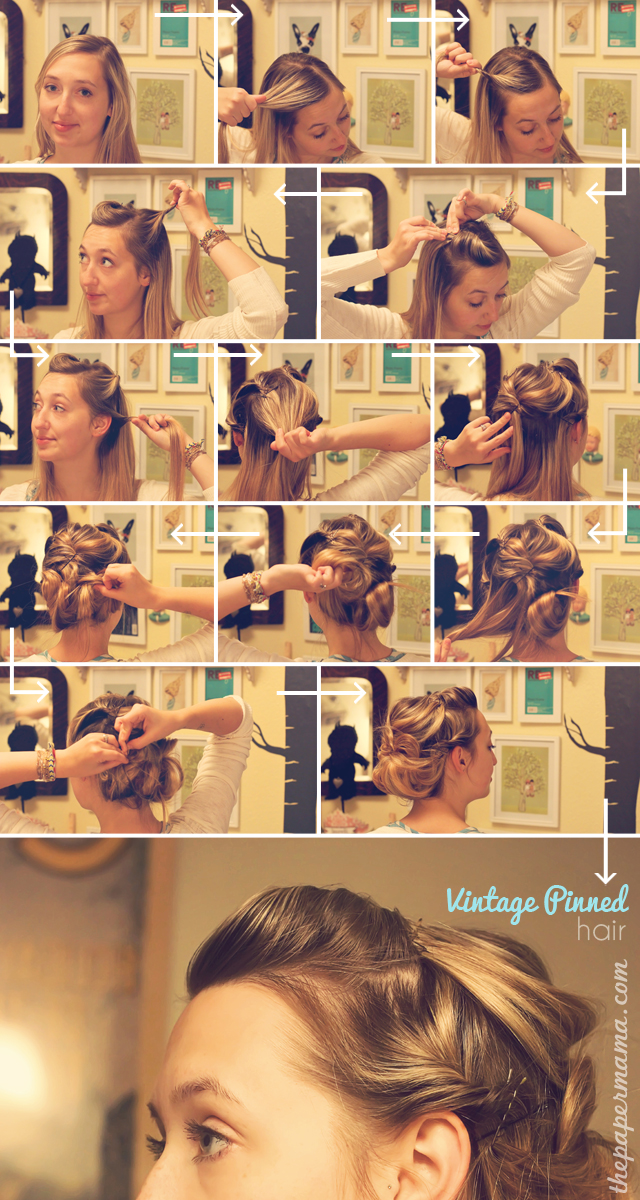
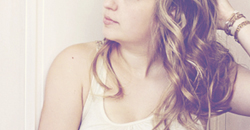
How to do it (You can follow the photos above… follow the arrows!):
– I recommend checking out my pinned back bangs tutorial… you’re pretty much doing the twist, push, and pin all over.
– Part your hairline off on the side (like mine).
– Grab a chunk of hair (on the side of the part with more hair), twist it… push it… pin it.
– Grab another chunk up hair on the other side of your hair… and do the twist/pin technique.
– Grab some hair behind your ear… and do the twist/pin technique. Repeat behind the other ear too.
– Gather up the top quarter of the back hair… twist it… push it up… pin it.
– Split the remainder of the hair on the back of your head into two sections. Roll up one side (the back of the curl will be towards the ground… check photo). And, do the same to the second section of hair.
– Now, here’s the part that’s hard to explain…. your going to grab a part of one curl and spread it out towards the ear… pin it… do the same for the other side. Pin back any fly aways. Pretty much your creating a larger bun out of the two curls… gives it more volume. 🙂
– Secure with some hair spray… and you’re done!
WELL… I hope that makes sense! It’s actually a VERY simple simple updo. A tip: I always use 2 bobby pins together for each pin… creating an “x”. It’s much more secure that way. One pin usually just slips out of my hair.
AS usual: I LOVE to hear if you try out my hair tutorials. Leave a link to your blog post in the comments below! Happy Monday everyone!

10 Comments
Categories: hair


