The “favorite photo” challenge winners

This weeks challenge was: Heart!

First:

Congrats! You can grab your first place button here!

Second:

Third:

Fourth:

Fifth:

Congrats! You can grab your top 5 button here!

Favorites:
Congrats! You can grab your favorite button here!
…………………………………………………………………………………………………………………………………………………
  • First time joining the Paper Mama photo challenge? Start here for rules and upcoming challenges.
  • My photo challenges do require you to have either your children or one of your furry children (pets) in the photo (unless it’s a self portrait week). It could be just one finger… or a toe… but, they must be there.

2010 winners . 2011 winners . 2012 winners .

…………………………………………………………………………………………………………………………………………………

Mother’s Day Freebie + Links to Love

For Mother’s Day I created a little printable floral wreath for you to enjoy! Print them out and share them with your mama. OR, tell your husband and kids how much you love them. There are a couple of blank versions for you to fill it out on your own… or, you can use the pre made versions. Click on these links and right-click to save (reminder: personal use only… thanks!): Mama Loves You, “and” blank wreath, i love u, and “loves” blank wreath.

This is the coolest DIY activity kit. Made from an old book. I love it.

Need a giggle? Ok, how about the Toy Stories from, Aled Lewis. Cute.

This is pretty much a grass table… kinda cool!

Absolutely LOVE the idea to cushion a package with popped pop corn. Cheap AND compostable people! ::yeah!::

We don’t have much sidewalk… but, we have a little. I’m going to have to try out this DIY sidewalk paint on the next nice day.

Wonderful twine dispenser idea. Would work for ribbon you use a lot of too.

BLT Fried Egg-and-Cheese Sandwich. The end.

Would you like to say, “Hello, hello, and hello!” to a couple of my new sponsors? Hello!

Instagram comes to real life!

A tree stump table. I would love this outside! I always need a spot to set my wine. Hee.

Very cool flowers in a jar cookie bouquet!

A cute tradition… interviewing your kiddo on video.

I wish I had $200 to throw around… these handmade shoes are lovely.

I hope you all have a wonderful weekend!

– Chelsey


White Bean, Cauliflower, and Spinach Spread

This spread is the most simple and easy dinner eva. You just need a few bits of ingredients and a food processor. AND, you’re good!

White Bean, Cauliflower, and Spinach Spread + quesadilla (adapted from Martha Stewart)

1 medium head cauliflower, trimmed and cut into 1 1/2-inch pieces
5 garlic cloves, unpeeled
3 tablespoons extra-virgin olive oil, plus more for serving
Coarse salt and ground pepper
3/4 bag of spinach (salad bag)
1 can (15.5 ounces) white beans, rinsed and drained
1 teaspoon lemon zest, plus 1 tablespoon lemon juice
Optional:
Cheese
Tortillas
Directions:

– Preheat oven to 375 degrees. On a rimmed baking sheet, toss cauliflower and garlic with 2 tablespoons oil; season with salt and pepper. Roast until cauliflower is tender and browned, 25 to 30 minutes. When garlic is cool enough to handle, remove peel.

– In a food processor, combine cauliflower, garlic, beans, spinach, 1 tablespoon oil, lemon zest and juice, and 1/4 cup hot water. Process until smooth. Season to taste with salt and pepper. (To store, refrigerate in an airtight container, up to 3 days.) Serve drizzled with oil.

– Optional:
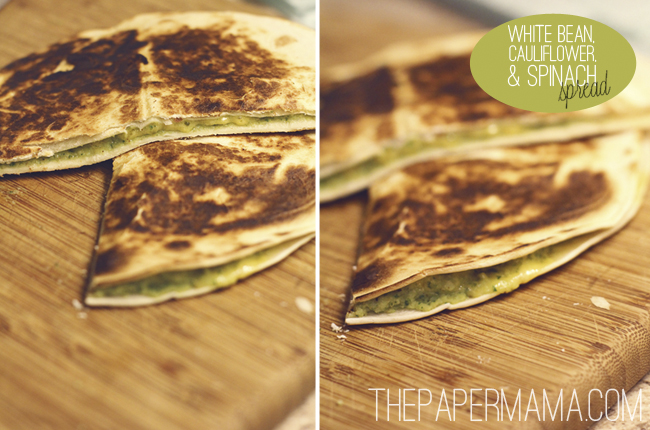
Spread your white bean, cauliflower, and spinach spread onto a tortilla. Sprinkle some cheese (I went with white jack cheese) and melt a quesadilla! This was really great for Ruari. She ate up those quesadillas. Yay!
Anything that contains some sort of veggie and my kid will eat it… is awesome.

 {Related Posts: //Fried Chicken Recipe//Homemade Potato Pizza//Jalapeno Popper Dip


GIVEAWAY for March of Dimes fundraising!

Donation + GIVEAWAY = awesome!

The March of Dimes walk is this weekend! SO, that means you only have through Friday night to donate and win! For every $5 you donate to my March of Dimes walk: you are entered to win a full-body custom portrait from me! Yup! That’s an awesome prize, right? Hee hee. I really just want to raise money for the babes. Miss R was born 4 weeks early… only in the NICU for a minute… but, I always think of those kiddos that have to spend more time in there. <3

One more time:

– For every $5 you donate to my March of Dimes walk…. is an entry to win a full body custom portrait from me!

– You can enter as many times as you’d like! $5 = 1 entry… $10 = 2 entries… $40 = 8 entries… $250 = 50 entries (ha!)…. I think you get the idea. Just be sure you include your current email in your donation. That’s how I will contact the winner!

– So, it’s a win-win… you are helping the sweet little babies…. and, entered to win! Good luck! And, thanks for helping the kiddos. <3 Donate here!

…………………………………………………………………………………………………………………………………………………………………

Tags:

Categories: Uncategorized


Wordless{ish} Wednesday: Thrifted dresses

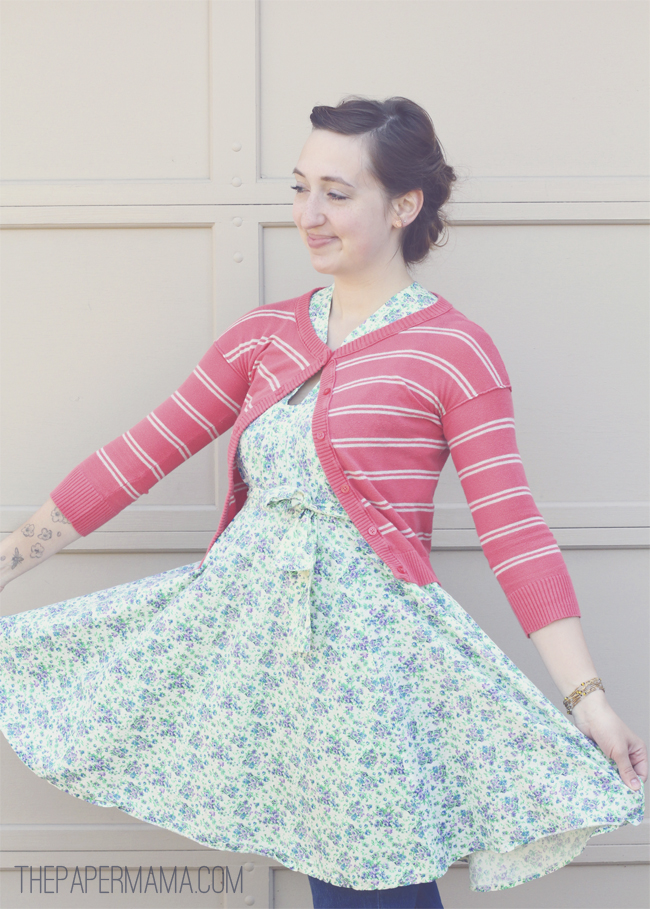
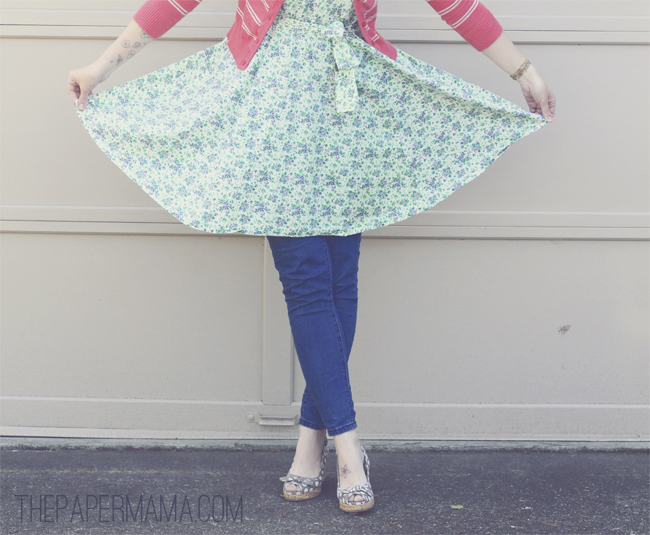
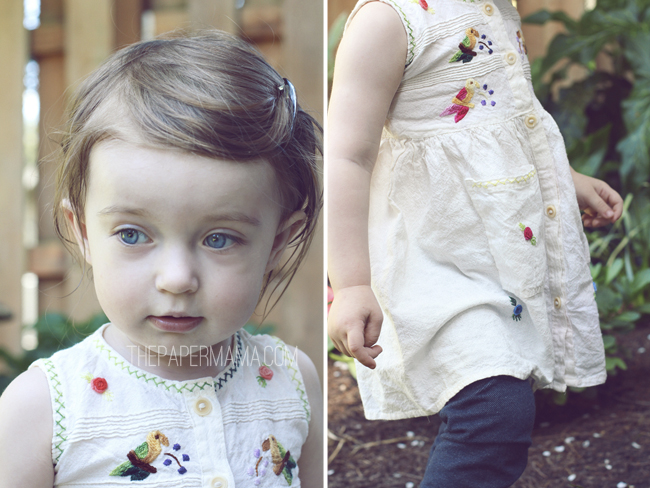
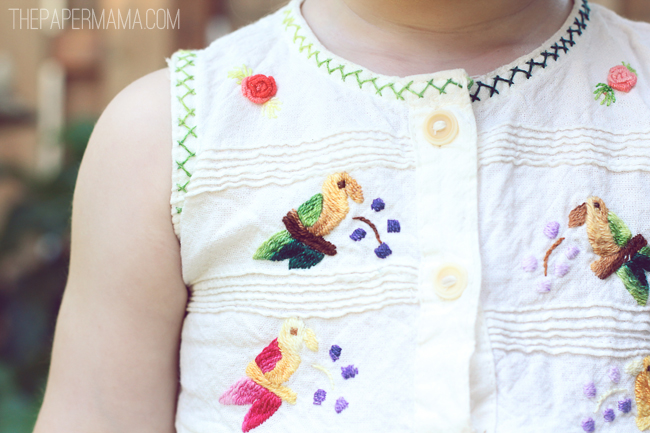
Cute thrifted dress. Ruari’s dress: $2. Mine $13.

Clothes are spendy. That’s a darn fact. BUT, I have managed to buy the majority of Ruari’s outfits thrifted (or, on super clearance). She goes through them so fast… it’s just not worth it (in my mind) to spend too much. Unless it’s for a special occasion (birthday’s, holidays, etc.).

In fact… I have become SO cheap from all this thrifting. I have a rule in my head that I keep while shopping for R’s thrifted and new to us clothes: Shirts should cost under $4. Pants should be under $5. Dresses and sweaters should be under $10. Shoes should be under $12. Yup. Those are my weird rules… I mostly find all of her clothes way under those prices… and, I feel like it’s helped me keep her dressed cute at little cost. The little dress she’s wearing in the photos above… $2. ::high fives all around::

I have different rules for when I’m shopping for my own clothes. Since I wear my clothes a bit longer than her (and, I don’t roll around in the mud in mine) I can spend a little more on my thrifted outfits. Not too much though. Hee.

– Chelsey

{Linking up with Mandy for Steppin Out and High on Thrifting.}

…………………………………………………………………………………………………………………………………………………………..

{If you have a Wordless{ish} Wednesday, please feel free to link it up below. And, feel free to link up to these blogs too… Parenting by DummiesProject Alicia,And Then She SnappedJenni from the Blog, and Live and Love Outloud.}


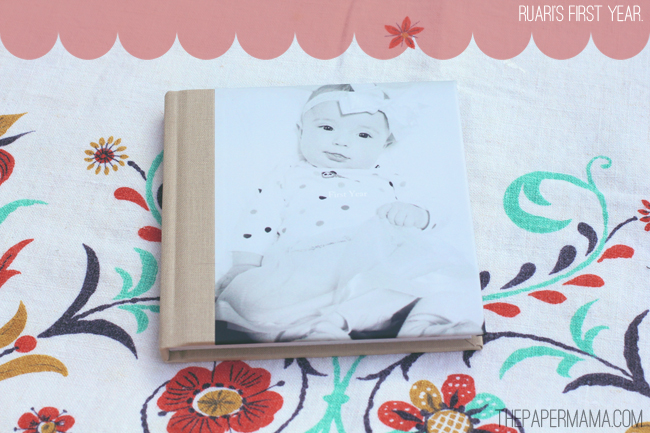
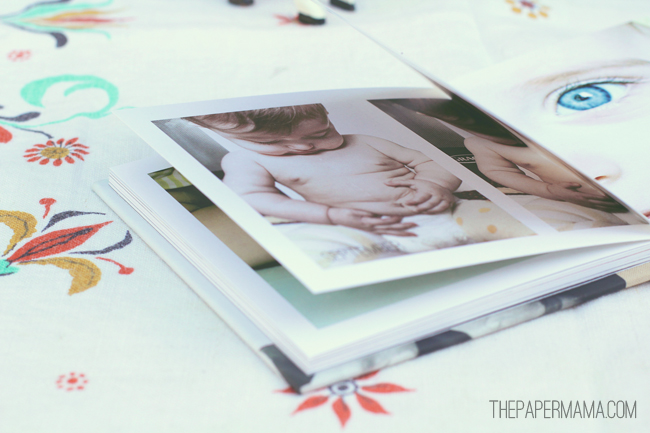
The baby book.

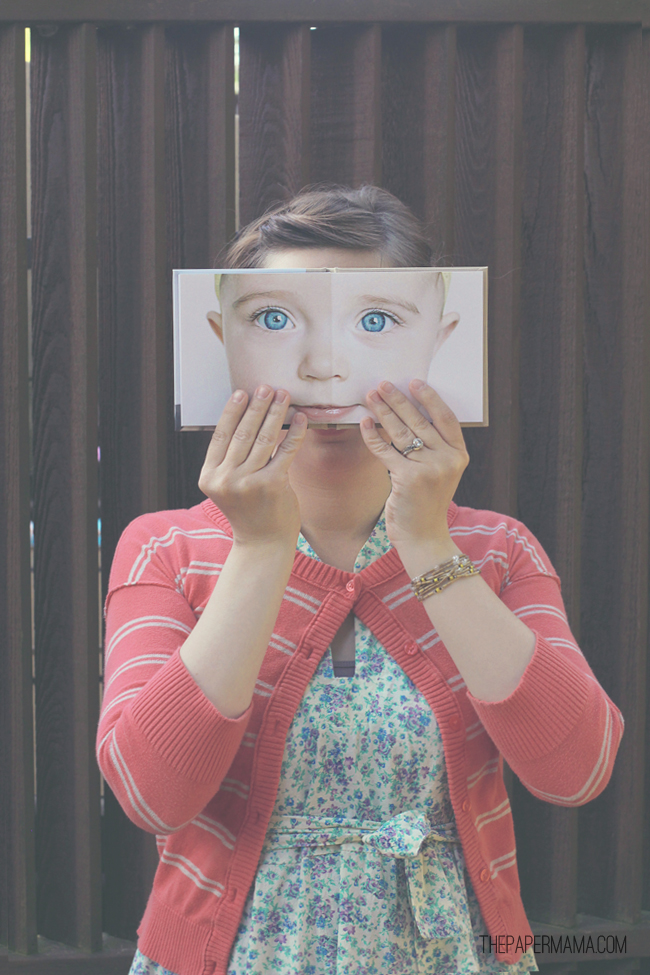
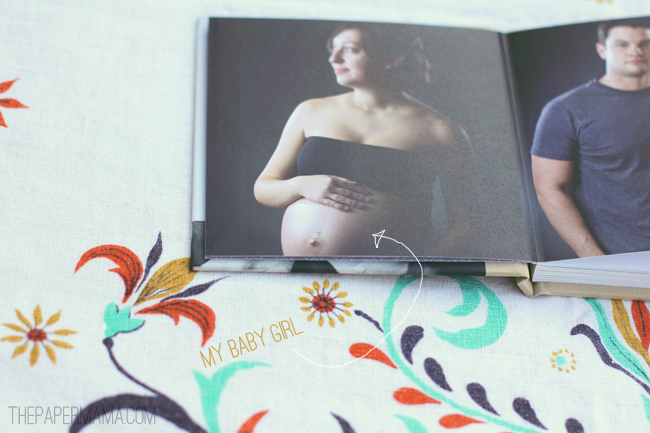
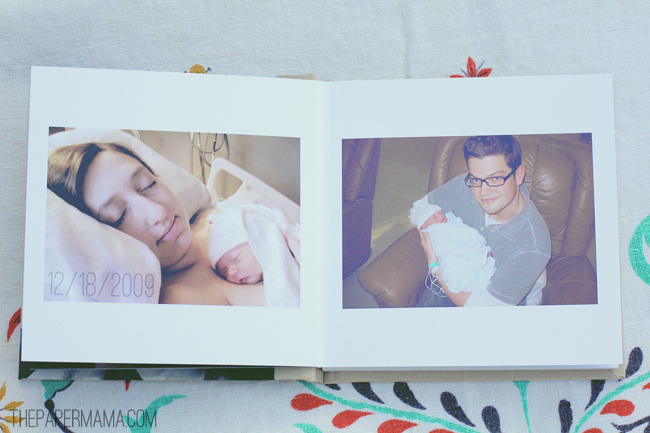
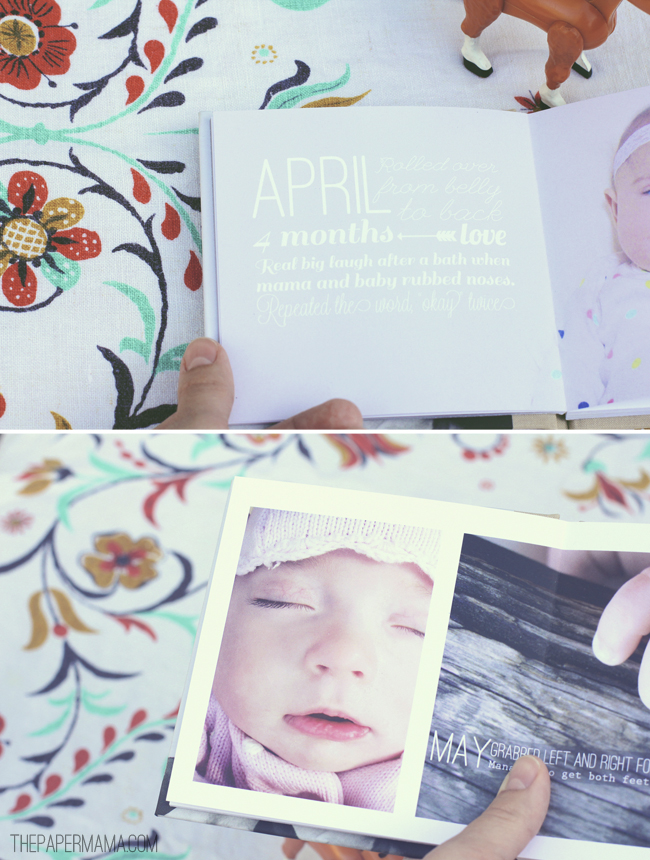
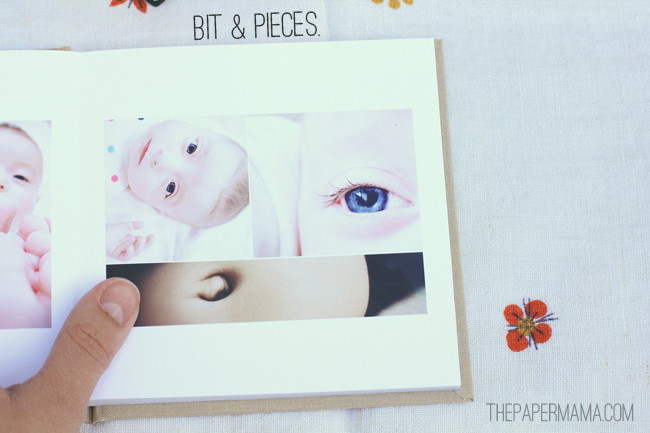
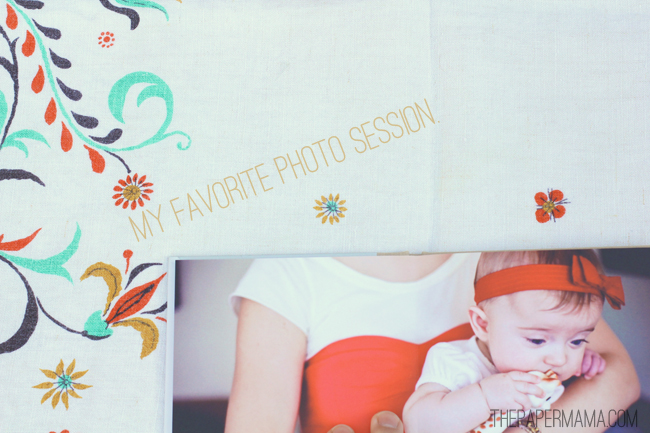
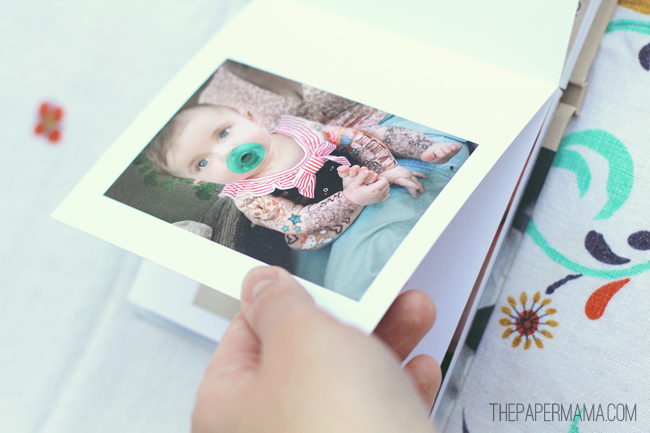
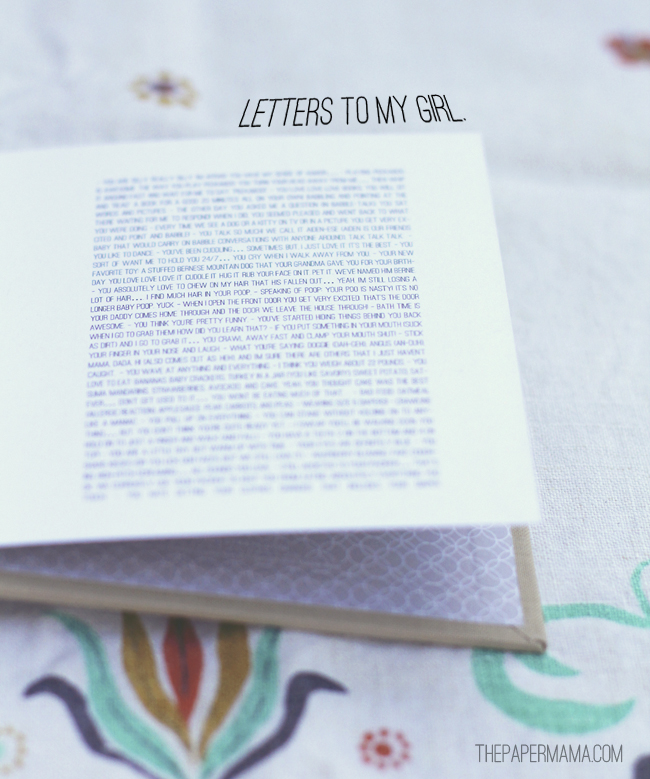
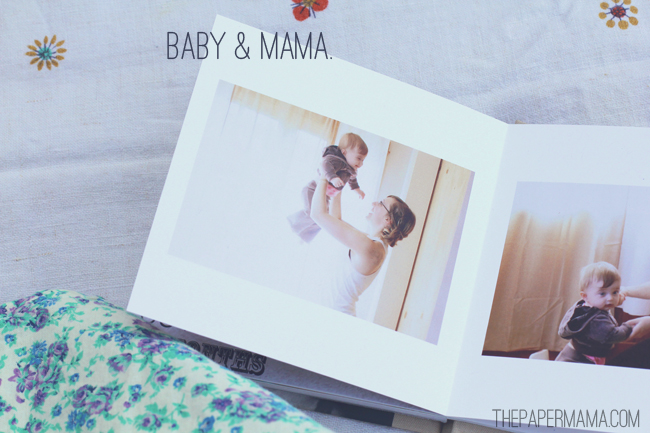
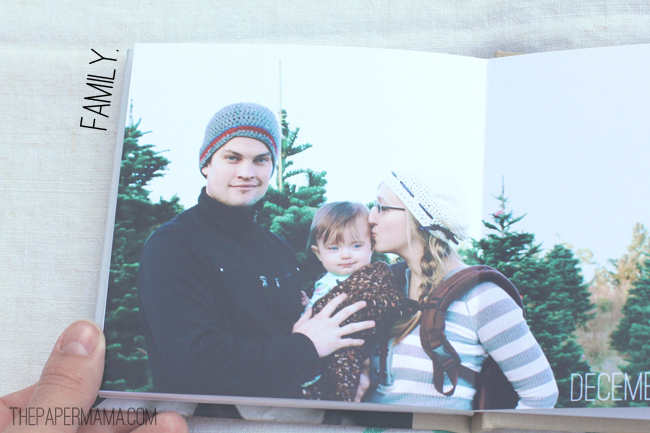
The baby book. It’s about darn time I finished this thing. Ruari’s headed towards 2 and a half and I finally finished a book on her first year. As a little mother’s day gift to myself…. I created this sweet little 5 x 5 book with Pinhole Press. It’s beautiful…. well, of course: it’s all about my favorite girl. This book is 60 pages…. I would have thought I could fit SO many photos into a book like this. BUT, it was so difficult. I wandered through and chose my favorite photos (out of seriously thousands) from each month of her first year. PLUS, I also included all the milestones I recorded and notes I wrote to her on my blog.

Her book came to me in the mail last Friday. I opened up the tiny package and was instantly in love. It’s so sweet I just want to hold it and hug it. I am so ready and excited to create the next one for Ruari’s second year!

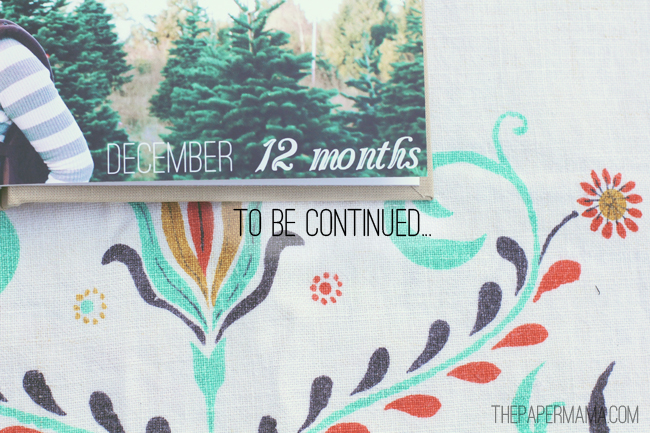
Here are a few bit and pieces of my favorite pages…

 Do you love? Me too.

– Chelsey

{Related Posts: //R’s First Year//Laureli is 11 Months Old//Scars//}

Thank you to Pinhole Press for sharing this book with me. I wasn’t paid for this review and all opinions are my own.


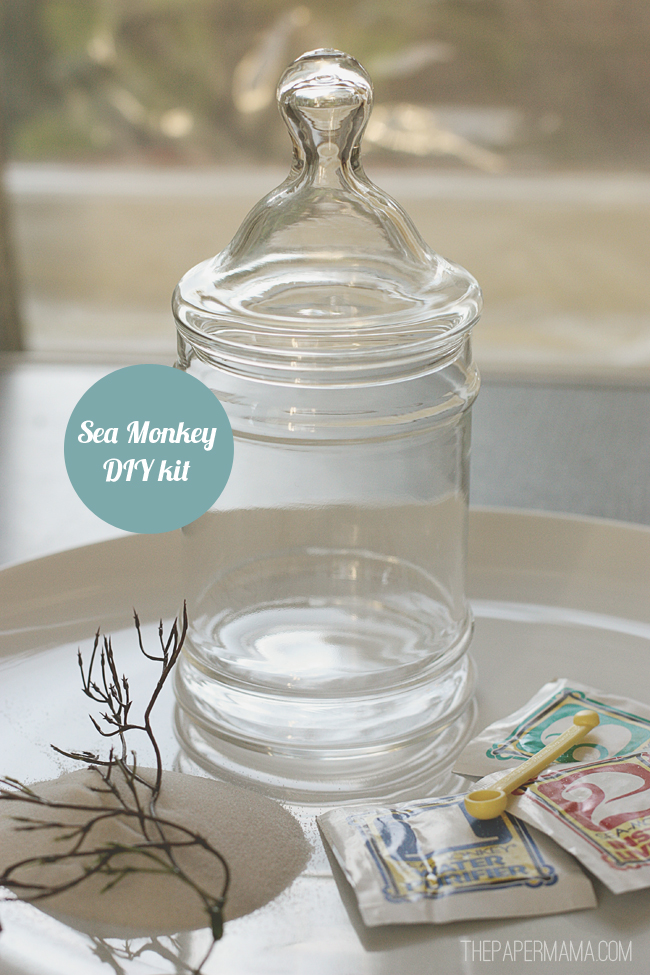
DIY Sea Monkey Kit

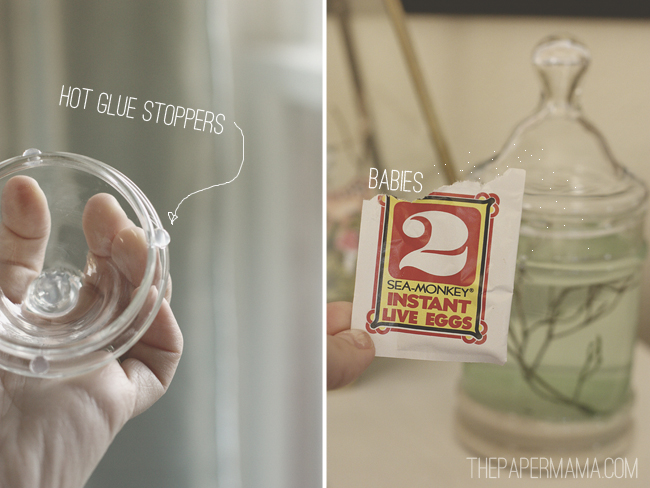
DIY Sea Monkey Kit: I was always fascinated with these little creatures when I was little. I loved them. But, I didn’t like the little plastic containers they came in. For some reason I never actually thought about putting the sea monkey’s in a different jar… why not? Do these plastic containers have some sort of special power? no. SO, we have the DIY Sea Monkey Kit. I just found a little glass container at the thrift store for $2. So much lovelier.

I started my little sea monkey town back in February. AND, I’m proud to say my monkey’s are still alive. Hee. What are sea monkey’s? Well, they’re little brine shrimp. Or, “Shimp” as Ruari calls them. She enjoys them too and loves to watch them.

What you’ll need:

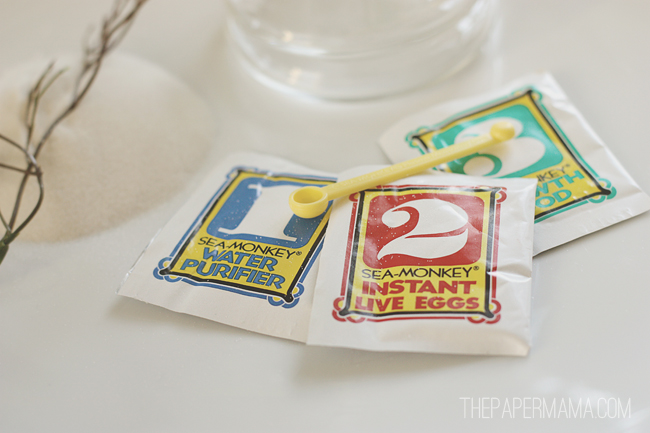
– A sea monkey kit ( I found the purifier/eggs/food on eBay for $7)

– Small glass container (thrifted $2)

optional:

– If container has lid: hot glue

– Superfine fish tank die-free sand

– Plastic plant

– Straws

Directions: 

1. You’ll start with adding about a 1/2 inch or so of sand to the bottom followed by your plastic plant…. add your water and pretty much just follow your Sea Monkey kit directions exactly…. but, it will all be in the new container you purchased.

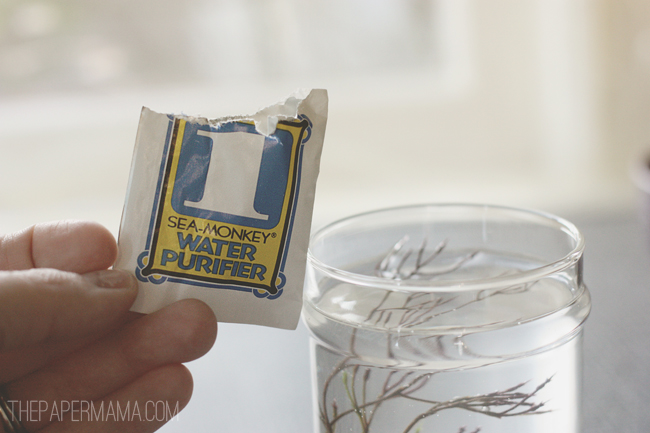
2. Important: If you’re container comes with a lid…. you’ll need some hot glue to add little stoppers to the lid. You’re little monkey’s will need to breath… so, you need oxygen to get in there.
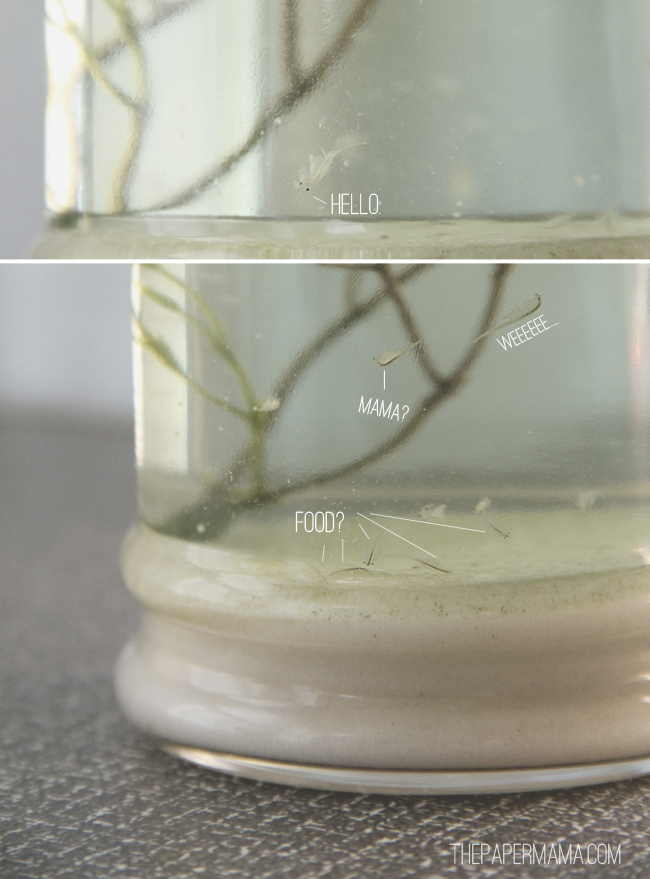
And, that’s it! You’re done! You’ve made yourself a fun little accessory/science experiment. What’s really great is my kit has stayed surprisingly clean (don’t overfeed…. it will get cloudy).

TIP: If you’ve added sand to your kit… Try not to stir up the sand. I feel this may bury the little eggs and shrimp. No bueno. I use a little straw to lightly blow in some air to add oxygen to the water every couple of days.

PLUS: I had enough materials left over to create another little Sea Monkey Kit. This one was a gift for my friends 4-year-old little boy. He was pretty fascinated by my monkey’s, so I hope he enjoys his own little jar!

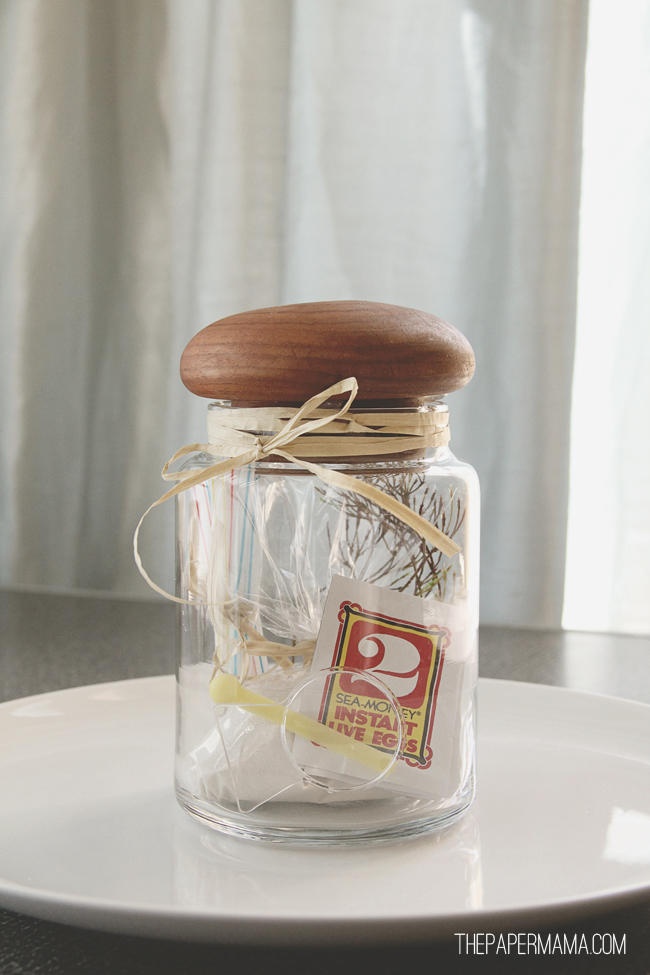
Enjoy!

– Chelsey

{Related Posts://Paper Insect Collection//Paper Terrarium//Rainy Day Jar//}