Big Labor Day Weekend Sale on ad space!

So, this will be the craziest ad space sale I’ve had to date…. What is it? Buy one month of ad space and get the second month 75% off! OHmahgoodness. This sale will end on Monday night! That’s monday the 3rd at midnight. Weeeee!

How do you get this deal? Pick out the ad size you’d like (below or go to my sponsors tab), click and follow the instructions. To get the 75% off of the 2nd month, you must enter “2” into the quantity section for this deal to work. Then, enter the promo code! There are different promo codes for each ad size:

Buy one month, get the second month 75% off with these codes (enter 2 into the quantity when purchasing):

Extra Large: bigbigsaleexlarge

Large: bigbigsalelarge

Medium: bigbigsalemedium

Small: bigbigsalesmall

REMINDER: for this to work you do need to enter “2” into the quantity section of your ad purchase. 

I do offer free button creation to anyone that doesn’t have and/or knows how to make a button. Once you purchase your spot, email me and we can get the button made from one of your photos. And, if you’d like to start your ad at a later date, I can help you with that. Just put a note in the “about you” section stating at what date you’d like your 2 months to start. 

Happy Thursday!

P.S. if you already have an ad with me…. I just went ahead and added more time to your ad spot. <3

Categories: Uncategorized


Homemade Peanut Butter Recipe

Homemade Peanut Butter Recipe

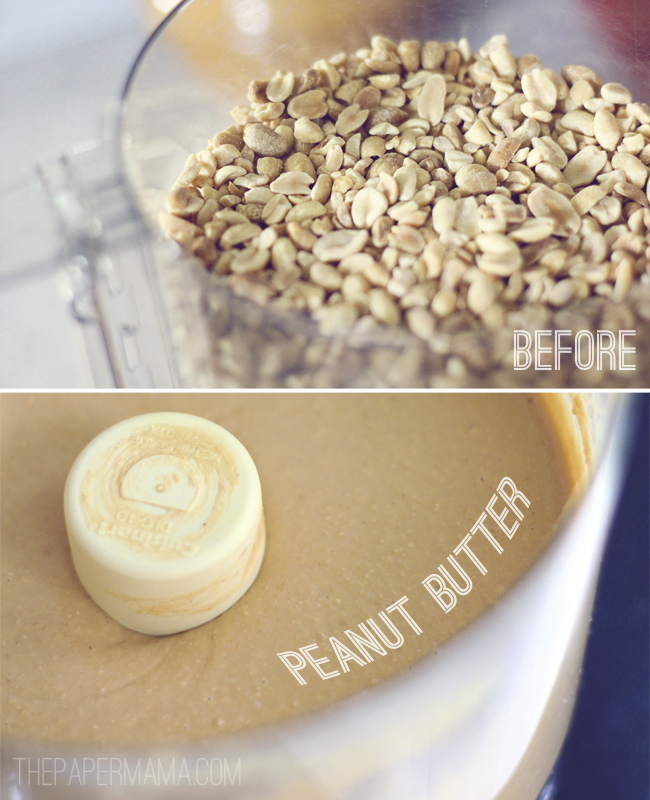
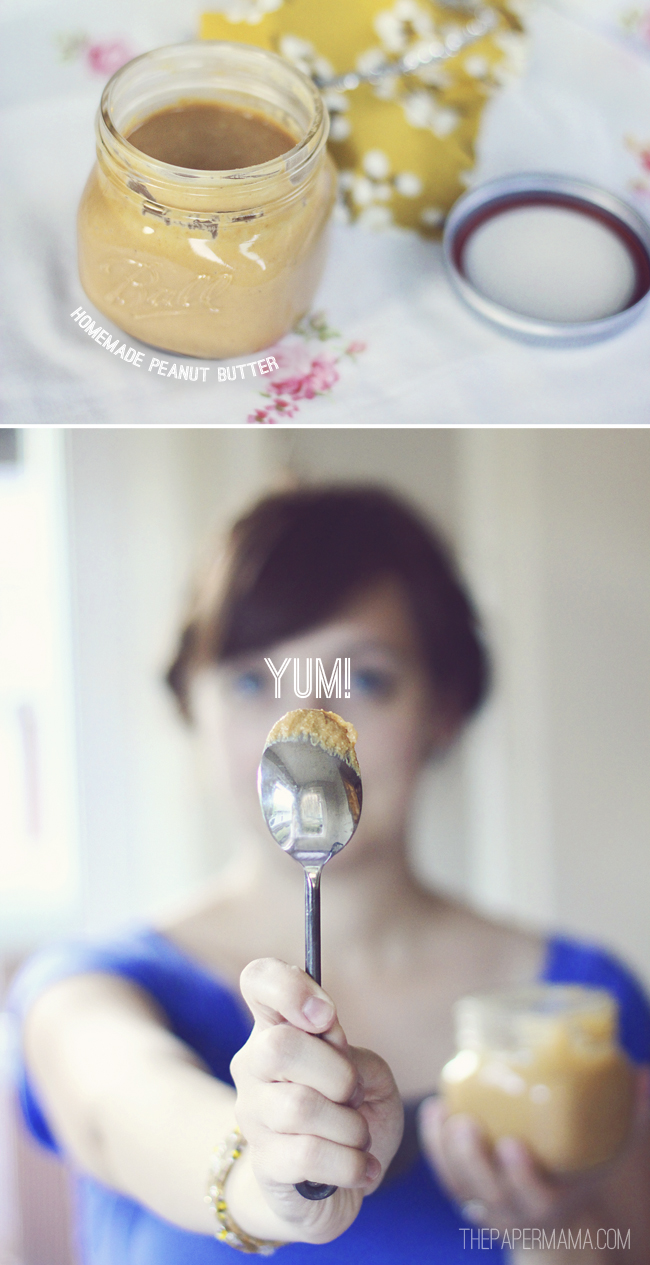
I made peanut butter! AND, no… it’s not peanuts and a stick of butter mixed together. It’s just peanuts! Really, just peanuts and a wee pinch ‘o salt. My daughter absolutely loved it. So much. I gave her about 5 spoonfuls, with raisins sprinkled on top.

I’d LOVE to share how I made this with you.

Homemade Peanut Butter

Ingredients:

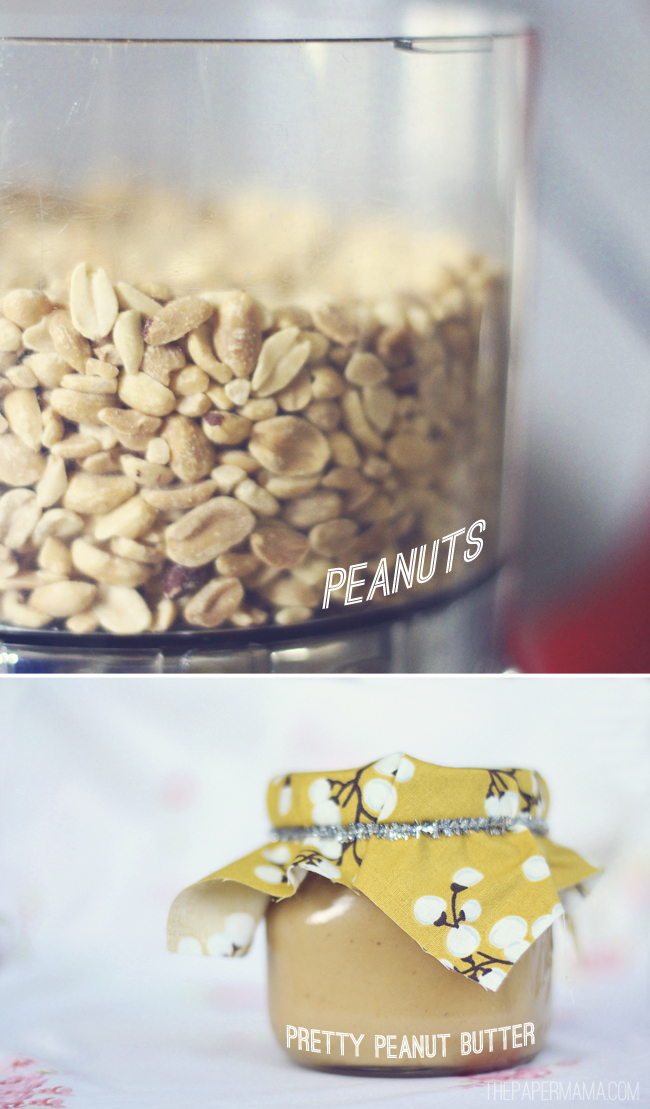
– 1 pound of roasted peanuts (I used unsalted, you can use salted if you’d like)

– 1 pinch of salt (optional)

Directions:

Toss the peanuts into a food processor. AND, process those peanuts until they are creamy.  This took me about 5 minutes. Then, I tasted the peanut butter… it seemed like it needed a bit of salt, so I threw in a pinch. Blended. Finished. I guess some people like to add peanut oil, but I didn’t need to. I googled a bit, and found homemade peanut butter should be stored in a fridge (up to 2 months).

Cost: $4.50 for 1 pound of peanuts (purchased in bulk)

How perfect would this be in a little jar as a gift? Nah… I think I’ll just eat it.

– Chelsey

{Related Posts: //The Best Buttermilk Biscuits… Ever//Fried Egg + Polenta//Baked Ravioli//}


Wordless{ish} Wednesday: Oregon Coast

My sister and her new hubby should be back in New Zealand soon. They left Tuesday night (and, apparently it takes 5 billion gazillion trazillion years to get there) and are probably still flying. OMG.

Before they left, we managed to head down to the beach. The Oregon Coast is so beautiful… and, cannot be missed. We must visit it at least once a year (preferably more). This time we went to Lincoln City (Taft). We stayed at the Looking Glass Inn. Perfect for a quick one night stay… and, you can bring your pup.

Ahh! I can’t believe we’re getting to September in a couple days!

Happy Wednesday!

 …………………………………………………………………………………………………………………………………………………………..

{If you have a Wordless{ish} Wednesday, please feel free to link it up below. And, feel free to link up to these blogs too… Parenting by DummiesProject AliciaJenni from the BlogBree: his honey and her mommy, and Live and Love Outloud.}


The never-ending struggle: sharing my kiddo online

I’m pretty sure this will be a never ending struggle in my mind. Do I really want my daughter on my blog? It’s so hard when she’s just so darn awesome. Such a huge part of my life. How could I not share photos of her? But, I don’t have a complete list of who’s actually reading my blog. I know most of you are amazing and awesome. But, the world isn’t perfect. Who else is reading?

Who else is here for other reasons? I feel like I need to continue to step back and wonder, is this the time I stop sharing photos of my daughter?

I do know this: the day she says, “I don’t want my photos on your blog.” That’s it. I won’t be posting them anymore. But, for now she can’t really share her opinion. She likes seeing photos of herself on my computer and she doesn’t know anything about the internet. That’s where I come in… her mama. I cannot decide if I should or should not.

Reasons why I’d stop: I know of 3 times where my blogging friend’s kids were recognized in public, people stealing photos and claiming a kid as their own when they are obviously not, and putting a picture of your kid on a shirt and selling it (this happened to Shawntae).

When I went to BlogHer last month, I went to photography blogging day long class thing. It was called BlograpHer. I enjoyed it. I learned a bit and it was fun listening to the ladies they had speaking. But, there was one speaker, a professional photographer, that says she never watermarks. Ever. Her reasoning: what if a company wants to use her photo on a product? They wont want to see it with a watermark! Well, that actually worked for her (her kid’s photos are on a few baking products, etc… and, they paid her), but I don’t see that happening with me (this ladies’ photography is ahmazing). So, I watermark. I was just a bit disturbed at how she didn’t care if someone stole her photos. At all. She didn’t care. I don’t know about you, but I care where my photos go. That’s completely her opinion, that I do not understand.

Sooo for now, I will just continue to limit the amount of photos I share of Miss R. Plus, I have a few unwritten rules…. That I try and remember to keep for when I share photos of my girl online (including twitter, instagram, and Facebook): Always watermark! Sometimes I forget… But, I try to always watermark. And, I’m not talking about the corner of the photo, I like to have the watermark touch her face/neck. Resize those photos. I always resize before posting to my blog. No image on my blog is wider than 650. Never share naked kiddo. That’s it. No naked nothin.

What are your thoughts on this whole sharing your kid online? Do you watermark?

– Chelsey

p.s. I’m linking up with Just Write


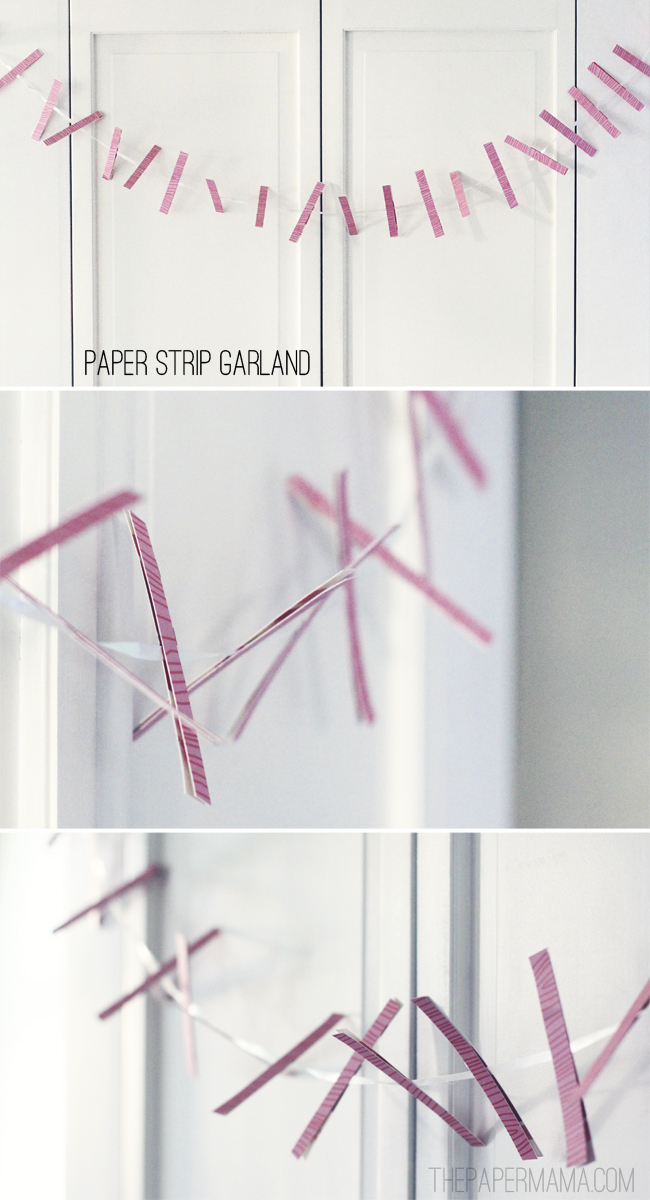
Leftover Paper: Paper Strip Garland + Treat Toppers

Ever wonder what to do with your leftover party invites? Hmmmm? Well, wonder no more. I have an answer. Don’t just toss them… make a paper strip garland and treat toppers! It takes barely any time and is way too simple.

Supplies:

– Paper (leftover invites, scraps of paper, maybe magazines?)

– String (length is up to you)

– Toothpicks

– Hot glue gun + glue sticks

– Paper cutter (saves lots of time)

– 30 minutes of your time

Treat Toppers:

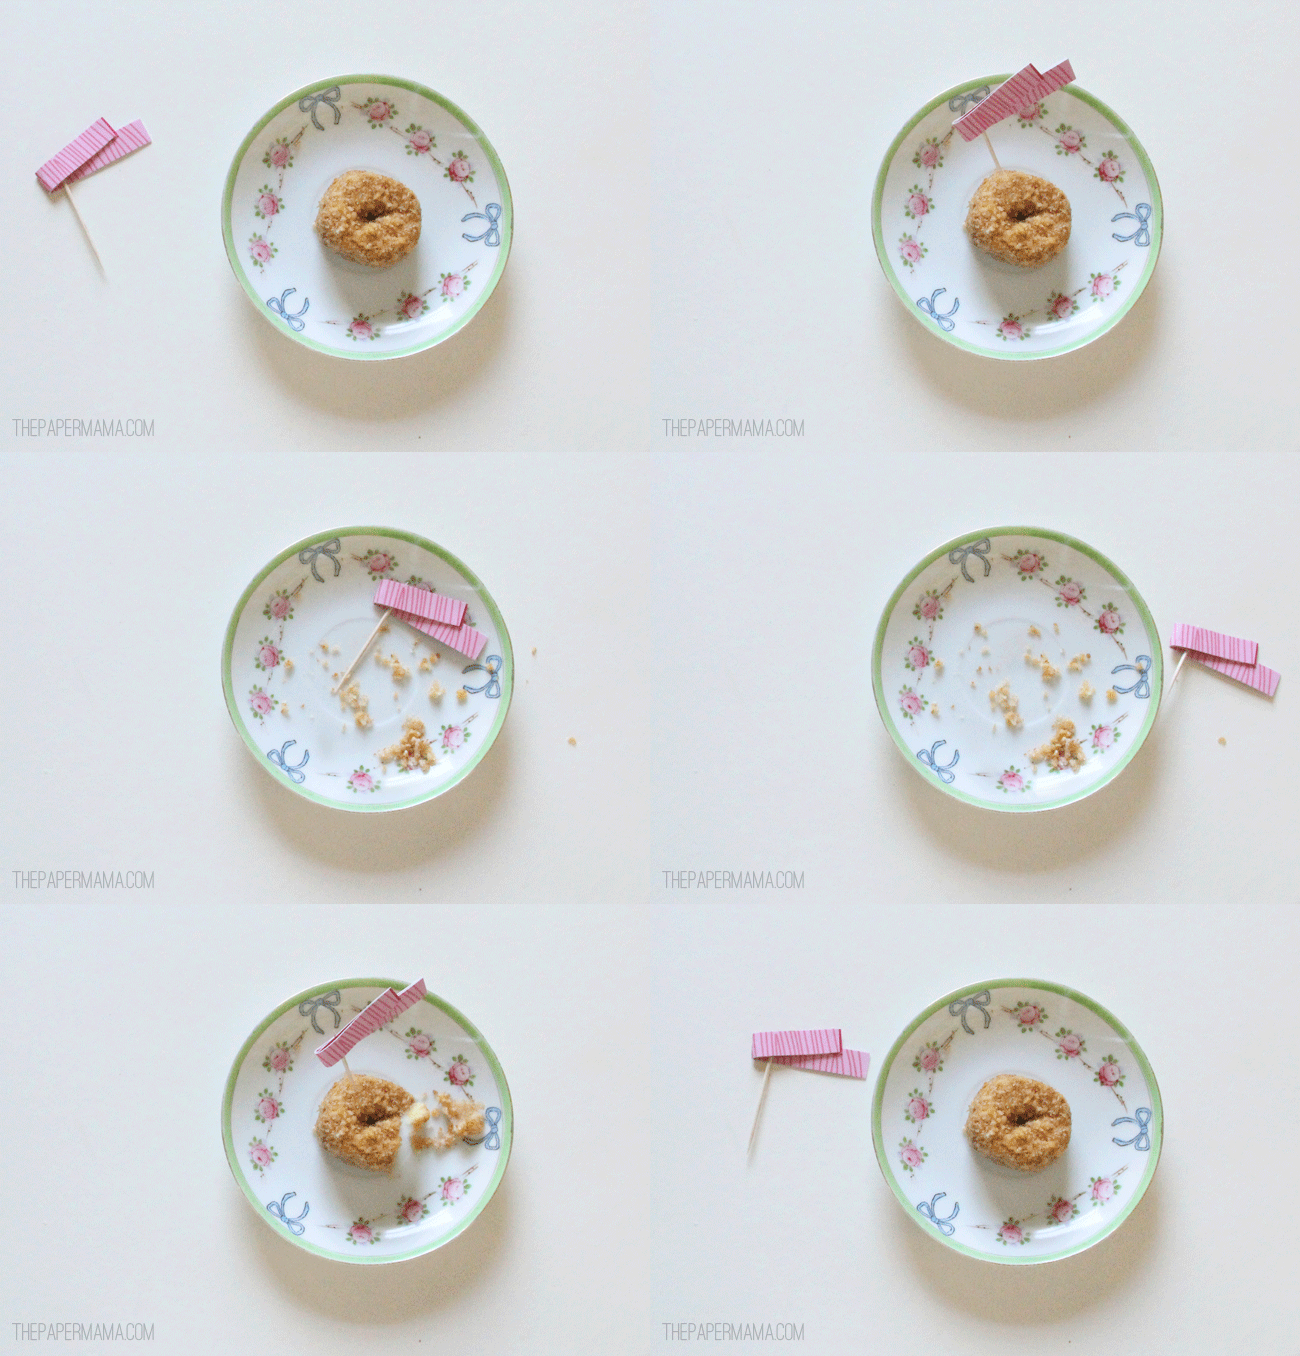
– Cut out as many strips as you need (2 needed for each topper) at 4 inches x 1/2 inch.

– Glue two of those strips together (with the pretty designed paper sides facing out).

– Bend the glued strip of paper in half… with a slight angle to it (see photo below).

– Glue the folded strip onto a toothpick.

– That’s it!

Paper Strip Garland:

– Cut out as many strips as you need (2 needed for each strip) at 4 inches x 1/2 inch.

– Laying one paper strip flat, squirt a small glue strip on the paper and over the string, quickly lay the second strip of paper on that. Continue on with this until you’re happy with the length of your garland. I spaced my pieces roughly 2 inches apart.

– You’re done! Now it’s time to hang. I suggest twisting the string a bit to get the papers to stick out at different angles.


– Chelsey

{Related Posts://Bow Gift Tags//Paper Flower Frame//Easy Peasy Wrapping Paper//}

Sponsored posts are purely editorial content that we are pleased to have presented by a participating sponsor. Advertisers do not produce the content. I was compensated, but the content is all my own.