Halloween Excitement!

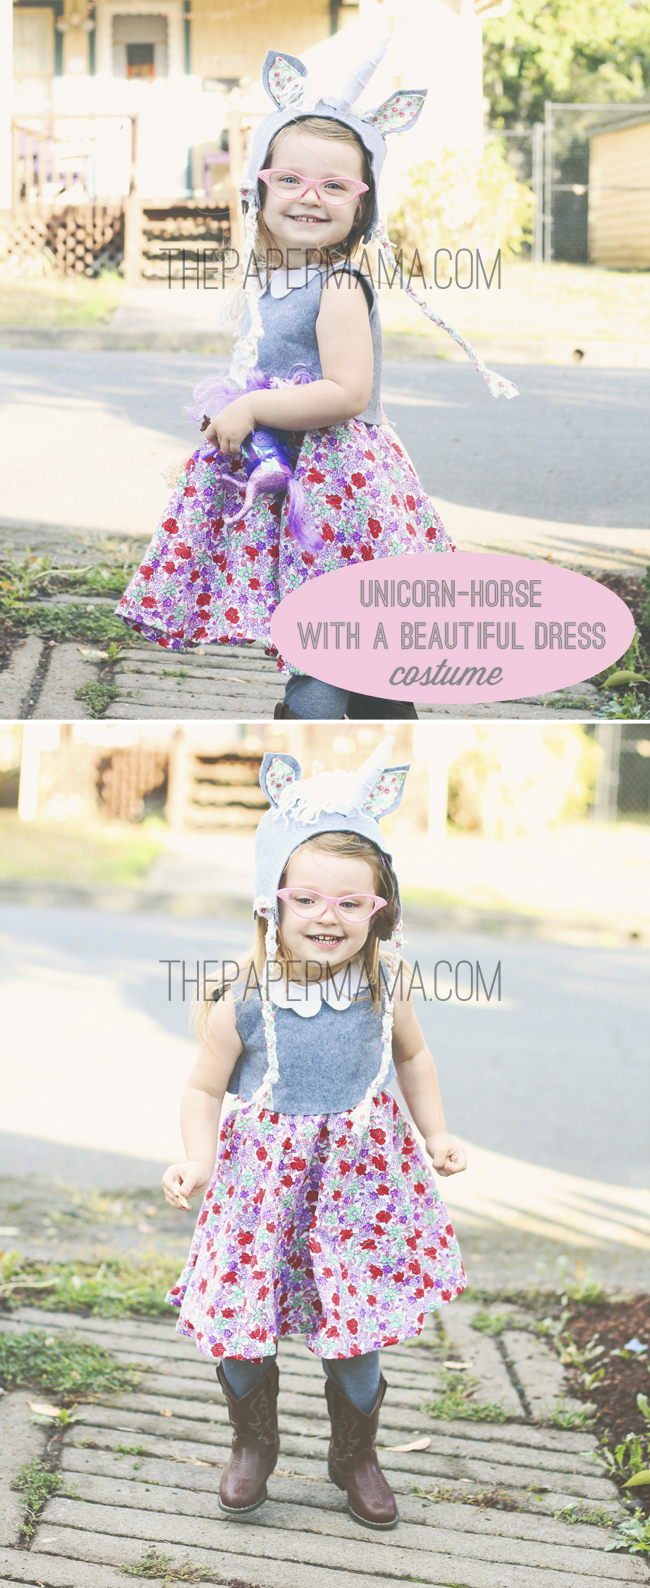
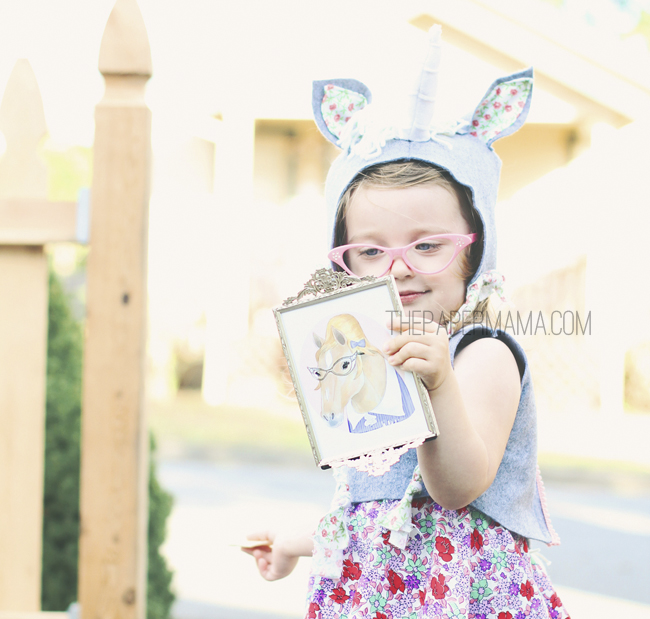
The kid is so excited for Halloween! The previous two years, she’s been too young to really care (mostly she just cried wearing any costume). This year she chose her costume, she asks to listen to Halloween music, and she tells random people about all the candy she’s going to get. Pretty much, it’s awesome! I’m so excited for how happy she’s going to be this Wednesday. Yay!

Basically, this Wednesday is going to be fun (even though it’s supposed to rain, normal for Oregon).

Happy (almost) Halloween!

– Chelsey


This months photo challenge…

Hi friends,

Let’s talk about my photo challenges. I started my photo challenge back in May 2010. I have some amazing bloggers that participate all the time (some make it each and every week), but participation has gone down and I wonder if doing a challenge once a month would be better. I don’t want to completely end the whole thing, but maybe this would be more fun for everyone?

Let’s give it a try. The photo challenge for this month, “Fall”. It will end on November 24th. Maybe I can set up a prize for the winner? I’ll let you all know. 🙂

– Chelsey

…………………………………………………………………………………………………………………………………………………

All my photo challenges should be based around your children (pets are always welcome). 

The challenge:  “Fall”

…………………………………………………………………………………………………………………………………………………
  • First time joining the Paper Mama photo challenge? Start here for rules and upcoming challenges.
  • My photo challenges do require you to have either your children or one of your furry children (pets) in the photo (unless it’s a self portrait week). It could be just one finger… or a toe… but, they must be there.

2010 winners . 2011 winners . 2012 winners .

…………………………………………………………………………………………………………………………………………………

Next month’s theme…. Family!

Photo challenge buttons here:

The Paper Mama Photo Challenge


Day 4: More Christmas Photo Inspiration

DAY 4: Yesterday I shared some silly holiday photo inspiration, today I want to share the sweet and cozy photos. All of these photos make me want to sit next to the fire with a bit of spiked hot cocoa. Please enjoy and check out the wonderful photographers of each image:

1. Erin Drago Photography 2. Stephanie Sperber Photography 3. Karrah Kobus 4. Good Knits 5. Gian Paola Tedde 6. Linda Jackman Photo 7. Awesomeville 8. Super Dewa 9. Speight Photography 10. Brenda Shares 11. Savoring The Details 12. NC Photography 13. Richard Phipson 14. Jill from Baby Rabies 15. Youronas

SO, are you all ready for your holiday photo?

– Chelsey

Today is only the 4th day of my 50 DIY Days, but if you’d like to keep up with all the posts… they’ll be here: 


Day 3: Funny Christmas Photo Inspiration

DAY 3: Each year on my blog, I have a Holiday Photo Challenge and I ask everyone to share their holiday/christmas photo with me (for a chance to win some prizes). The end of October is usually when the fam and I start planning out our Christmas photo. That’s why I’m sharing some inspiration with you. I love a silly Christmas card and all of these photos made me laugh. Here are the links to the owners of each photo:

1. Justin James Muir 2. Luvin’ Life Photography 3. Joel Robinson 4. Zac Fisher 5. World’s Best Father 6. Naptime Momtog 7. Josh Hunter Photography 8. Cayusa 9. Shahireh 10. World’s Best Father 11. Josh Hunter Photography 12. The Paper Mama 13. Christian Metzler Photography

SO, keep your eye out for the photo challenge! Winners are chosen by a combo of judges and voting. You can check out last year’s winners here.

– Chelsey

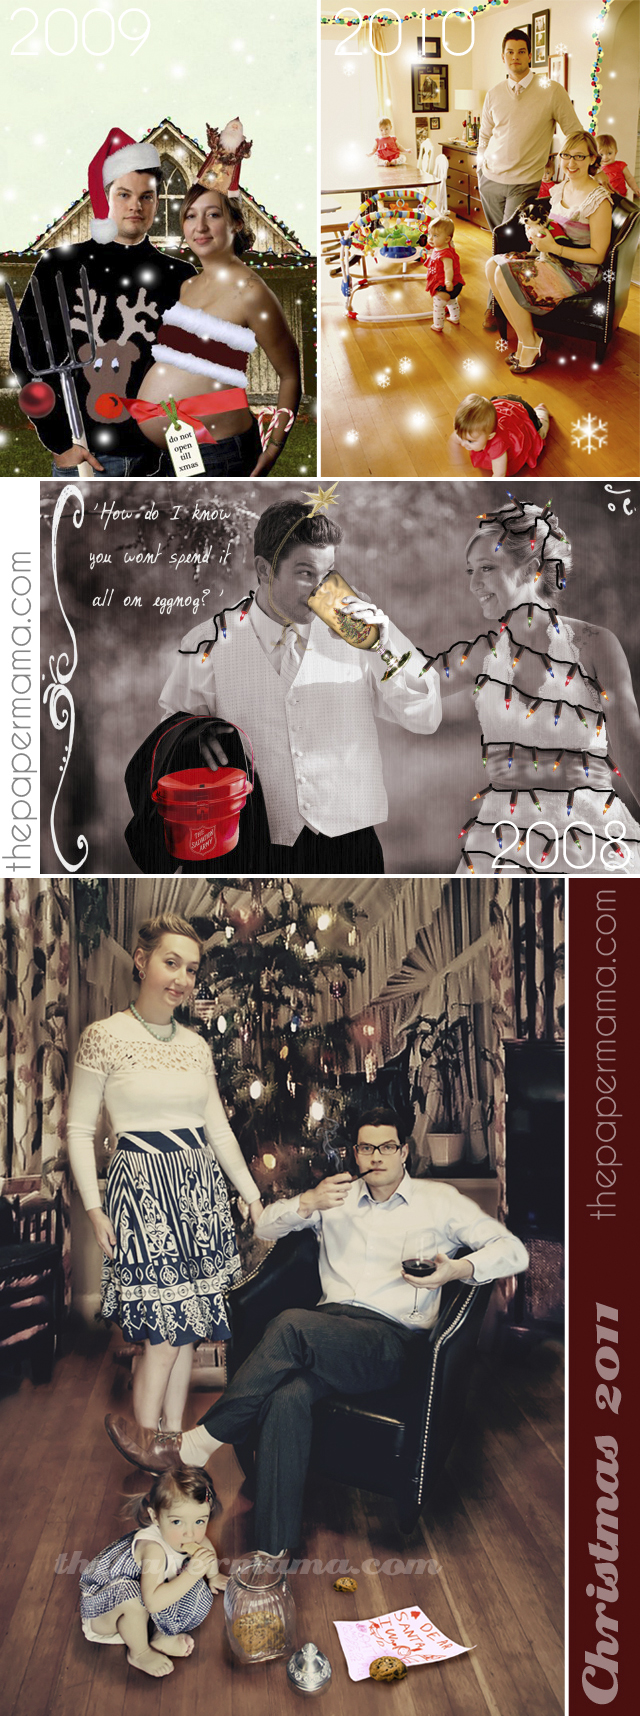
Pssst….. here are my Christmas Photos from the last few years:

Today is only the 3rd day of my 50 DIY Days, but if you’d like to keep up with all the posts… they’ll be here: 


Currently…

Obsessing over: Getting my 50 DIY Days all set up and running.

Working on: Lots of illustrations (see above). I’m trying to finish up a bunch of different dog breeds for Crafty Wonderland. Any dog breeds you’d like to see me draw? I’ve done quite a few so far: Pug, Frenchie, Corgi, Lab, Chinese Crested, English Bull Dog, Jack Russel and… a couple more.

Thinking about: Sitting down on the sofa… drawing. That’s actually quite relaxing for me. I have some custom orders to work on.

Anticipating: The PNW Blogger Holiday Party! There’s a lot of last minute things going on…. only a week to go! I’m getting excited!

Listening to: Silence. Today was a work day for me, so my kiddo was hanging with a friend. Shhhhhhhh….

Drinking: Water. I had a lot of caffeine today… time to hydrate.

Wishing: I could remember what I was going to do… I was about to do something… got distracted… and, now I’m hear… writing this post. Hmmm…..

Happy Friday!

– Chelsey

P.S. I have a 40% discount on ad space for one week! Check it out!

Tags:

Categories: Uncategorized


Day 2: Gold Gift Box

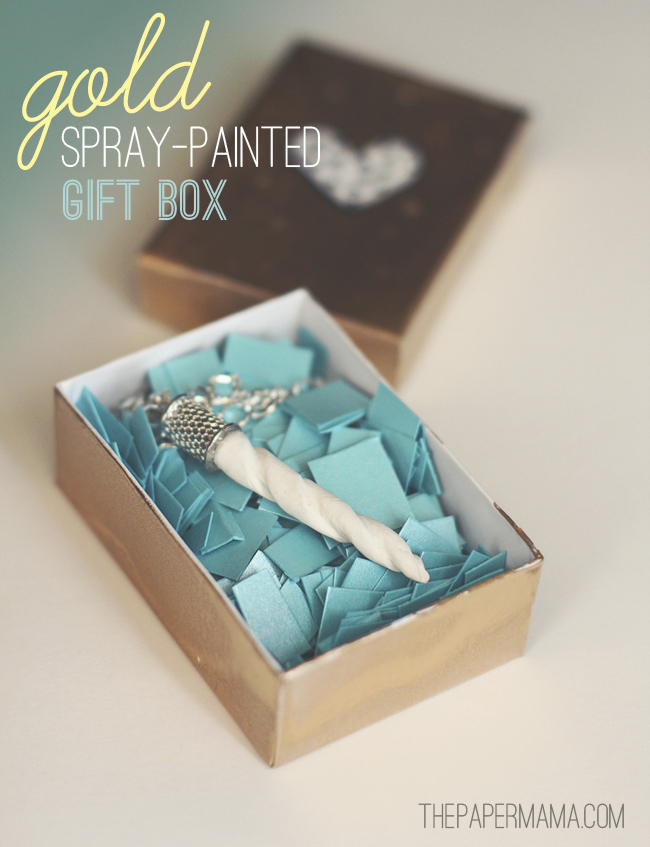
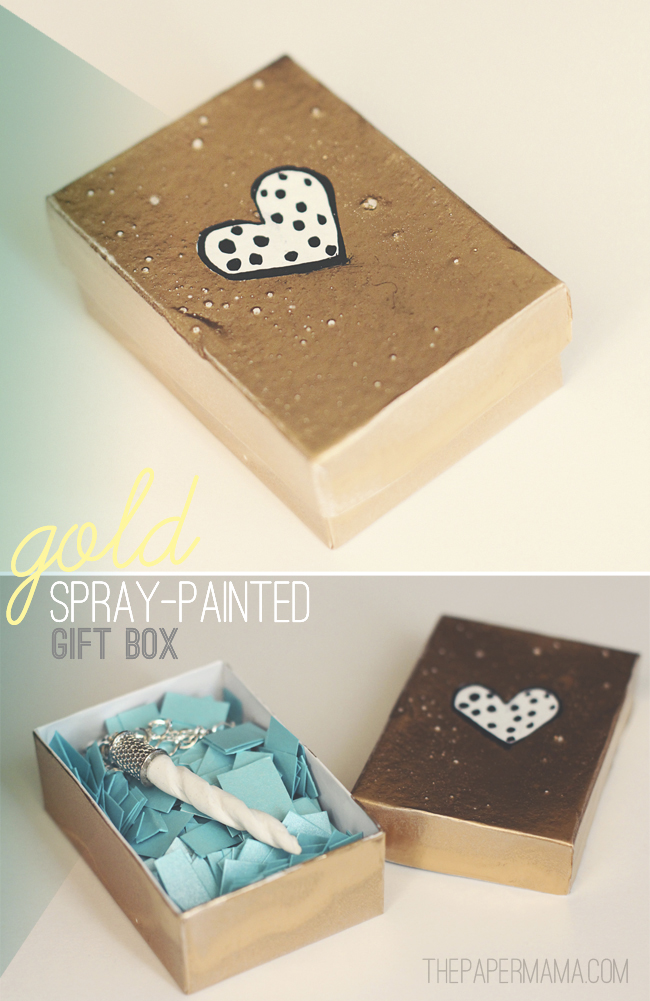
Spray Painted Gold Gift Box DIY

Day 2 of my 50 DIY Days! I thought today’s post would be a perfect follow up to yesterday’s Unicorn/Narwhal horn gift DIY (if you’d like to see how I made the horn… click here). Giving a little treasure or jewelry as a gift this year? Well, you can’t just give a special gift in just any plain ‘ol gift box. It needs something special. A gold gift box. It’s seriously so quick, easy, and awesome.

Supplies needed:

– Cardboard gift box.

– Gold metallic spray paint (I used Krylon)

– Optional: Heart sticker

– Optional: Pretty paper to cut up and use as a cushion in the box

Directions: 

– In a well ventilated space (preferably outside), set up your spraying area. Split up the lid and bottom of your box.

– Optional: Place a heart sticker on the lid of the box. Totally optional. If you do go this route, just peel off the heart sticker the next day, after spraying (when the paint is dry).

– Wearing a mask and goggles ::nerd alert:: (safety first), spray your gold paint onto your box. Note: there are a couple ways you can do this… you can follow the spray can directions for an even coat… or, get it all done in one coat. I got it all done at once. I sprayed closer than 6 – 8 inches and didn’t wait for the paint to dry ::whoops:: BUT, I  wanted a few air bubbles and uneven gold paint. If you want even smooth paint… follow those directions.

– Let the paint dry 24 hours (or whatever your spray paint directions say).

– Optional: cut up tiny pieces of a pretty piece of paper for a cushion. I used one sheet of a teal metallic.

– You’re done! Time to share this magic with a friend – or loved one – or secret admirer?
Spray Painted Gold Gift Box DIY

Cost (I already had all of these items):

– Box: free

– Paper confetti: free

– Paint: Free

Happy Thursday!

– Chelsey

Today is only the 2nd day of my 50 DIY Days, but if you’d like to keep up with all the posts… they’ll be here: 


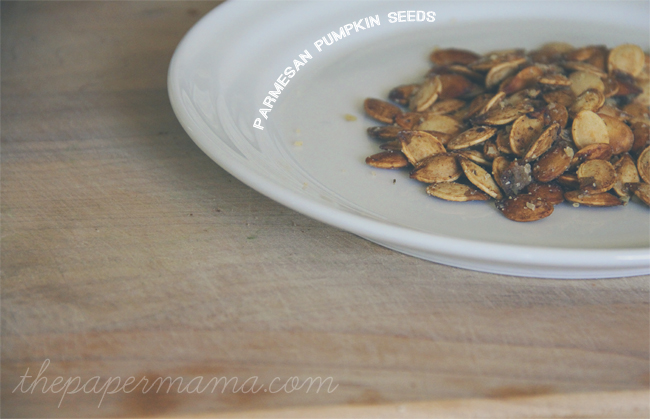
Baked Parmesan Pumpkin Seeds!

As a kid, my favorite part of carving pumpkins: eating the baked pumpkin seeds! Just add a bit of salt, bake for a bit, and you’re done! Always. But, I don’t know why we never got creative with our recipe. Always the same. This year, my crazy husband got creative. AND, I loved it.

Baked Parmesan Pumpkin Seeds!

ingredients:

– About 2 cups of pumpkin seeds

– 1 Tablespoon of butter melted butter

– 1 teaspoon of Rosemary (fresh if you can)

– 1/2 cup of parmesan cheese (super fine grated)

– Salt and pepper to taste

Directions:

Preheat oven to 300. Stir together the melted butter, salt, pepper, and rosemary in a bowl. Throw in the pumpkin seeds and coat them in the butter. Spread the pumpkin seeds in a single layer on an oiled baking sheet. Bake for 25 – 30 minutes (or, until golden brown). You may need to stir around the seeds once or twice during baking. When the seeds are done baking, put them back in the butter bowl. Put in the cheese, stir… and, you’re done! Yes, so good.

Enjoy!

– Chelsey