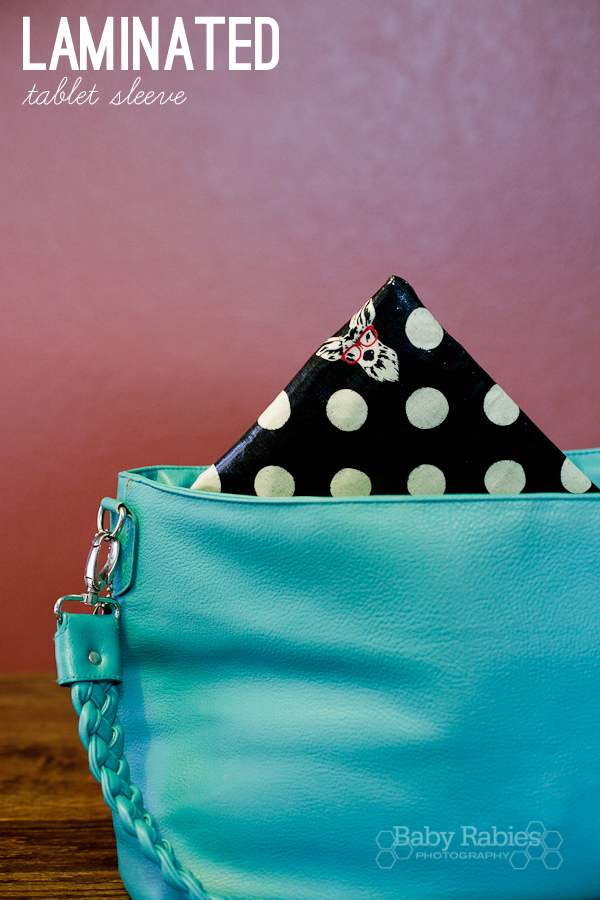
DAY 41 is brought to you by, the lovely Jill of Baby Rabies: Okay, so maybe you can’t afford to give all your friends and family new tablets for the holidays, but you can give them something to keep those tablets (that hopefully someone else is bringing them) safe and dry.
This is an easy sewing project. Really, all you need to be able to do is sew a straight line. I know because that’s all I can do. Except don’t look too close at my lines because they aren’t all the straight.
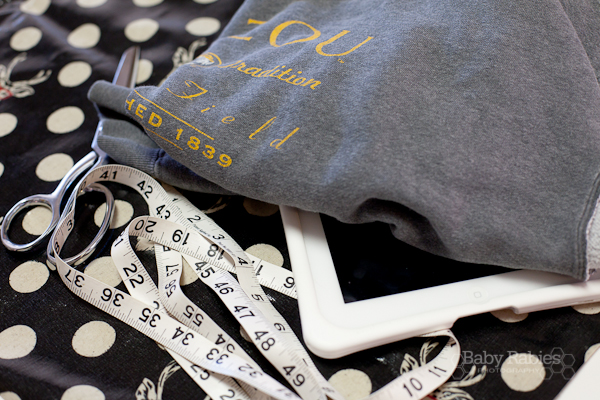
What you’ll need:
– 1 yard of laminated cotton (or oilcloth)
– 1 old sweatshirt or towel
– measuring tape
– scissors
– sewing machine and thread
– the dimensions of the tablet you’re making the cover for
For the purposes of this tutorial, I’ll give you the dimensions I used for my iPad2 in a protective case. I measured with the case on, and came up with 11″ x 9″. Then I added a 1/2″ to each measurement. That was the final dimensions of I needed the sleeve to come out to- 11.5″ x 9.5″.
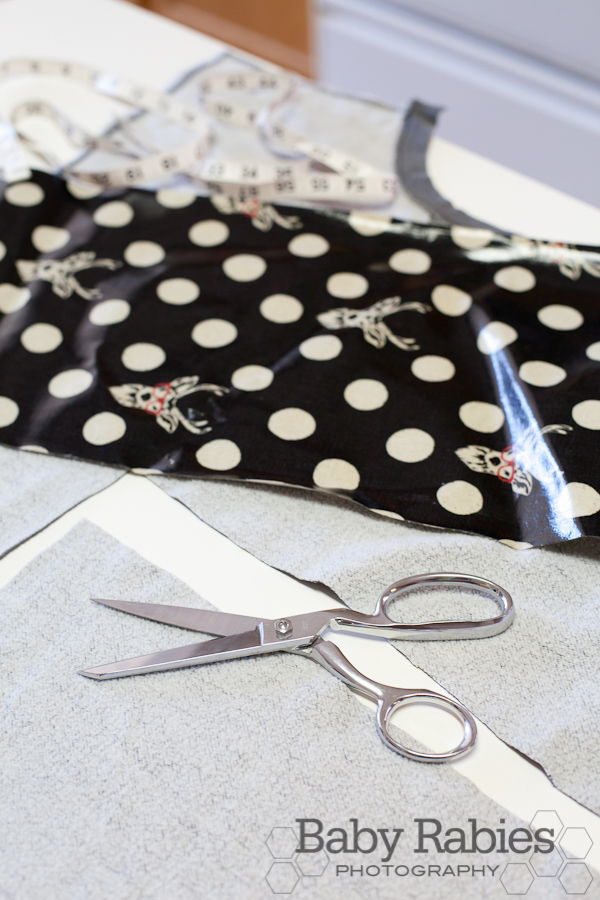
I cut my laminated cotton fabric to 28″ x 10″ and the sweatshirt to 26″ x 10″.
The formula for figuring this out based on your own tablet dimensions is as follows:
Start by adding .5″ to your final width. This will be the same for both fabric pieces.
For the laminated fabric, double your final height measurement, then add 4.5″. The total will be your length of laminated fabric you need to start with.
For the sweatshirt, double your final height measurement and add 2.5″. This will be the length of sweatshirt (or towel) you need to start with.
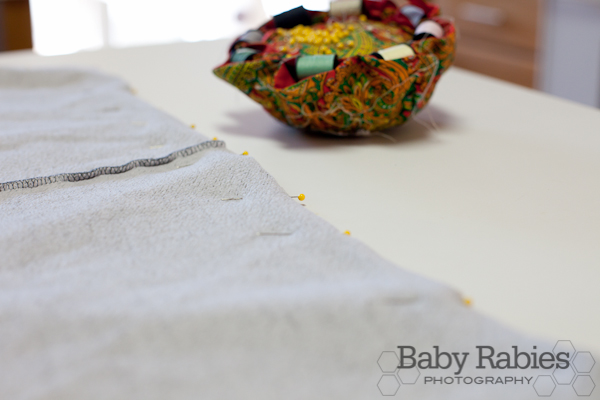
After you’ve cut out your pieces, lay your laminated fabric right side down. Place your sweatshirt on top of it, with the side of the material that you want exposed to the tablet. I chose the inside of this old sweatshirt.
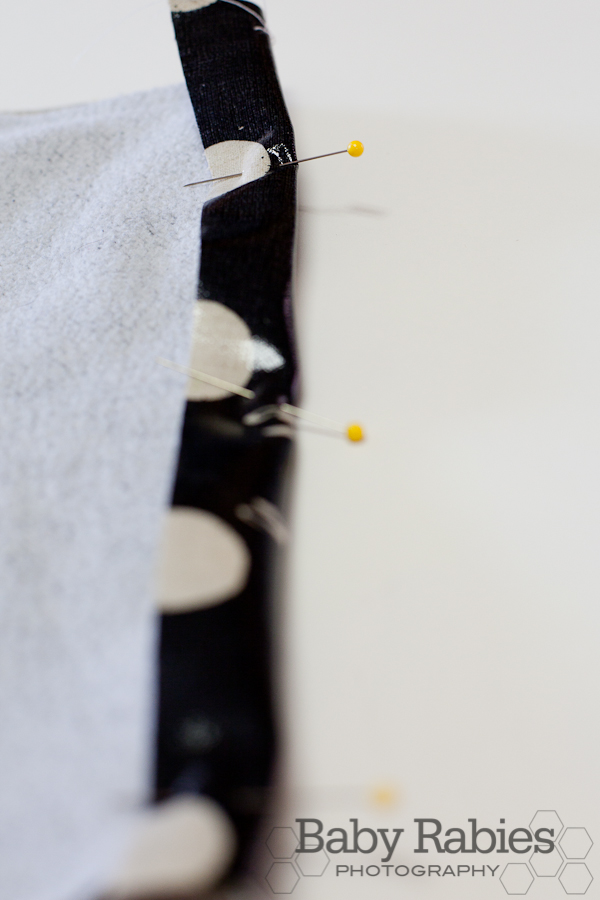
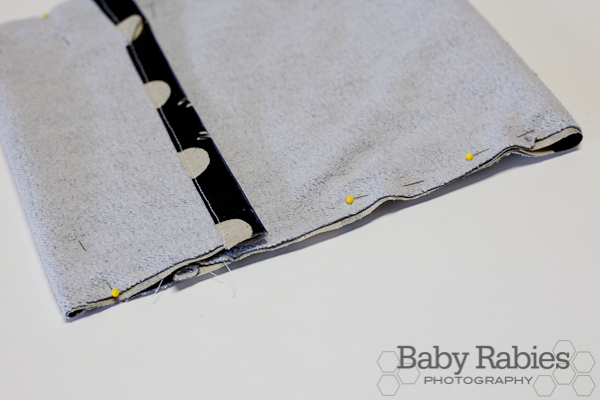
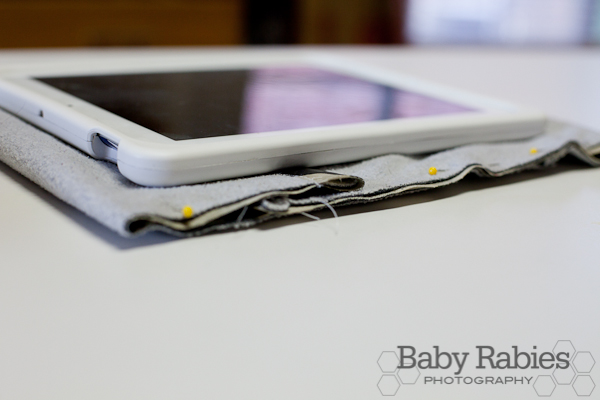
Pin your two pieces together, leaving 1″ of laminated fabric extending past the sweatshirt fabric on either side.
Stich the 2 pieces of fabric together .25″ from the edge, then fold the 1″ of laminated fabric over each end of the sweatshirt, pin and stitch down. No need to double fold here. The laminated fabric won’t fray if you leave a raw edge, and it won’t be visible when the project is complete.
Lay the piece right side down again. Fold the bottom of the fabric up to a few inches below the top. Fold the top of the fabric down until it overlaps the bottom by 1″. Pin all the way around, then stitch together each long side, 5/8″ from the edge. Don’t do anything to the horizontal opening.
Remember to adjust your machine settings to allow for such thick fabric! You might need to loosen your tension and lengthen your stitch.
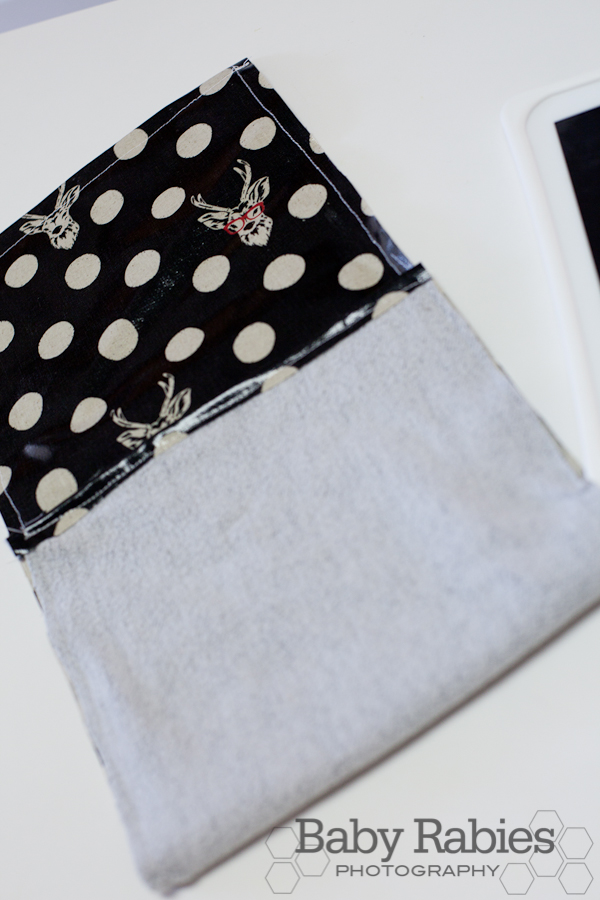
Trim the edges of the fabric as close to your first line of stitching as possible (.25″ in), then carefully trim your corners at a diagonal CAREFUL not to clip the stitching.
Finally, turn the project right side out, using a pencil or a crochet hook to really pop out those corners.
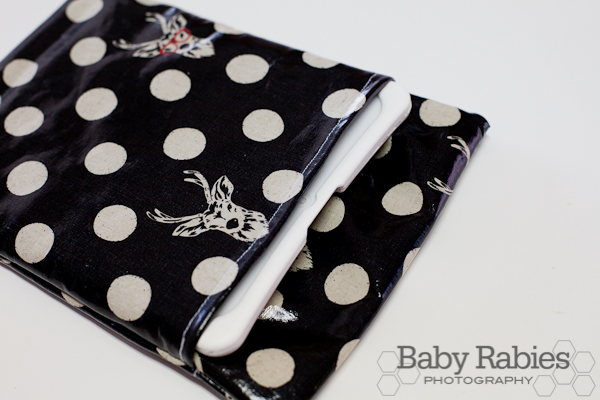
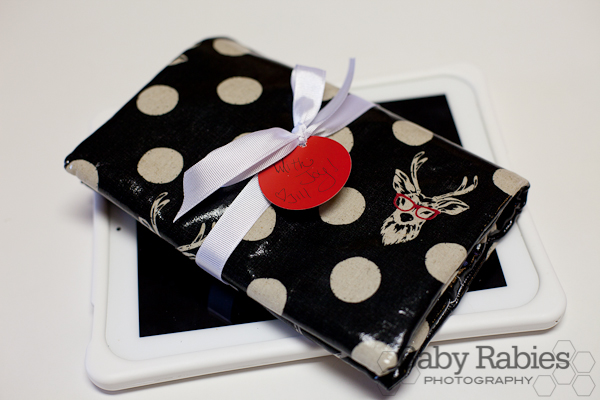
When you’re finished, you’ll have a water-resistant tablet cover that’s sure to be the envy of everyone at the coffee shop. I mean, they’re totally not envious of the actual tablet, right? Just the gorgeous, handmade sleeve it lives in.
…………………………………………………………………………………………………………………………………………………
A very big THANK you to Jill for sharing this fantastic DIY. Please, be sure to give her blog home a visit.
To keep up with my 50 DIY Days, click here:
Tags: 50 DIY Days of Christmas, diy, gift, tablet, tutorial
Categories: 50 DIY Days, diy


