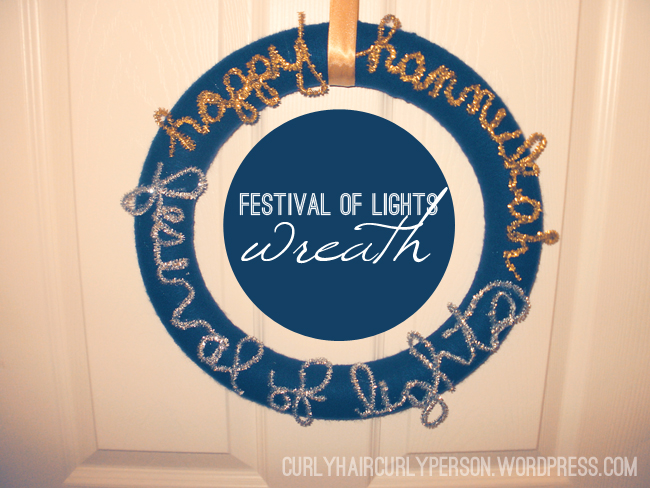
DAY 26 is brought to you by, the lovely Jessica of Curlyhair Curlyperson. Jessica offered to share a fantastic Hanukkah DIY with you. Enjoy:
Hi everyone, jessica from Curlyhair Curlyperson here! If you don’t already know, I celebrate HBC (Hannukah-Birthday-Christmas). Since Hannukah usually comes first, and then of course, my birthday (30! this year!!! in HAWAII!!), and then Christmas. It’s fun celebrating them all, but I thought I’d represent my DIY and put the H back in HBC.
I originally intended for this wreath to be interactive, i.e. the ability to “light” the candles each night of Hannukah, but that didn’t work out, so this is just really a minimalist’s take on a Hannukah wreath. I got the supplies from Michael’s (before teacher discount and taxes, not including a glue gun–I already had one) for $20.43.
Supplies:
1. wreath form (14 inches)
2. your favorite color of yarn, you don’t need too much–less than 333m (I got navy; I recommend Red Heart Super Saver since it’s cheap and good quality yarn for a project like this–PLUS my Mimi always used Red Heart)
3. 1 yd of your favorite color ribbon (I got gold because I’m super into gold right now AND it’s festive)
4. pipe cleaners (I got silver and gold so it would look festive AND it would be really shiny around the candles)
Steps:
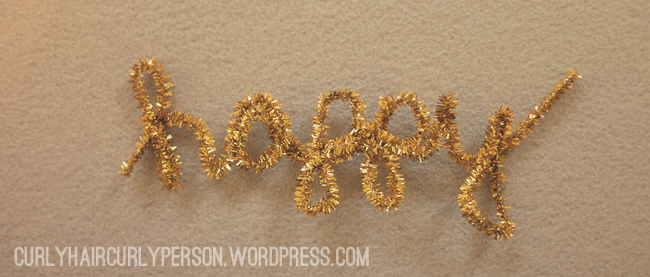
1. spell out the words, “happy”, “hannukah”, “festival,” “of”, and “lights”.
 2. wrap your wreath–this takes for.EVER. Hours people. But you could watch your DVR while you do this. I made mine really, really, really tight by tightening the yarn every few inches of wrapping. **I started the wrapping with a line of glue from the glue gun…I don’t know if I would put as much glue next time. I ended the wrapping with a dot of glue.
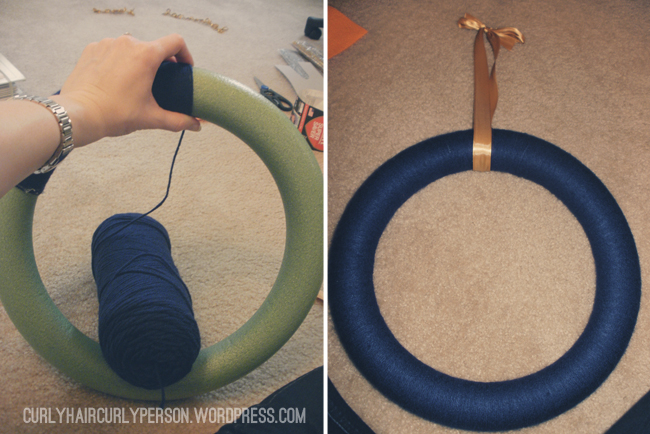 3. tie your ribbon and glue to the wreath over the place where you started the wrapping to cover it up.
4. arrange your words in the places you want them on your wreath (make sure it looks pretty)
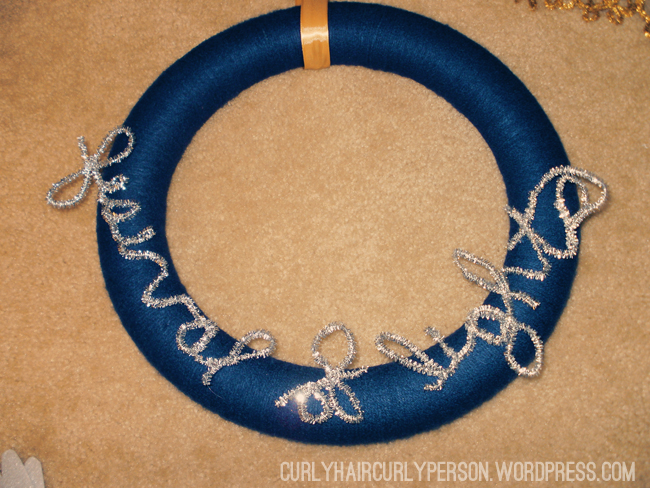 5. GLUE GUN IT!
6. And boom. You’re done. Hang your new wreath wherever you want and enjoy! (I think it’d look pretty hung on a wall in your house near where you’re going to light your candles to sparkle off all the flames during all 8 nights of Hannukah!)
– Jessica
…………………………………………………………………………………………………………………………………………………
A very big THANK you to Jessica for sharing this fantastic DIY. Please, be sure to give her blog home a visit.
To keep up with my 50 DIY Days, click here:






Love it and pinned it to my board!