Disclosure: This 3-in-1 Glow-in-the-Dark Cornhole Game Set project is sponsored by Beacon Adhesives. All opinions are my own.
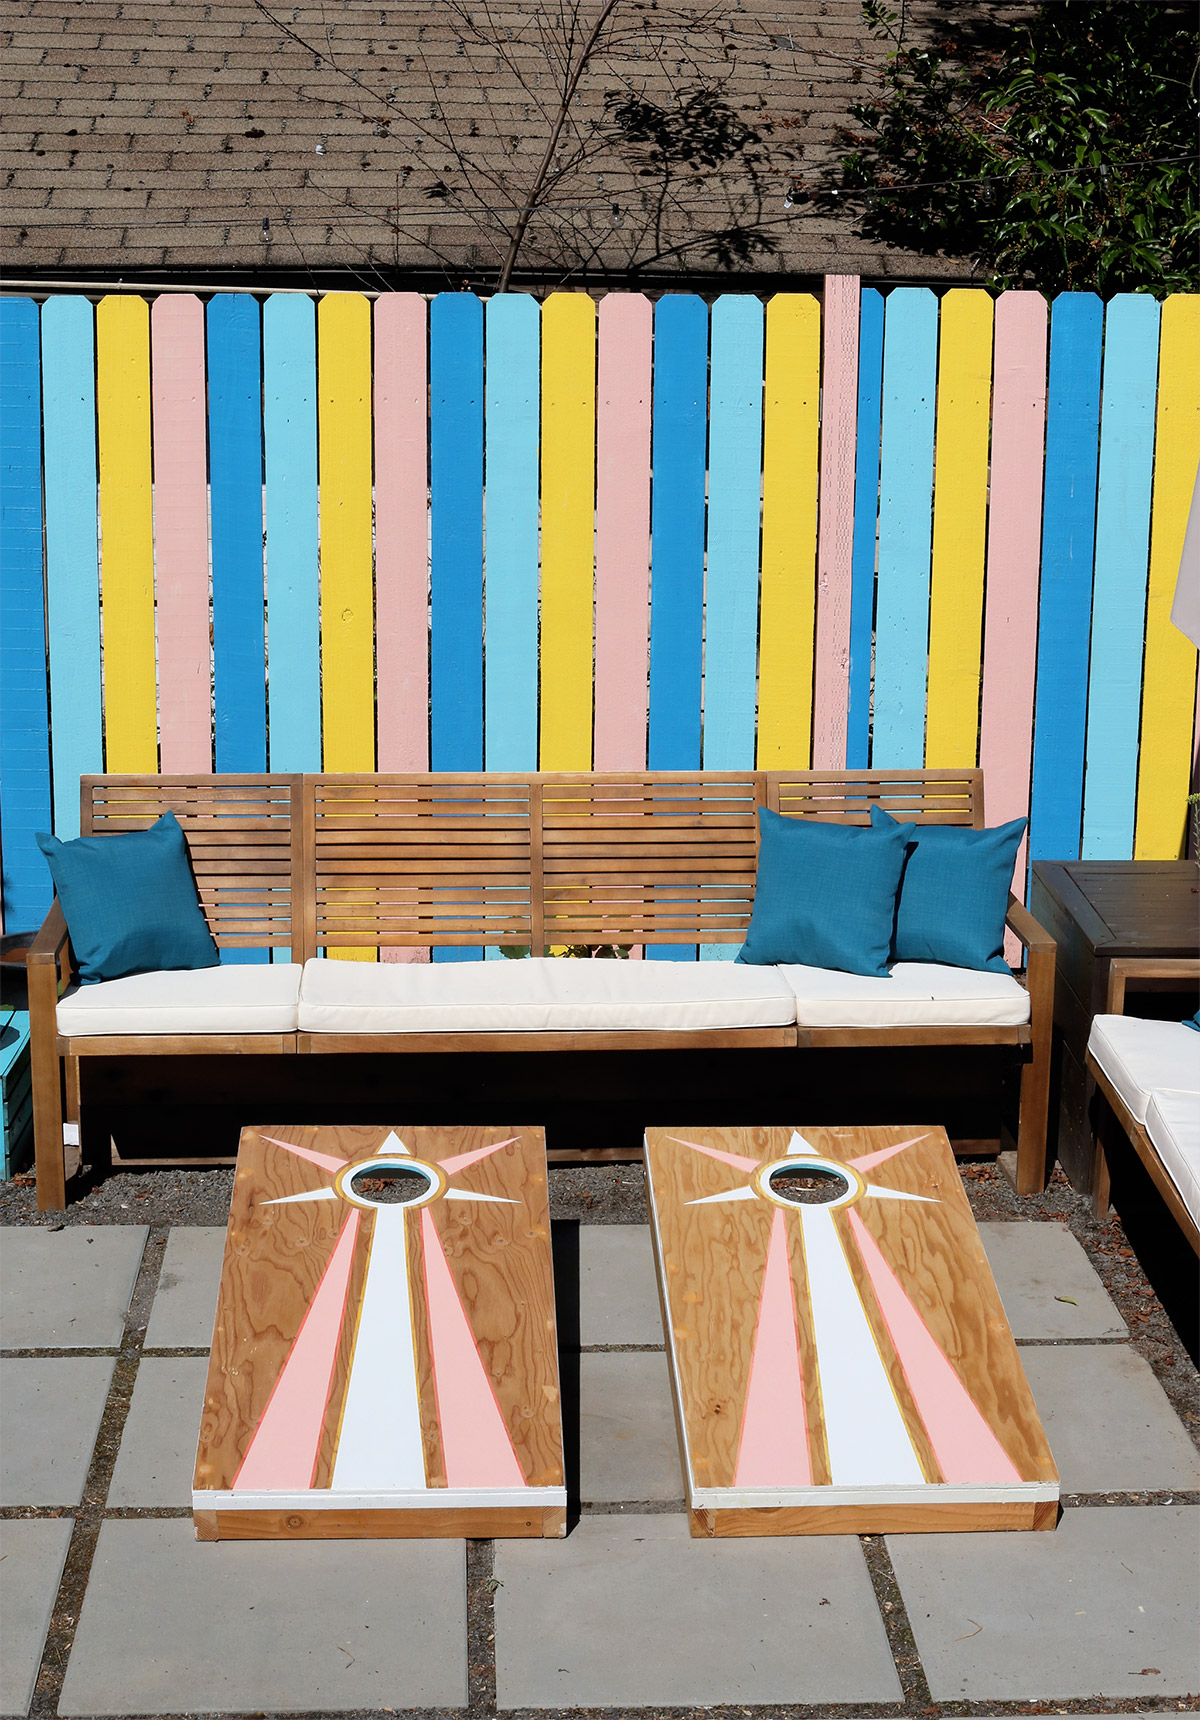
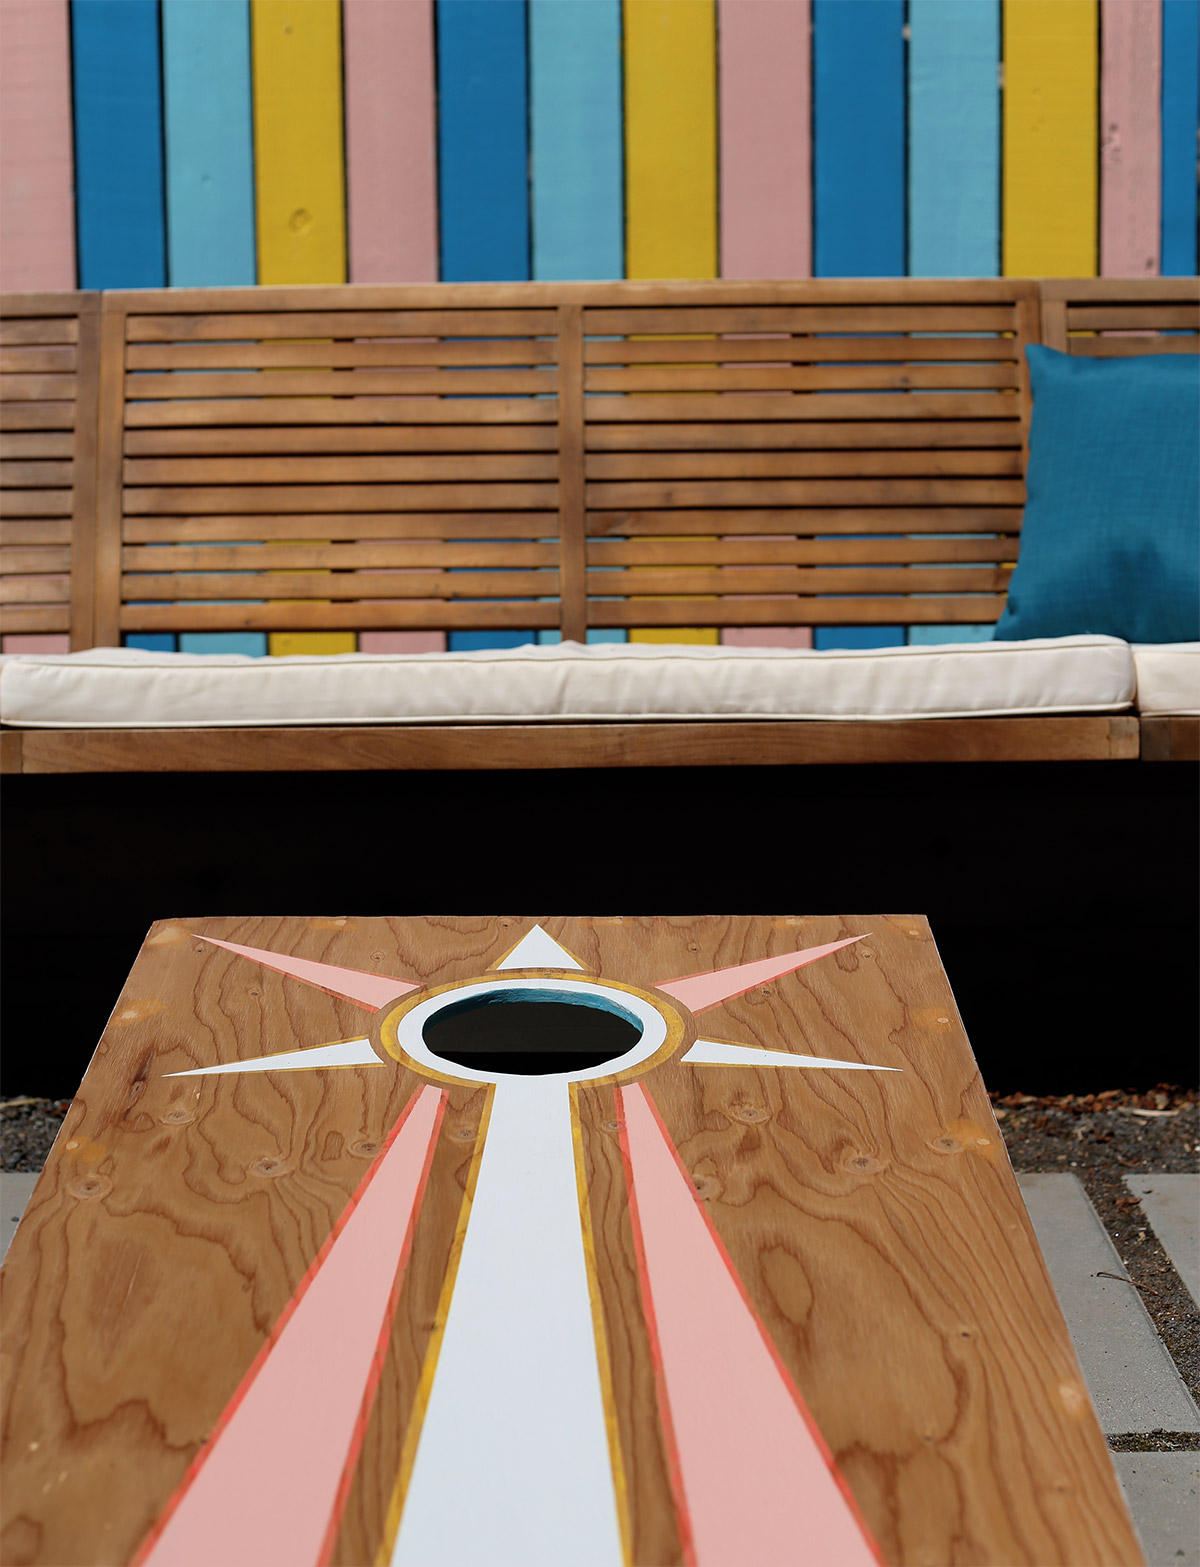
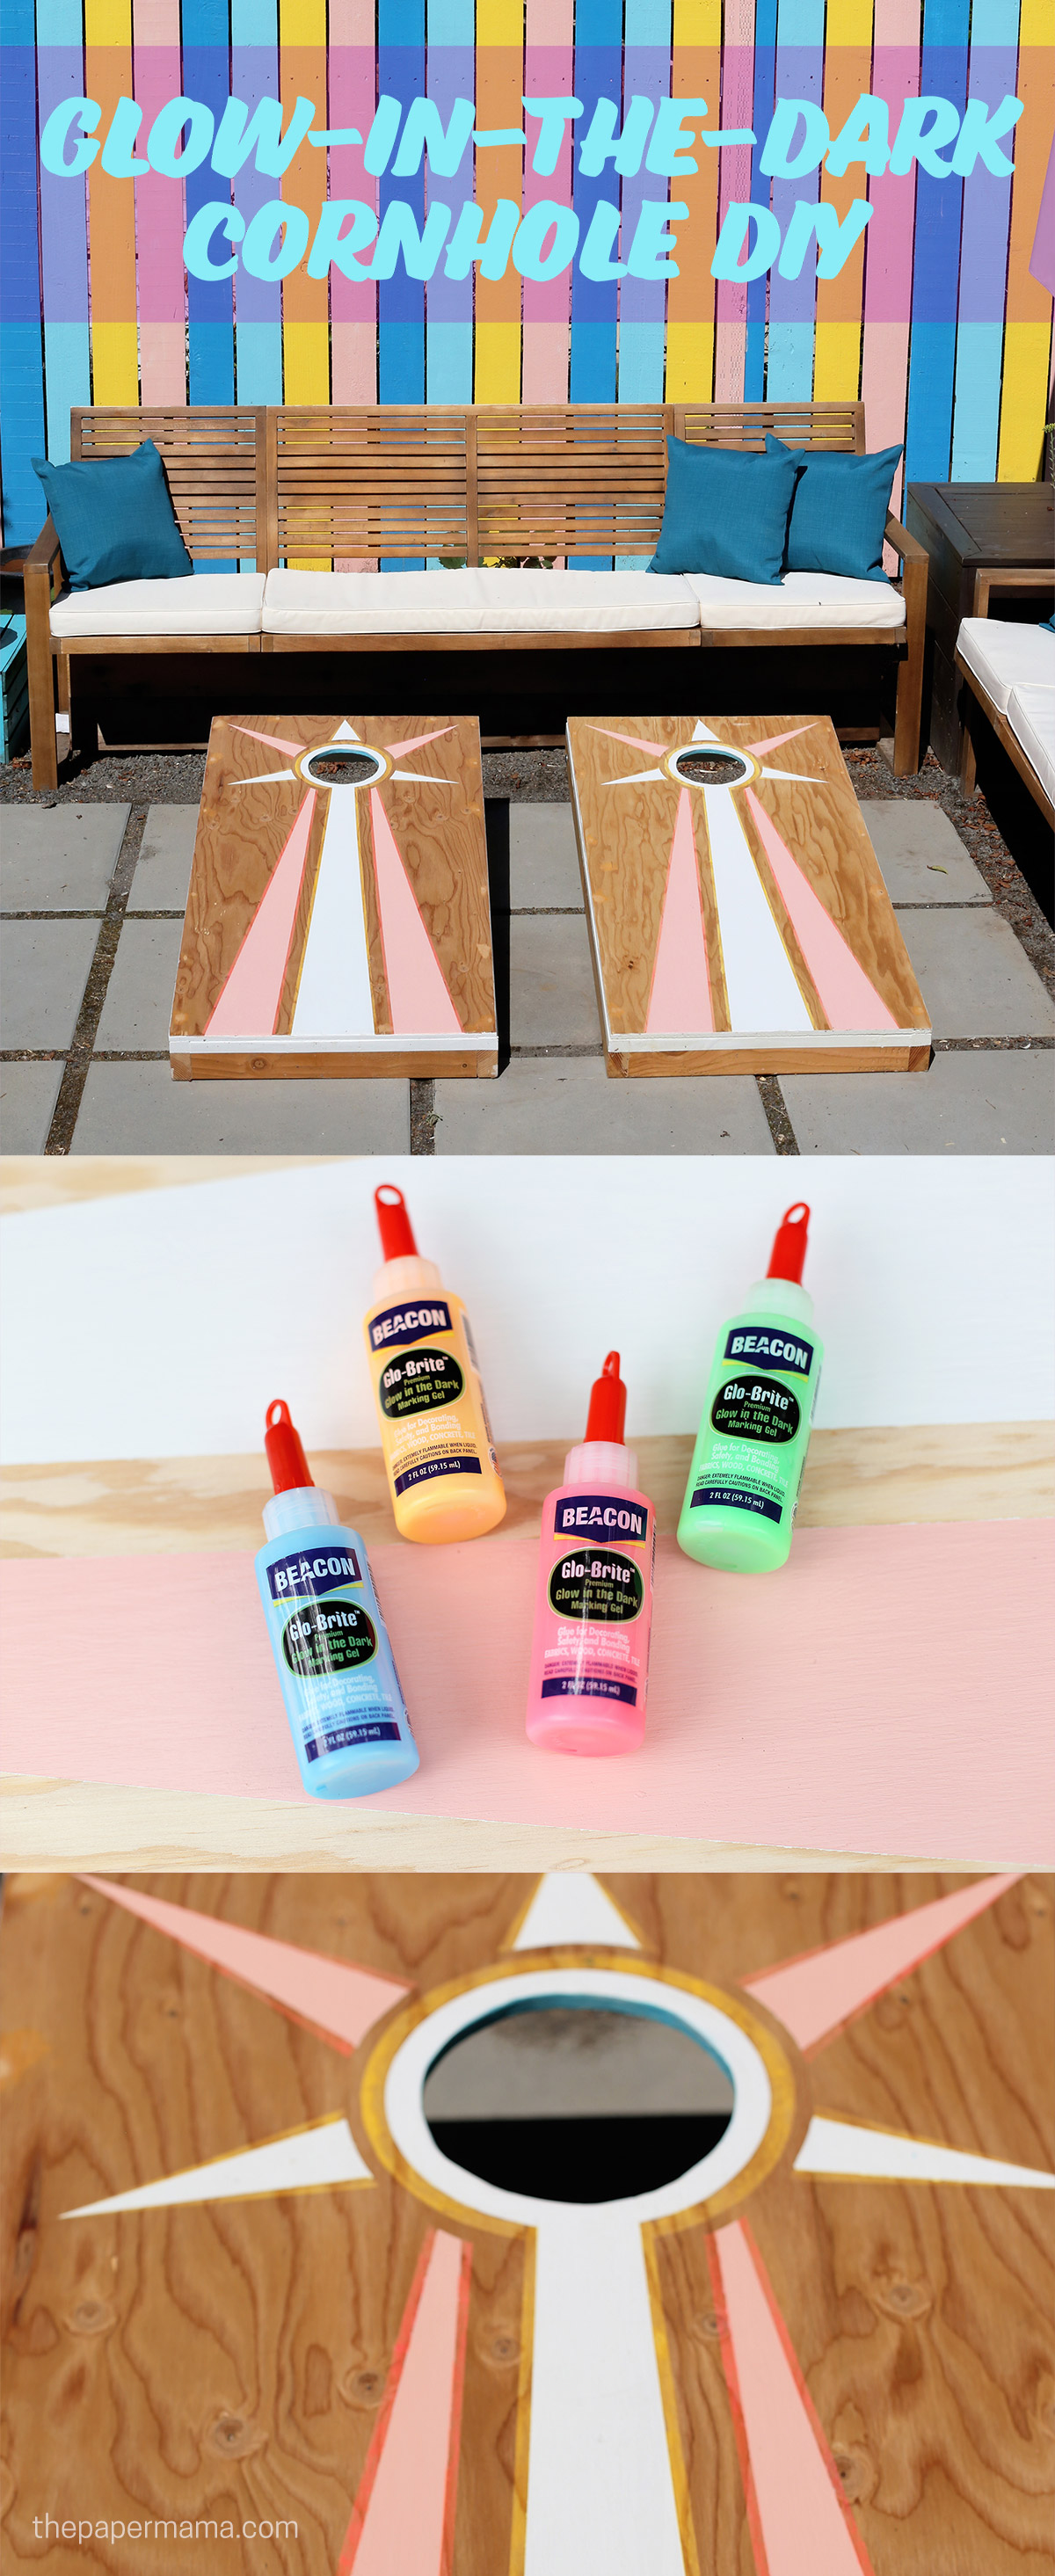
Have you noticed the change in the weather? Yup, it’s Summertime! With the arrival of sunny days, I decided it was time for our family to own a cornhole set. Because I’m not typically one to purchase a product when I can make it myself, I built my very own 3-in-1 Glow-in-the-Dark Cornhole Game Set. The front side of the boards are all about cornhole, flip them over and you can play a game of ring toss, or washer toss. What is cornhole? It’s essentially a beanbag game that is great for any age, really, and this game will give me an excuse to enjoy our backyard even more (If you’d like to know more about playing cornhole, please read the official cornhole rules here).
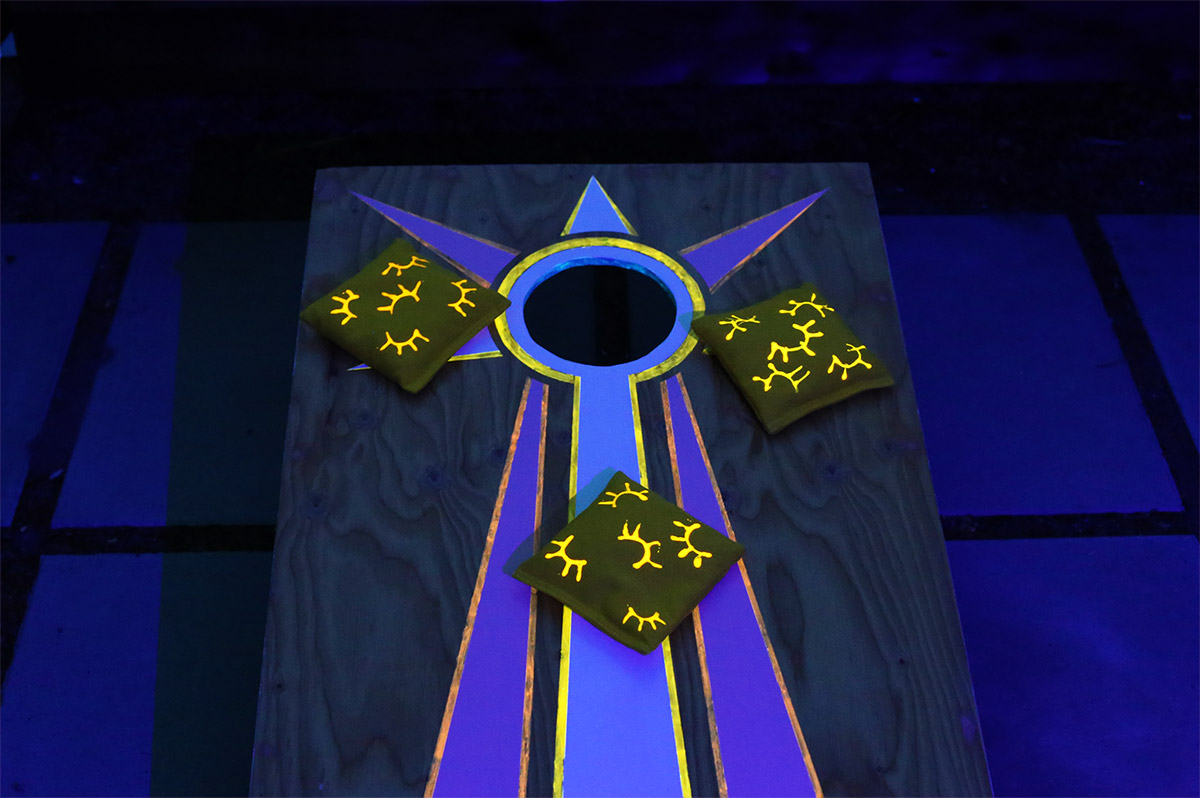
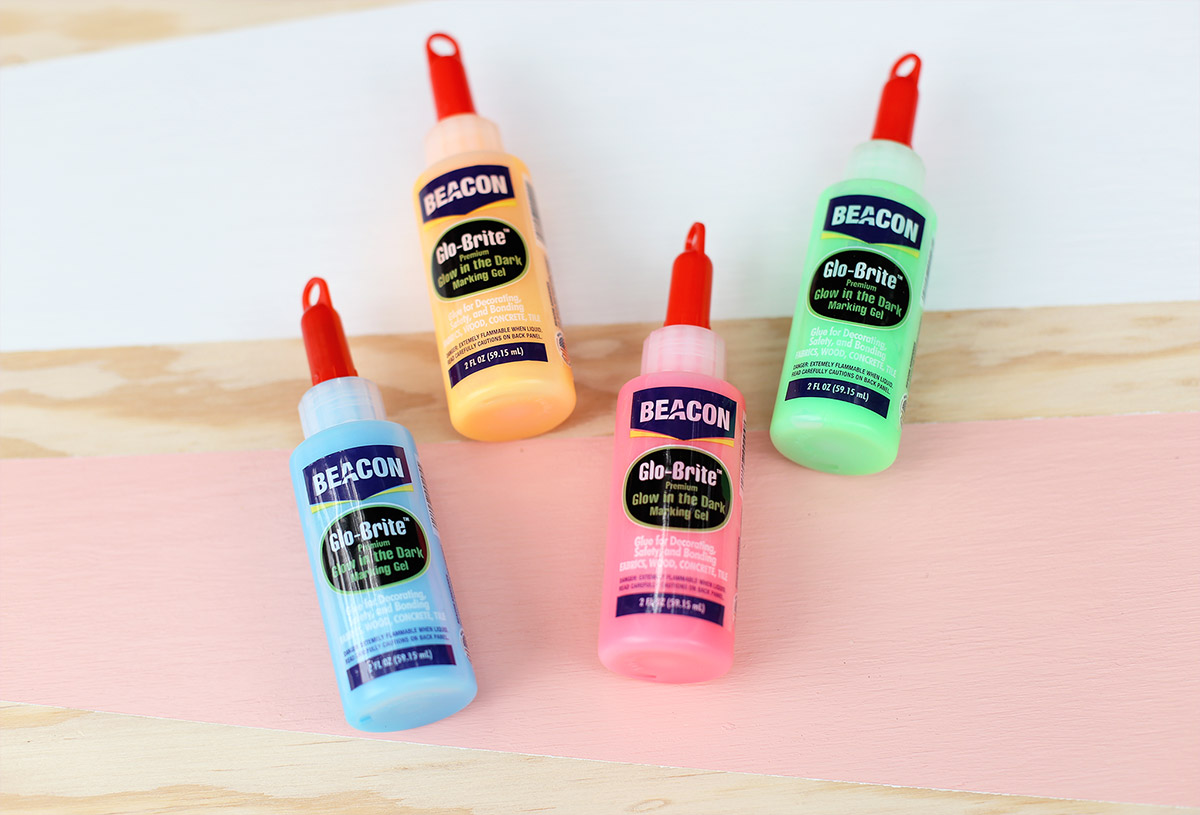
My husband is quite serious about backyard games, so I made this cornhole set to regulation size (feel free to make it smaller if you don’t care about regulation sizing). In addition to that, with the help of Glo-Brite Glow-in-the-Dark Marking Gel, this cornhole set will glow in the dark! No need to stop playing once the sun sets. How perfect is that?
Want to find out how I made this Glow-in-the-Dark Cornhole Game Set? Check out my directions below and feel free to watch the detailed video I provided at the end of this post.
Materials Needed for Cornhole Frame:
- (2) 24″ x 48″ x 1/2″ plywood sheets
- (2) 2×4 x 10′ pine for the frame
- (1) 2×4 x 4′ pine for the frame
- (1) 2×2 x 8′ pine for the frame and legs
- (4) 3/8″ carriage bolts
- (4) 3/8″ wing nuts
- (4) 3/8″ washers
- (18) #8 – 3″ exterior wood screws
- (24) #8 – 2″ exterior wood screws
- wood putty
- Timber-Grip Wood Glue
Materials Needed for Ringtoss:
- (1) 1×2 x 25″ for ringtoss frame
- (4) 1×2 x 7″ for ringtoss frame
- (2) 3/8″ wood dowels
- Quick Grip Permanent Adhesive
- (3) yards thick rope
- duct tape
Materials Needed for Washer Toss:
- Quick Grip Permanent Adhesive
- (3) different colors of spray paint
- (1) 4″ diameter PVC coupler pipe
- (8) 2″ diameter washers
Finishing Materials for the Projects:
- primer
- exterior-grade paint
- Glo-Brite – pink
- Glo-Brite – blue
- Glo-Brite – orange
- cornhole bags
Tools Needed:
- miter saw (or get your wood precut at the lumber store)
- jigsaw
- drill
- 3/8″ drill bit
- sander
- measuring tape
- pencil compass
- clamps
- painters tape
- painting supplies
Check out my Amazon influencer page (affiliate link) for a list of supplies I used for this project.
Step 1: Cut Out the Holes
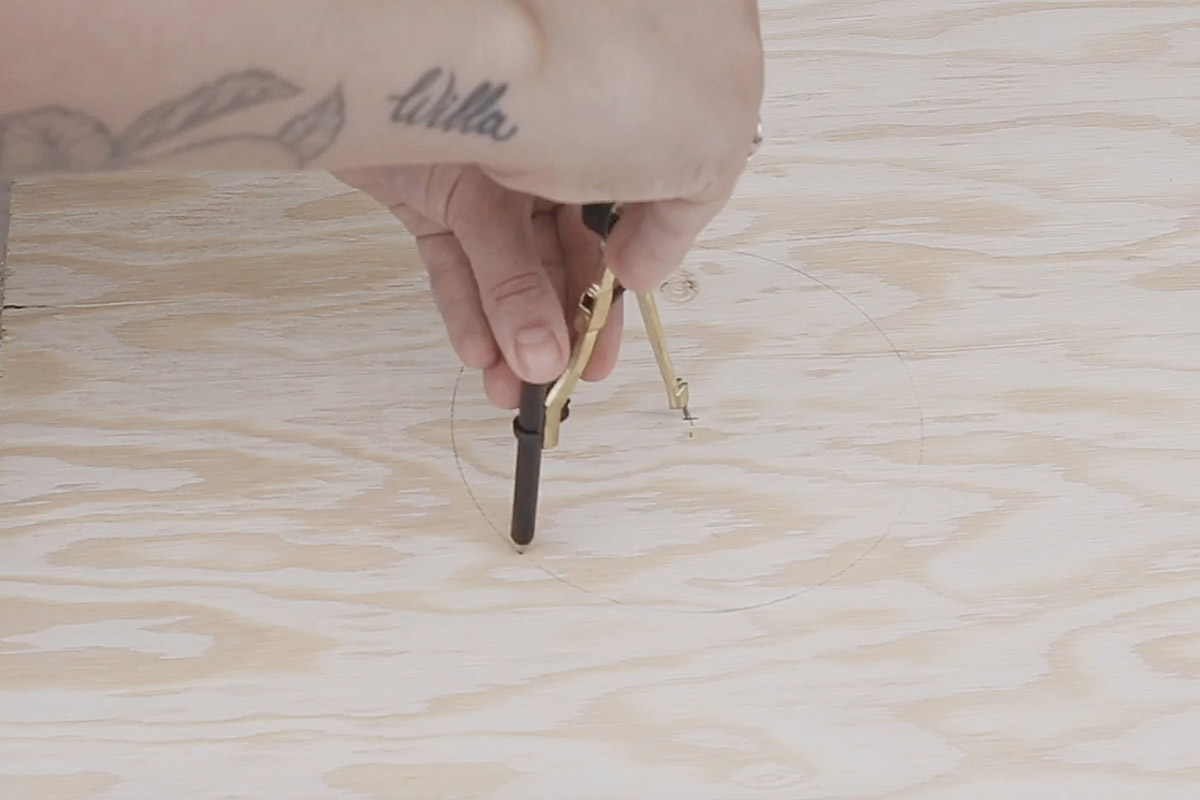
Measure 9 inches down from the top, and 12 inches from the sides to mark the center of the hole.
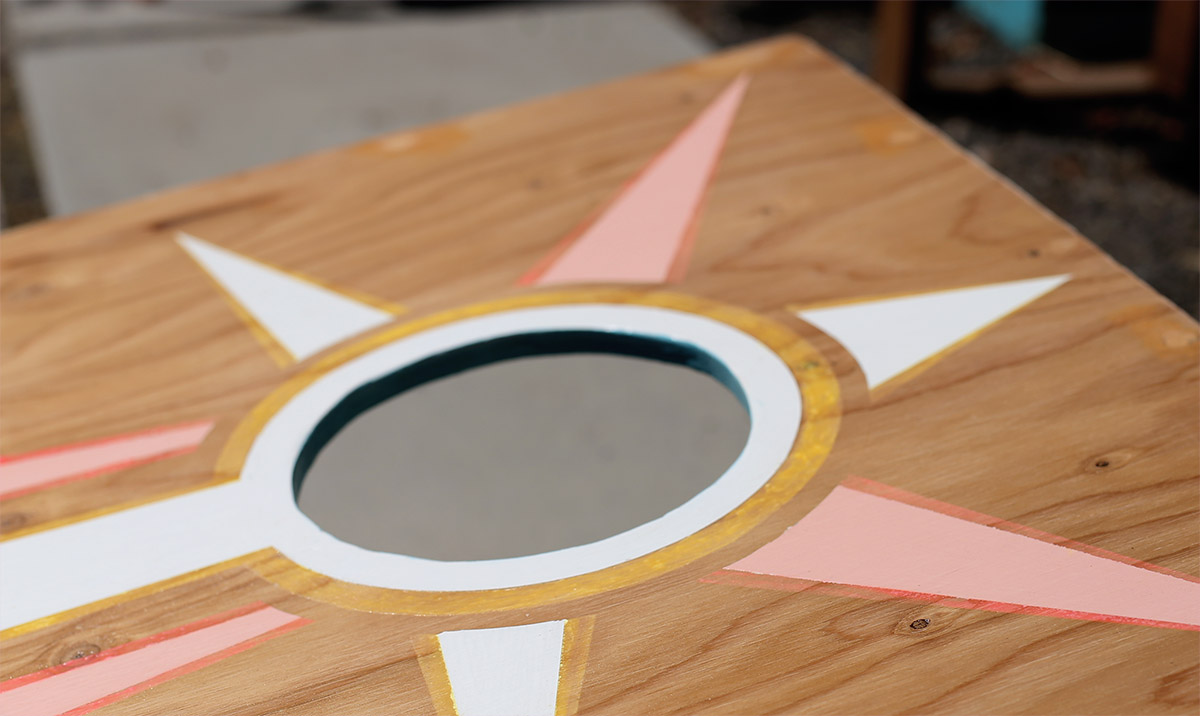
Use a compass to draw a 6-inch diameter circle. You can use a hole saw to cut out the shape, but I chose to use my jigsaw instead of purchasing another tool I might not use again.
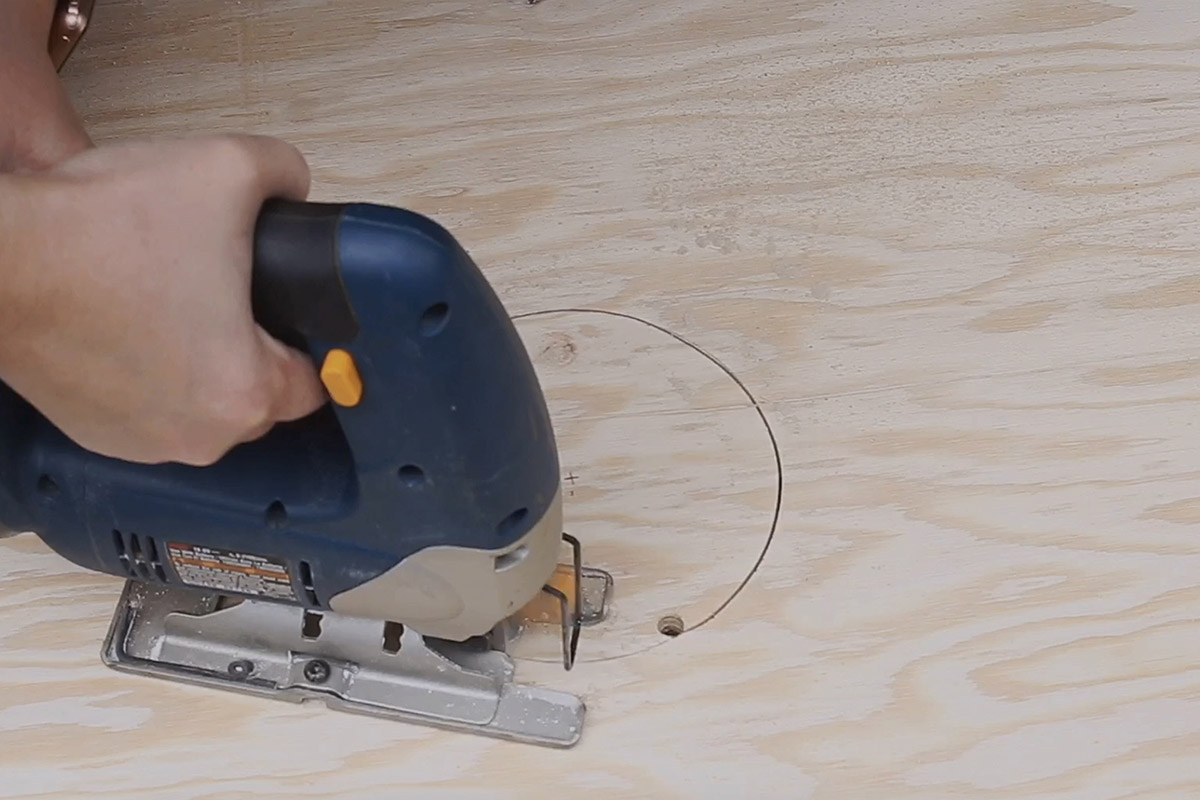
With my 3/8 inch drill bit, I drilled a starter hole for the circle. Place the jigsaw blade inside of the hole and slowly cut out the circle.
Use sandpaper to smooth out the edges of the circle.
Step 2: Cut the Wood
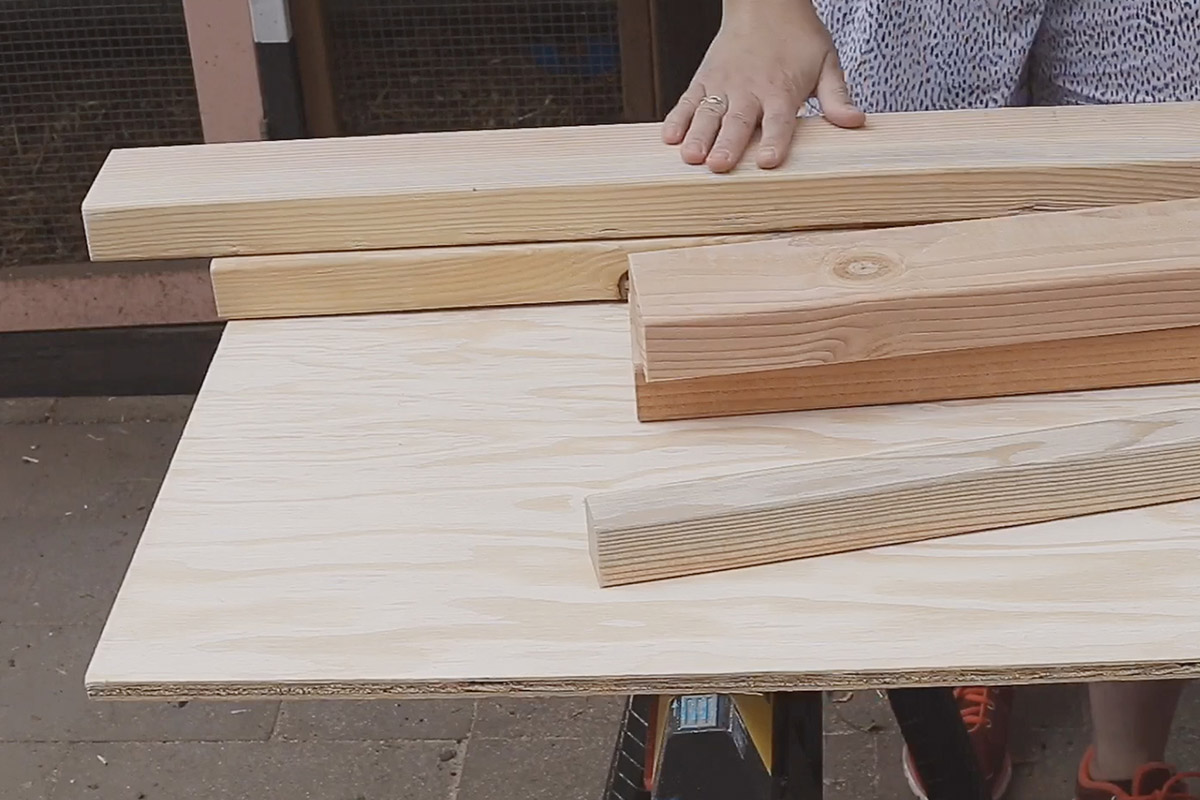
Cut the cornhole wood to size for the frames. Below is the cut list:
- (2) 24″ x 48″ x 1/2″ plywood sheets (I prefer to purchase plywood precut from the lumber store)
- (4) 2×4 x 48″ pine for the frame
- (4) 2×4 x 21″ pine for the frame
- (2) 2×2 x 21″ pine for the frame
- (4) 2×2 x 15″ pine for legs
You can, of course, get these items precut at most lumber stores if you don’t have the tools to cut them.
To make sure your cuts are correct, dry fit the boards by setting up the frames so two short pine boards (2×4 x 21″) sit inside of two long pine boards (2×4 x 48″).
Step 3: Build the Frame
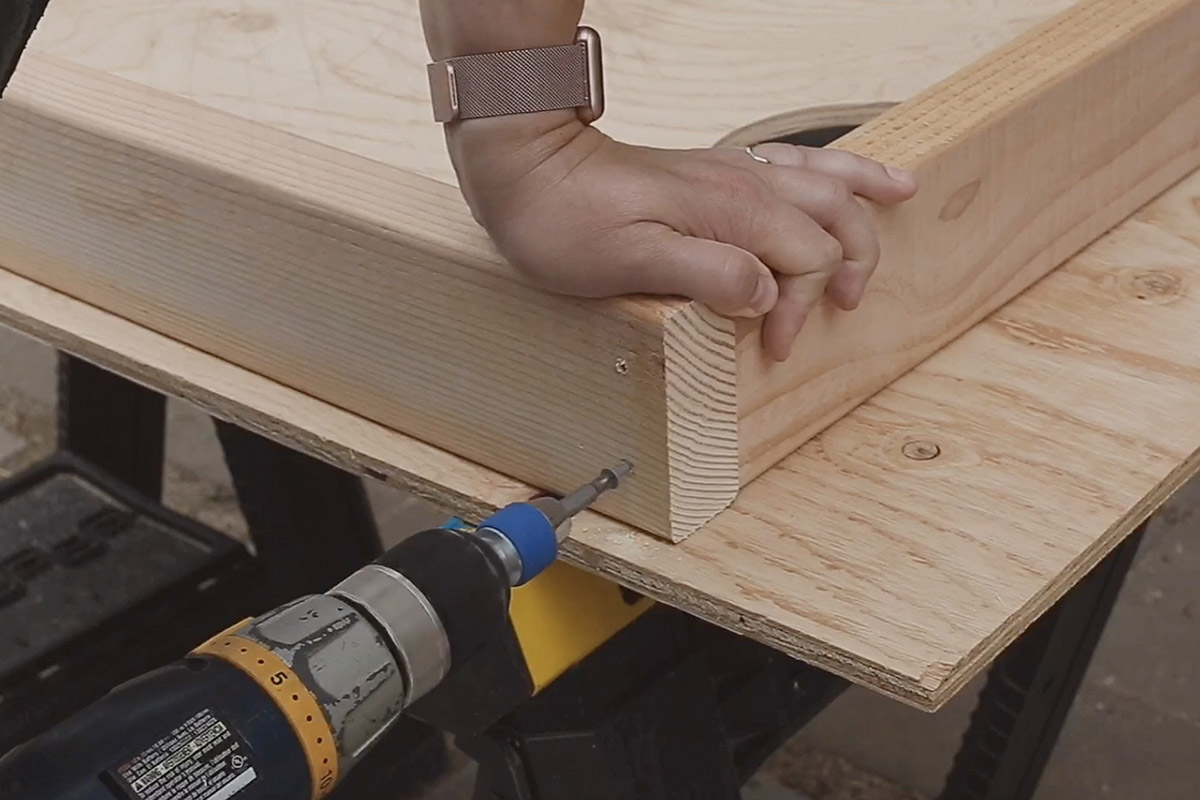
To assemble the frame, use #8 – 3″ exterior wood screws to sandwich two 21-inch long pieces in between the top and bottom of two 48-inch long pieces. I used two screws for each corner. Be sure to pre-drill holes before drilling in the screws.
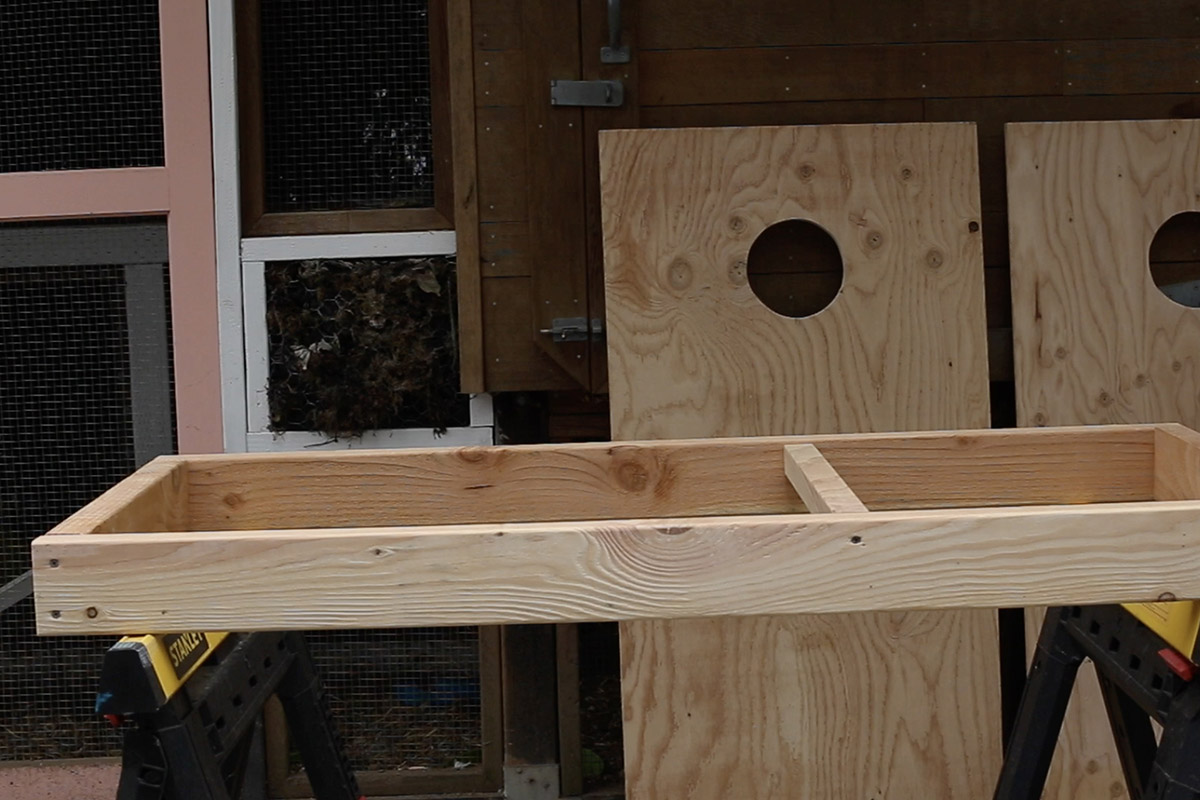
Add the 21-inch long 2×2 support about 18 inches down from the top of the frame. Use two #8 – 3″ exterior wood screws to attach the support to the 48-inch long sides of the frame.
Step 4: Attach the Top
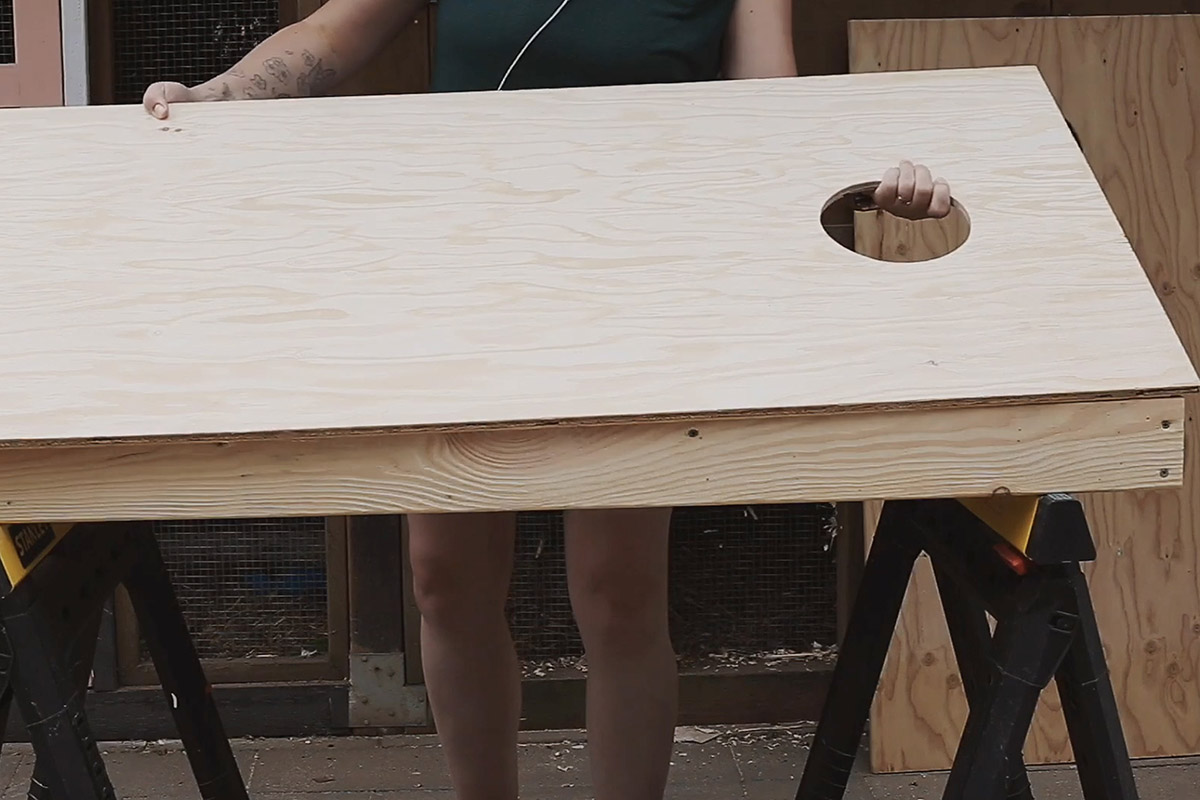
After the frame is built, add a line of wood glue along the top of the frame. Place the plywood sheet onto the frame and clamp it down.
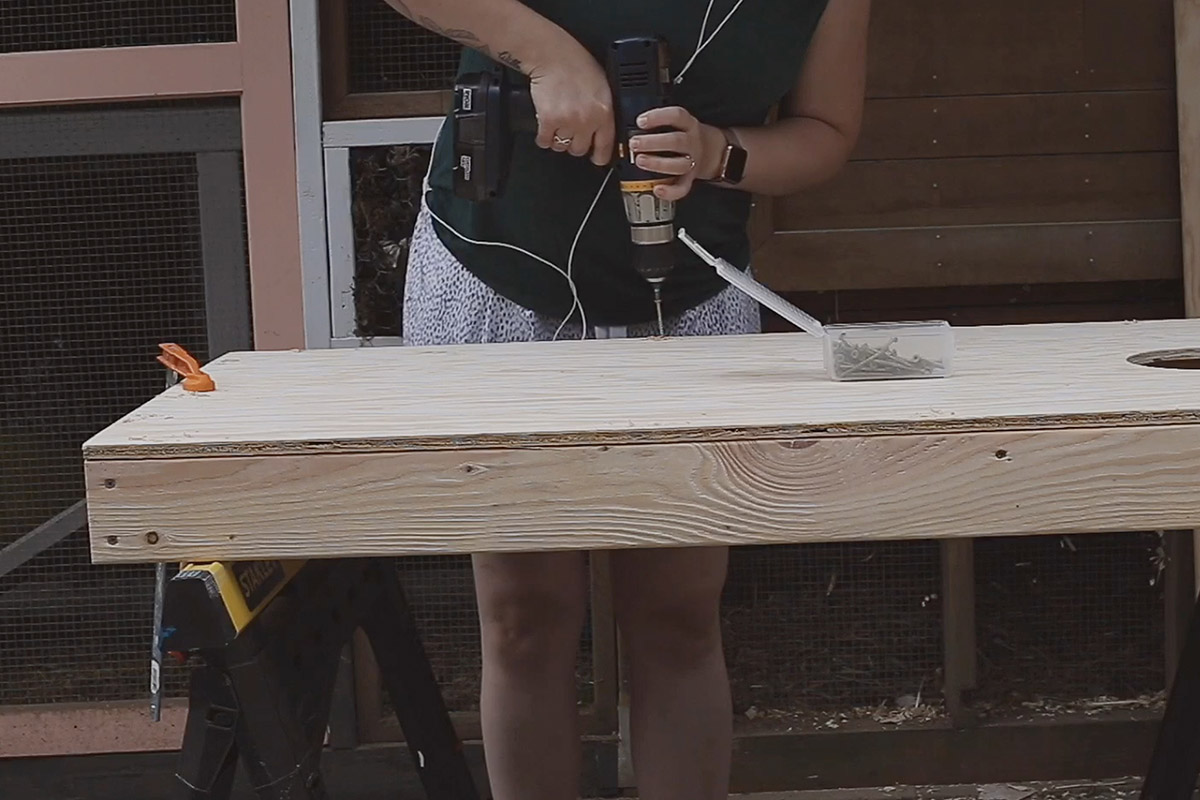
Pre-drill holes through the plywood and frame, then attach the plywood to the frame with some wood screws. Countersink the screws so you can add some wood putty to cover them. Use a wet cloth to clean up any glue that squeezes out.
Step 5: Leg Prep
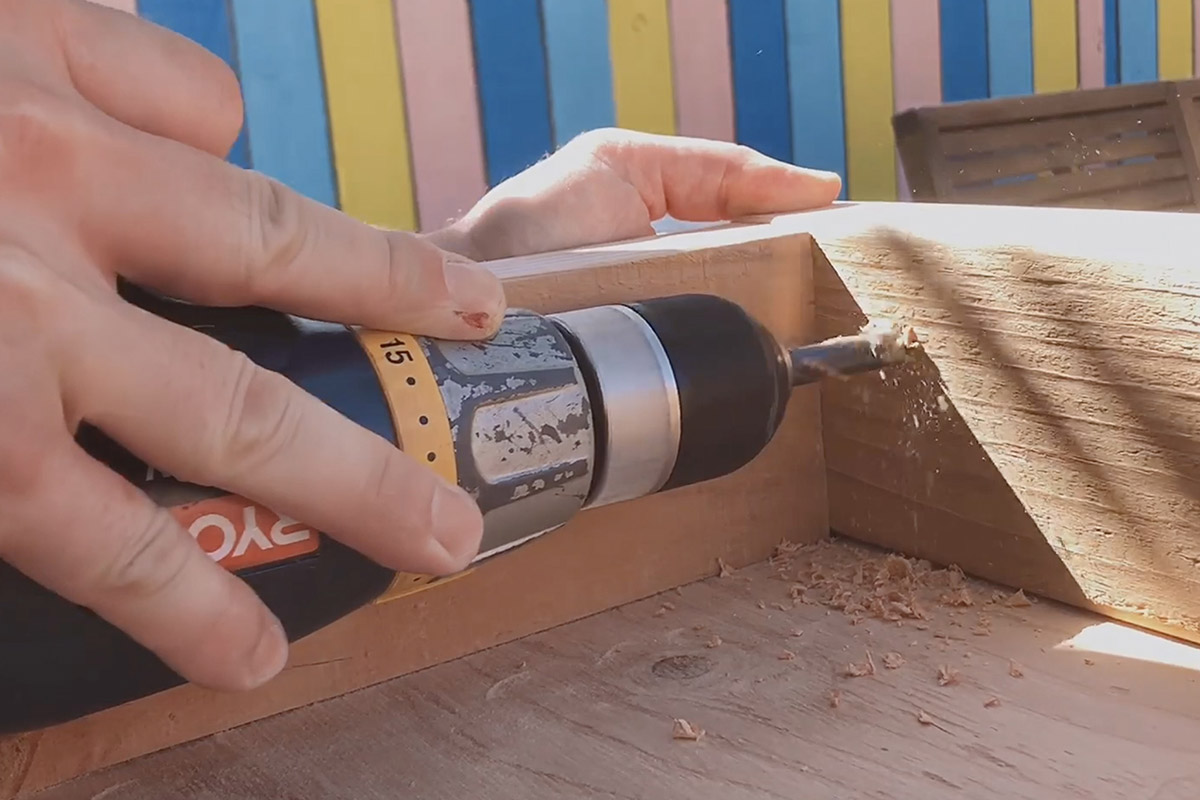
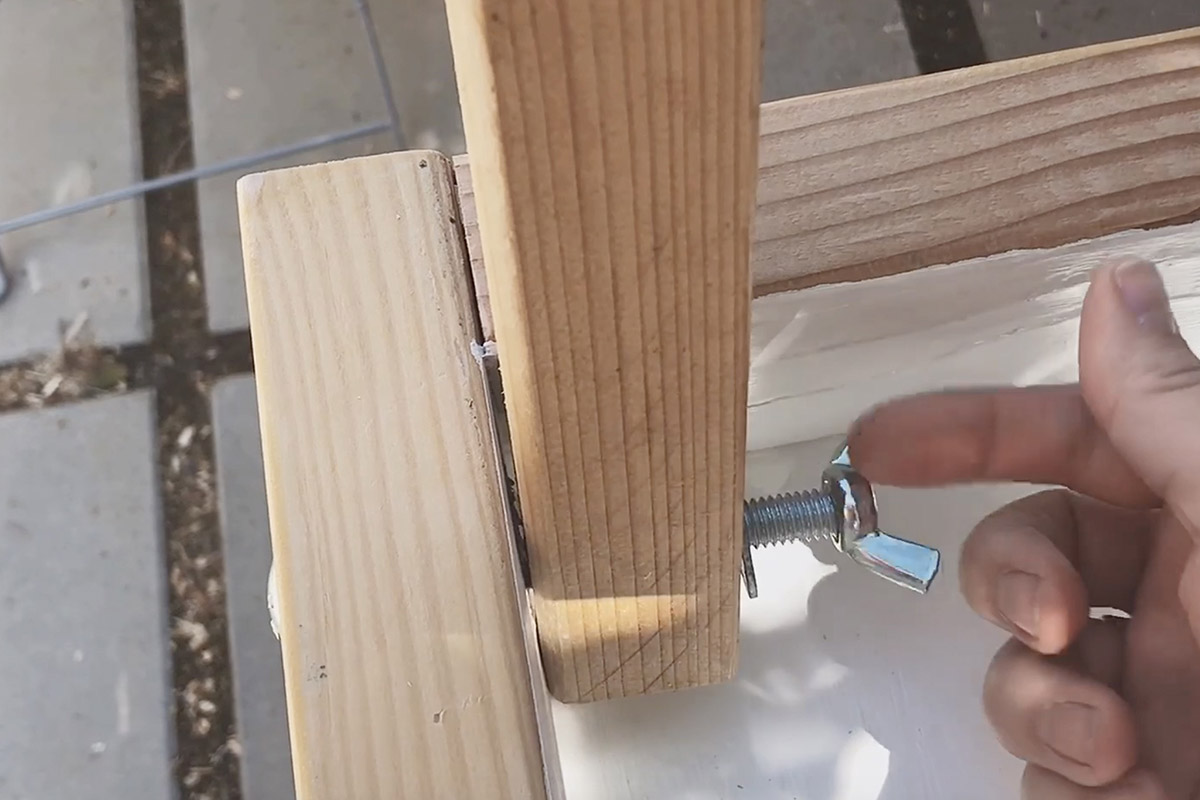
Near the top of the 48″ long pieces use the 3/8 inch drill bit to drill a hole through the wood. I also drilled a hole, 1 inch down from the top, of each leg (2×2 x 15″ pine) with the same drill bit. Attach the leg to the cornhole board with 1 carriage bolt, a washer, and a wingnut.
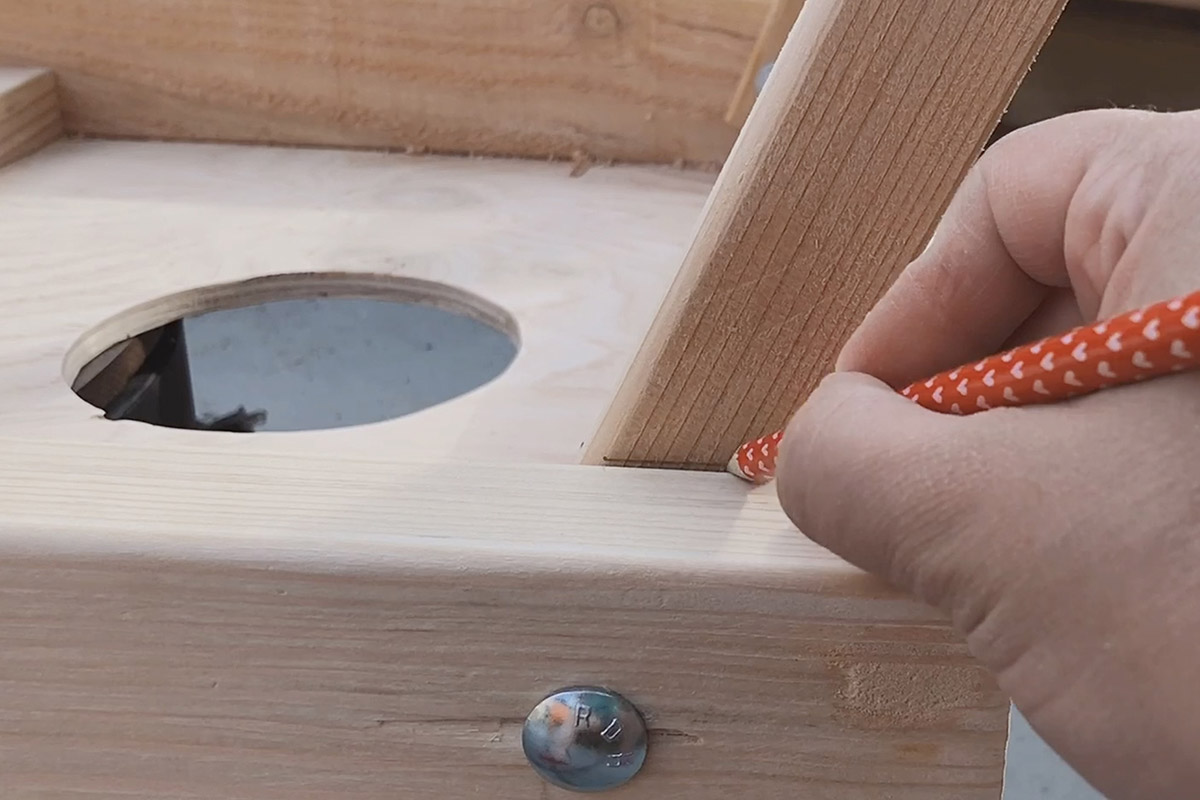
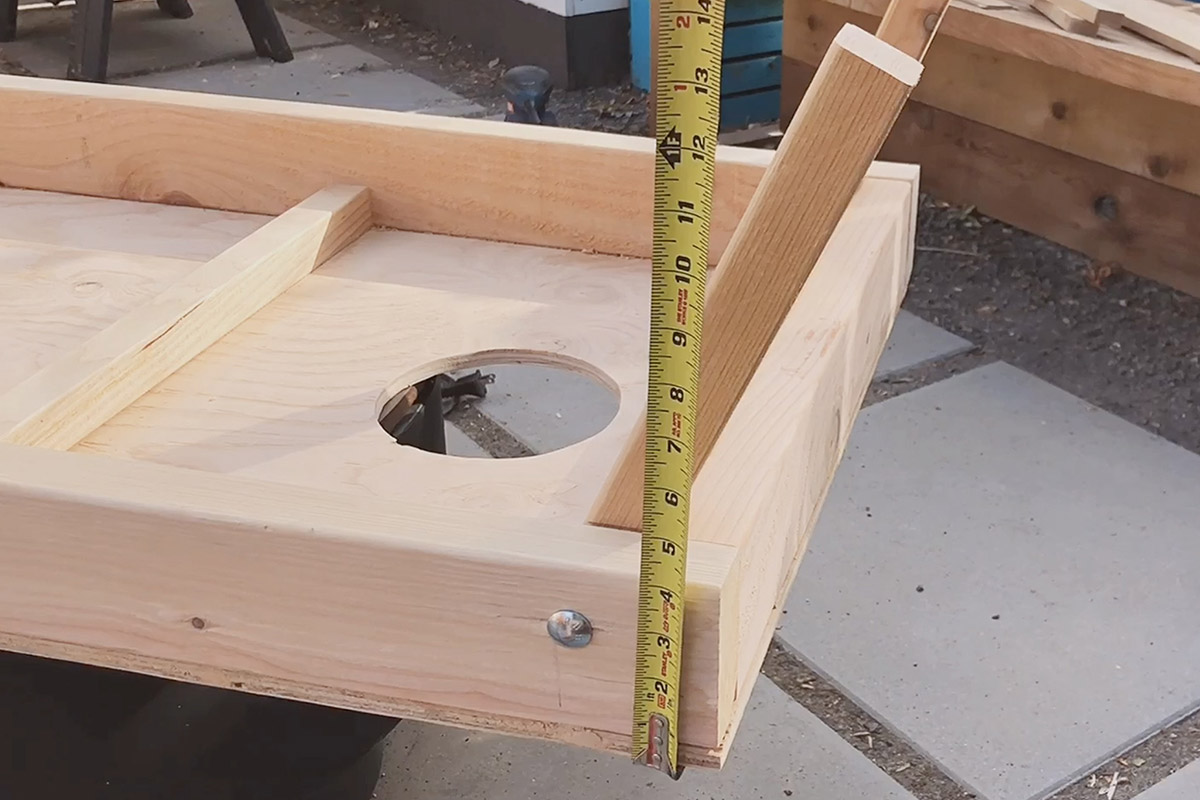
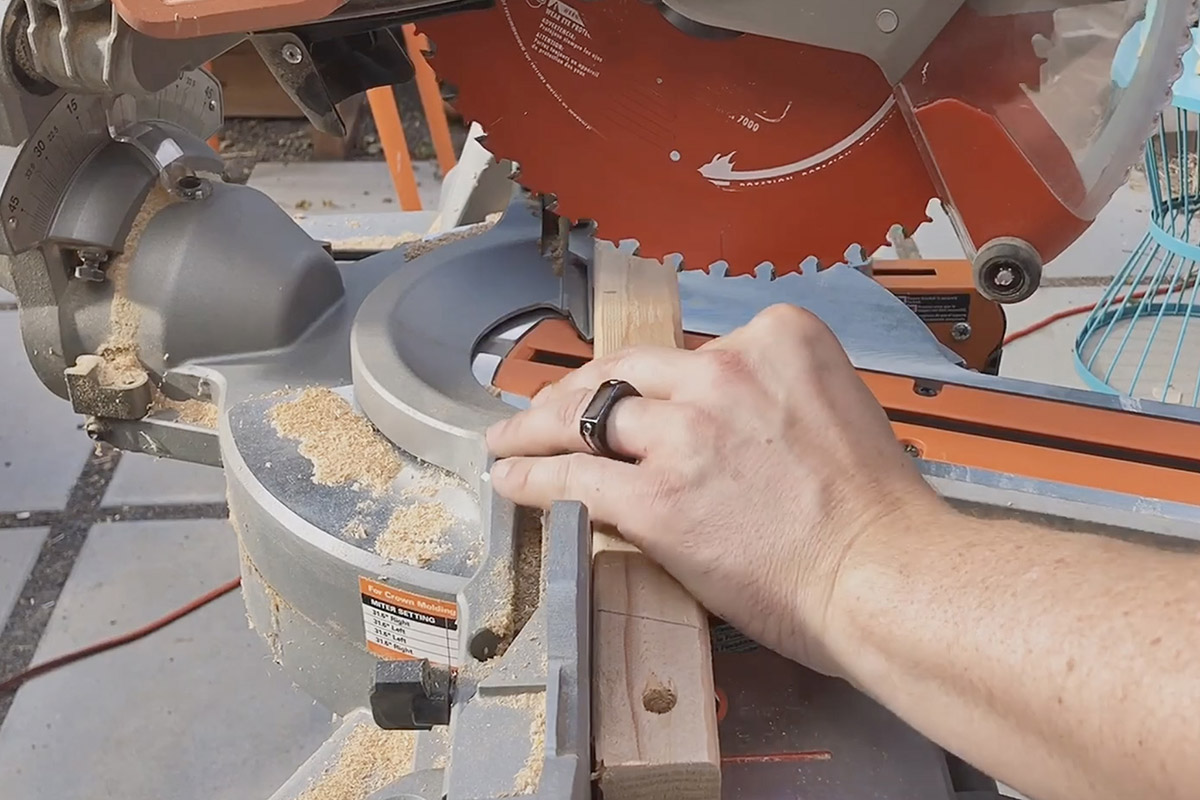
Adjust the leg as far as it will go. Mark a line, on the leg, just above the edge of the cornhole frame. Measure and mark 12 inches from the plywood to the leg. Remove the leg. Adjust your miter saw to the angle of the line you drew on your leg. At the 12 inch mark, cut the leg at that angle. When you’re done cutting the legs, reattach them to the boards.
Step 6: Build the Second Board
Repeat all of the above steps to build your second cornhole board.
Step 7: Ring Toss
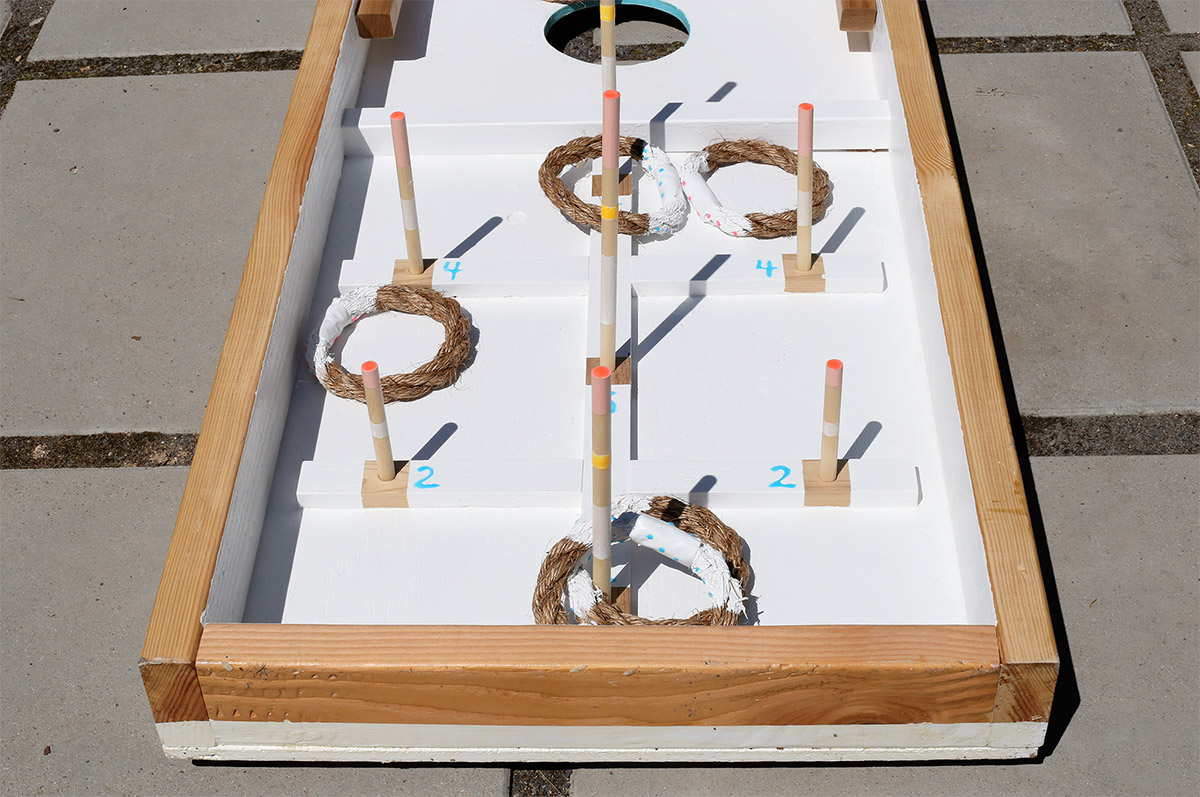
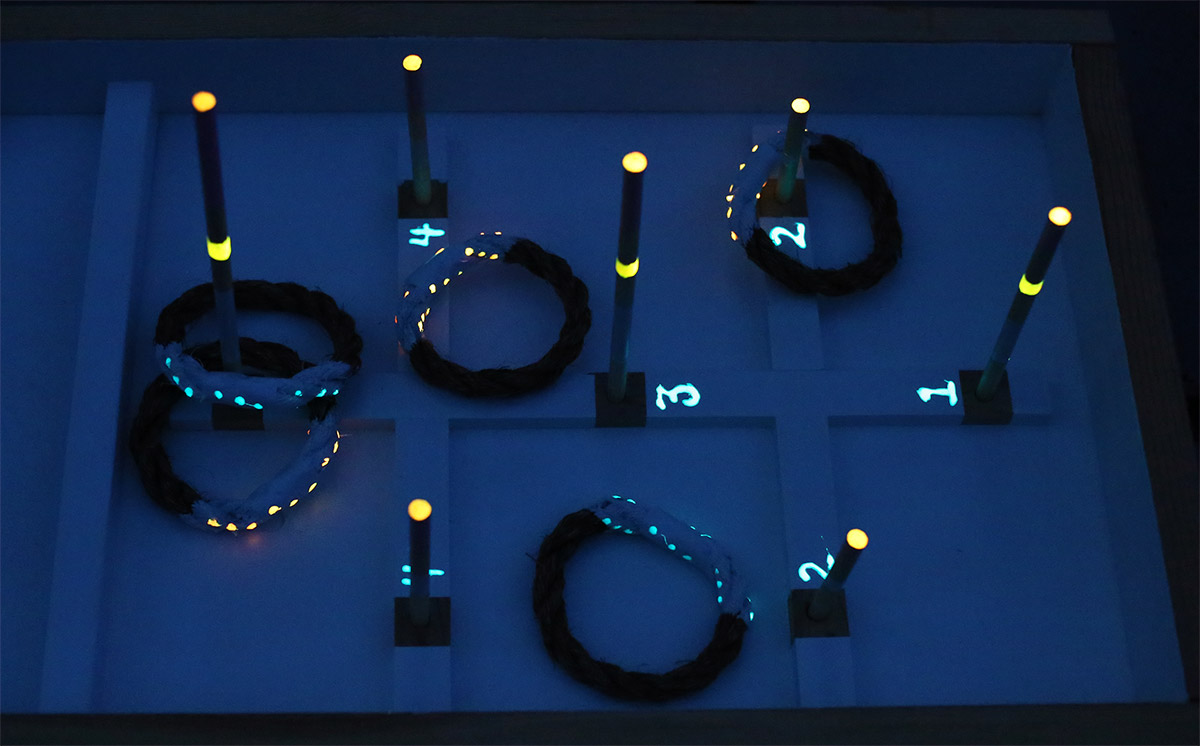
If you plan on adding a ring toss game to the backside of your cornhole board, cut 5 pieces out of a 1×2 board and drill holes into those pieces using a 3/8 inch drill bit. The sizes I cut are one 25-inch long piece (with three holes) and four 7 inch pieces (one hole per piece). Use some strong glue, like Quick Grip, to easily attach the ring toss pieces to the back of the board. Later you can cut a 3/8 inch wooden dowel into a variety of sizes to place in the ring toss holes.
The rings are made from thick rope cut to 14 inches long. To create a circle, the ends of the rope are taped together using duct tape. I dipped the rings into exterior paint and then used Glo-Brite to decorate the rings.
Step 8: Time To Paint!
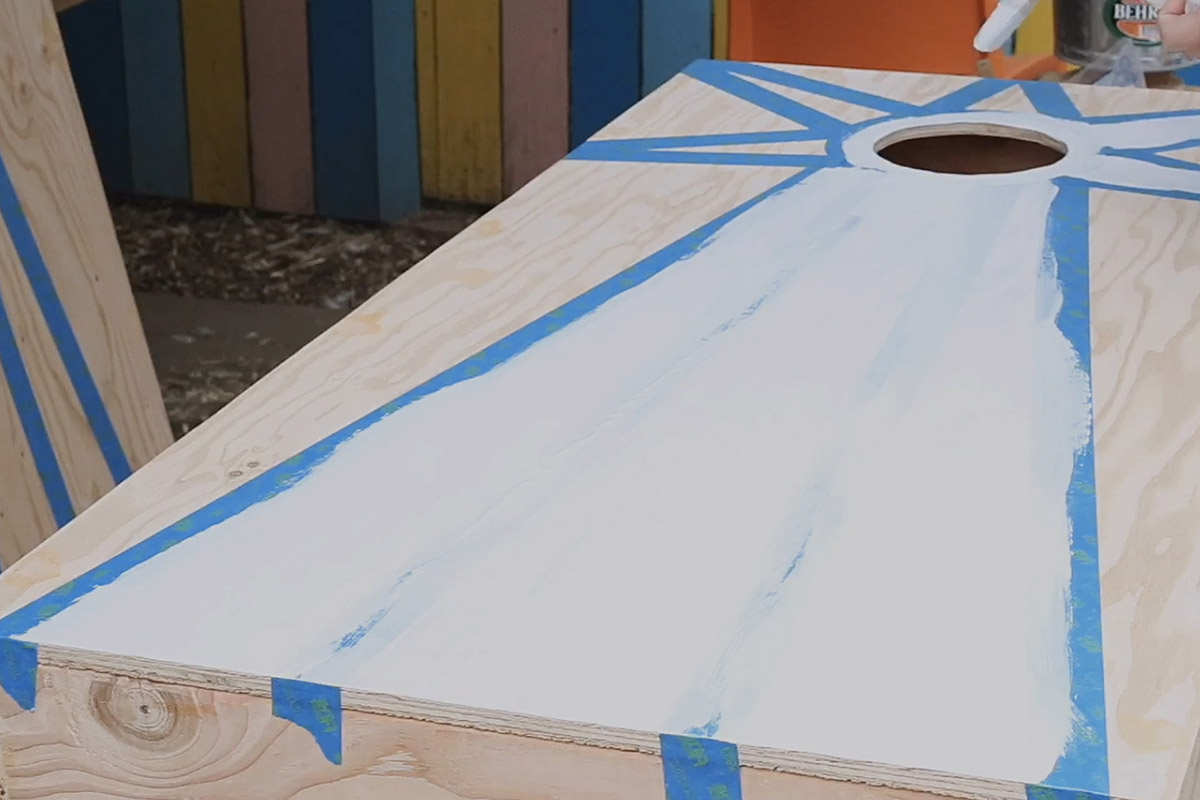
Now that you’ve built the cornhole boards it’s time to decorate! Using painter’s tape, I created a simple design for my boards. I also used a bucket and an X-Acto knife to create an outline around the board’s hole.
Prime all the spots you plan on painting, and because this is an outdoor game, I used exterior paint for the project. When done, remove the tape and let the paint dry completely.
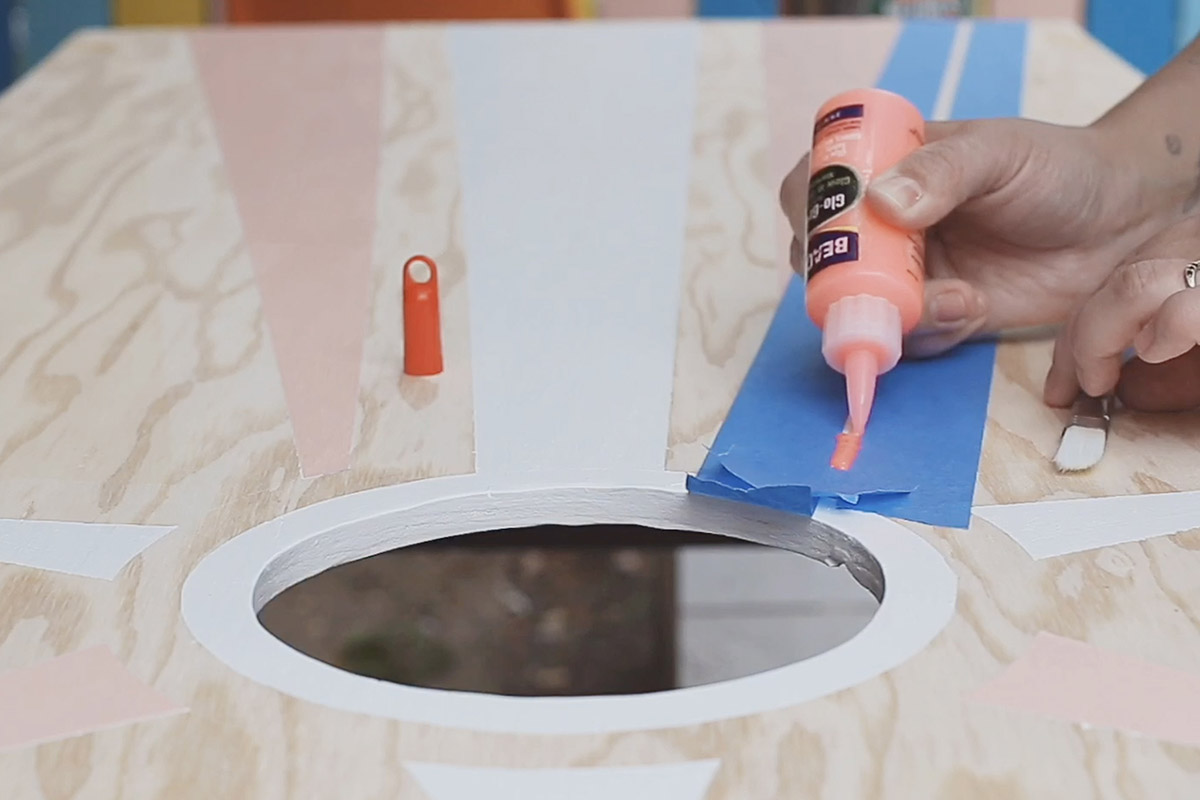
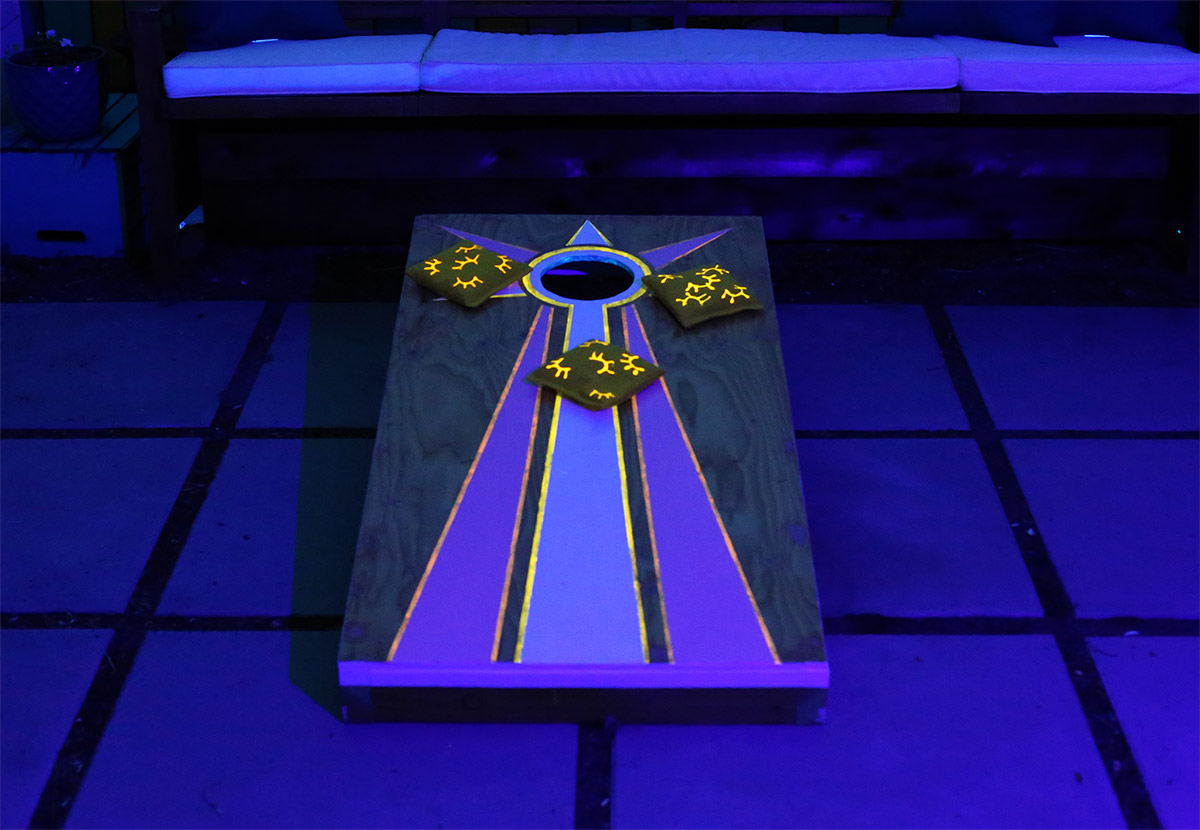
To transform this project into a nighttime game, use some Glo-Brite Glow-In-The-Dark Marking gel, painter’s tape, and an old brush to add a few strips of this glow gel to your board. Because this gel is glue, be sure to remove the painter’s tape immediately after painting on the Glo-Brite.
Step 9: Washer Toss
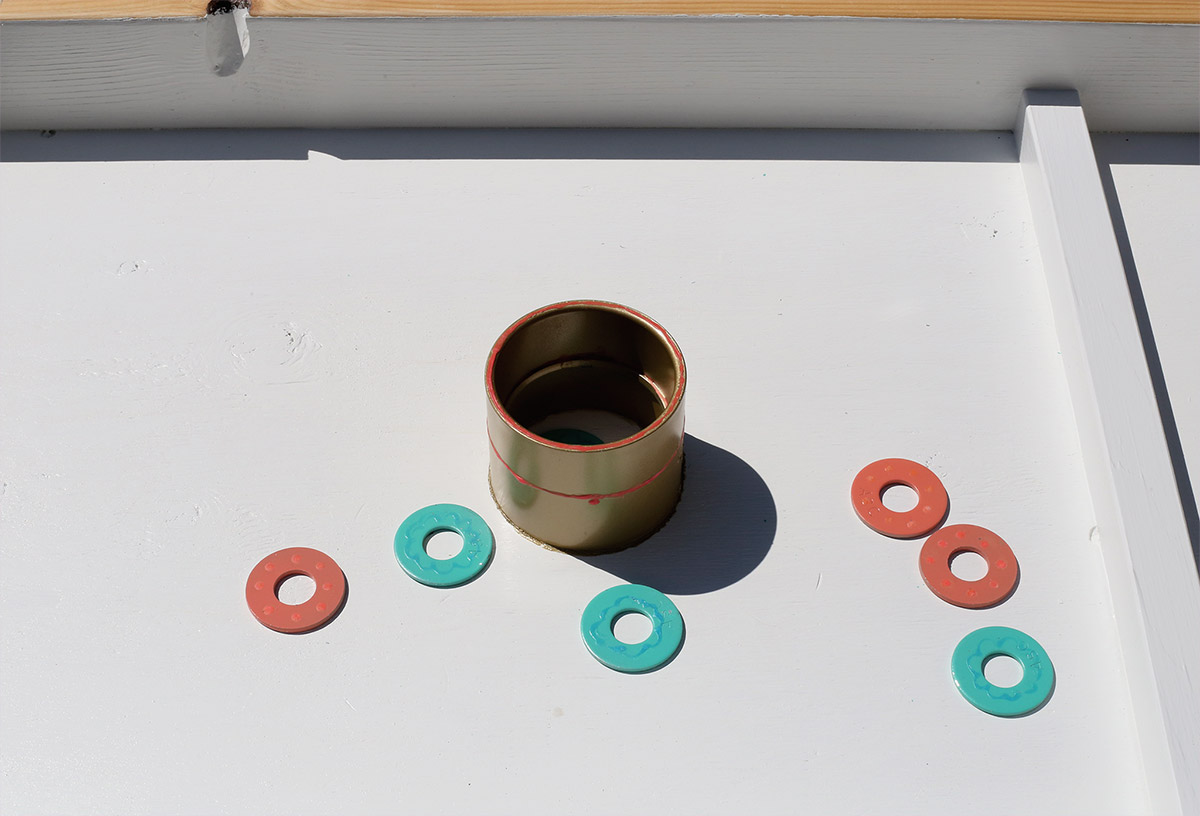
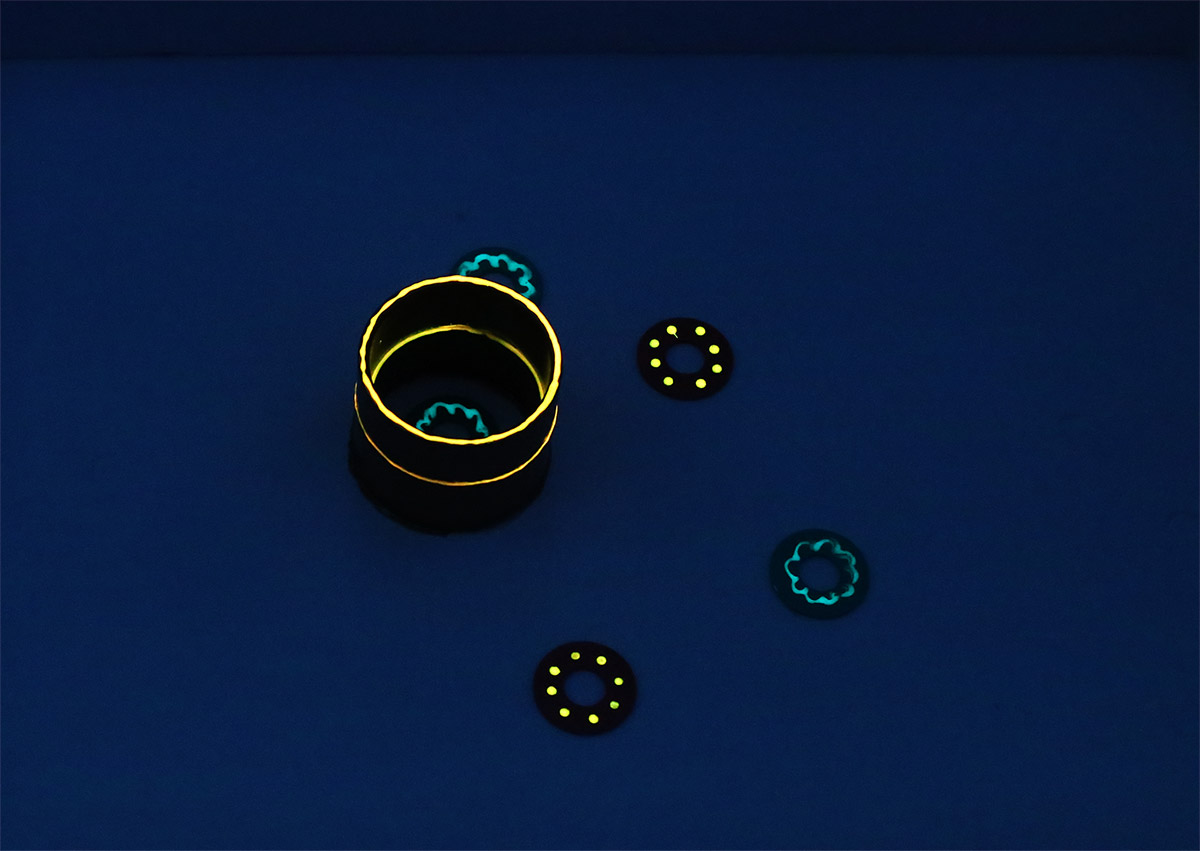
At the last minute, I decided to add a washer toss game to the back of my second board. To create this game, simply use Quick Grip to attach a painted PVC coupler pipe in the center on the back of one cornhole board.
Use two different colors of spray paint on the washers. When dry, add Glo-Brite to the washers and coupler pipe.
Step 10: Seal the Board

Because I put all this hard work into building my cornhole set, I want it to last. I applied multiple layers of clear exterior sealer to the entire board.
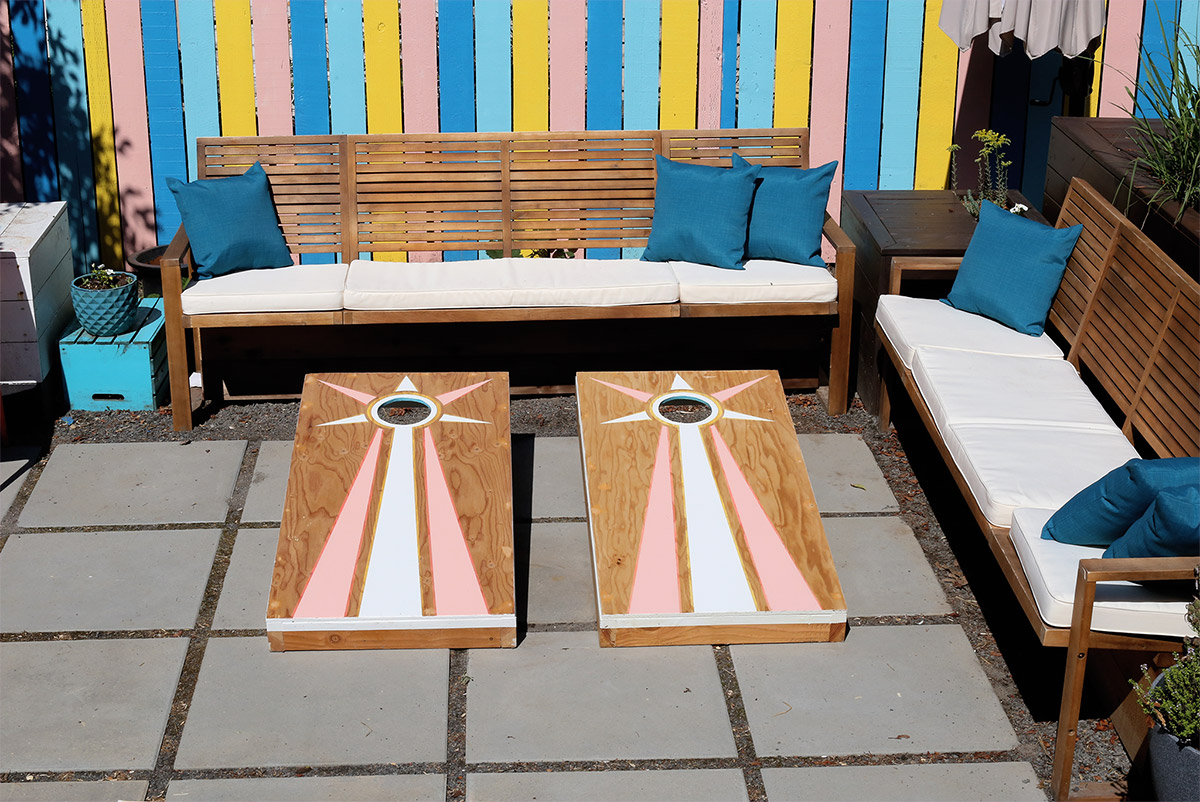
Glo-Brite will activate when you shine a flashlight on the glue. Or, you can switch on a blacklight for a brighter option. Check out the video below to watch the entire building process.
What do you think? Will you be building your own Glow-in-the-Dark Cornhole Game Set?
– Chelsey
Disclosure: This DIY is sponsored by Beacon Adhesives. All opinions are my own. I may earn a small commission for my endorsement, recommendation, testimonial, and/or link to any products or services from this website. Thank you for your support.


Leave a Reply