Thank you Angel Soft® for sponsoring this post. Ditch the spray and switch to Angel Soft® with Fresh Lavender-Scented Tube.
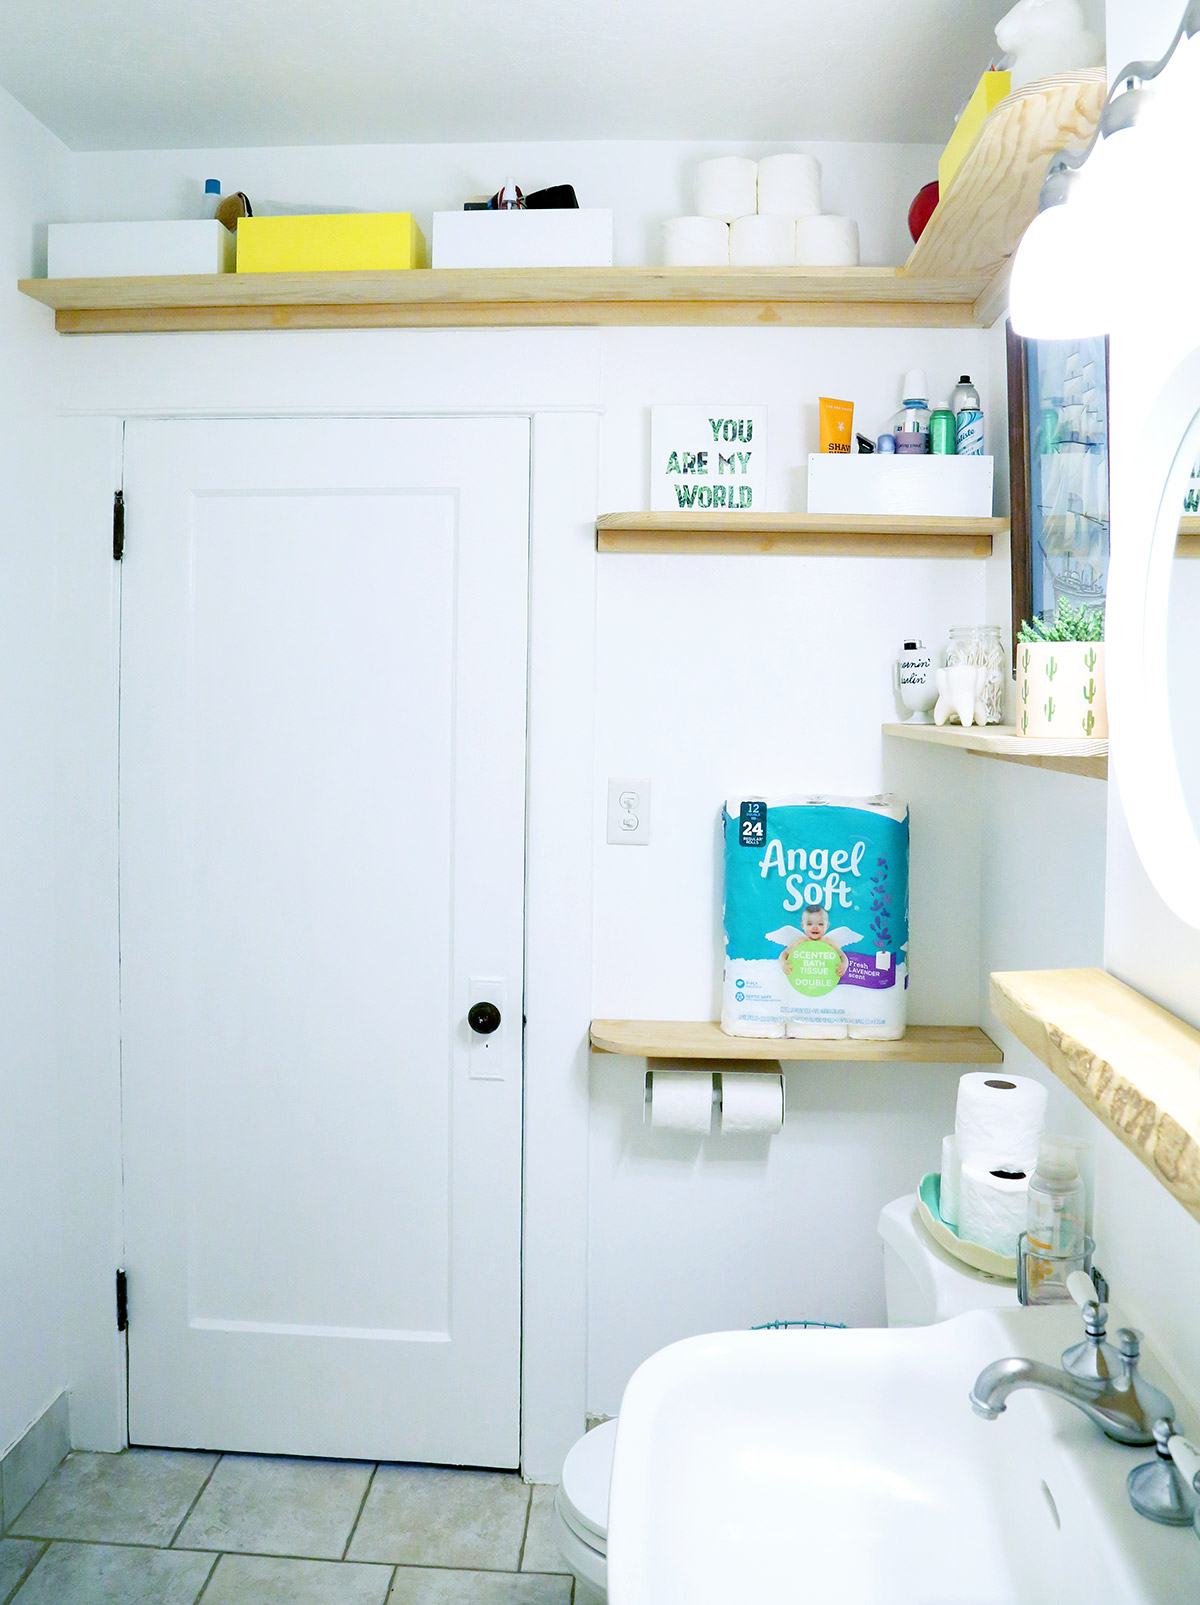
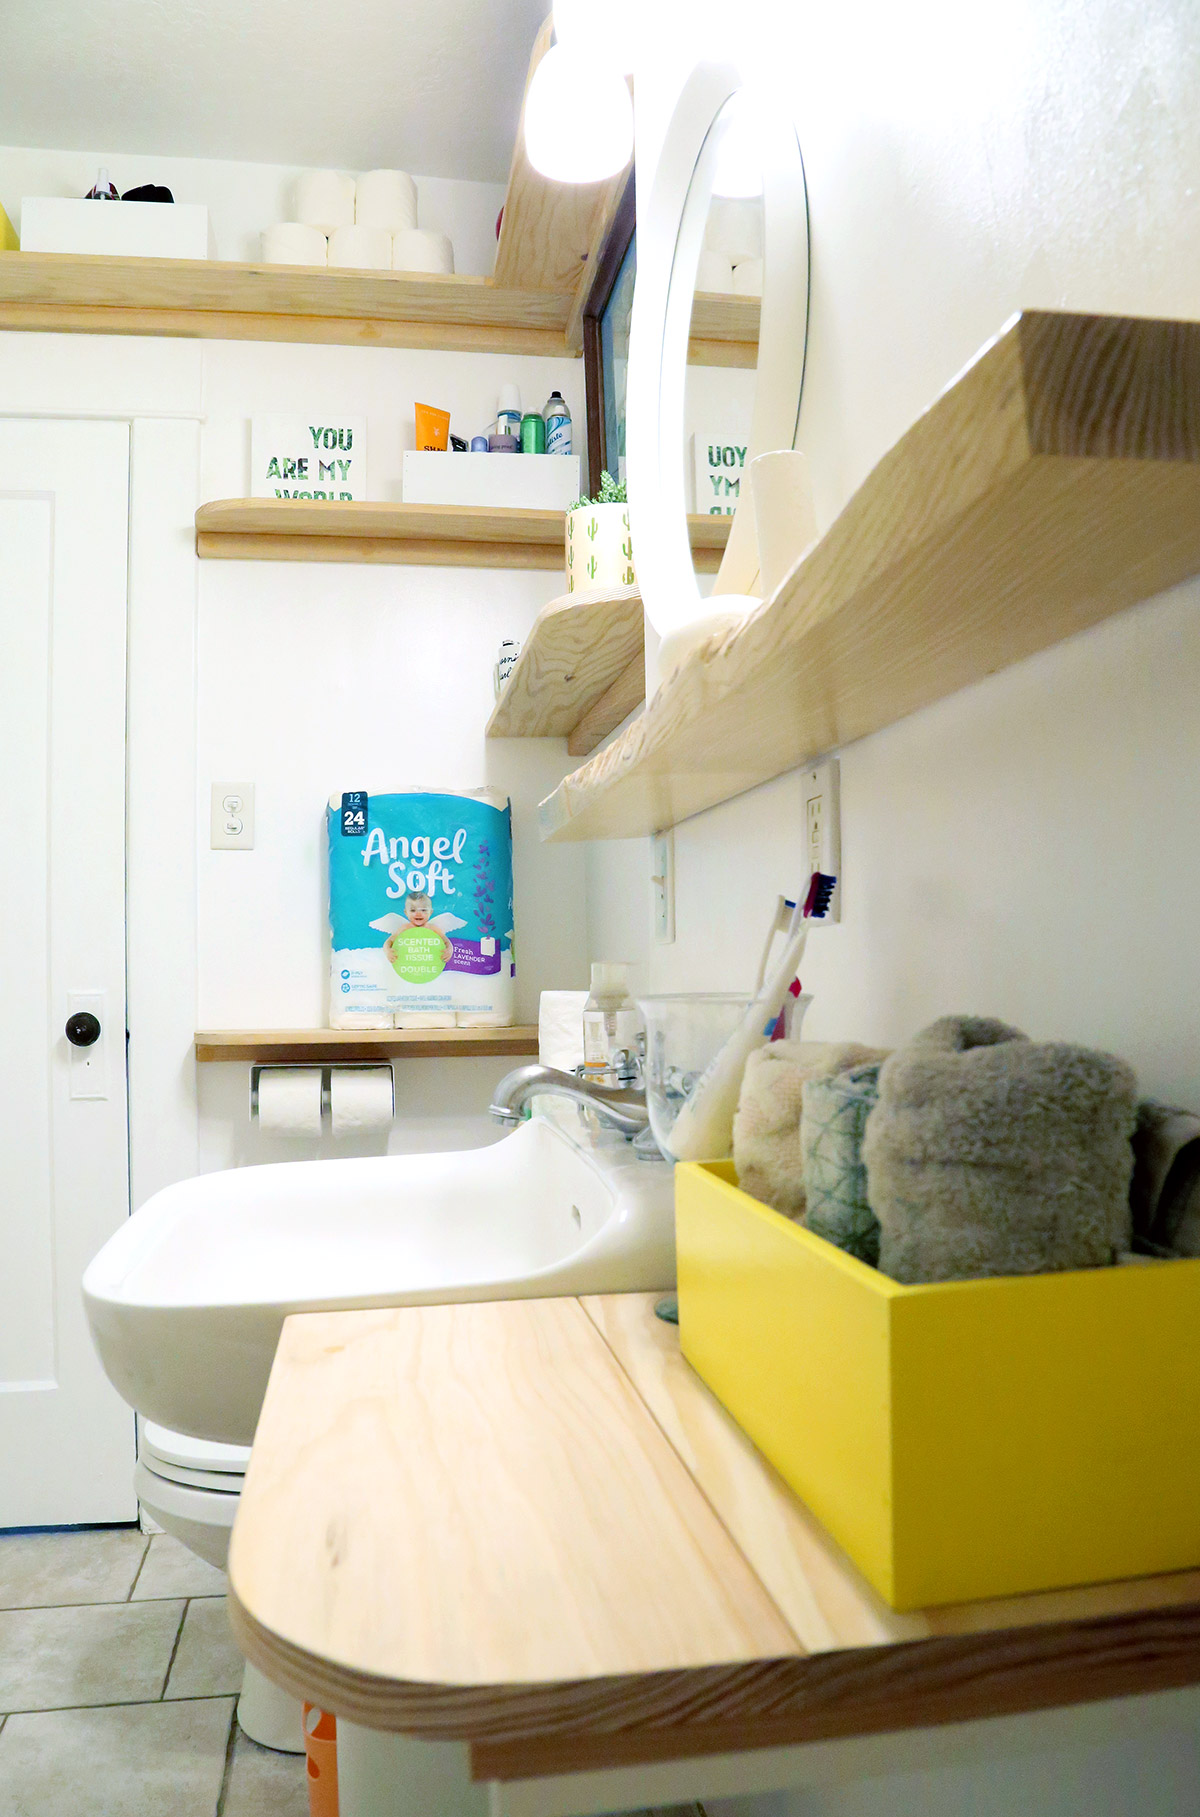
Potty training is generally a dreaded experience for most parents. Attempting to potty train in a messy and unorganized bathroom: even worse. Thankfully, our DIY Faux Floating Bathroom Shelves have improved our situation, and we have the perfect spot to store our Angel Soft® with Fresh Lavender-Scented Tube toilet paper.

Potty Training Round Two
Potty training has begun, again, in The Paper Mama home. Because I had successfully potty trained my first daughter, Ruari, in two weeks, six years earlier, I had naively assumed this would be easy. Oh, I was so wrong. We started the process with my 3-year-old, Willa, in October 2018 and, nine months later, we are still working on it. The girls have very different personalities, so I shouldn’t have been surprised by the differences with their potty training. Although this task has been lengthy and, at times, frustrating, our Willa has made some progress. For the most part, she makes it to the toilet during the daytime and only needs diapers when she sleeps, but she still has her accidents (there was a sofa incident last week).
Even with her successful potty moments, she is a super messy roommate. If you’ve ever shared a bathroom with a kid, you know what I’m talking about. Drips here and there. Mystery toilet paper on the ground. The smells. You know. We are willing to do anything to keep our bathroom clean, organized, and smelling good. To tackle the smell, we switched to Angel Soft® with Fresh Lavender-Scented Tube. The Fresh Lavender Scent is located in the tube, and it delivers a fresh scent to our bathroom, without using candles or sprays. With the smell handled, my husband and I decided we needed to better organize our only bathroom with built-in shelves, so we can keep the space clean.
House History
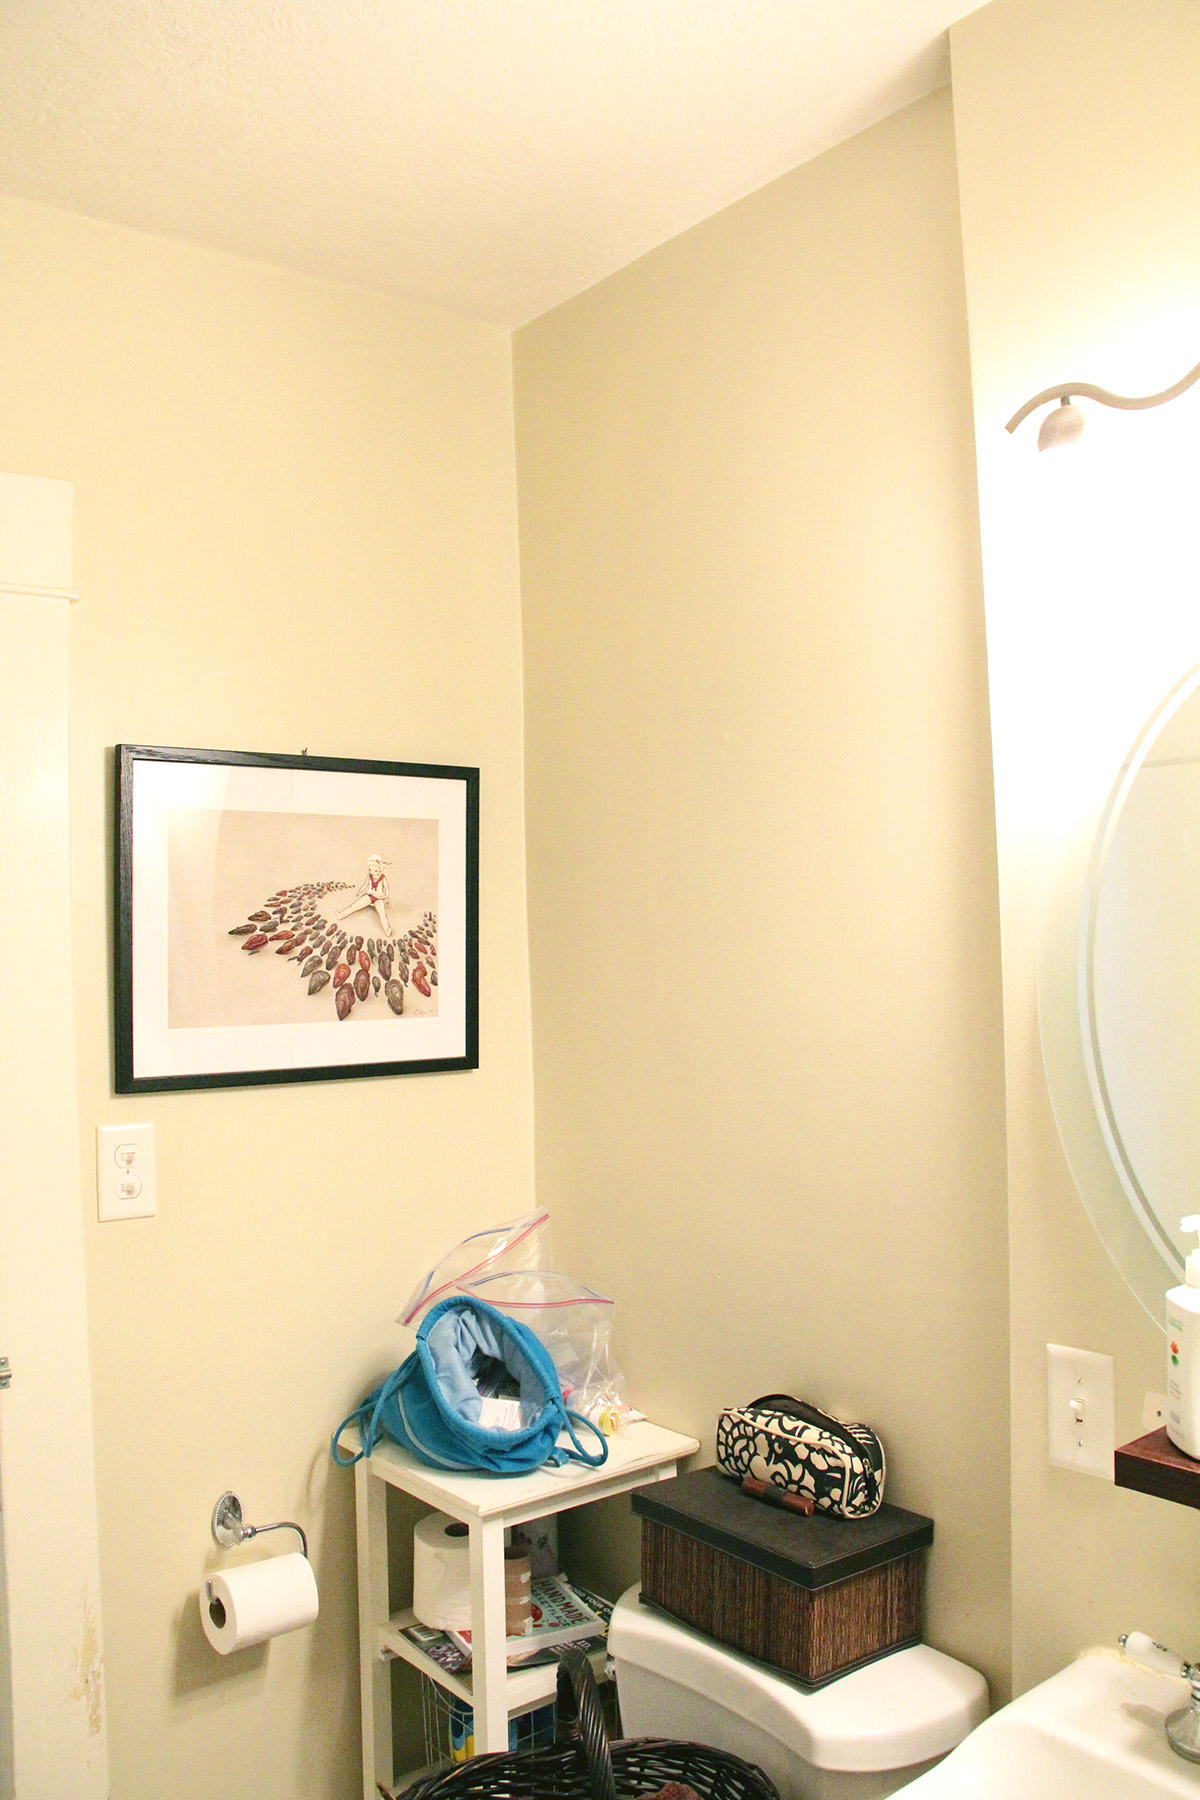
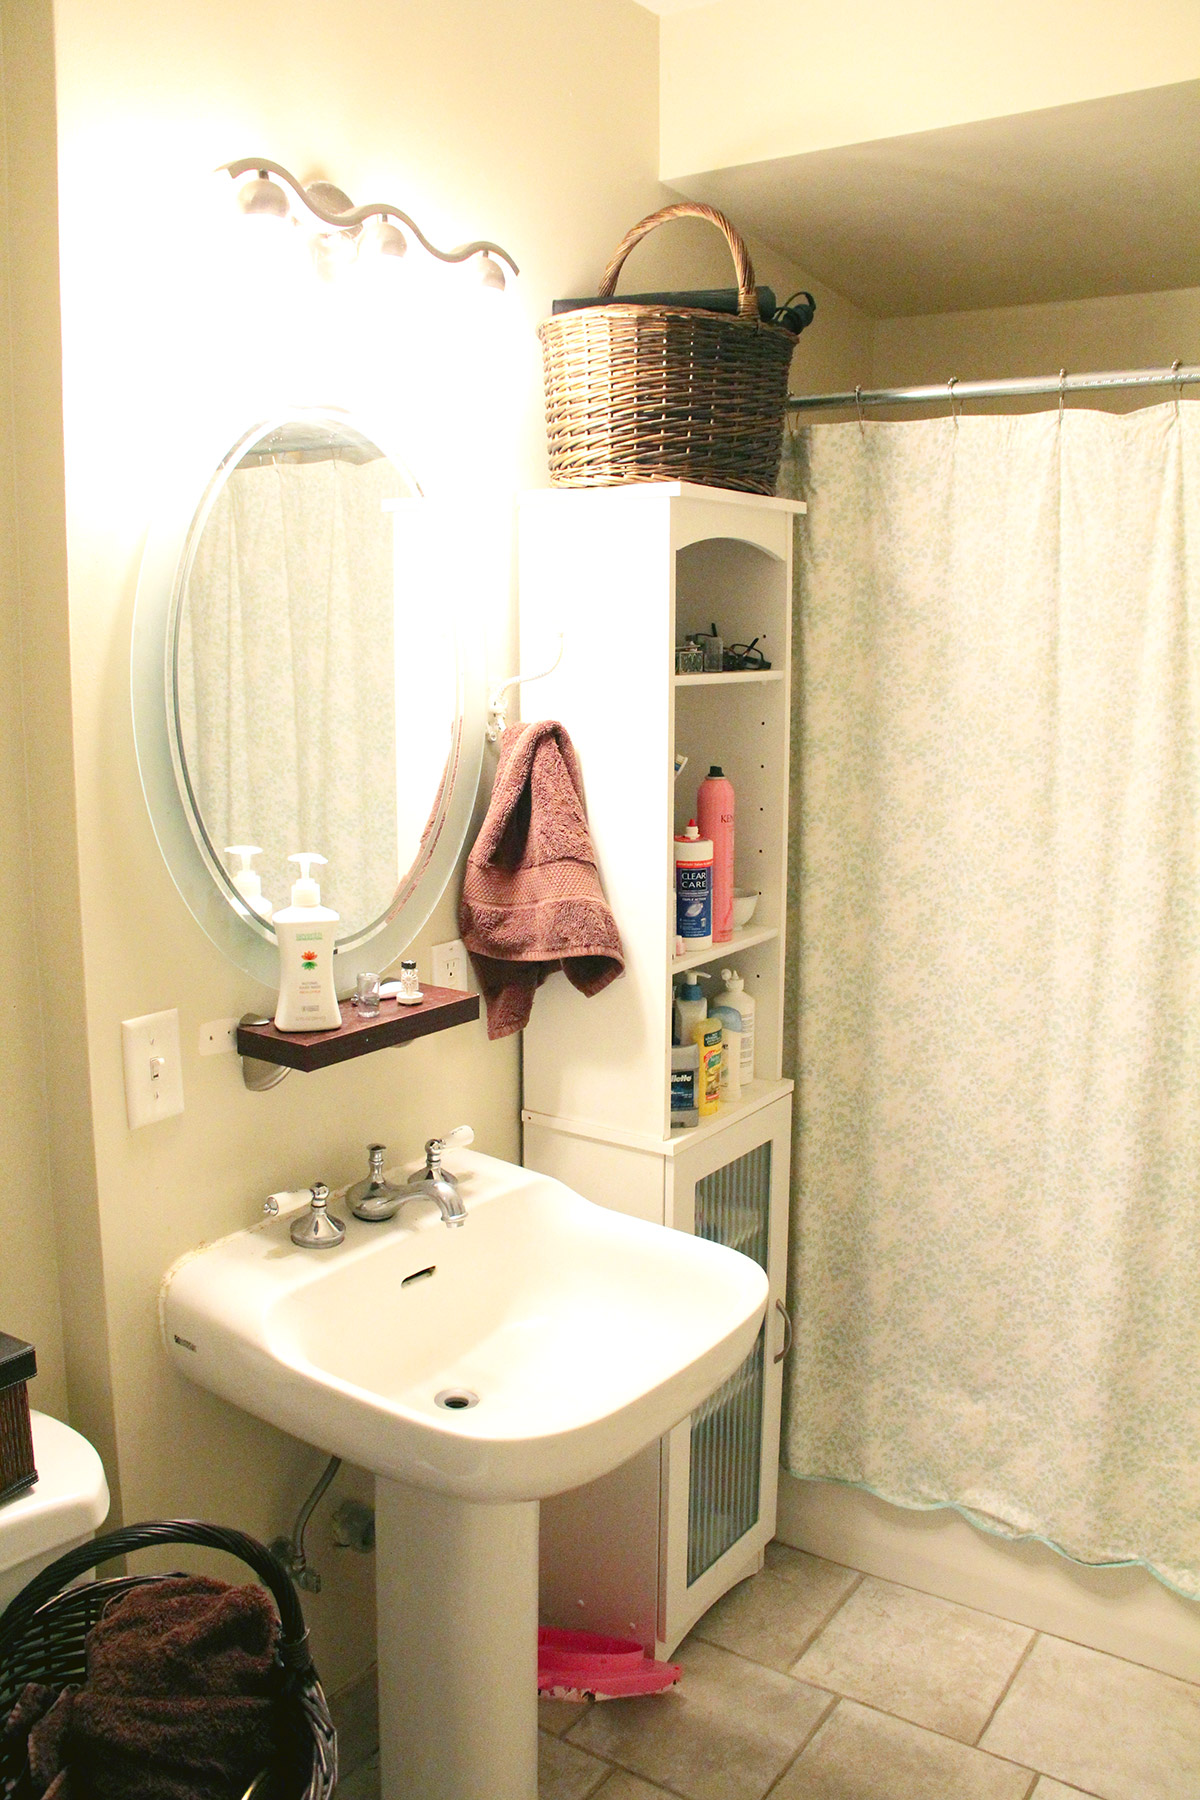
My husband and I have lived in our home since 2007, and it needs a lot of love. For example, before we bought the house, our bathroom was roughly painted, and ugly purple paint showed through. Our bathroom’s terrible organizational system consisted of bulky, unmatching bookshelves we used to store any bathroom items, and that brings us to today’s DIY Faux Floating Bathroom Shelves. It’s a simple and inexpensive project for any room in your home.
How to Build: DIY Faux Floating Bathroom Shelves
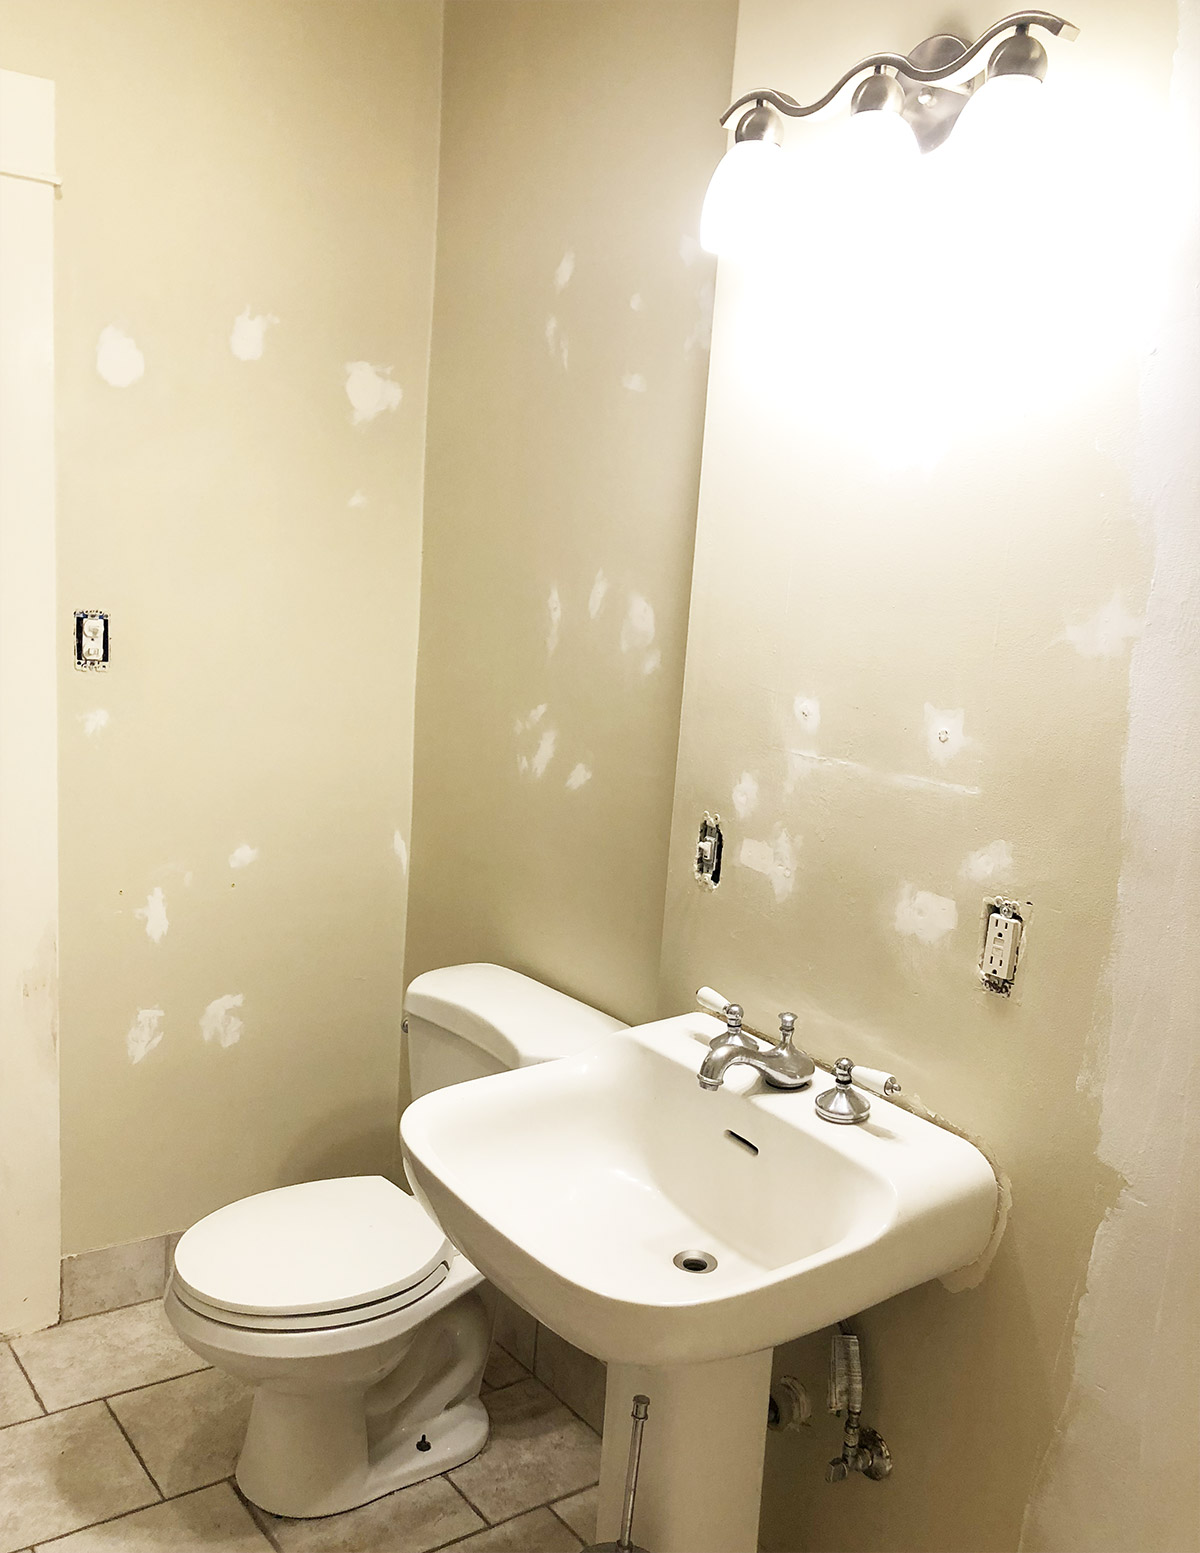
Are you guys ready for some before photos? There’s nothing better than a dramatic before and after DIY, and I love it! These photos were taken in 2012 and not much had changed, until now. Please note: your materials list will differ from mine based on the size and quantity of shelves you construct.
The difficulty level for this DIY is medium. Basic knowledge of power tools is needed for this project.
Materials Needed:
- (3) 1″ x 8″ x 8′ fir
- (3) 2″ x 2″ x 8′ fir
- (16) #8 – 2 1/2″ interior multi-material screws
- (22) #8 – 1 1/2″ interior multi-material screws
- wood glue
- wood putty
- sandpaper (80, 100, and 220 grit)
- optional: wall cleaner and paint
Tools Needed:
- miter saw (or get your wood cut to size at the lumber store)
- drill
- jigsaw
- stud finder
- level
- pencil compass
- power sander
- eye protection
- breathing mask
Step 1:
If you plan on painting your space, this is the time to do it. First, I recommend cleaning the walls with TSP Cleaner. Add wall putty to any walls that have holes in them; as you can see, my old bathroom had 1 million holes in its walls. Sand the puttied holes, apply a coat of primer, and paint the walls.
Step 2:
When you’re finished painting the walls, it’s time to measure and cut the shelves. Measure your space and cut the shelves (1″ x 8″ x 8′ fir) to size. When you have your boards cut and ready, it’s time to cut the supports for the shelves. Cut the supports (2″ x 2″ x 8′ fir) to fit under your shelves.
If you are uncomfortable using or don’t own a miter saw, you may be able to get the boards cut at the lumber store. I highly recommend taking a power tools safety class if you are interested.
Step 3:
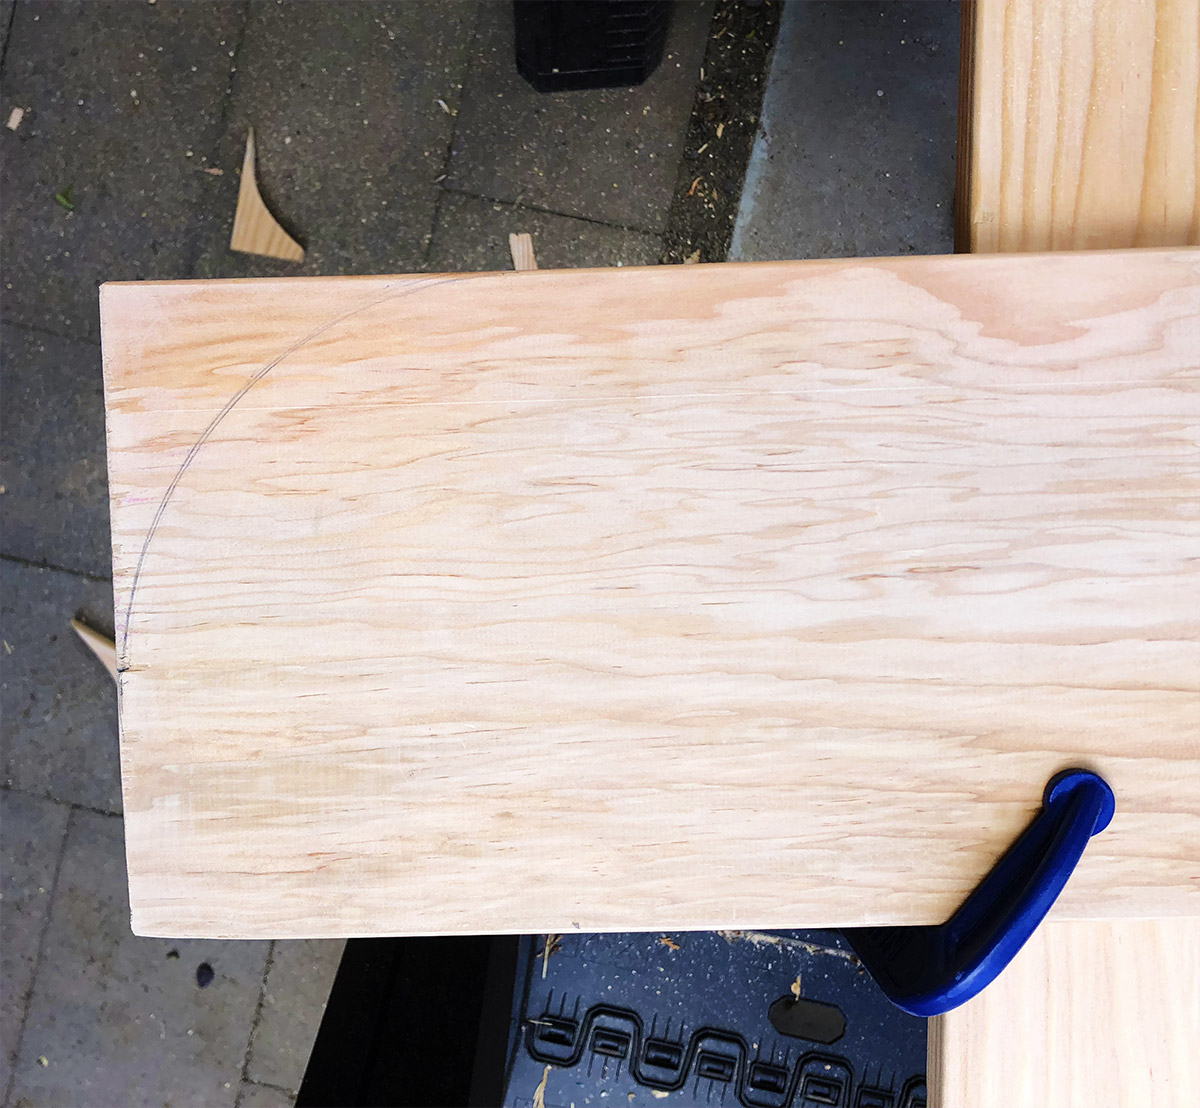
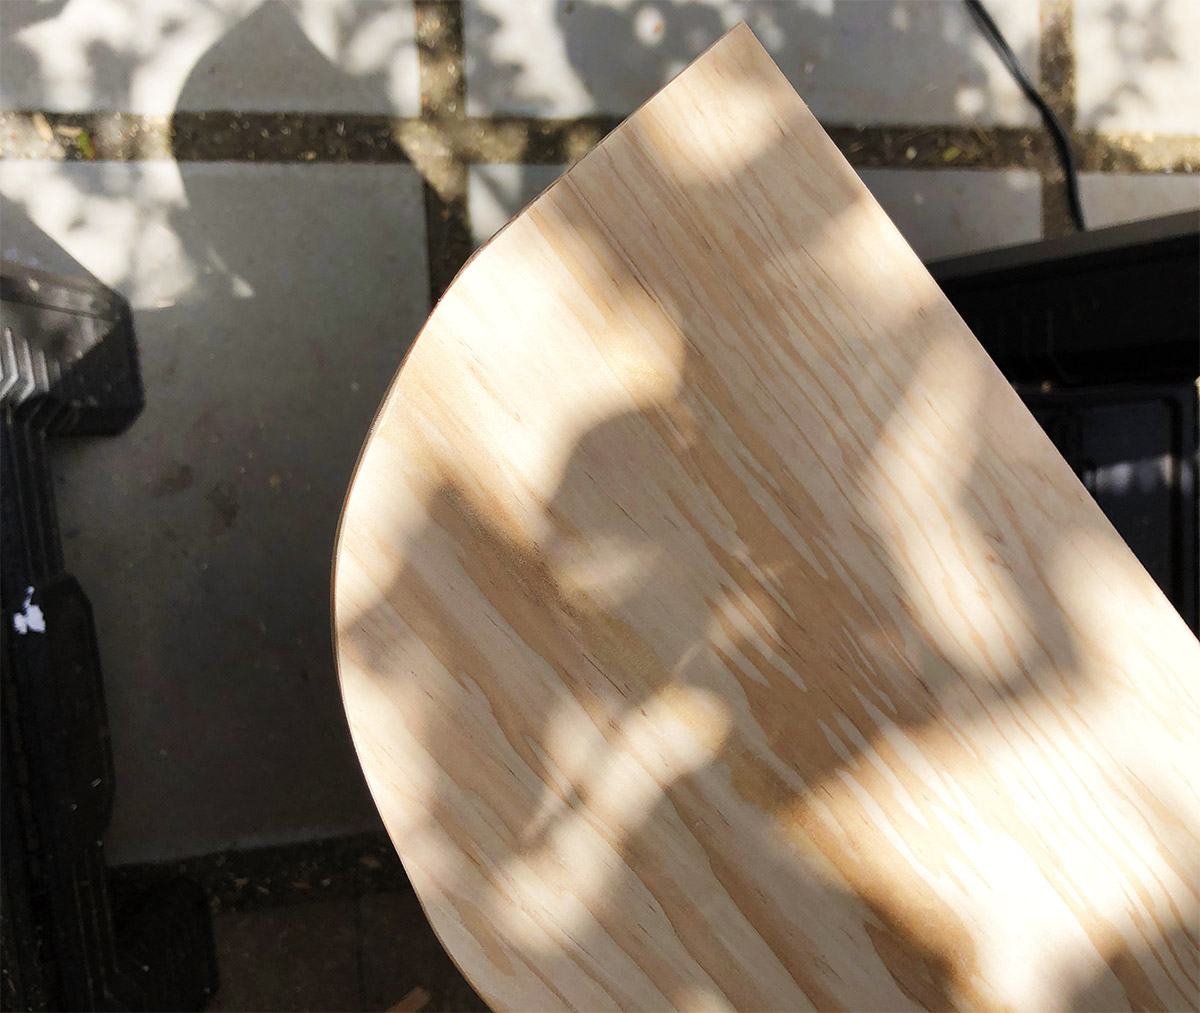
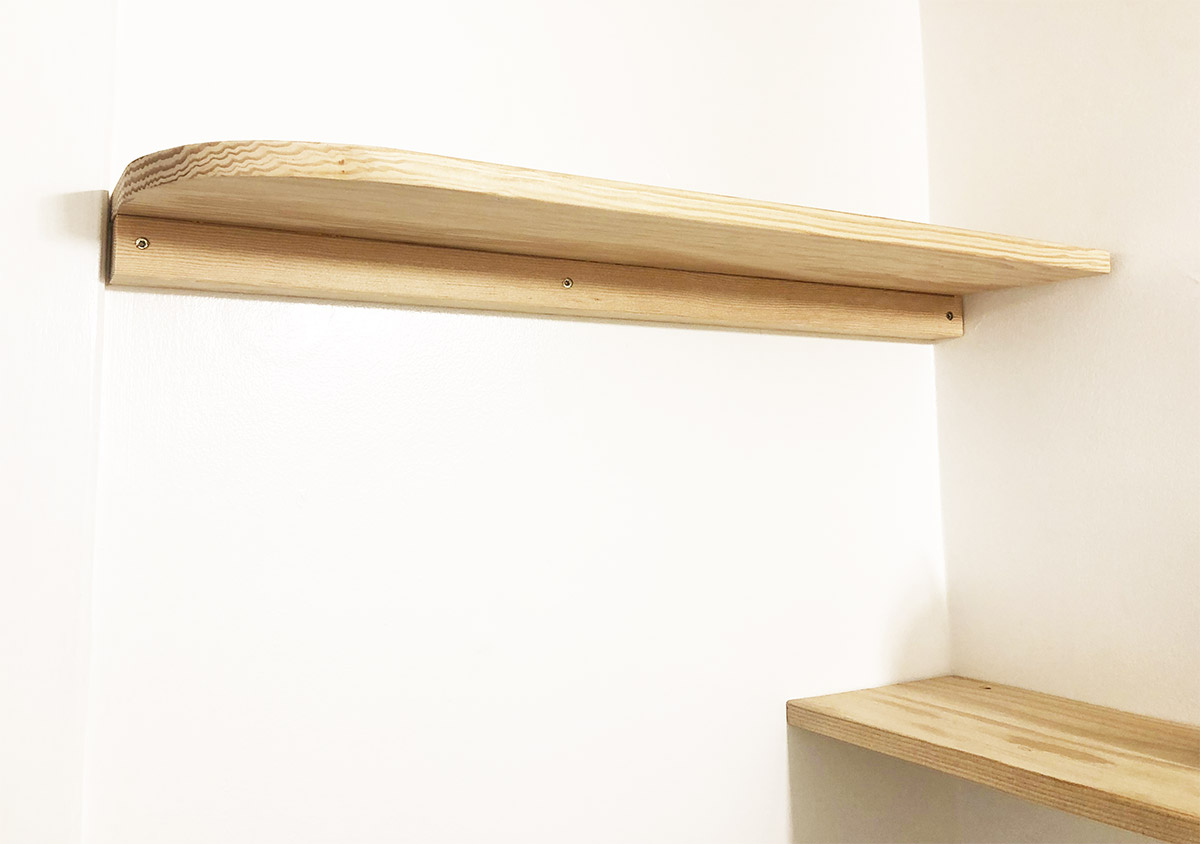
After holding the cut boards up to my wall, I decided I’d like to replace the sharp corners on the boards with a rounded edge. To create the rounded edge, use a pencil compass to draw a curved line on one corner. Use a jigsaw to cut the curve and a power sander to smooth the edge.
Step 4:
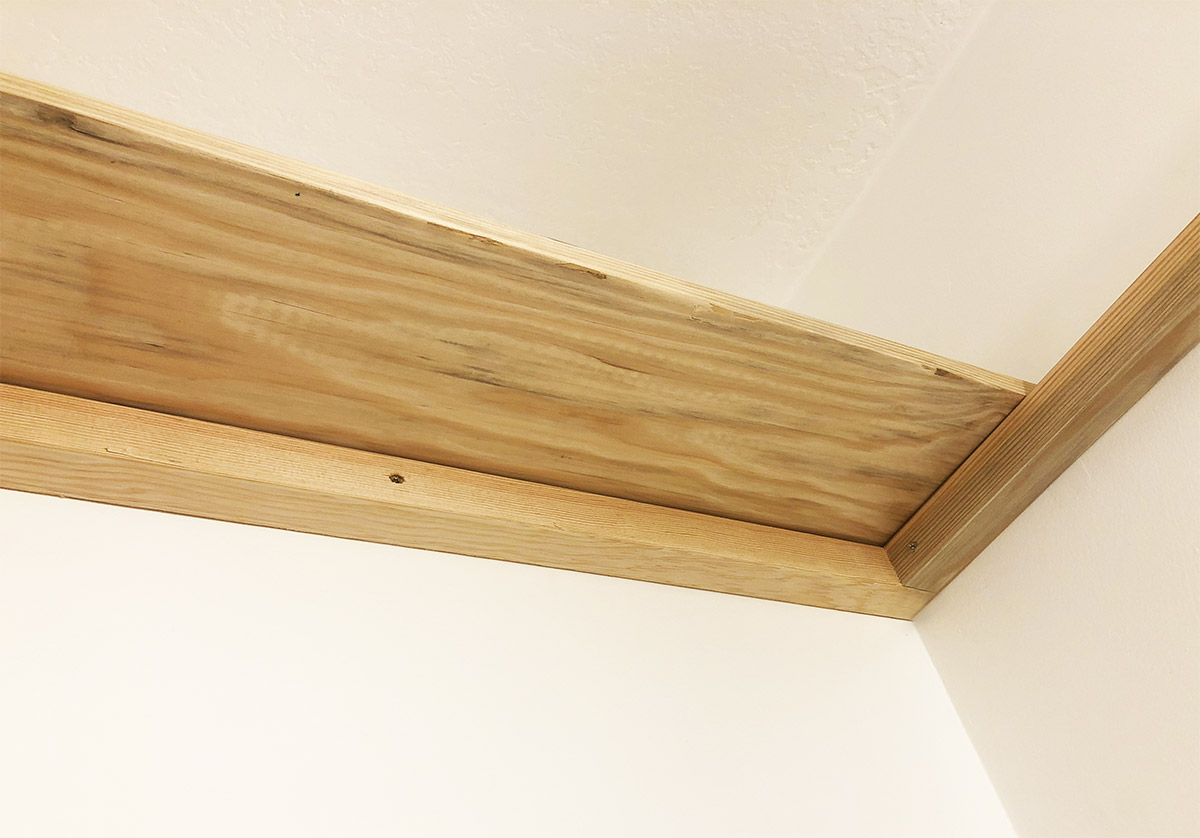
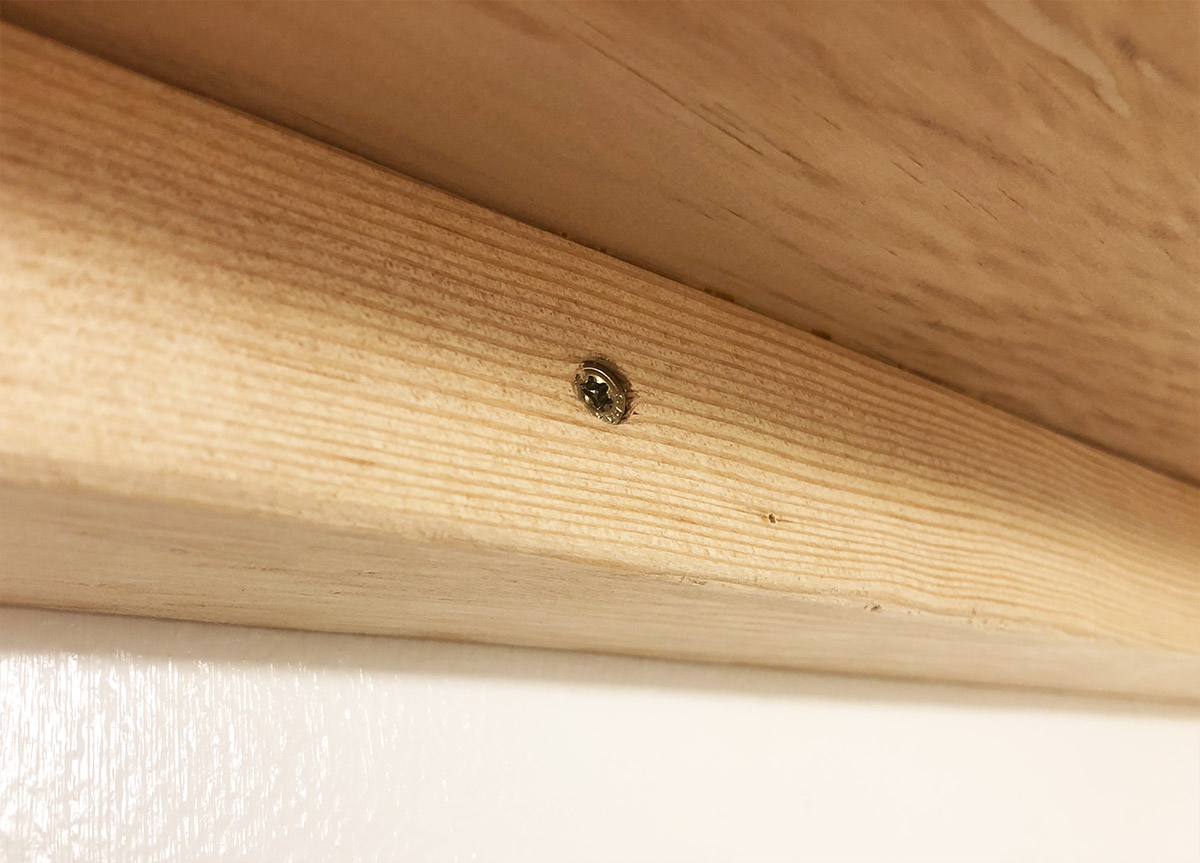
To install the faux floating shelf supports, find the studs in your wall with a stud finder. Use a pencil to mark the stud locations. Mark the stud locations on your wood supports; this is where you will be drilling the supports into the wall. Install the supports into desired locations using the #8 – 2 1/2″ screws. Be sure to countersink the screws so they can be covered with wood putty (see image below to see a countersunk screw).
When the supports are installed on the wall, you can begin to attach the shelves. Place the shelves on the supports and use your #8 – 1 1/2″ screws to attach the shelves to the supports. Drill from the top of the shelf down into the support below it. Don’t forget to countersink the screws so they can be covered with wood putty.
Step 5:
Use the wood putty to cover any of the screw holes. When the putty is dry, sand it down until smooth.
Step 6:
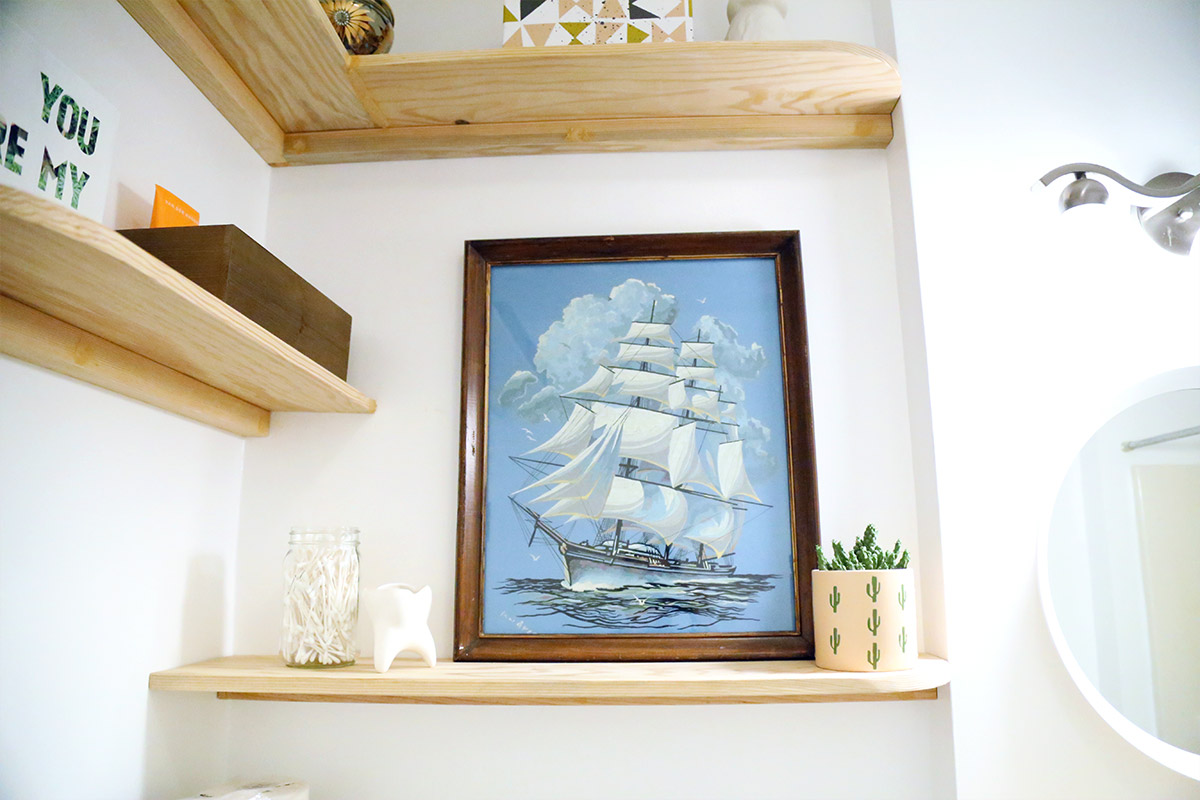
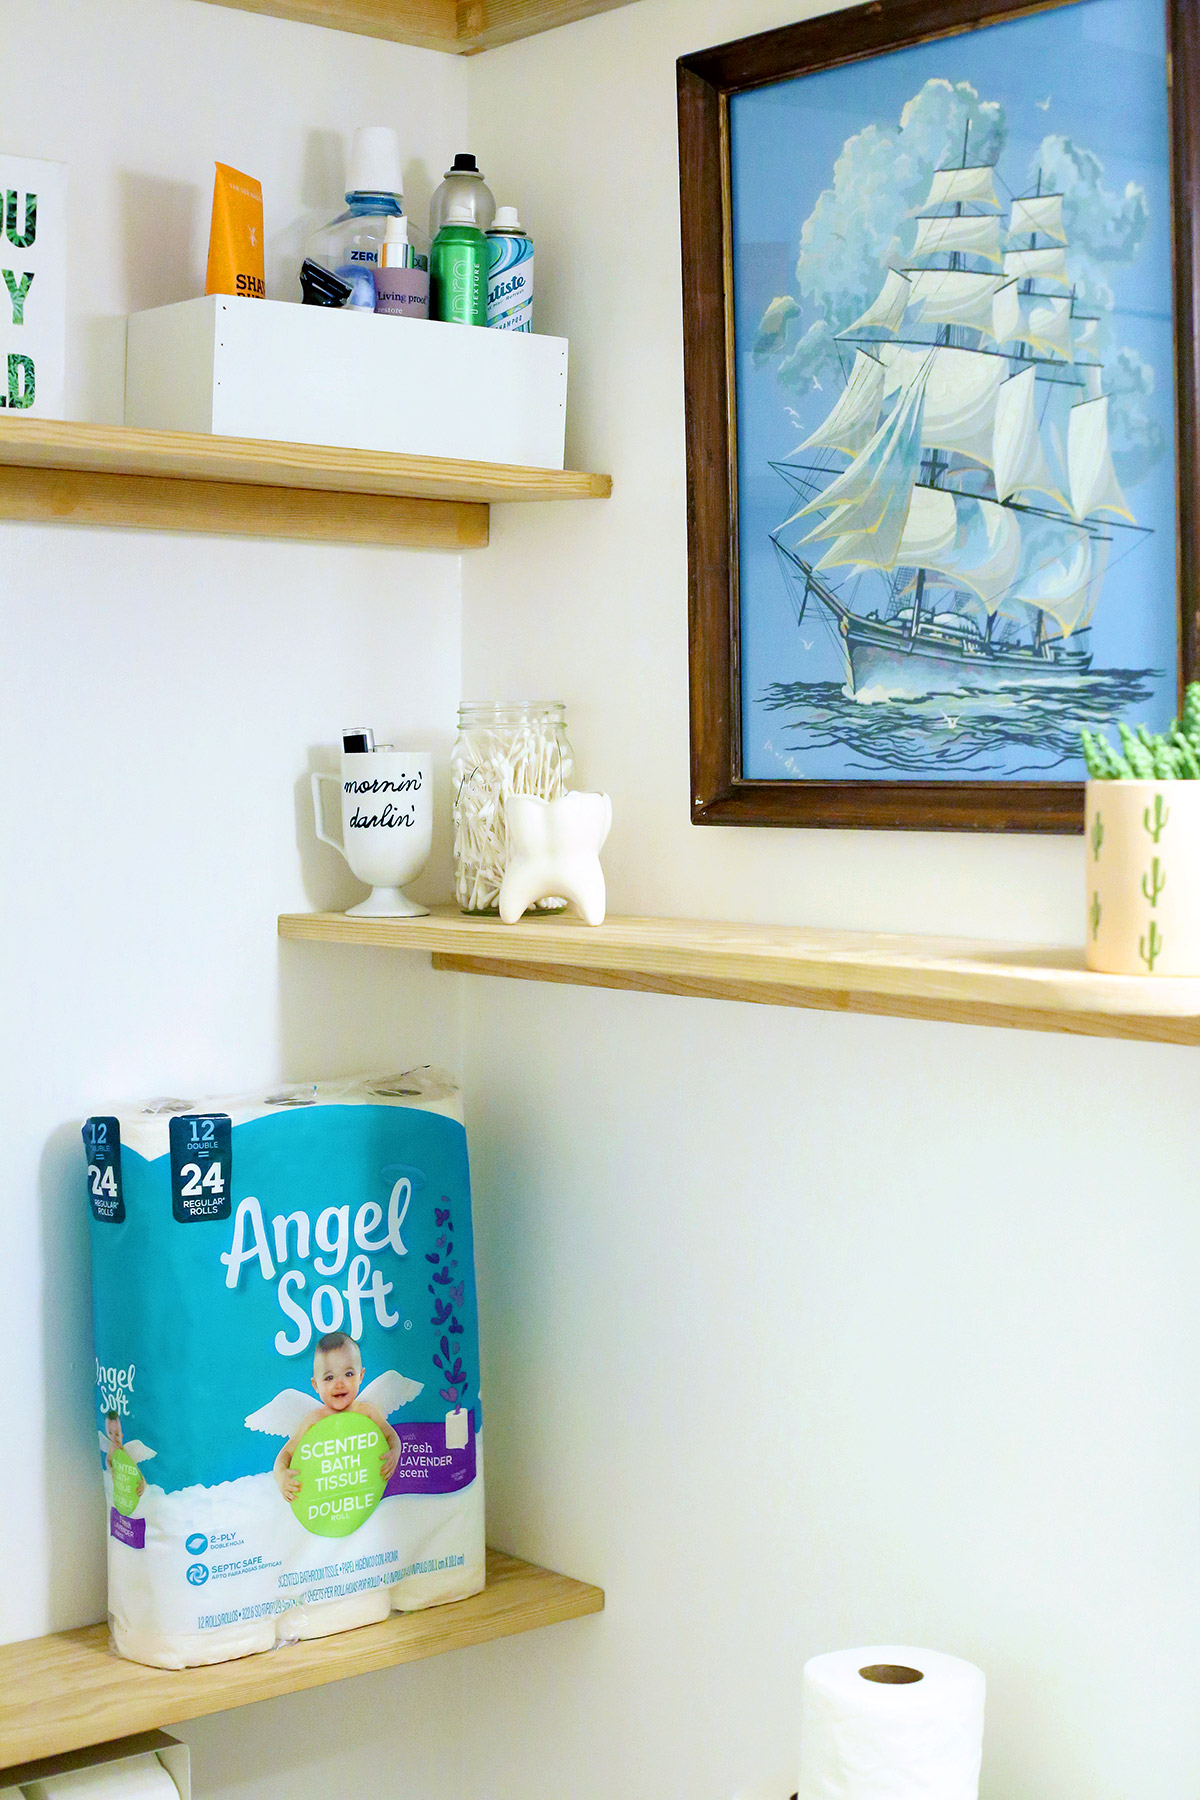
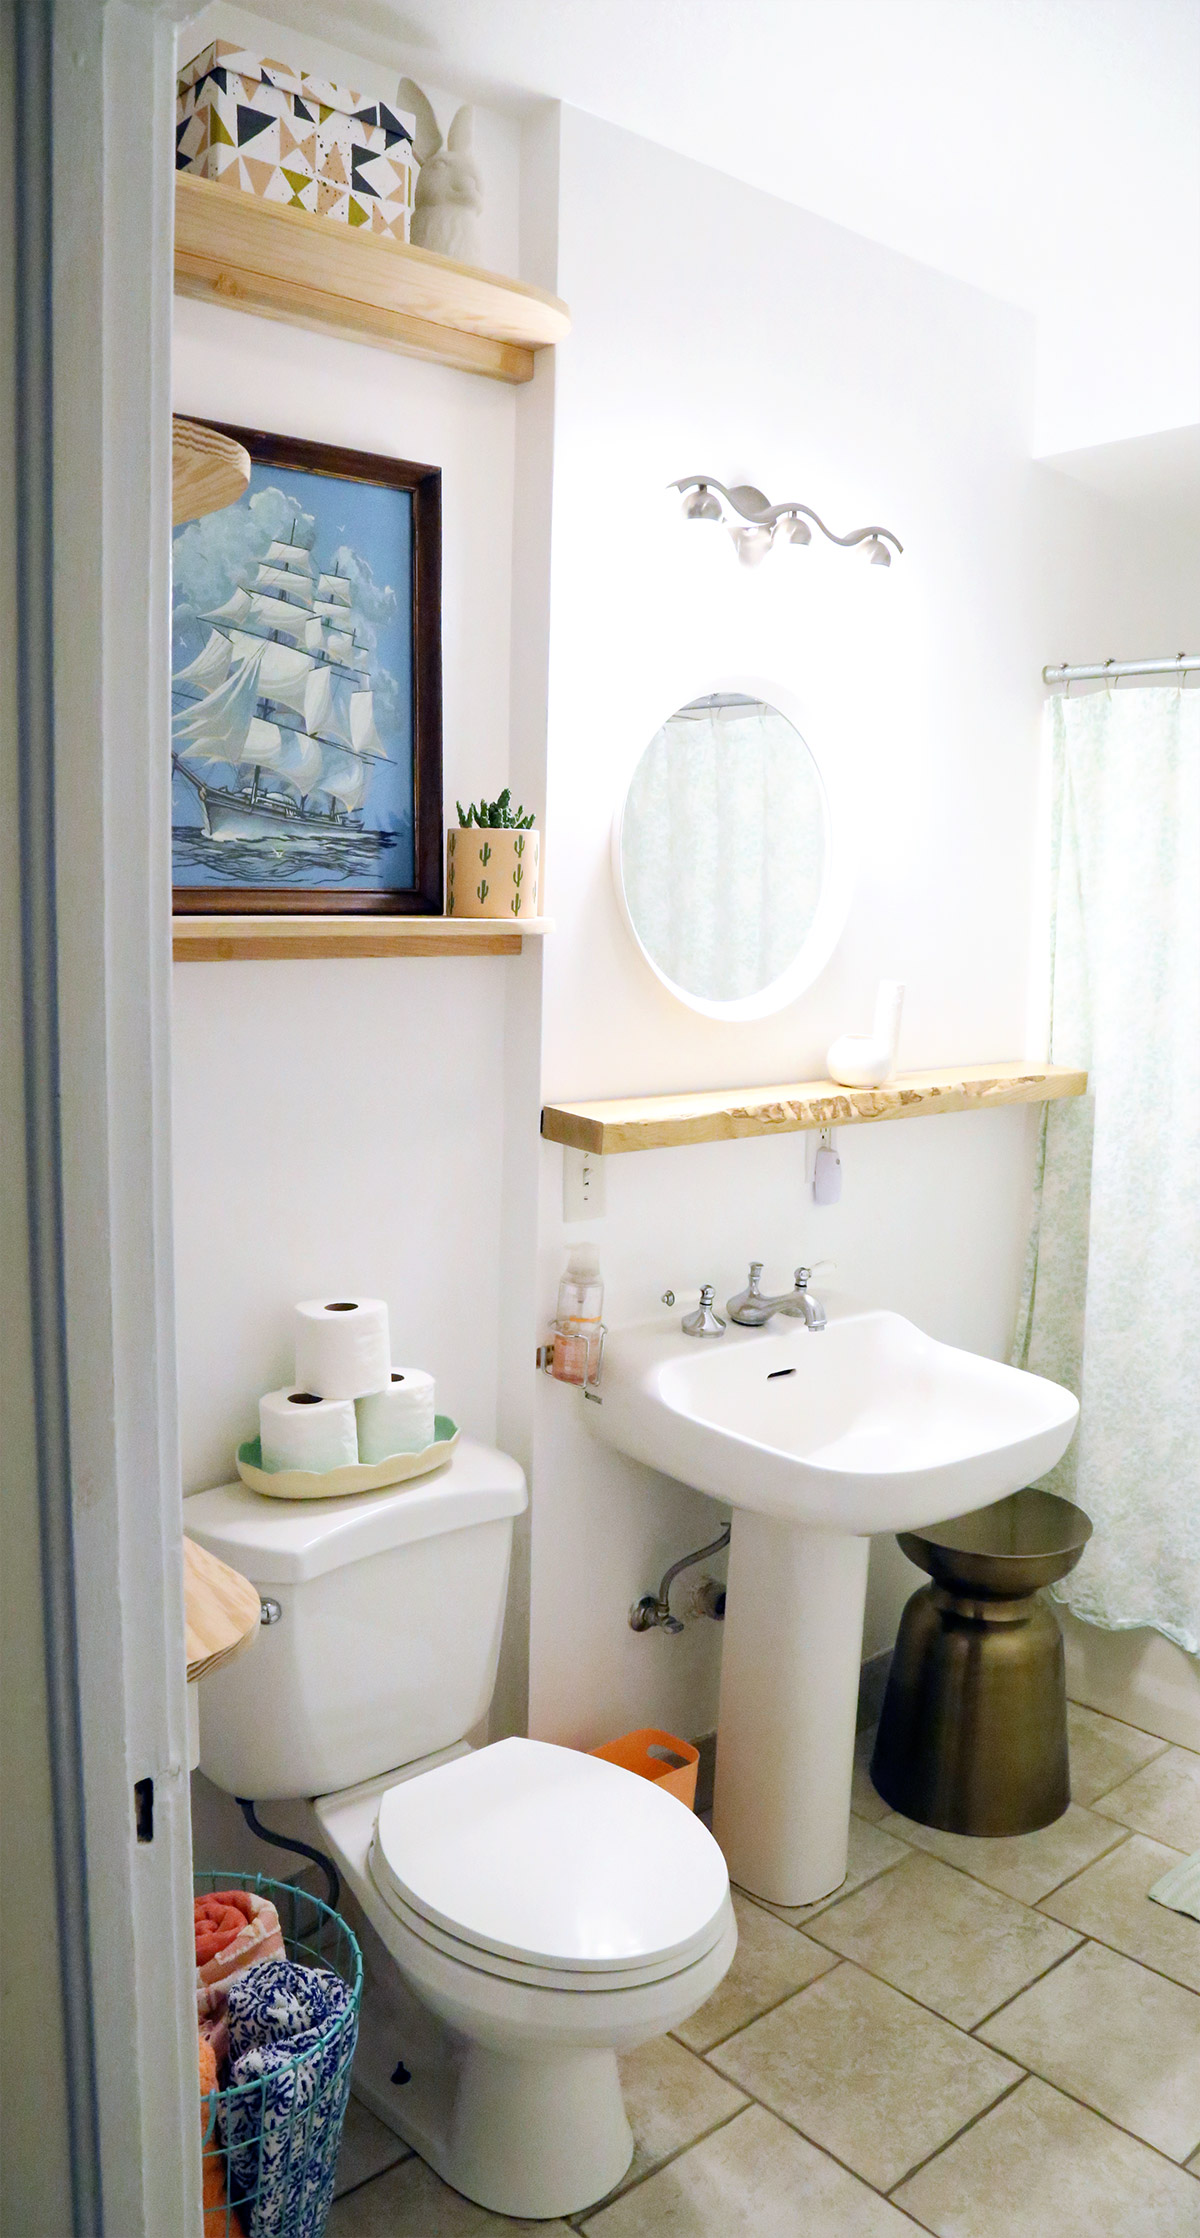
This is where you stain, or paint, your shelves. I want to live with our new shelves for a couple more weeks before I decide what to do with them. As of right now, I’m leaning towards painting them the same white as the wall, so they look built-in. I’d also like more color in the room. Maybe I’ll paint the boxes on the shelves blue? Add more pictures? I’d love to have a tile backsplash in there. Painting our ugly tile floor would change a lot! I’ll be sure to share a bathroom update when I decide what I’m going to do.
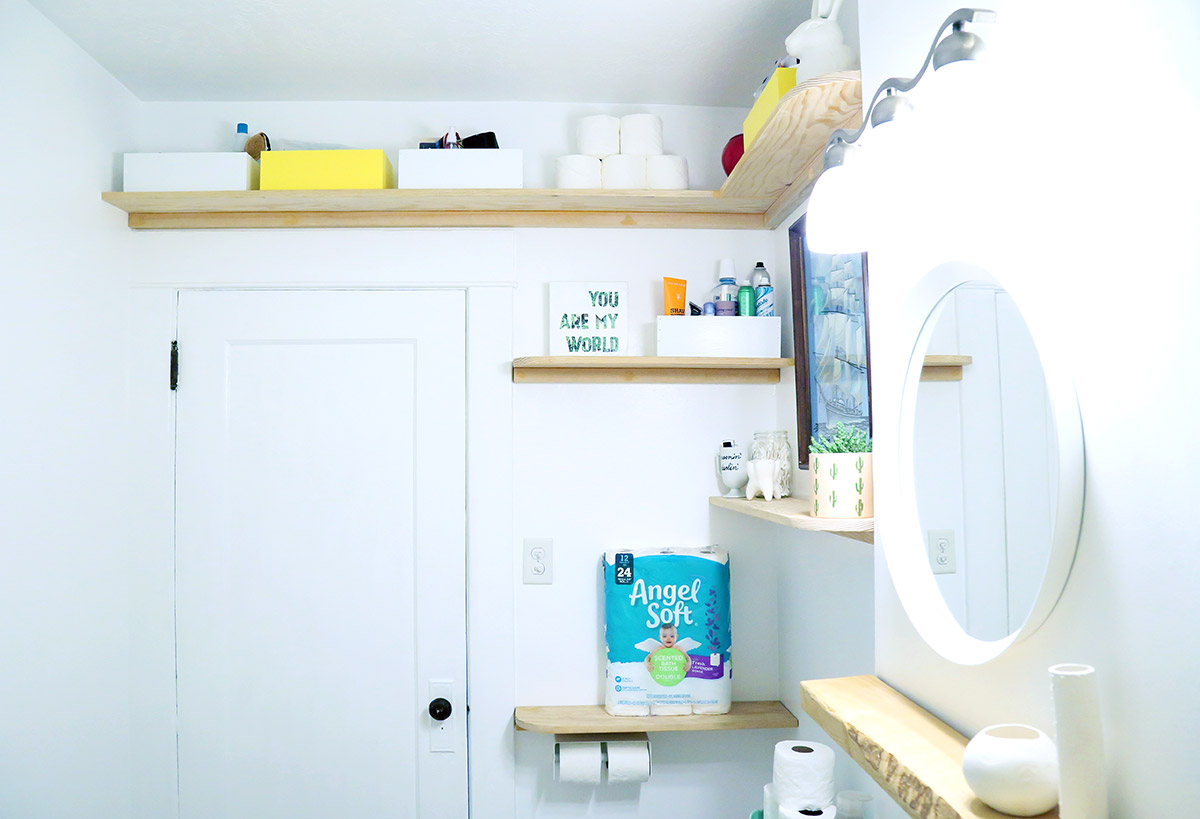
I’m so pleased with our DIY Faux Floating Bathroom Shelves. Having space to organize creates a comfortable atmosphere in the bathroom. We have a plethora of storage for all our bathroom goods, including the wonderful Angel Soft® with Fresh Lavender-Scented Tube toilet paper.

Alright, who’s ready to get back to potty training?
– Chelsey
Disclosure: I may earn a small commission for my endorsement, recommendation, testimonial, and/or link to any products or services from this website. There are affiliate links in this post. Thank you for your support.