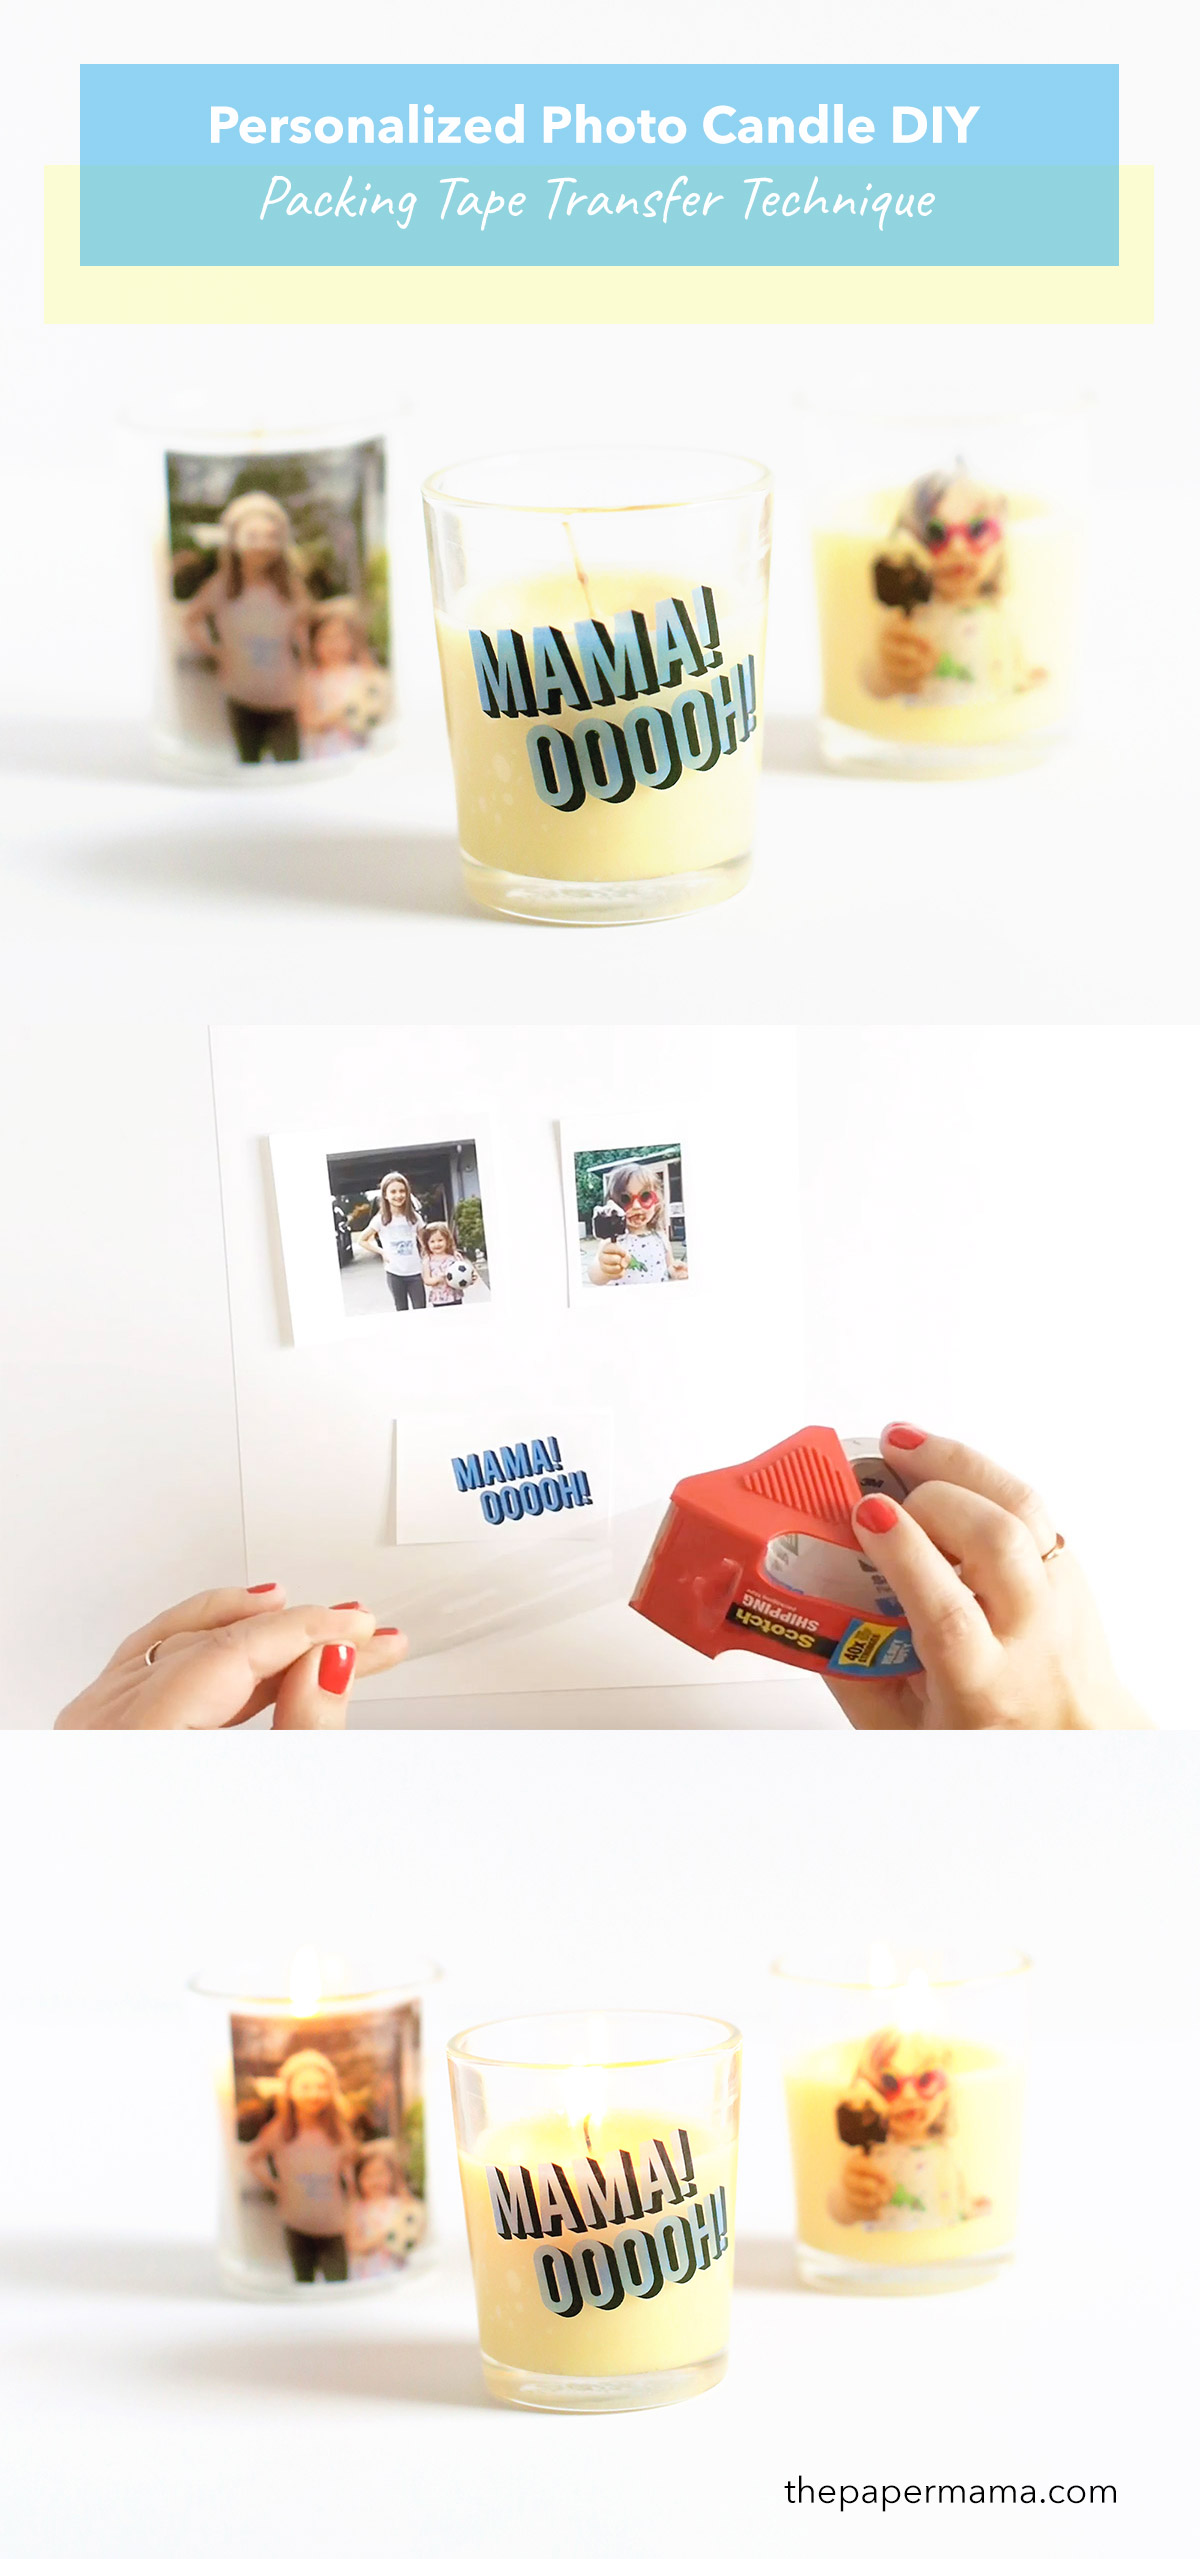
Yesterday I shared my Colorfully Painted Wood Block Photo Transfer DIY with you, so today I’m sharing a Packing Tape Photo Transfer Technique. This process is VERY simple and the perfect way to make a Personalized Photo Candle DIY. This is another project that my friend Lindsay, of Shrimp Salad Circus, and I taught at the Craftcation Conference.
If you’re not really into candles, that’s fine. You can use this Packing Tape Photo Transfer Technique for many projects (as long as it doesn’t need to go in the dishwasher). I’ve seen it used in pantry organization, for personalizing journals, and decorating computers/tablets.
Ready to get started? Follow the directions below.
Supplies:
- glass votive
- rubbing alcohol (isopropyl alcohol)
- Scotch clear packing tape
- warm water
Directions:
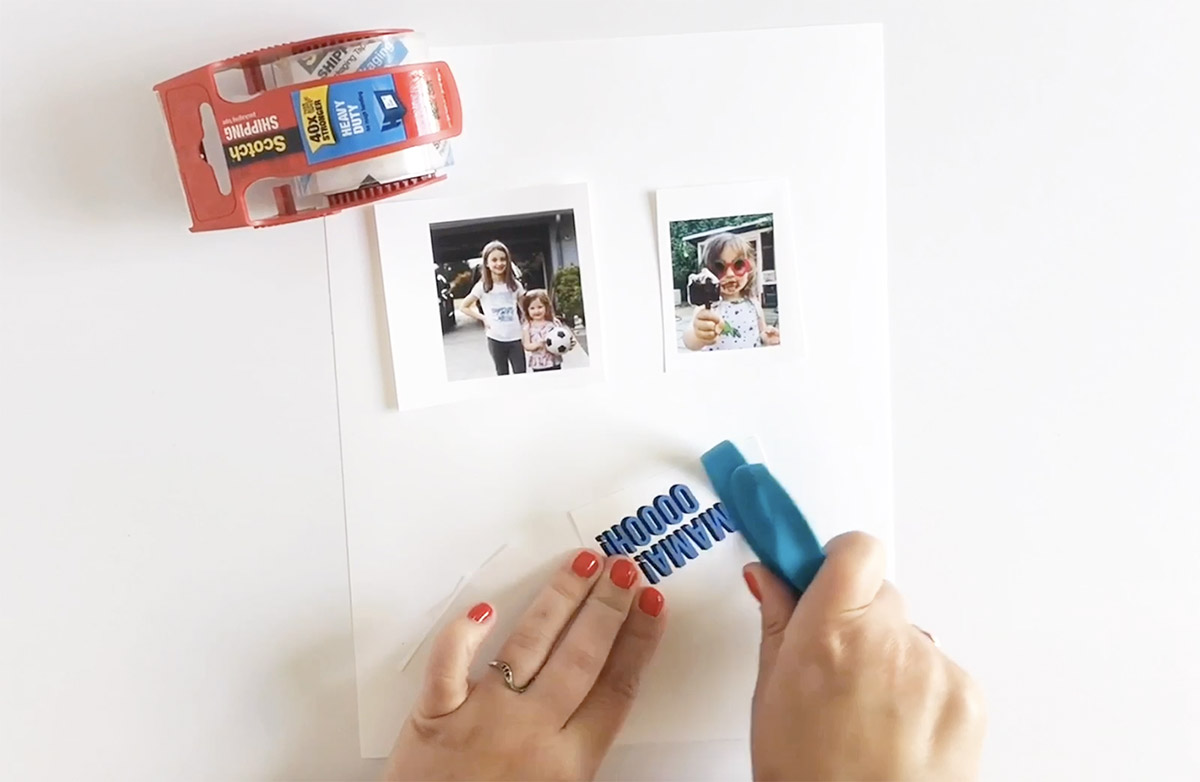
Step 1: Laser Print Photos
Size your images to fit onto the clear glass votives. Use a laser printer to print your images. You can head to a local print shop to do this. Toner based copy machines will also work, but the image will not be as clear as a laser printer. Why can’t you use an inkjet printer? The ink on the paper will bleed and make a mess of your project.
Note: The photo you plan to use should have a white border around it. The white portion of the tape will be clear and sticky after the process of removing the paper. Any dark portion of the image will not be as sticky and may not stick well to the votive.
Step 2: Tape and Burnish Image
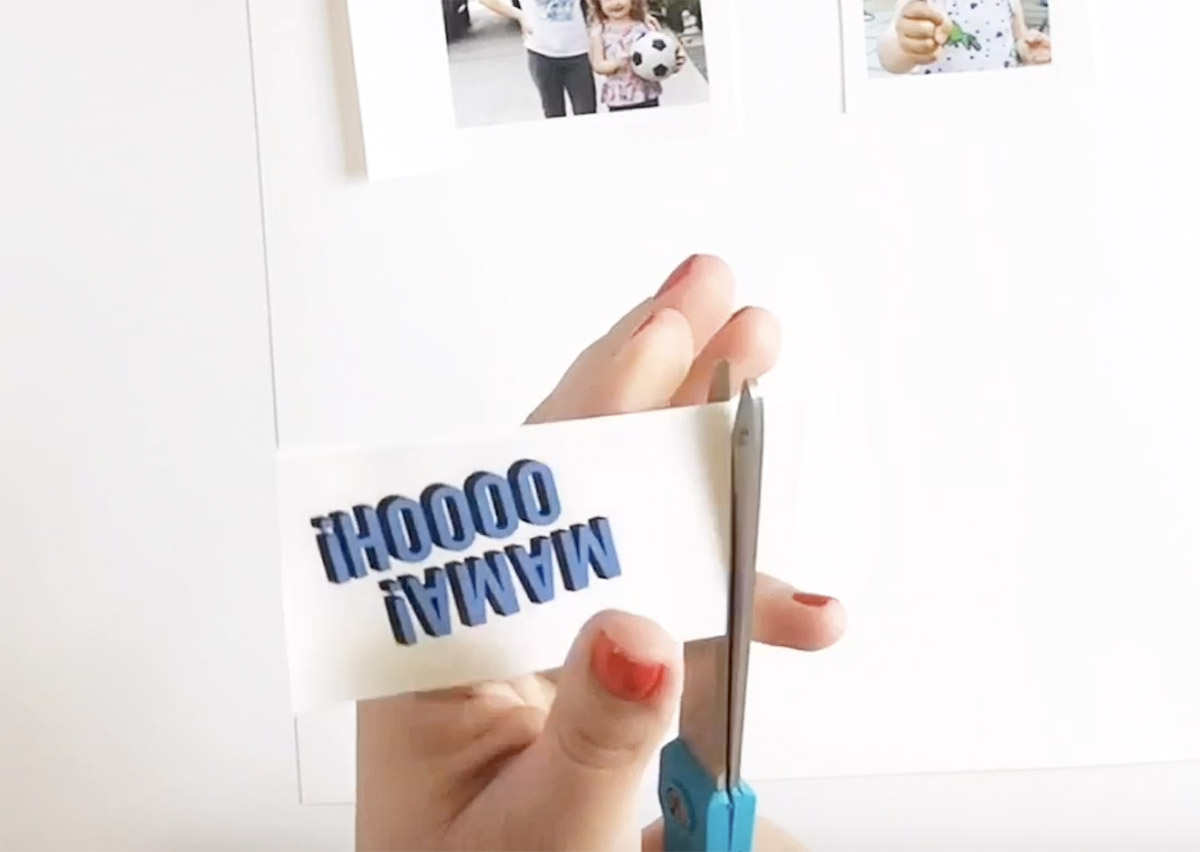
Apply the tape over the image you plan to use. I recommend Scotch tape. It just seems to work better.
Use a credit card (or the handles of your scissors) to burnish, or press down hard, the tape onto the image. You’ll notice the image brightens a bit when you really push the tape down.
Trim the extra tape off the burnished image. Be sure to leave a white border around the image!
Note: if you’re image is larger than the clear packing tape you can overlap the tape over the image.

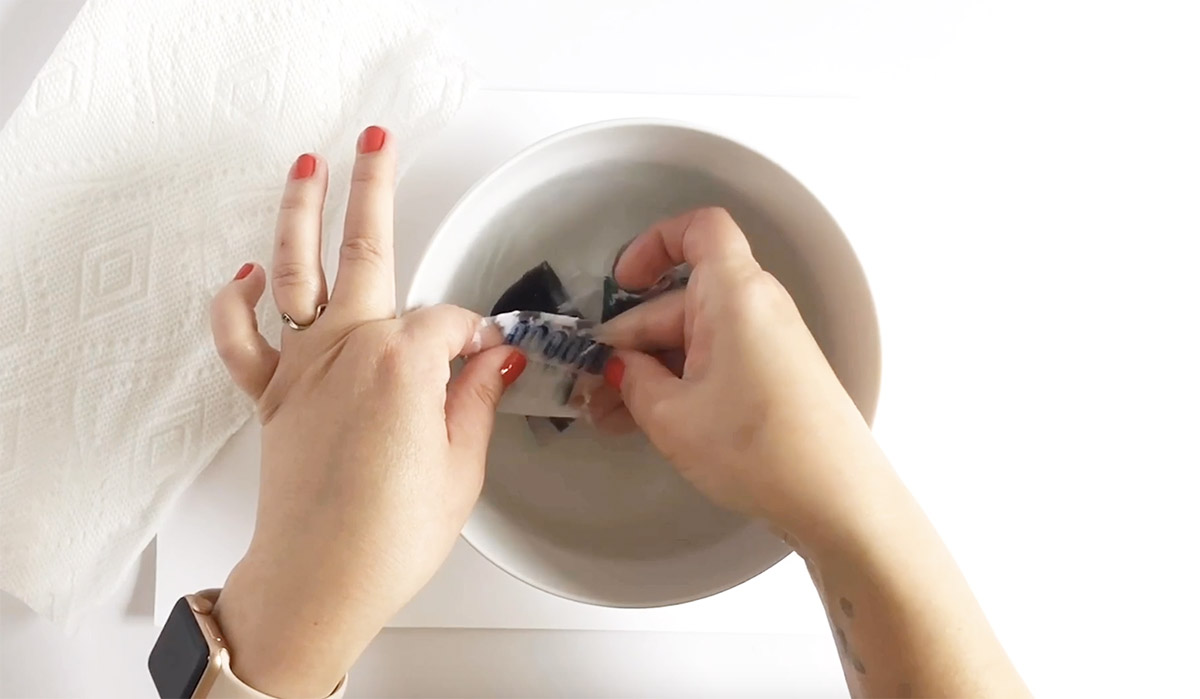
Step 3: Soak The Taped Images
Place the taped and burnished images into a bowl of warm water. Let soak for 30-60 minutes.
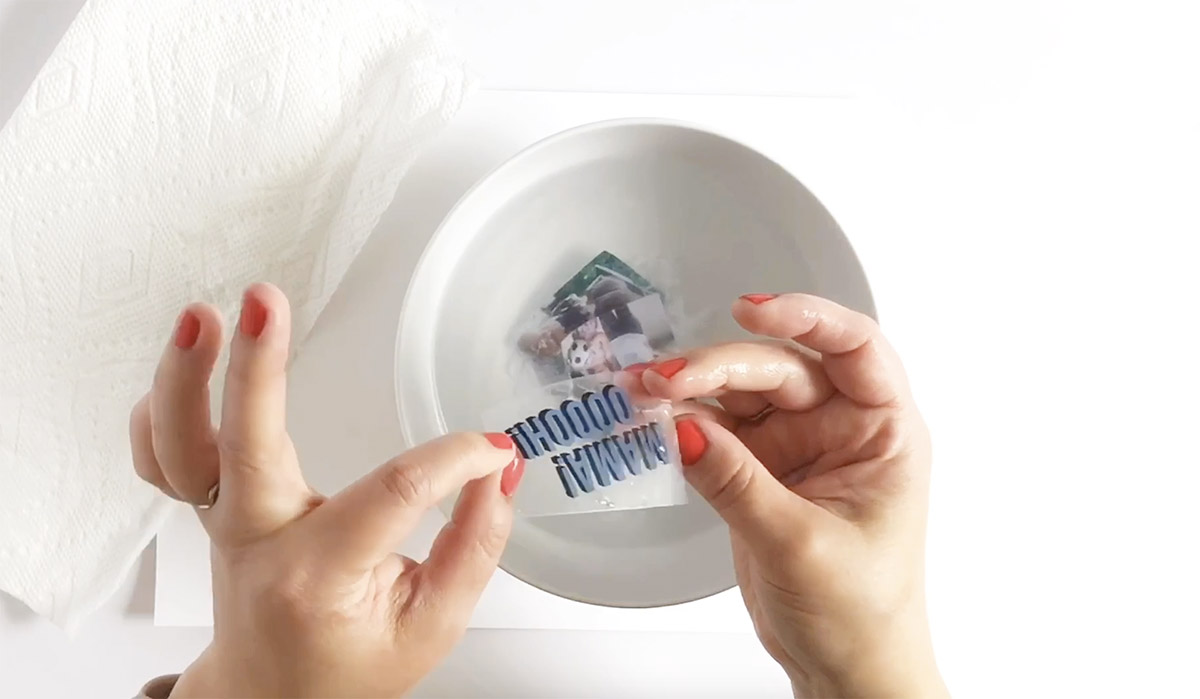
After the soak use your fingers to gently rub the paper off the tape. Don’t use your fingernails to remove the paper, that could scratch the image off.
If it get’s harder to remove the paper from the image just toss it back in the water for another soak and repeat the removal.
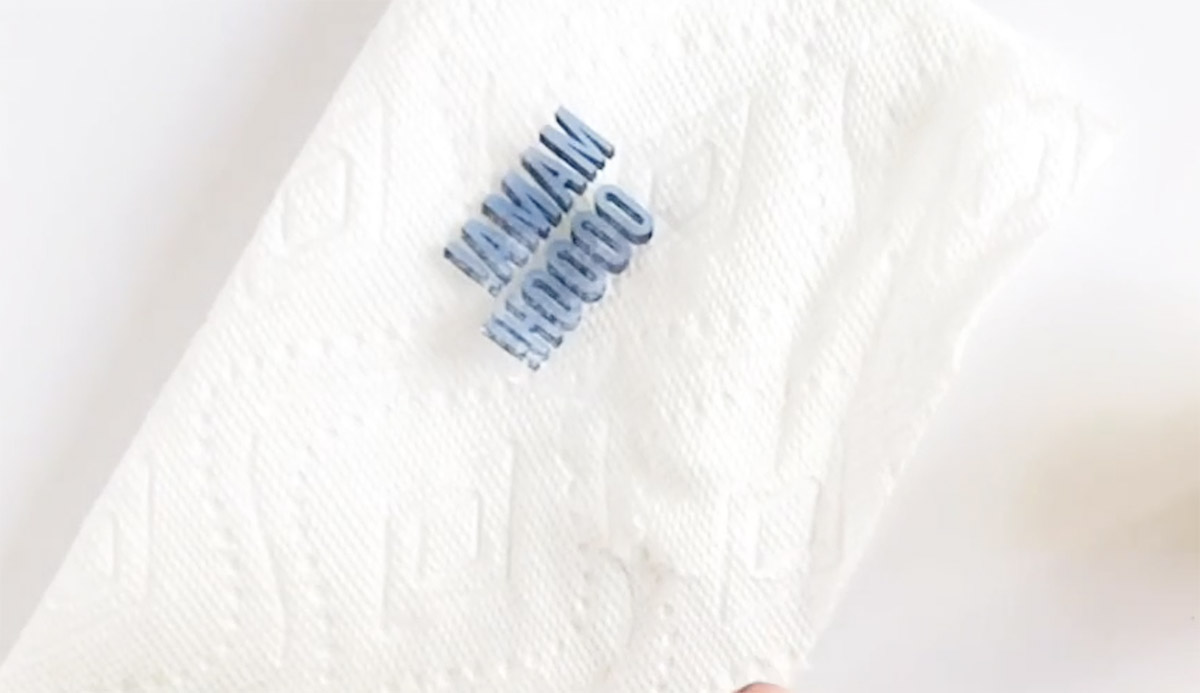
Set the tape aside, sticky side up, to dry. When it’s dry you may notice there’s still fuzz on the back (see the third image below). IF that’s the case you’ll need to soak and remove more of the fuzz.
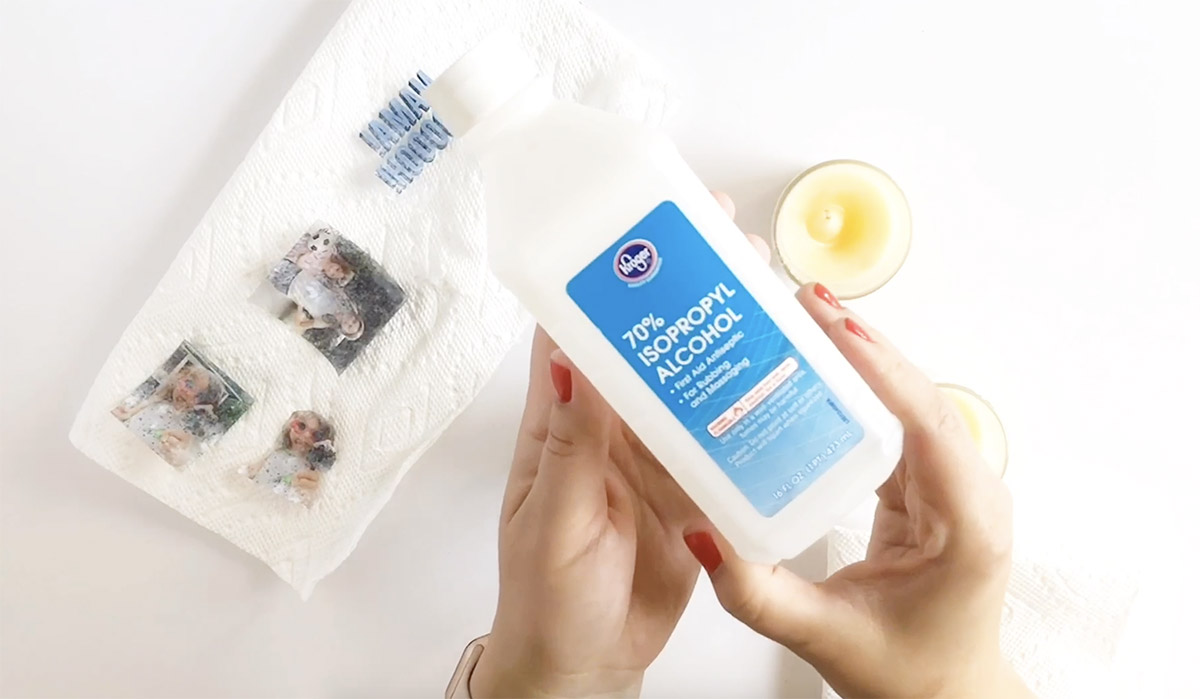
Step 4: Clean the Glass Votives
Use the rubbing alcohol and a paper towel to clean the glass votive. The image won’t stick very well if you don’t clean off the fingerprints and dust.

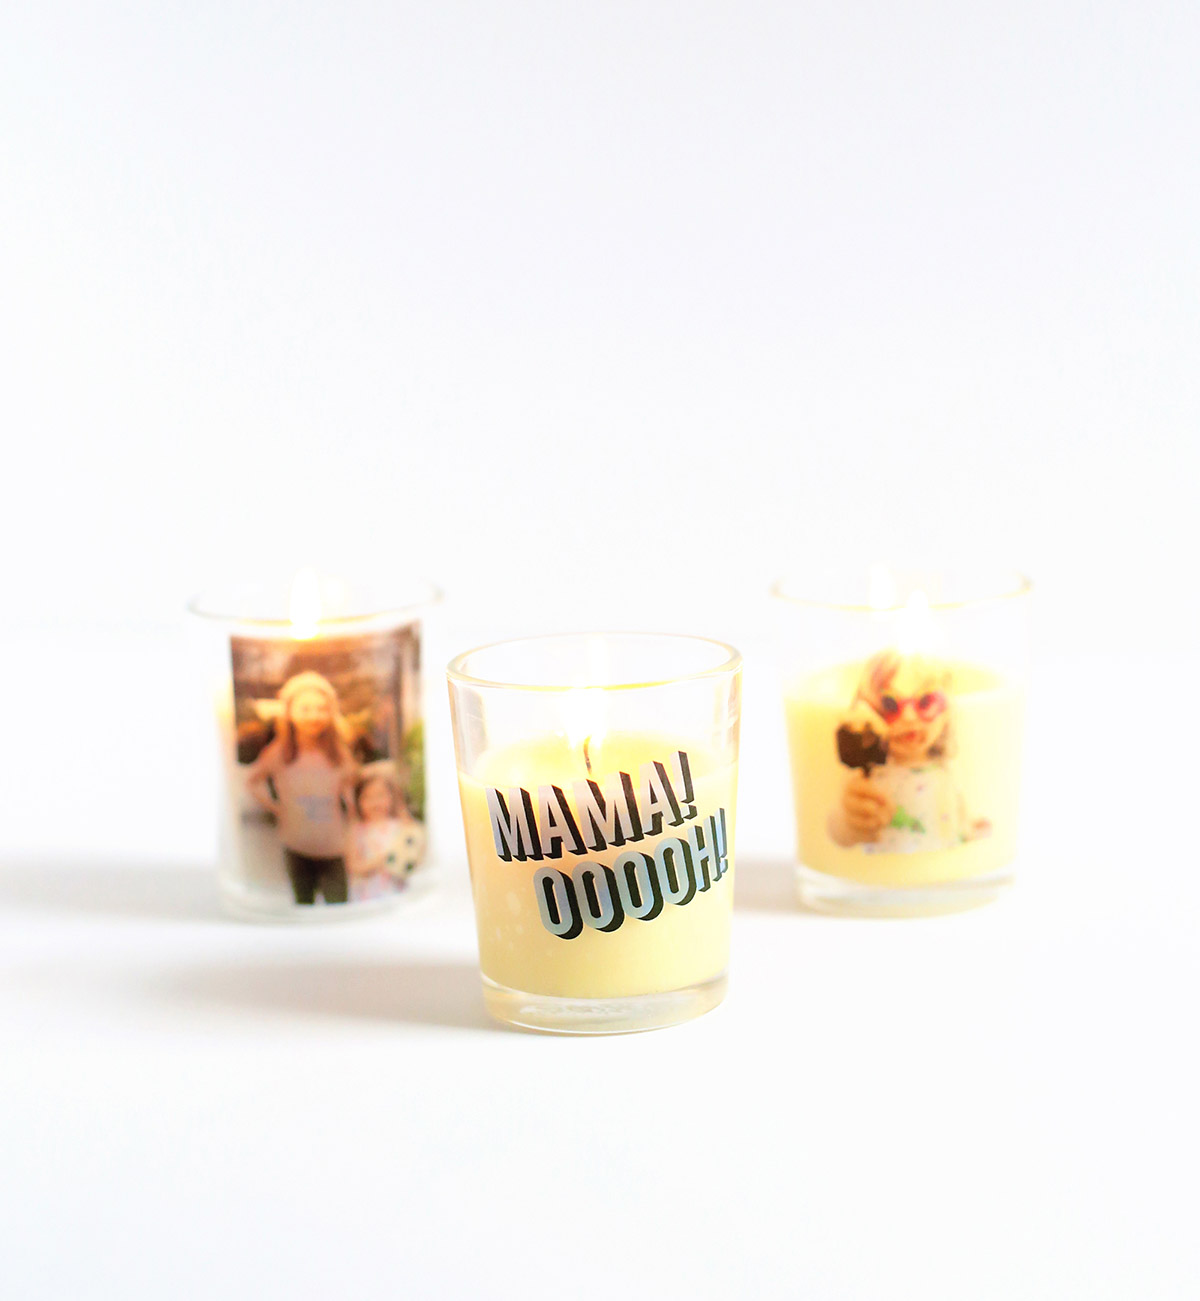
Step 5: Apply the Photo to Votive
When the tape is dry you can apply the tape to the votive and you’re done!

If you’d like to see the whole process in action, check out my video below!
If you make this DIY I’d love to see it. You can tag me on Instagram @thepapermama!
– Chelsey
Disclosure: I may earn a small commission for my endorsement, recommendation, testimonial, and/or link to any products or services from this website. There are affiliate links in this post. Thank you for your support.