If you follow me on social media you’ll notice that my friend, Lindsay of Shrimp Salad Circus, and I were in Ventura, CA to teach a couple of art classes for the Craftcation conference. The great thing about this event is how welcoming and relaxed it is. This is my second time attending and I feel inspired to create more after this trip.
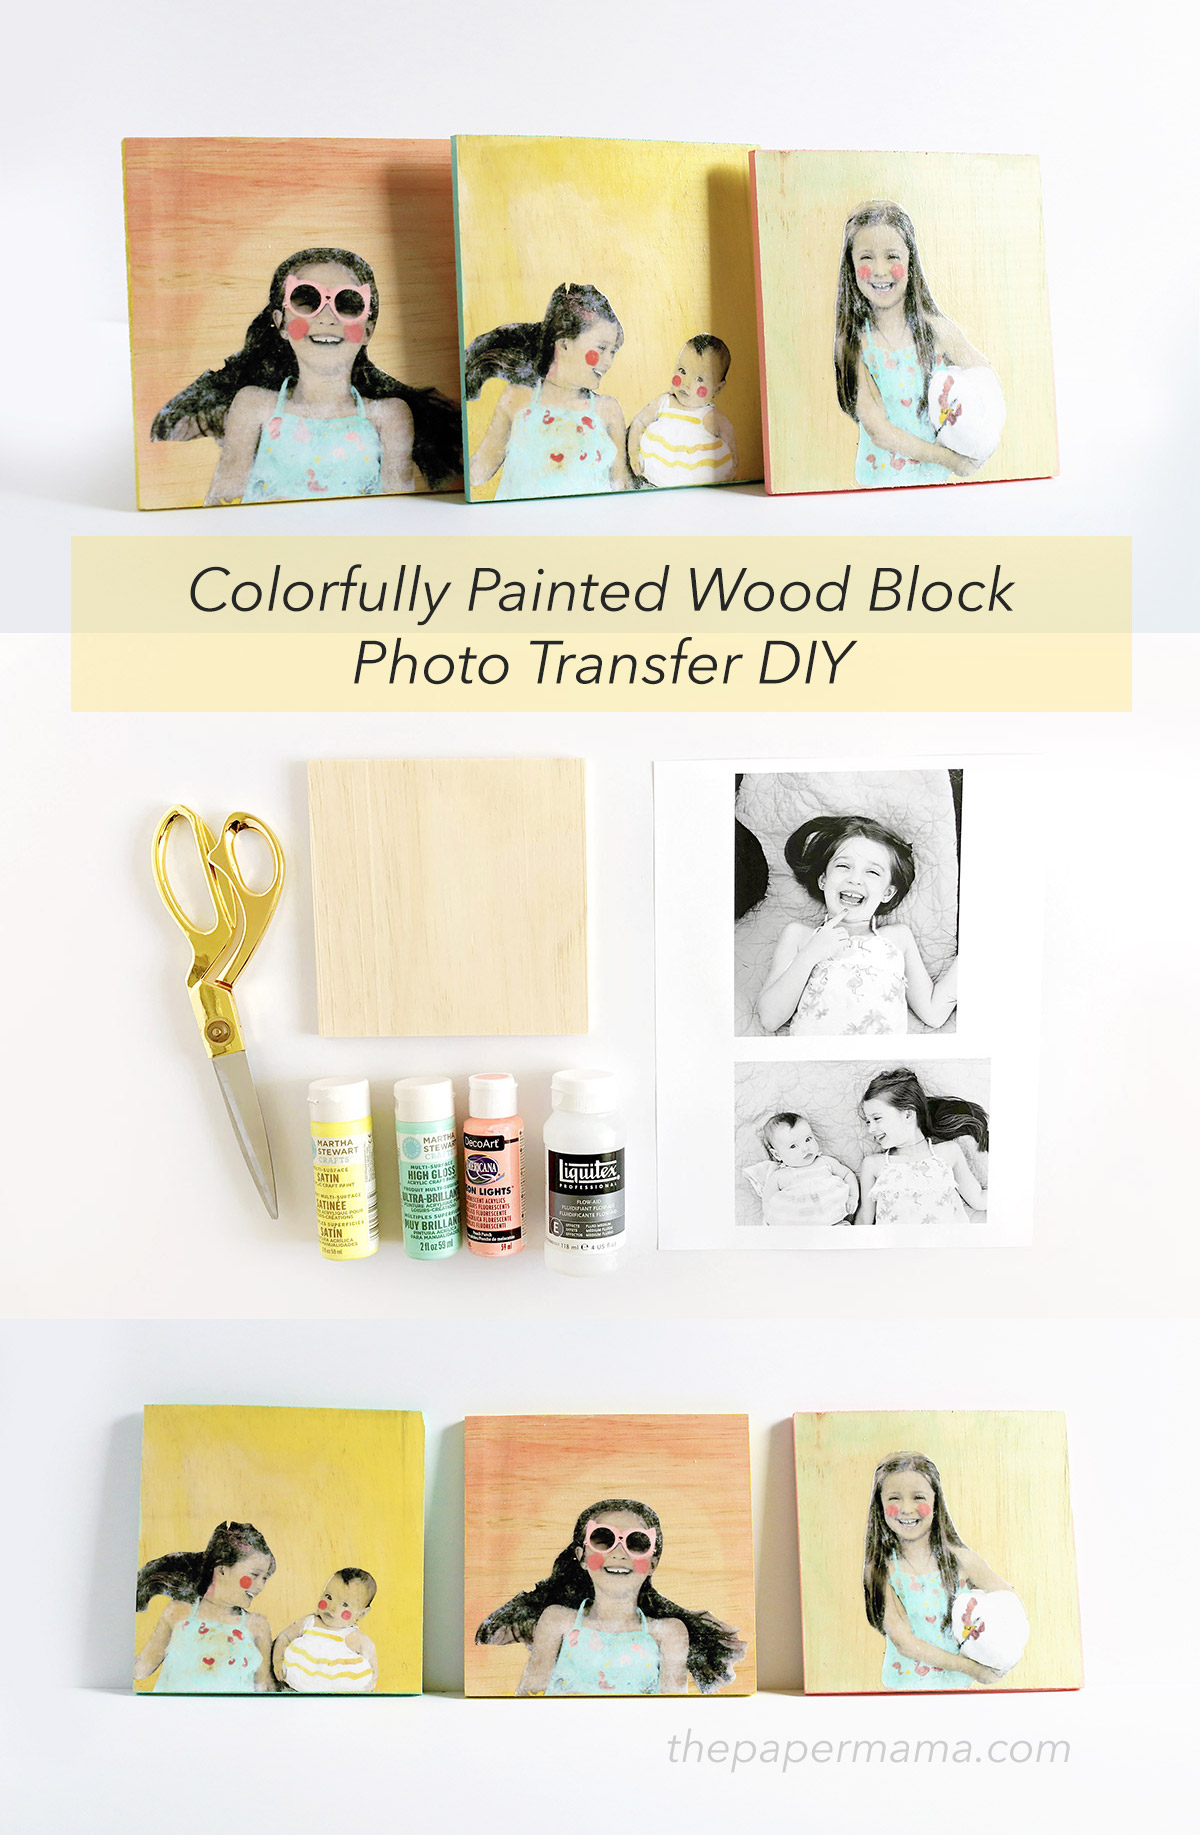
So today I’m sharing one of the projects we taught to our class. It’s my Colorfully Painted Wood Block Photo Transfer DIY. It’s a fun project that paints colorful details BEFORE the actual photo transfer. Follow my directions below to see how i made this.
Supplies:
- wood board
- laser printed mirrored image on copy paper
- acrylic paint
- flow-aid
- matte medium
- clear acrylic sealer
Directions:
Step 1: Print Your Image
Print out a mirrored black and white image using a laser printer. You can head to a local print shop to do this. Toner based copy machines will also work, but the image will not be as clear as a laser printer. Why can’t you use an inkjet printer? The ink on the paper will bleed and make a mess of your project.
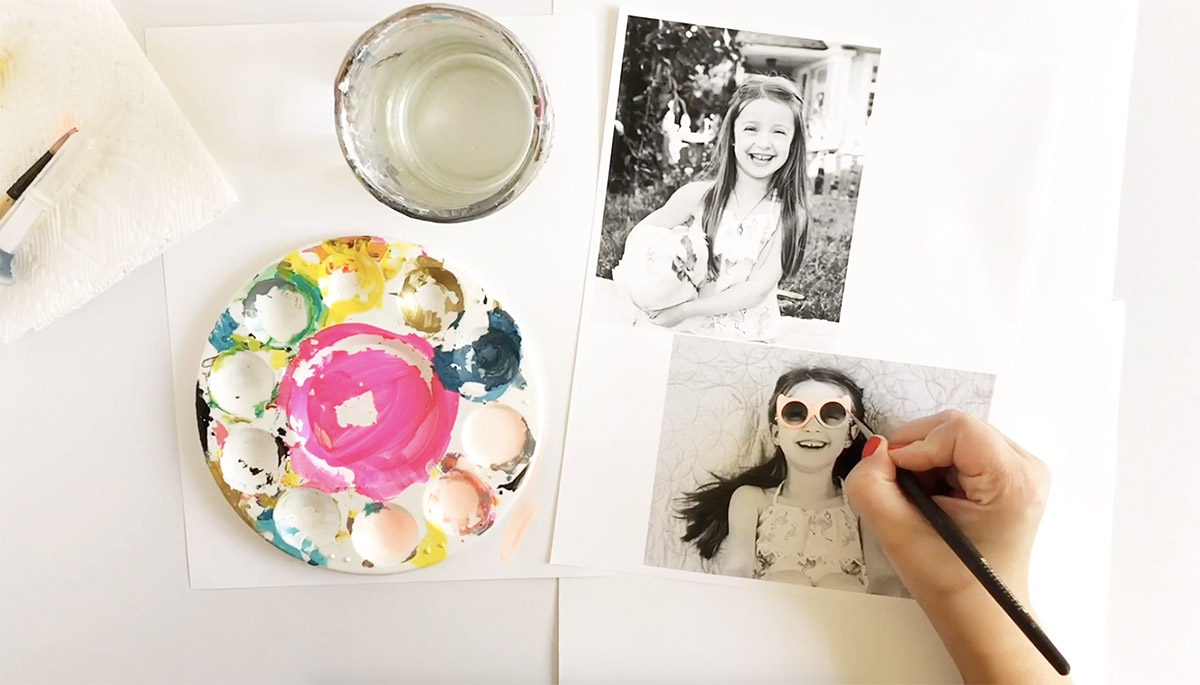
Step 2: Paint Details
Many photo transfer projects add paint AFTER an image is transferred, but for this project I’ll be painting BEFORE the transfer. It’s pretty cool. To get started pick out your acrylic paints and mix with a small amount of flow-aid. What’s the deal with flow-aid? It breaks the water tension to improve flow, absorbency and blending of any water based paint, ink or dye and minimizes brush strokes.
Tips for painting: If you plan on layering paint keep in mind that the paint you first apply will show over any following coats. An example: while painting my chicken I painted the pink details first, then I painted a coat of white over the whole chicken (even the pink details). The red details will show over the white when finished. I guess it’s like painting backwards…
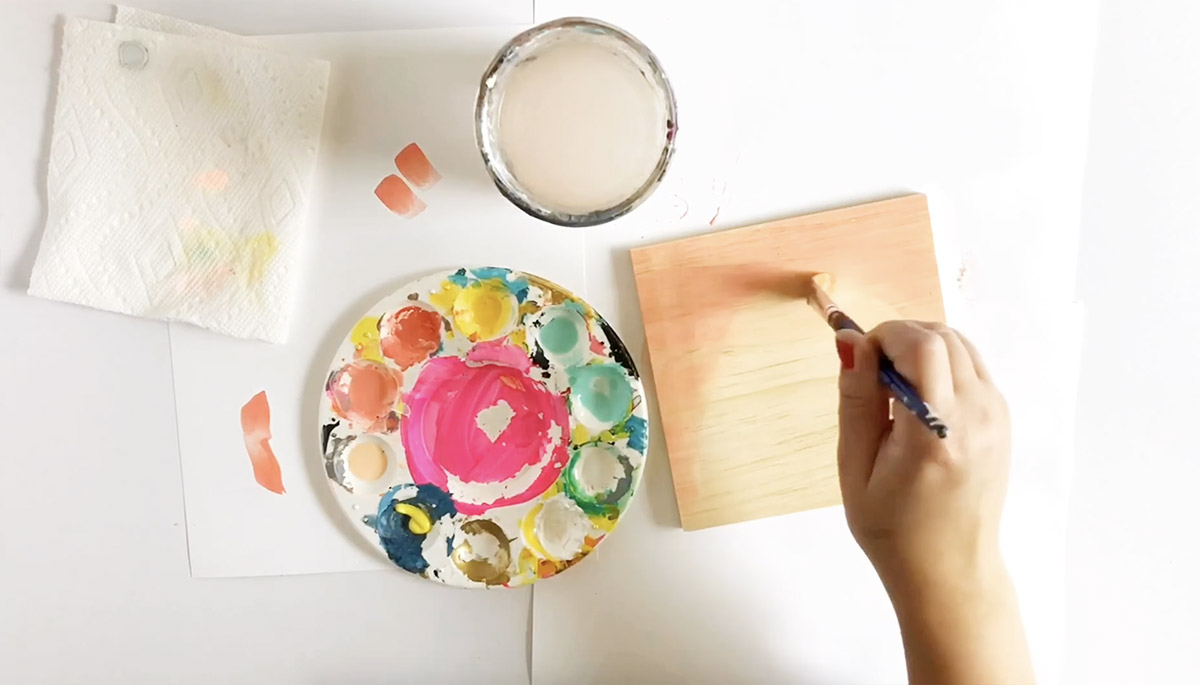
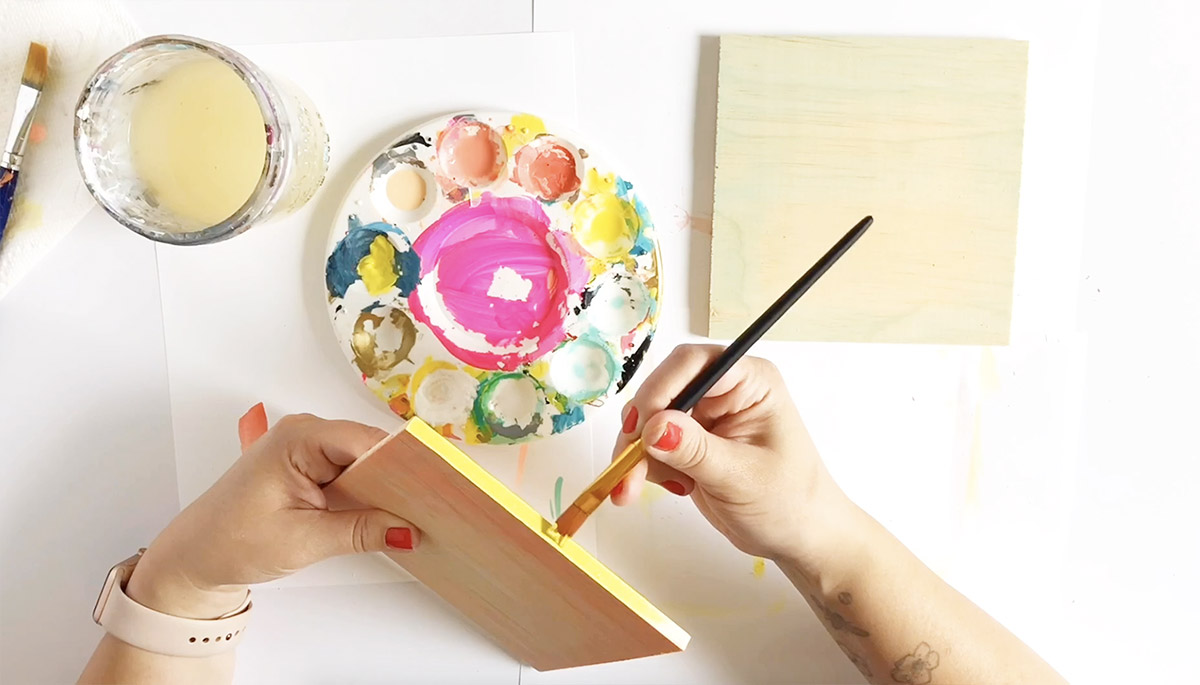
Step 3: Add a Wash of Paint to Wood Block
While your image is drying you can prep your wood block. To make a paint wash I mixed together a small amount of acrylic paint with flow-aid and water. Brush over your block. When that’s dry you can paint a coat along the block’s edge.
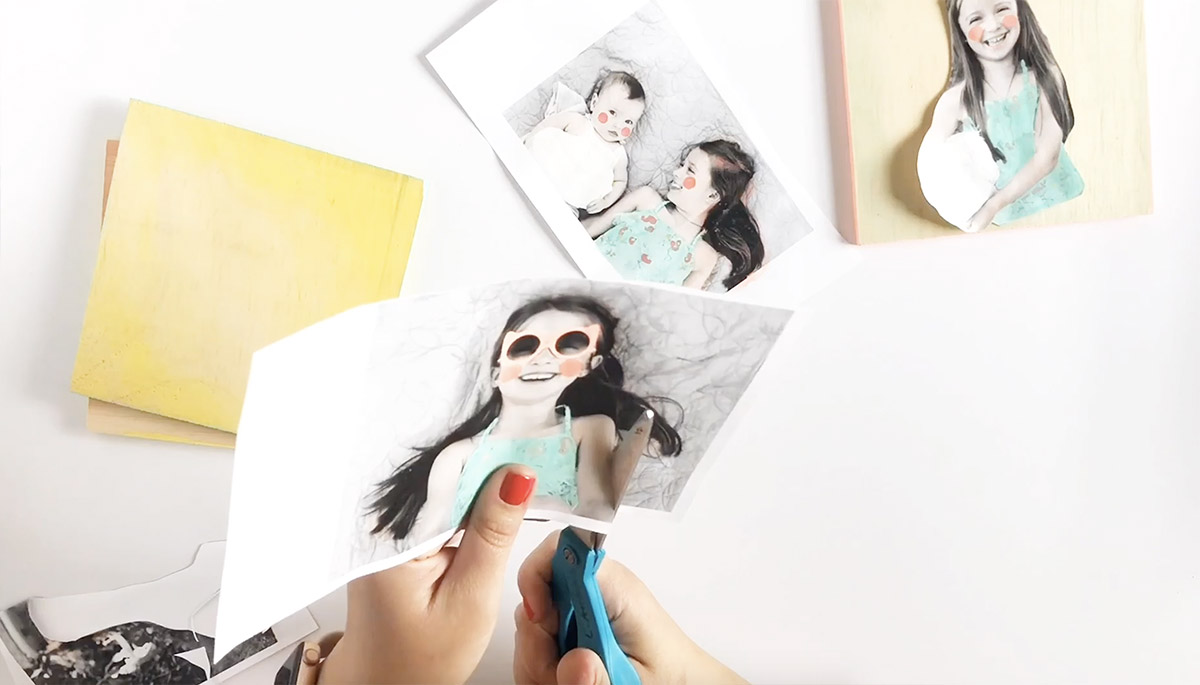
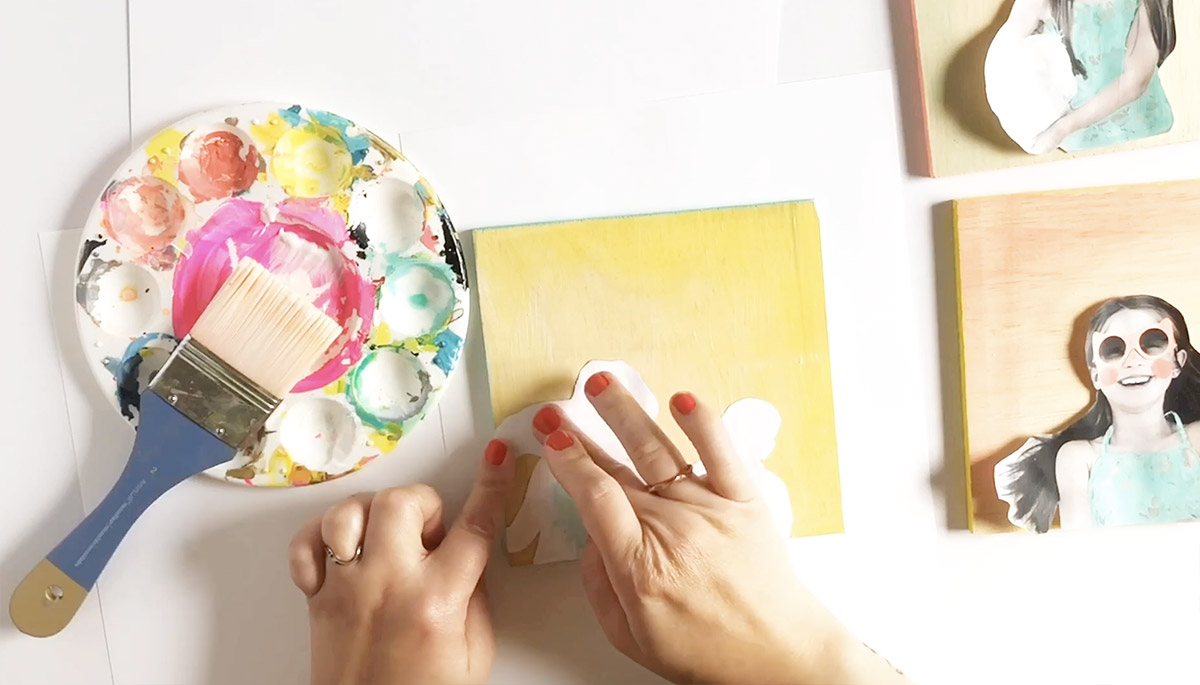
Step 4: Adhere Image to Block
When your wood block is completely dry you can start the photo transfer process! This is the point where you cut out your image. Add a light layer of matte medium to your wood block (if the matte medium is too thin the photo won’t adhere). Press your image, painted and print side down, onto the wood block while the matte medium is still wet.
Starting in the center of the image, use your fingers to press down the image onto the wood block to really stick it down and get out any air bubbles. Be sure to keep an eye on your block for the next 30 minutes. In the beginning stages of drying the paper may pop up off the block a bit. If this happens just use your fingers to press it down. If the edge won’t stick, brush a small amount of matte medium under the image where it’s popping up.
Now here’s the important part: Let the image dry for 24 hours.
I have removed images early and it just doesn’t work as well. The wait is worth it.
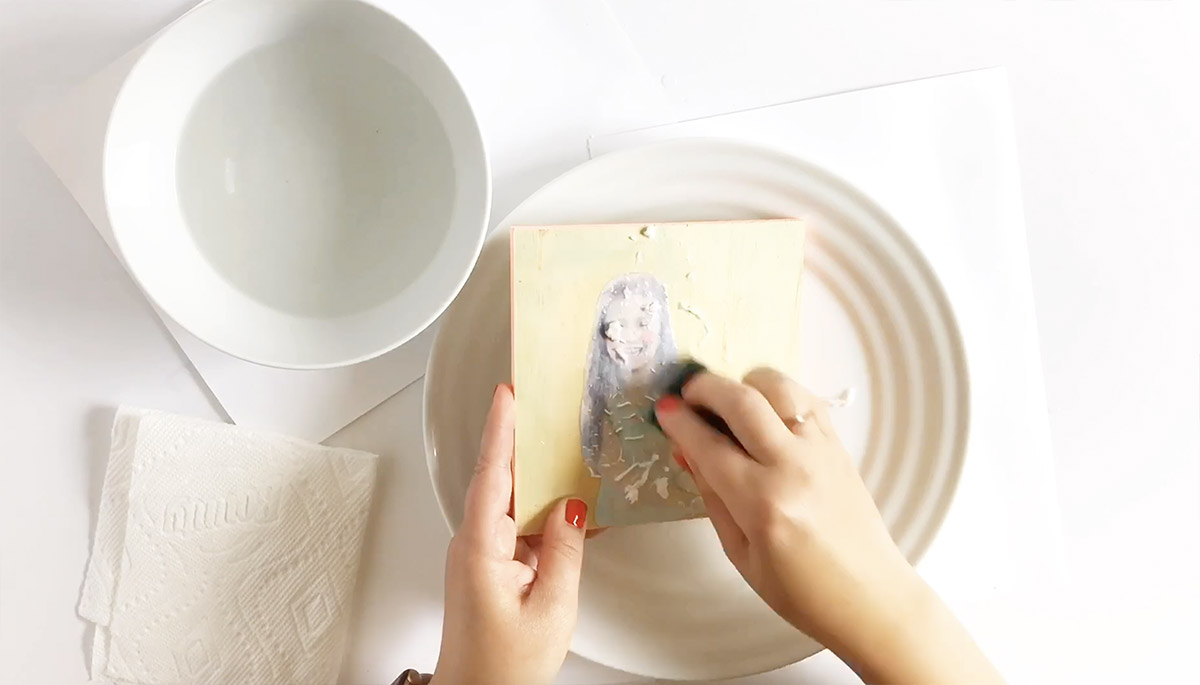
Step 5: After 24 Hours…
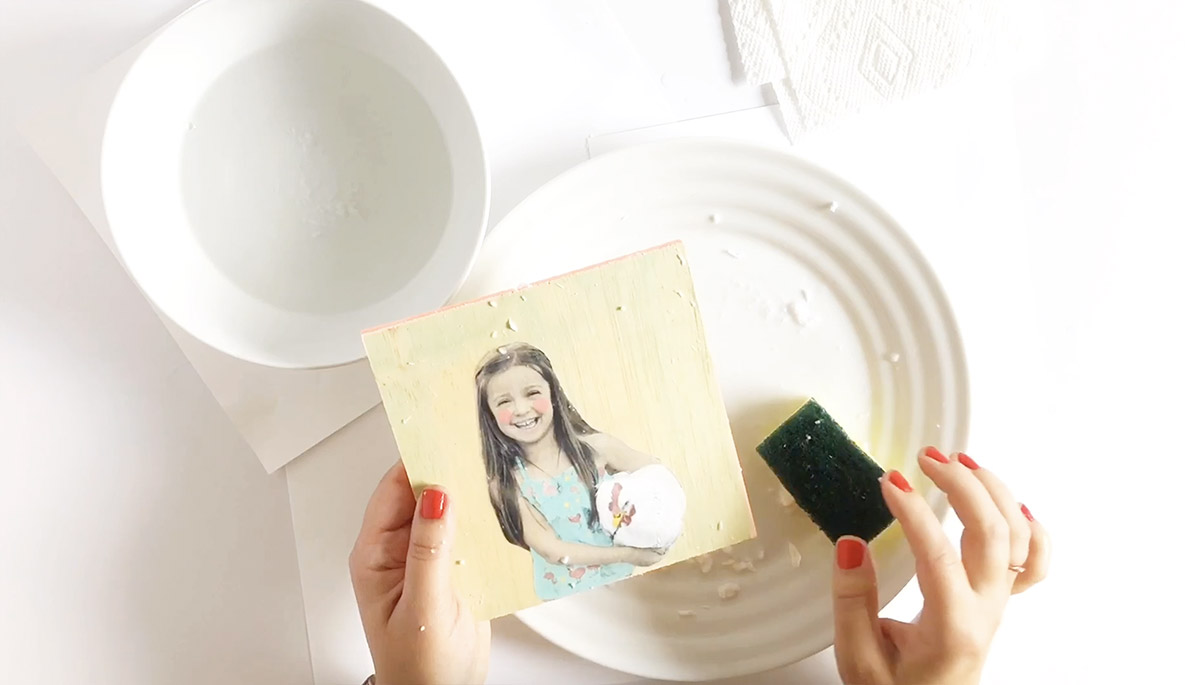
When you’ve hit the 24 hour mark it’s time to finish the photo transfer! This parts exciting. Grab a bowl of water and a sponge. Wet the image with a bit of water (don’t soak it) and rub it with your fingers and sponge. Don’t use your fingernails because that will scratch the image. Continue to remove the paper until the white fuzz is removed.
Let the block dry for a bit. If it’s dry and you still see a bit of white paper fuzz over your image, you can repeat the step above to remove it.
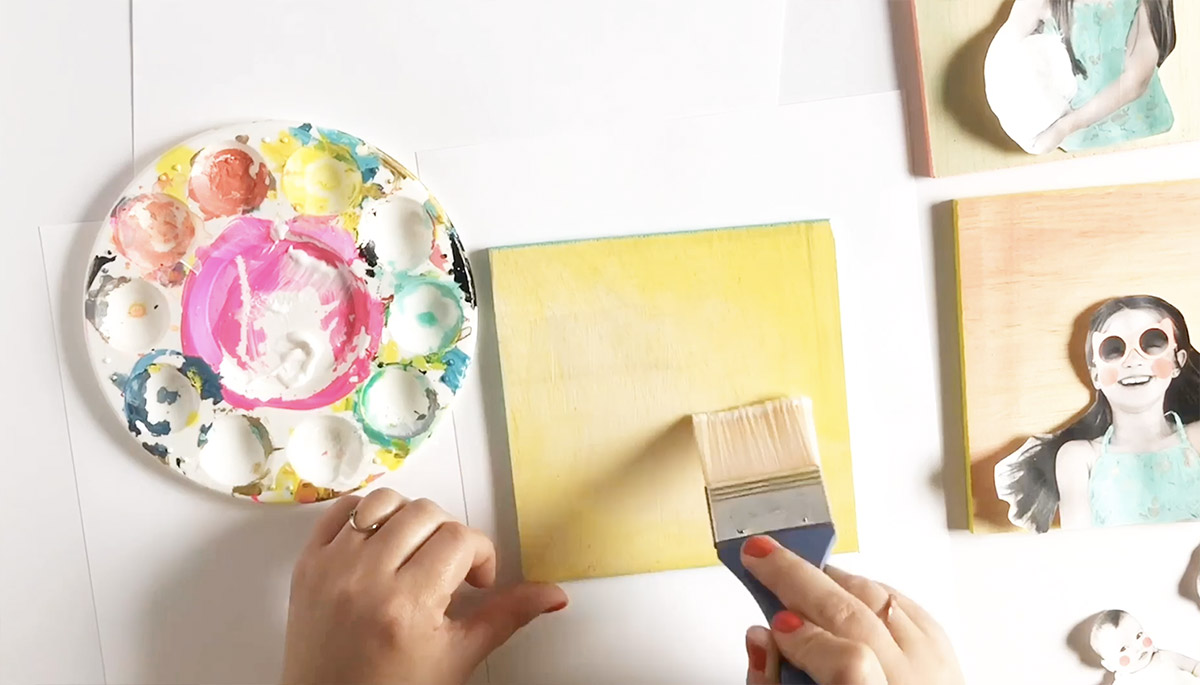
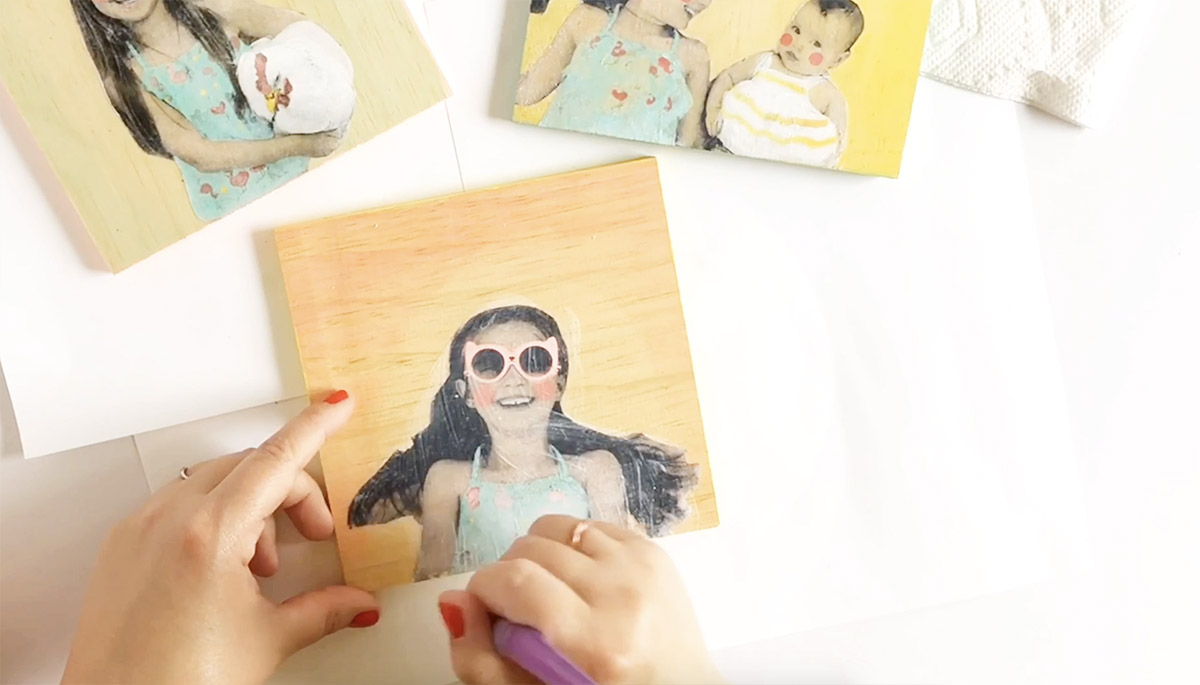
Step 5: Seal the Block
When your photo transfer is completely dry, apply a clear sealer to the image. This will seal and brighten your image. I used Mod Podge for my sealer, but I typically prefer a clear acrylic spray. Apply more coats, as needed.
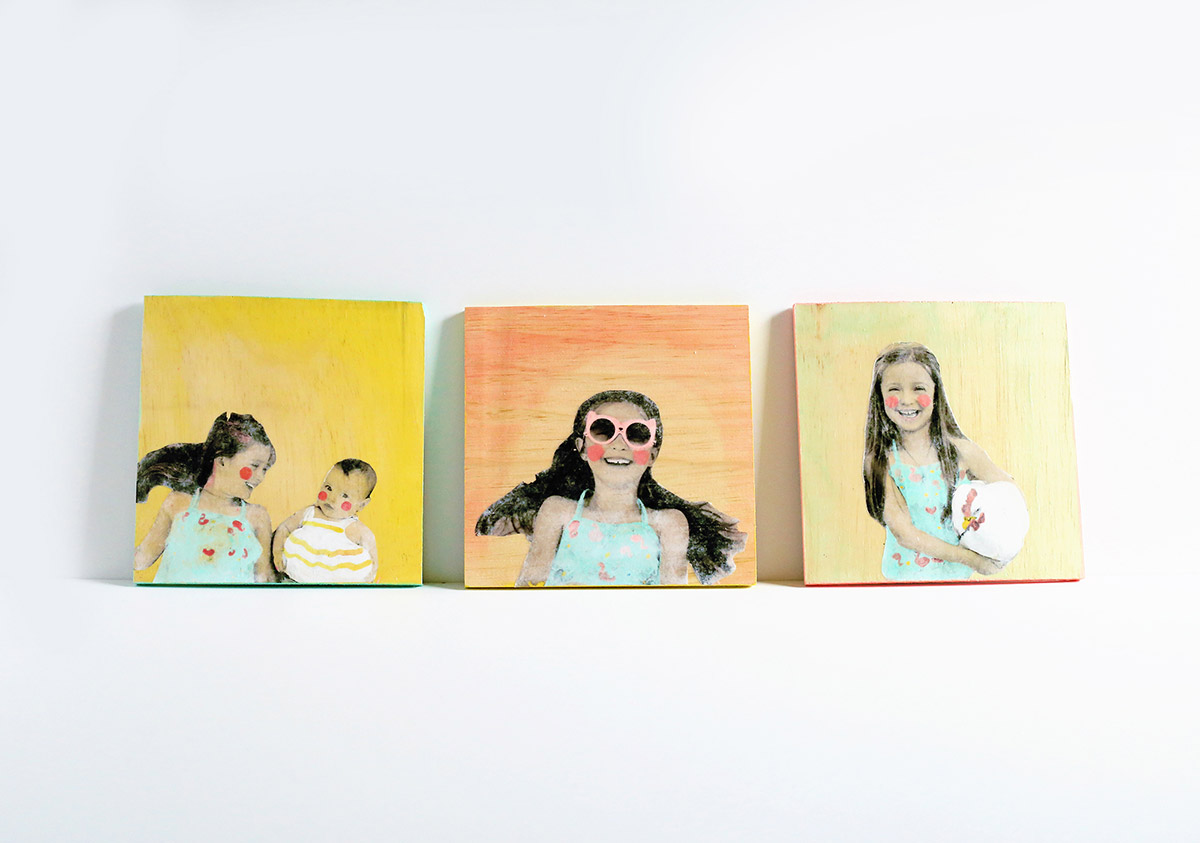
Let it dry completely and you are done! You’re art is ready for a gift or to hang on your wall. Below you can find my video tutorial for this DIY if you’re more of a visual person, like myself.
Be sure to share any photos of your projects with me in the comments below. I’d love to see them!
– Chelsey
Disclosure: I may earn a small commission for my endorsement, recommendation, testimonial, and/or link to any products or services from this website. There are affiliate links in this post. Thank you for your support.